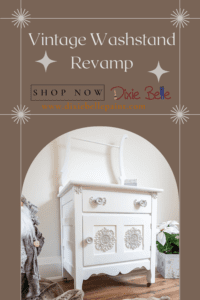
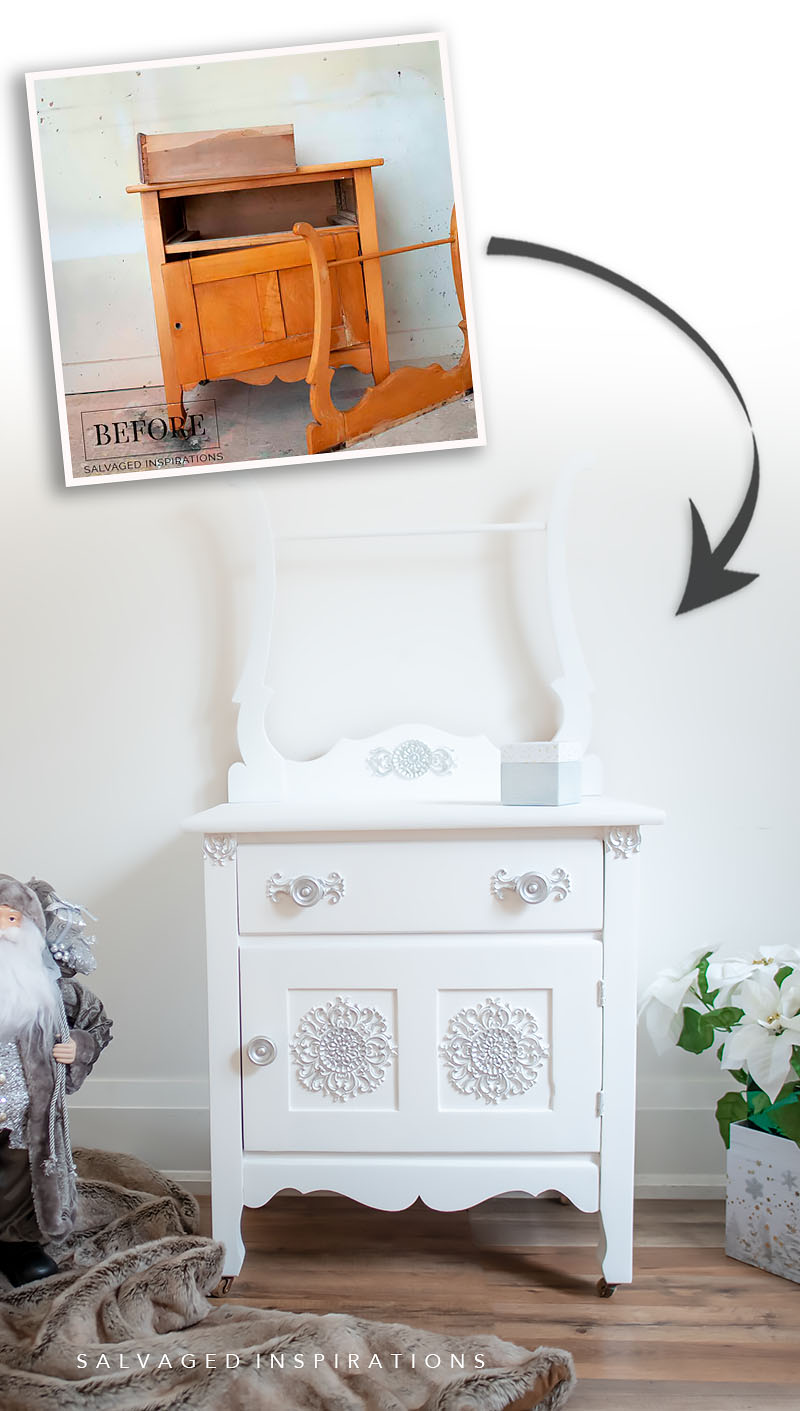
Hey Readers! Denise here from Salvaged Inspirations, come learn how to use WoodUBend and Chalk Mineral Paint in this Vintage Washstand Revamp!
Materials:
- DBP 2″ Mini Paint Brush
- DBP BOSS Gray
- DBP Chalk Mineral Paint Cotton
- DBP Clear Coat Gloss
- WoodUBend Floral Applique
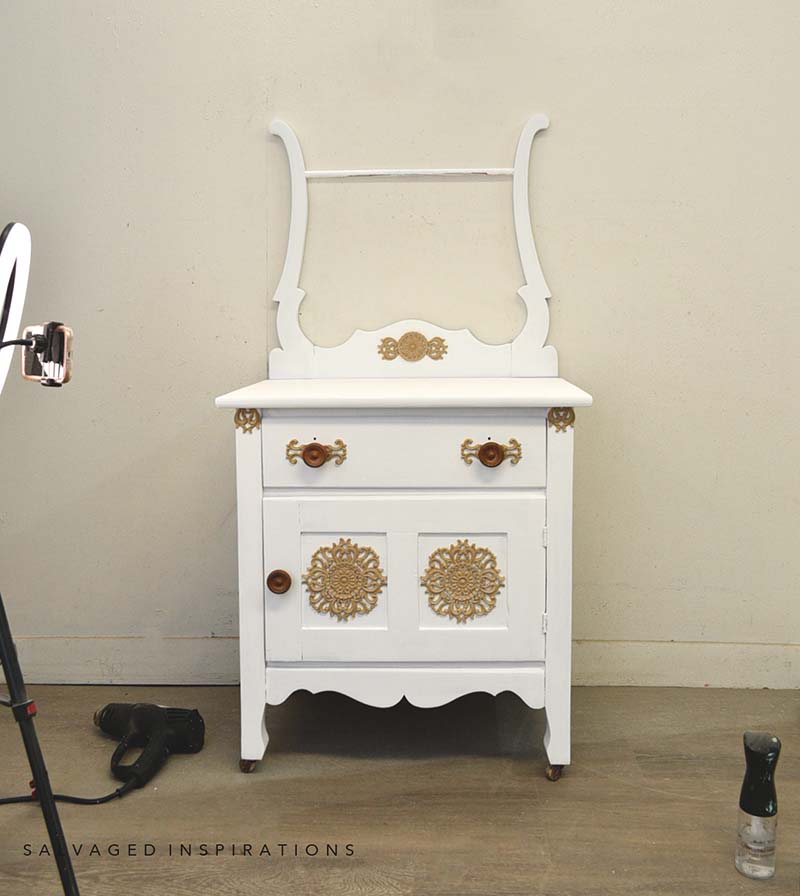
Step 1: Prep time!
To prepare for a new paint finish, I used a sander to scuff sand the entire piece and then wiped off all the dust. I then primed with the BOSS Primer in GRAY. Grey primer works fabulously under dark colors AND light colors. If you’re ever unsure if you’re painting light or dark, a grey primer is a good bet and will help you either way!
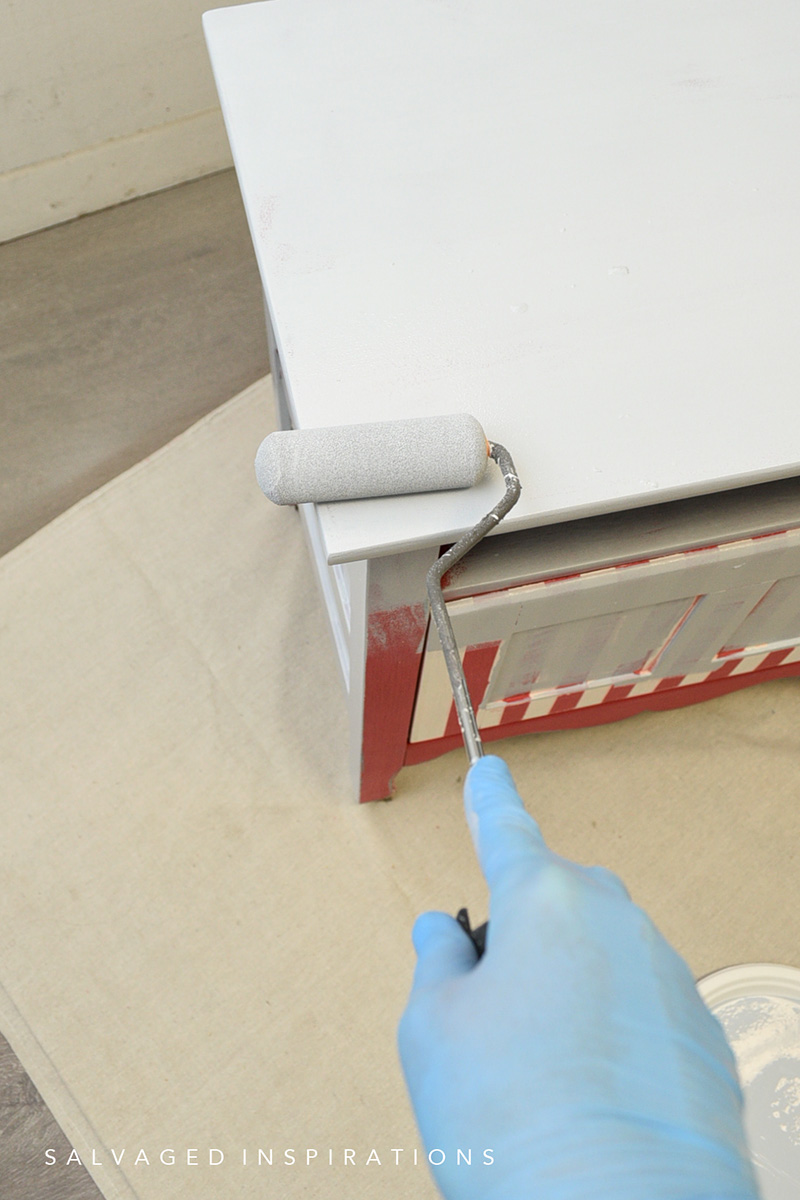
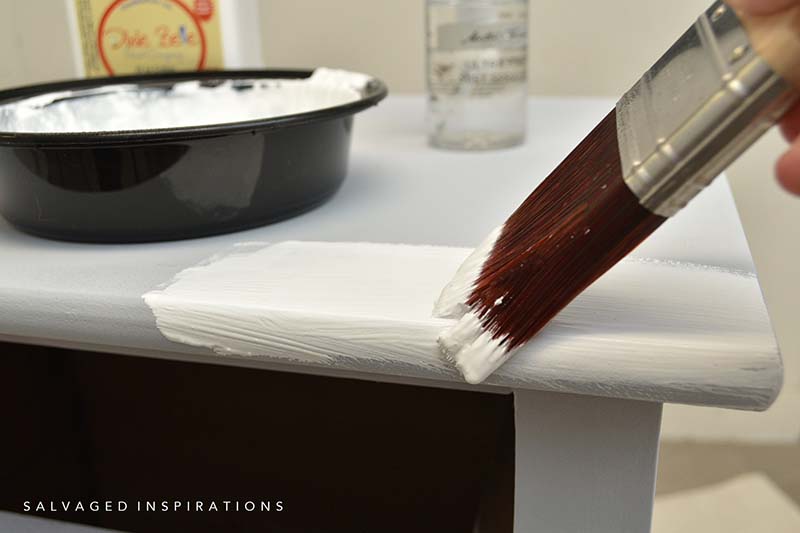
Step 2: Time for Paint!
After the primer was dry, I went in with two coats of Cotton Chalk Mineral Paint. I did this with the 2″ mini paintbrush for the perfect look.
Step 3: WoodUBend!
Now for the fun part! I added the full applique into the middle of each front panel. For the harp section and drawers, I used a heat gun to warm up the WoodUBend and then cut them into sections. These appliques are amazing! One design can turn into four… or more! I used a portion on the harp and then parts around salvaged knobs to embellish the old salvaged knobs I found. Then I had two little pieces left which I could have saved for another project but I decided to use them under the top of this washstand.
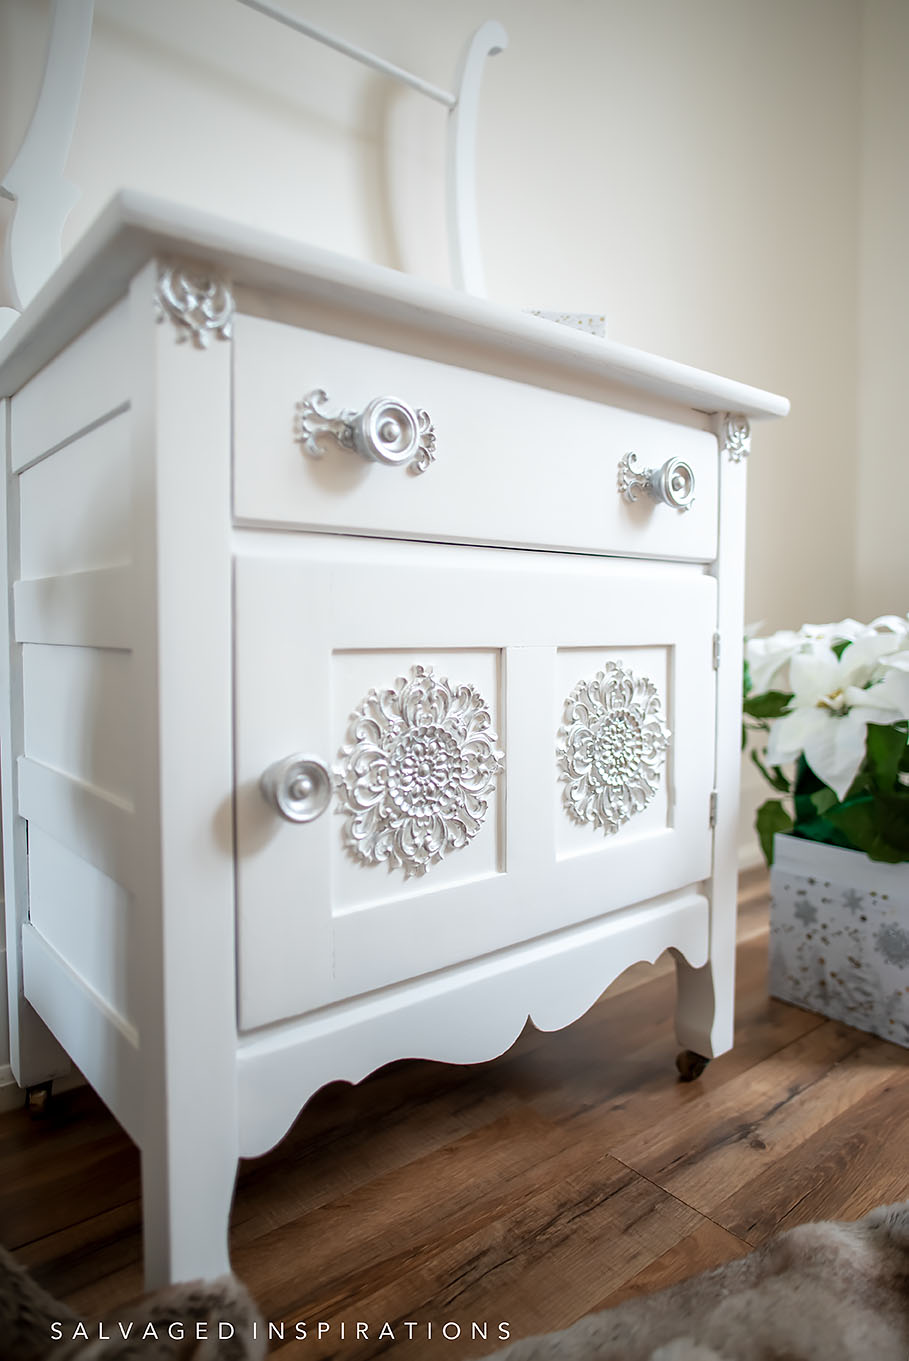
Step 4: Add a special touch!
After I painted the appliques in Cotton, I decided to mix a silver pigment in the Gloss Top Coat. I then took the mixture and painted the appliques to give it a shiny look.
For more information on this Vintage Washstand Revamp check out Salvaged Inspirations!