Hello, everyone! Lee Ann from Creative Moments here!
Materials:
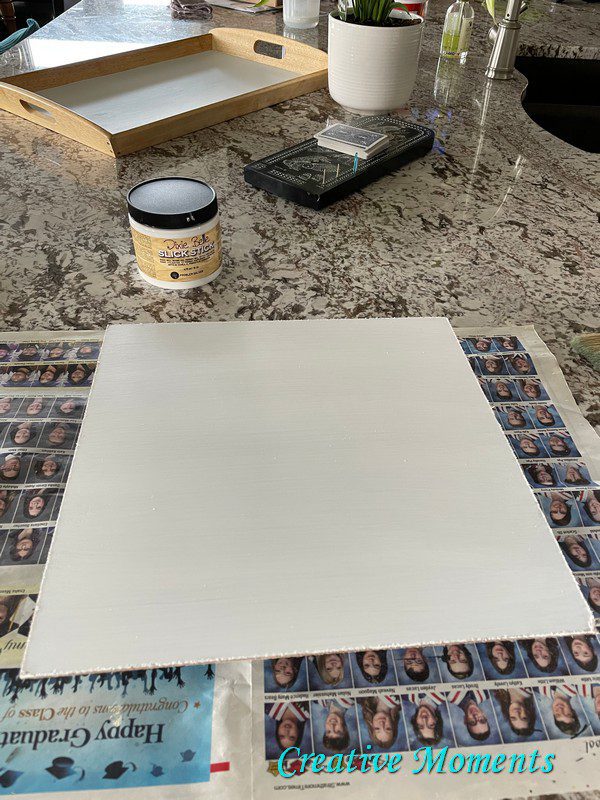
- Slick Stick
- Blue Agave Terra Clay Paint
- Coffee Bean Chalk Mineral Paint
- Premium Chip Brushes
- Gilding Wax in Bronze
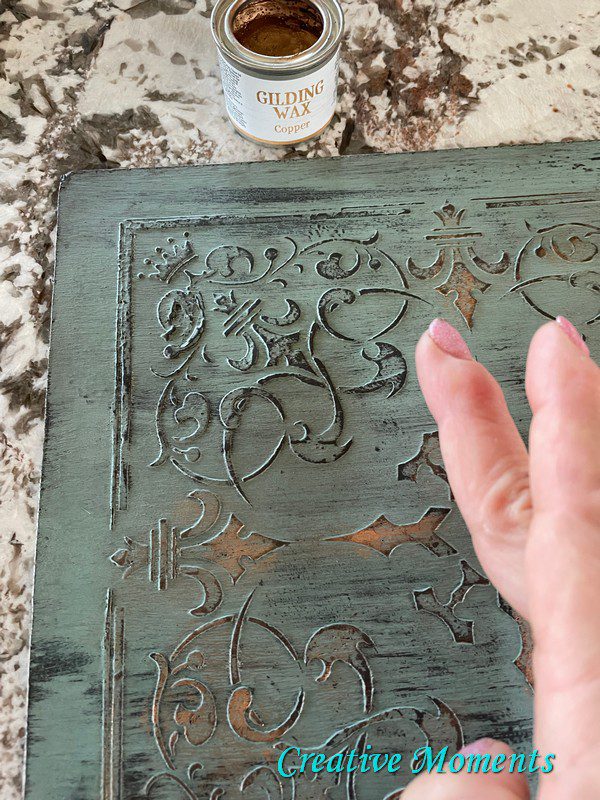
- Gilding Wax in Copper
- Best Dang Wax in Brown
- Clear Coat in Satin
- Continuous Mister Bottle
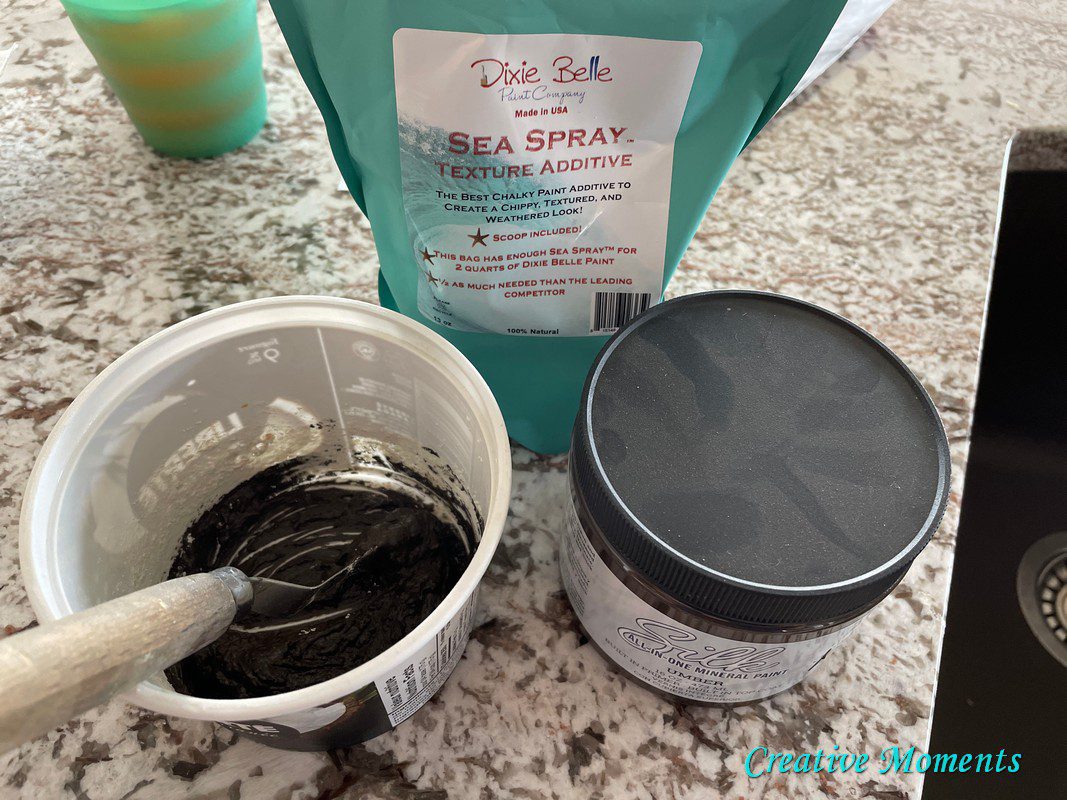
- Sea Spray
- Umber Silk Mineral Paint
How To:
Step 1:
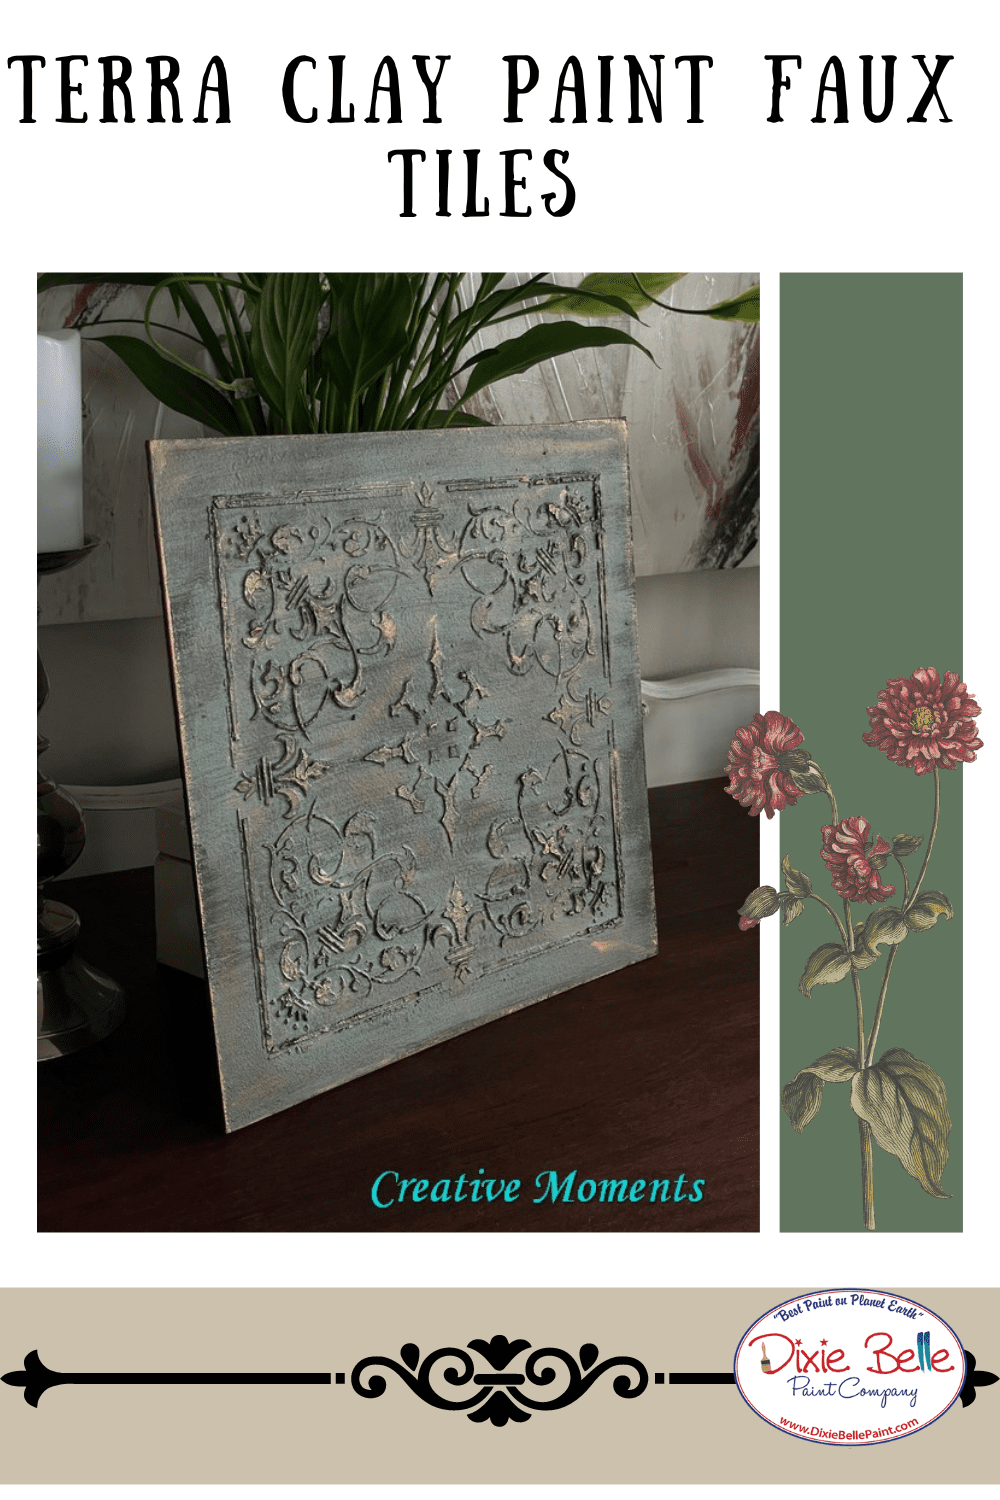
First, I started out by texturizing my paint with Sea Spray to really give the stencil a raised effect.
Step 2:
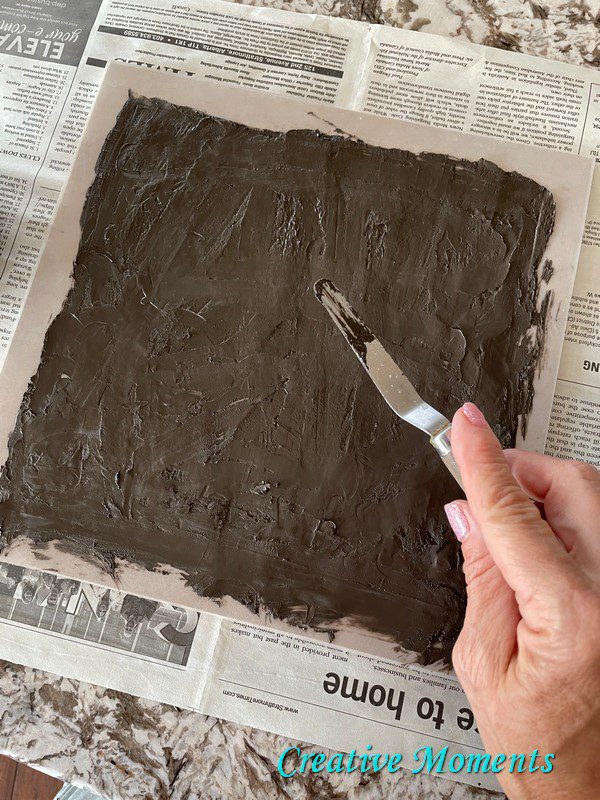
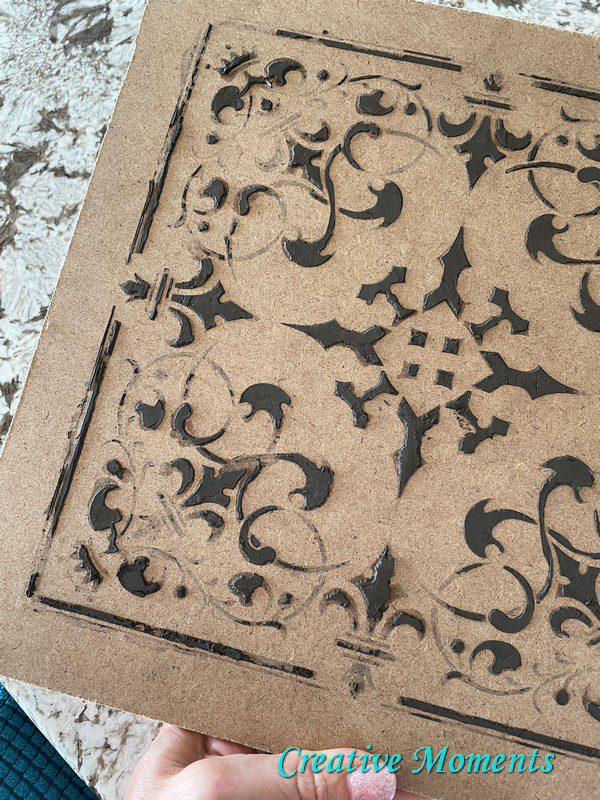
Secondly, I applied the paint “paste” over the stencil. I then lifted the stencil to reveal the pattern. The paste didn’t adhere well enough, so I sanded the current stencil off and applied a coat of Slick Stick.
Step 3:
After I applied the Slick Stick and waited for it to dry, I then repeated the process for step 1 & 2.
Step 4:
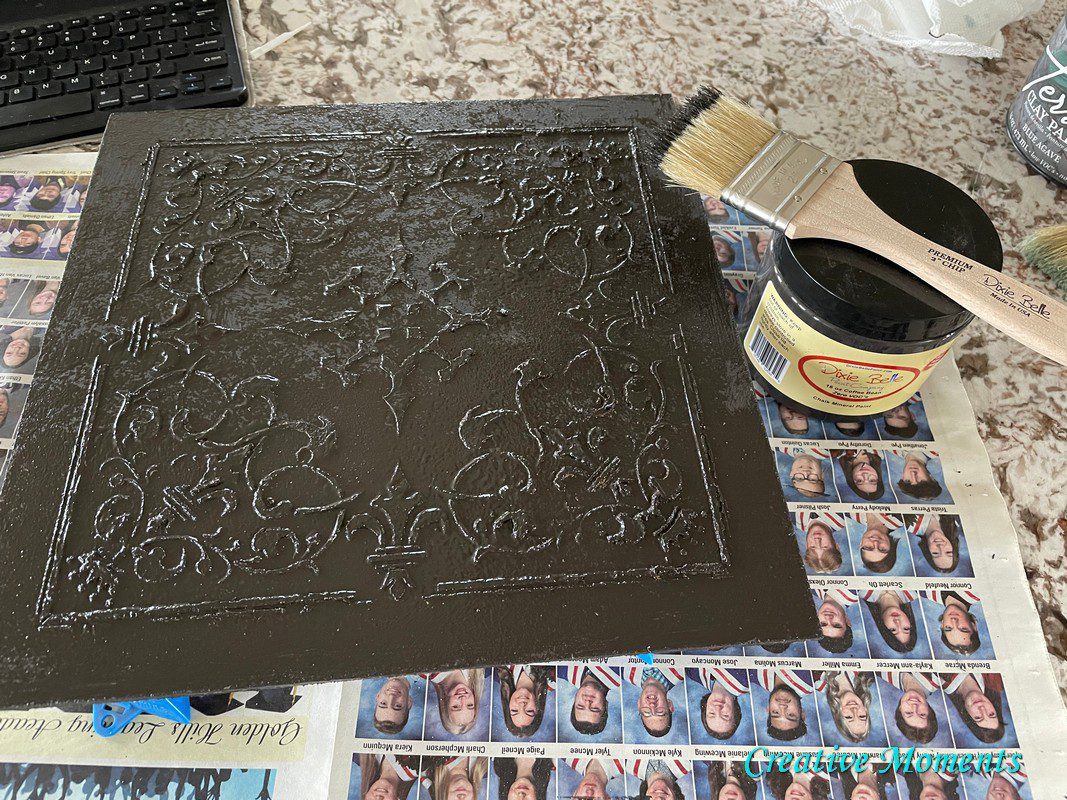
Then, I brushed a coat of Coffee Bean over the entire surface.
Step 5:
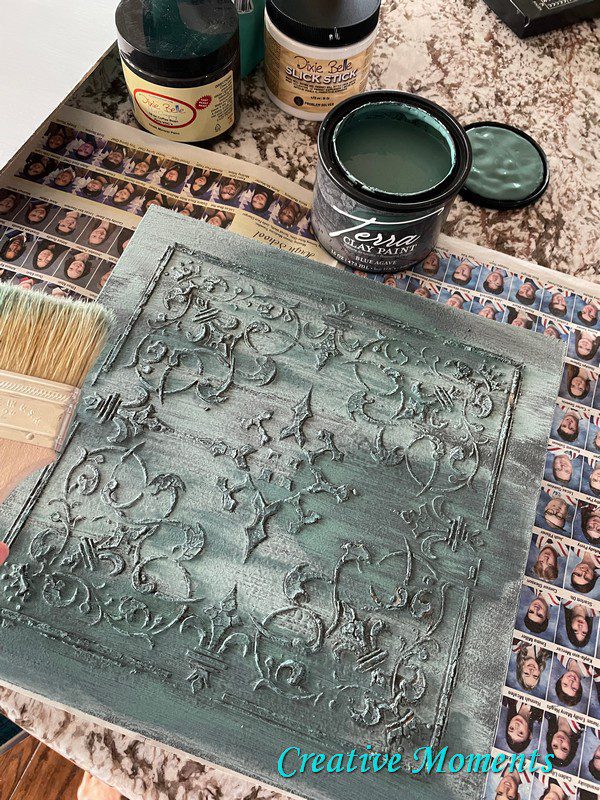
Next, I applied a applied a coat of Blue Agave over the entire surface as well.
Step 6:
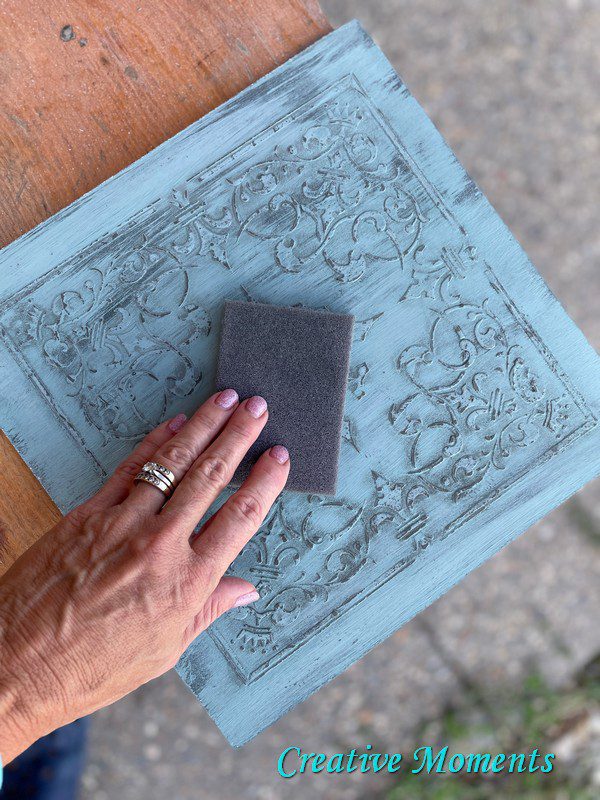
Thereafter, I sanded the tile to give a worn-down look with a Sanding Sponge.
Step 7:
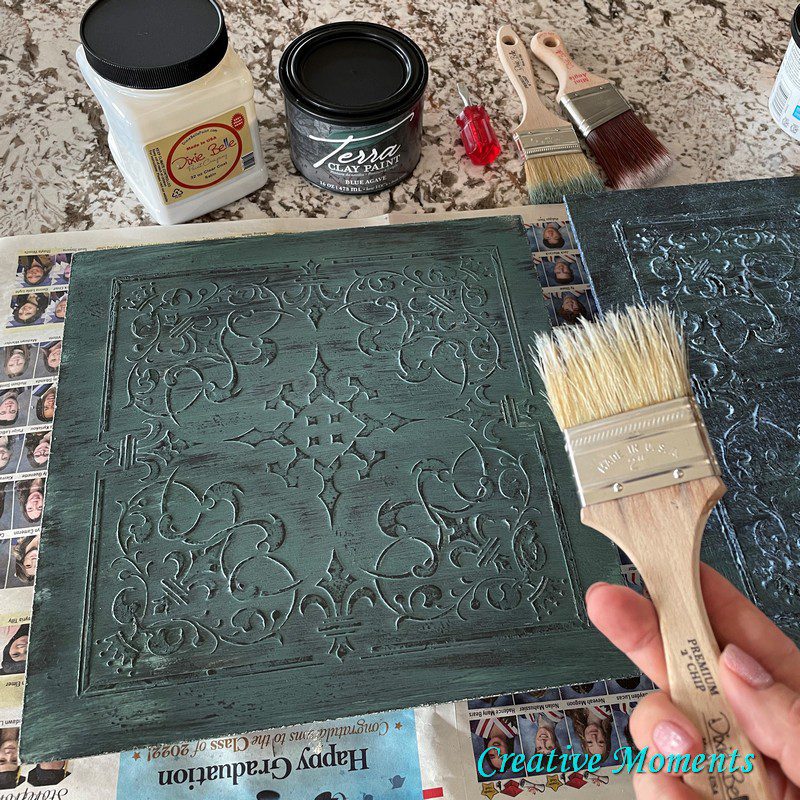
After that, I sealed the layers of paint with Clear Coat in Satin.
Step 8:
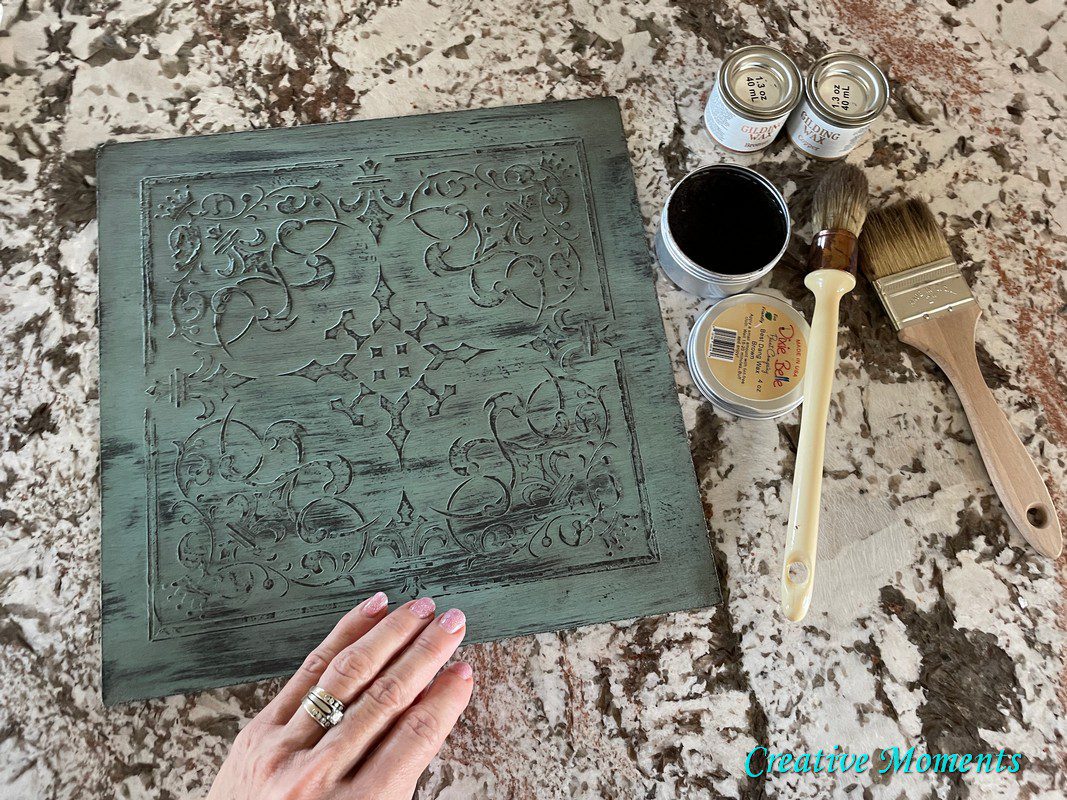
Then, to add an aged look, I applied Best Dang Wax in Brown.
Step 9:
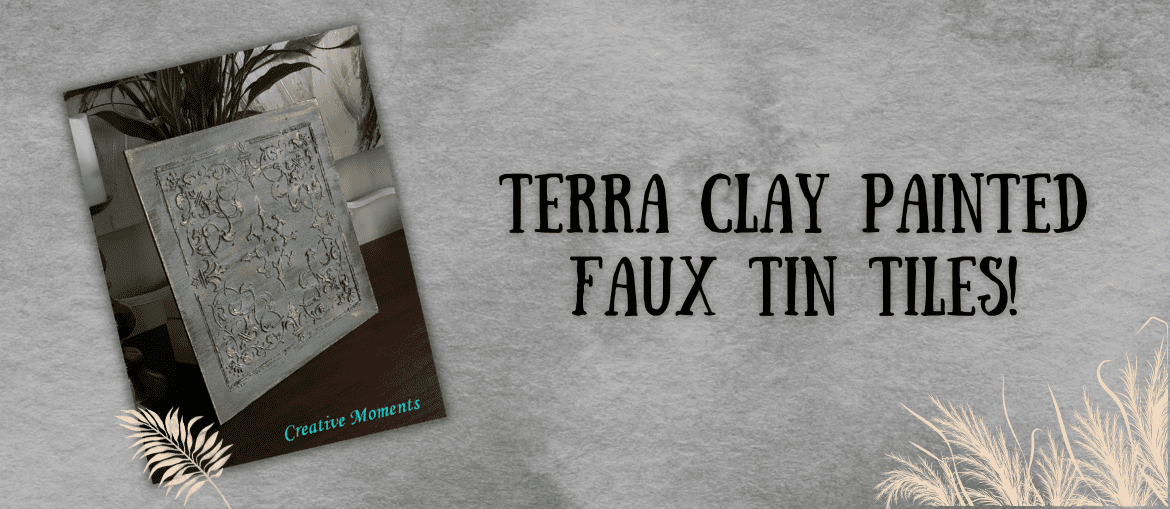
Optional: I added Gilding Wax to create an extra metallic element and then added one last coat of Clear Coat to seal it all together!