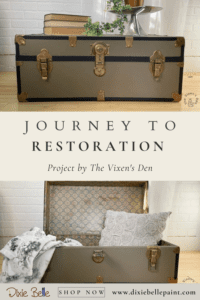
Hey readers! It’s Becky from The Vixen’s Den, come read about this Journey to Restoration, as I take this worn vintage trunk and give it a new life with some Dixie Belle Paint.

Material List:
-
DBP Mini Angle Paintbrush
-
DBP Artists paintbrush
-
DBP Continuous Mist Spray Bottle
-
DBP White Lightning
-
DBP BOSS
- DBP Dixie Mud
-
DBP Silk Paint Hampton Olive
-
DBP Silk Paint Anchor
-
DBP Moonshine Metallics Paint Gold Digger
-
DBP Gilding Wax Gold
-
DBP Gilding Wax Bronze
Step 1: Repairing Damage
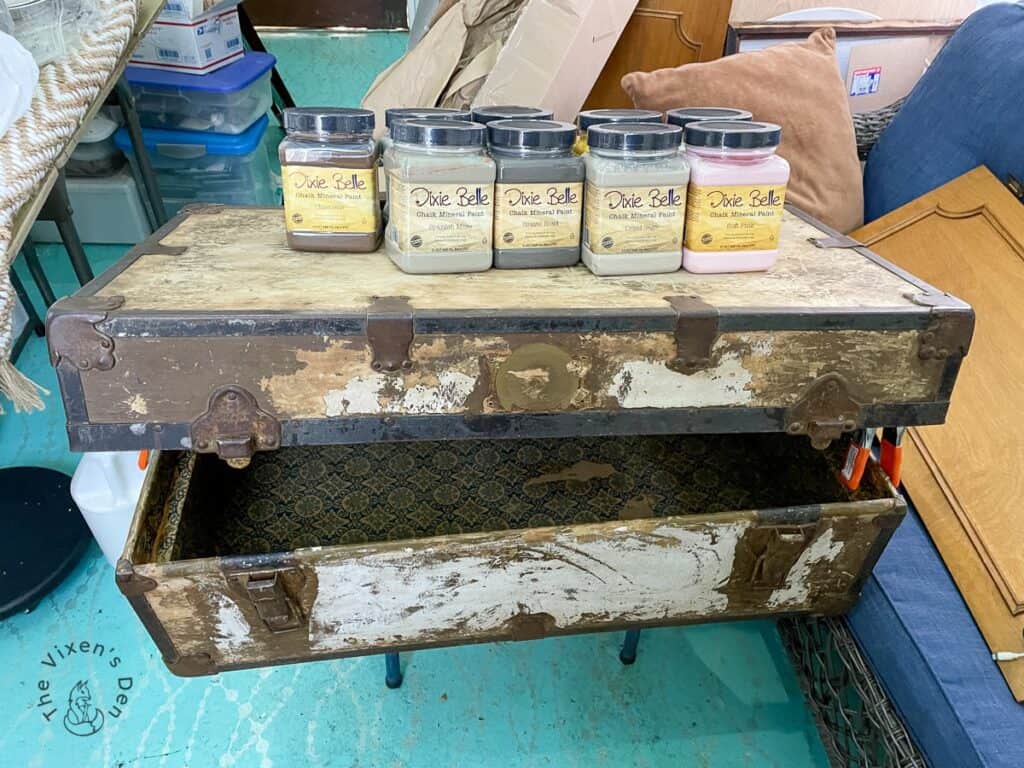
The first thing I had to do was to remove all of the damaged hardware before I could get started on prepping the surface. I removed the leather straps, as they are worn and damaged, I did not remove the hardware that was still in good condition, just what was damaged. As I mentioned before, this trunk needed a lot of cleanup before I could start the makeover. I scraped off as much of the latex paint or contact paper residue (not sure which) as possible. As I was scraping, I discovered that the metal bands on the trunk were also painted. Black metal paint flakes were flying everywhere! It was a process and my hands positively ached by the time I felt it was ready for the next step.
Step 2: Cleaning and Prepping
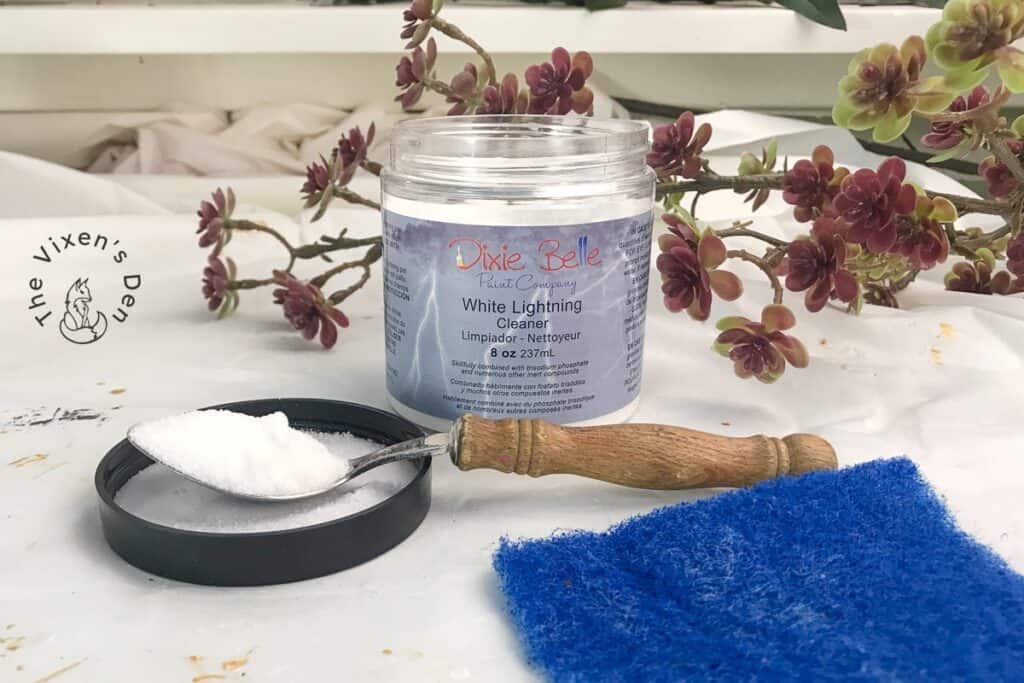
With the surface repaired, it was finally time to start cleaning! I vacuumed out the interior of the trunk and wiped everything down several times with a mixture of White Lightning. This trunk had a lot of mildew on it, so it took several cleaning and rinsing wipe-downs before it was finally clean. After the surface was clean, I filled in any gouges on the exterior with Dixie Mud. This is a great all-purpose filler that was perfect for this project! Just a light skim coat evened out the surface beautifully. Once it was dry, I lightly sanded the surface.
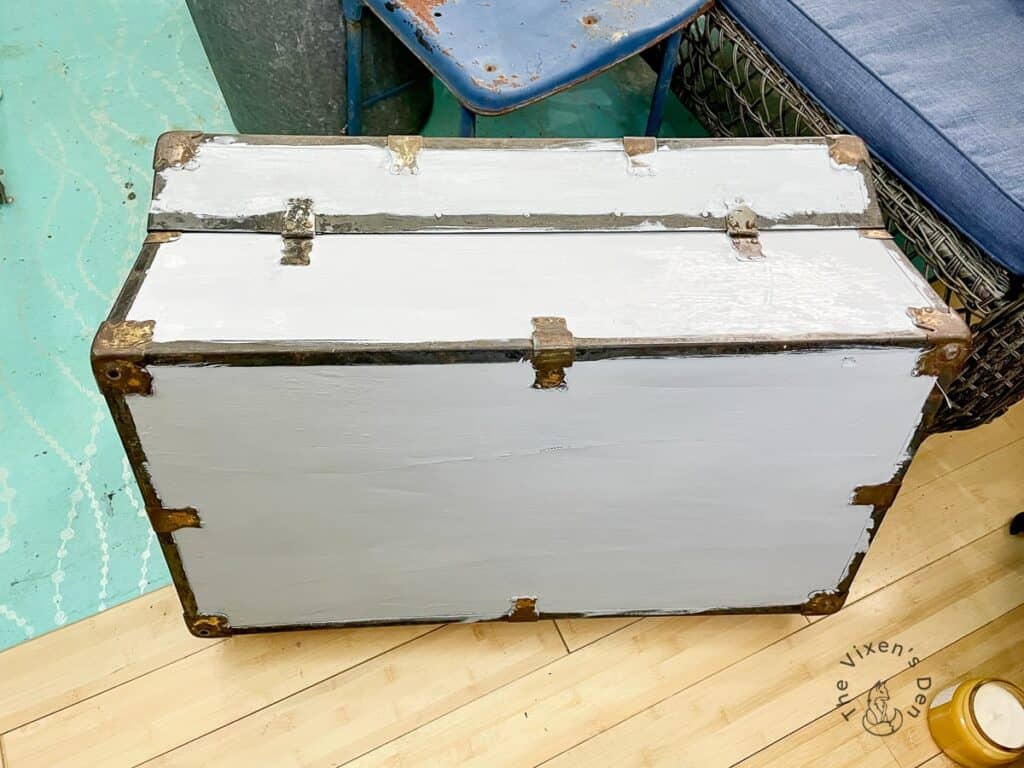
To seal out any potential stains and create a good surface for the paint to bond to, I used the Dixie Belle Mini Angle Paintbrush to paint a coat of BOSS onto the cardboard veneer. After two hours of drying time, I painted on a second coat and then let it dry overnight.
Step 3: Time to Paint
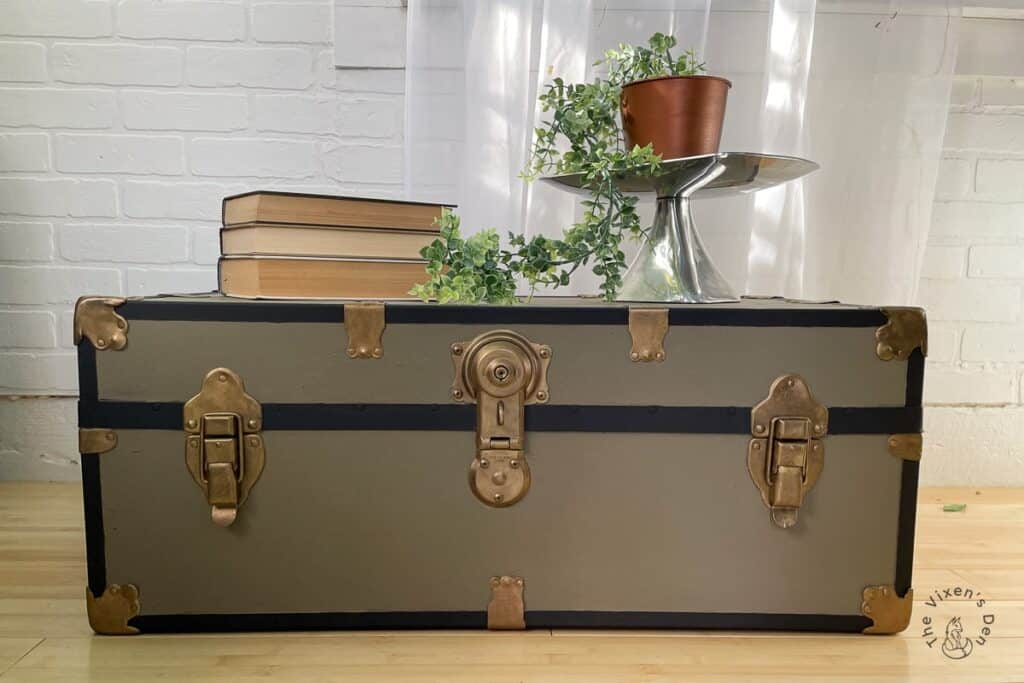
Finally, it was time to start painting! To create a masculine look for the exterior of this trunk, I chose Hampton Olive from the Dixie Belle Silk line. Dixie Belle Silk Paints are great for quick projects because they have the primer and top coat built in. These paints flow smoothly with the help of a Continuous Mist Spray Bottle, and they dry very quickly. Hampton Olive is a wonderfully deep, almost Army green, paint color with rich grey and brown undertones. I applied two coats of Hampton Olive to the veneer of the trunk. The paint dries to a wonderful matte, yet durable, finish that looks very classic!
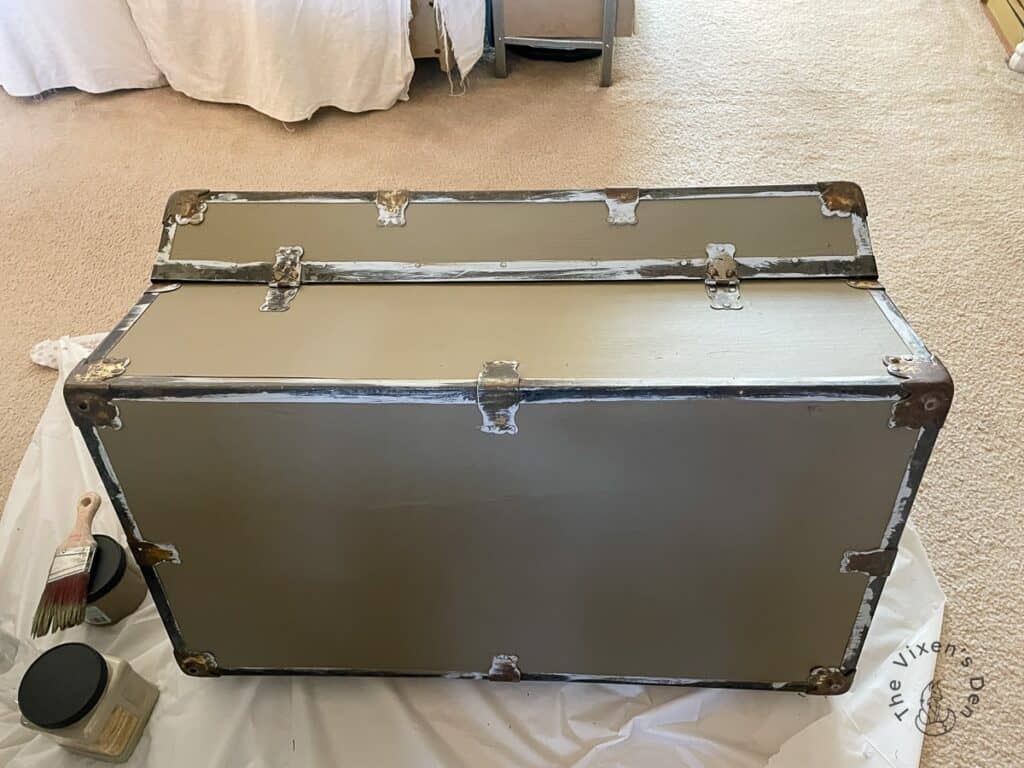
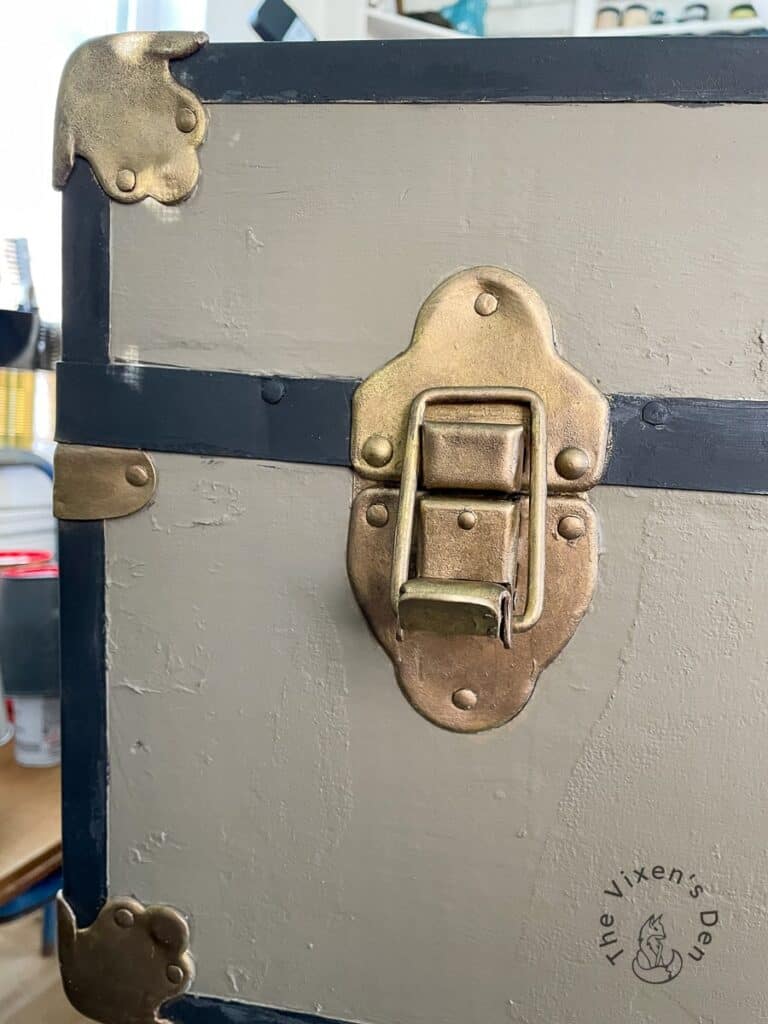
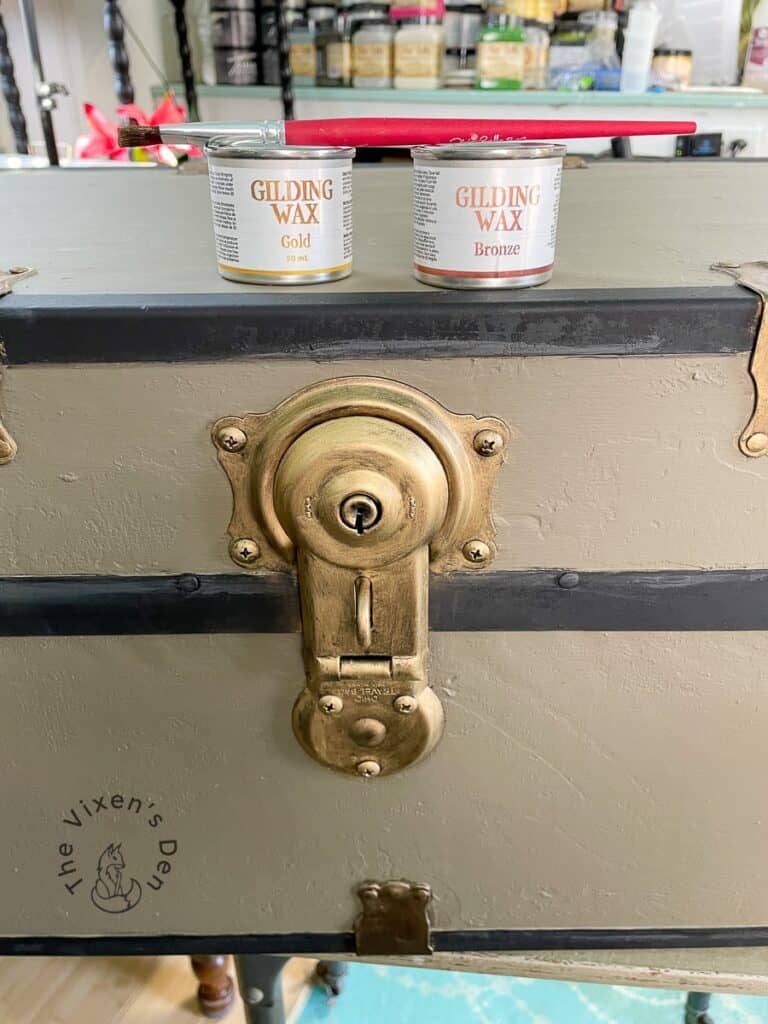
To paint the metal bands, I painted on two coats of Dixie Belle Silk in Anchor. This is a rich, pure black paint color that contrasts nicely against Hampton Olive. I decided to go back with black paint since that was the original color, but it also provided a lovely contrast for the hardware. For the hardware, I first painted in Dixie Belle Moonshine Metallics because I was looking for bright gold. But after looking at it, I decided to tone down the gold color. Dixie Belle Gilding Wax in Bronze was the perfect solution!
Step 4: Replacing Hardware
To replace the leather straps, I measured in from the top and side of the trunk, trying to center the straps around the area where they were originally installed. I allowed about an inch to an inch and a half of slack so that a hand will easily fit between the trunk and the strap. Once the handles were installed, I used the same method to install the star leather handle strap caps.
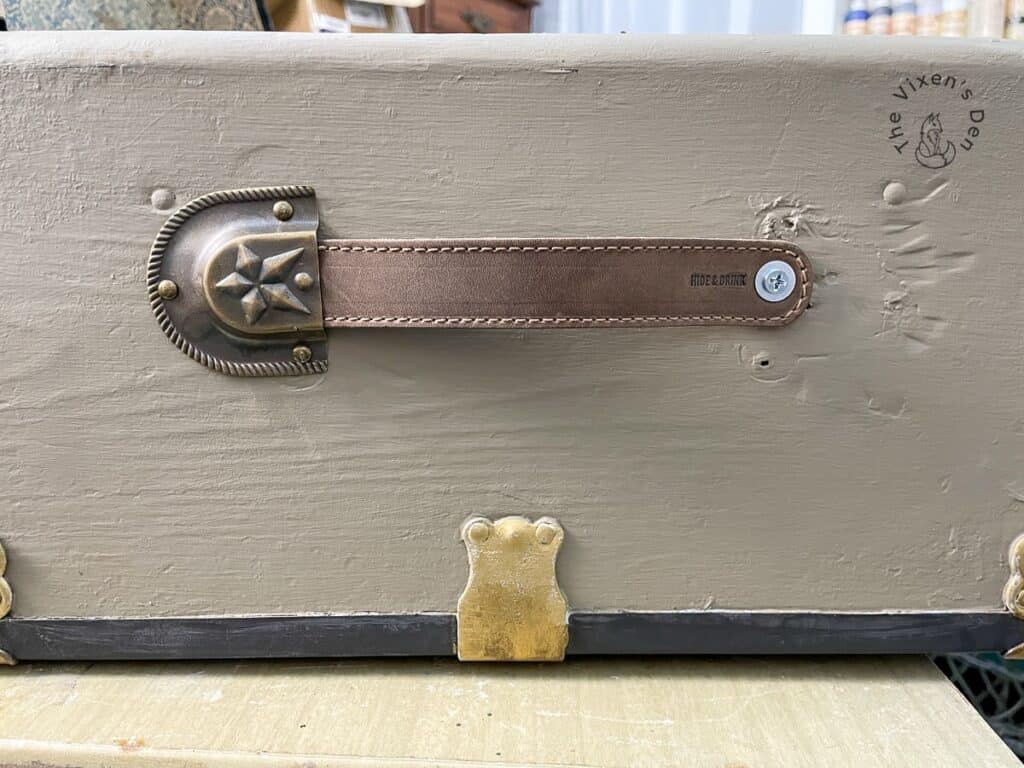
The caps were a lovely bronze, but the color didn’t quite match the rest of the hardware. A bit of Gilding Wax in gold solved that problem easily! I painted it on with an Artists paintbrush and buffed it the next day. With the handles in place, I next installed a replacement trunk support. This was a bit trickier to do by myself because I had to position the lid at the correct angle and install the screws all at the same time. Finally, I replaced the missing trunk lock.
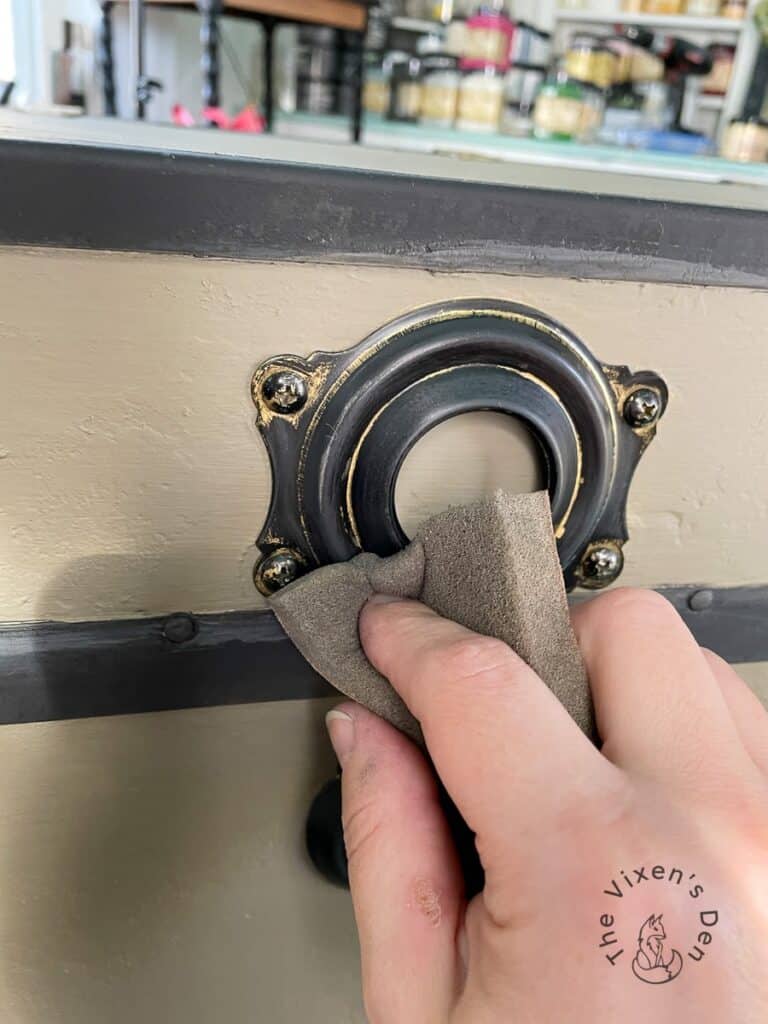
I wanted to make the trunk fully functional, and what trunk is complete without a lock? In order to match up the finishes on all of the hardware, I sanded the metal to scuff up the surface. I scuff sanded and switched to Dixie Belle’s Gilding Wax and the finish stayed on beautifully! I used an Artists brush to paint on two coats of Gilding Wax in gold, then followed that up with one full coat and a touchup coat in Bronze.
From rusty to masculine chic, this piece received quite a makeover. The possibilities are endless! How would you use this trunk? I’d love it if you’d share your ideas in the comments below.
To read more about this Journey to Restoration, head over to The Vixen’s Den!