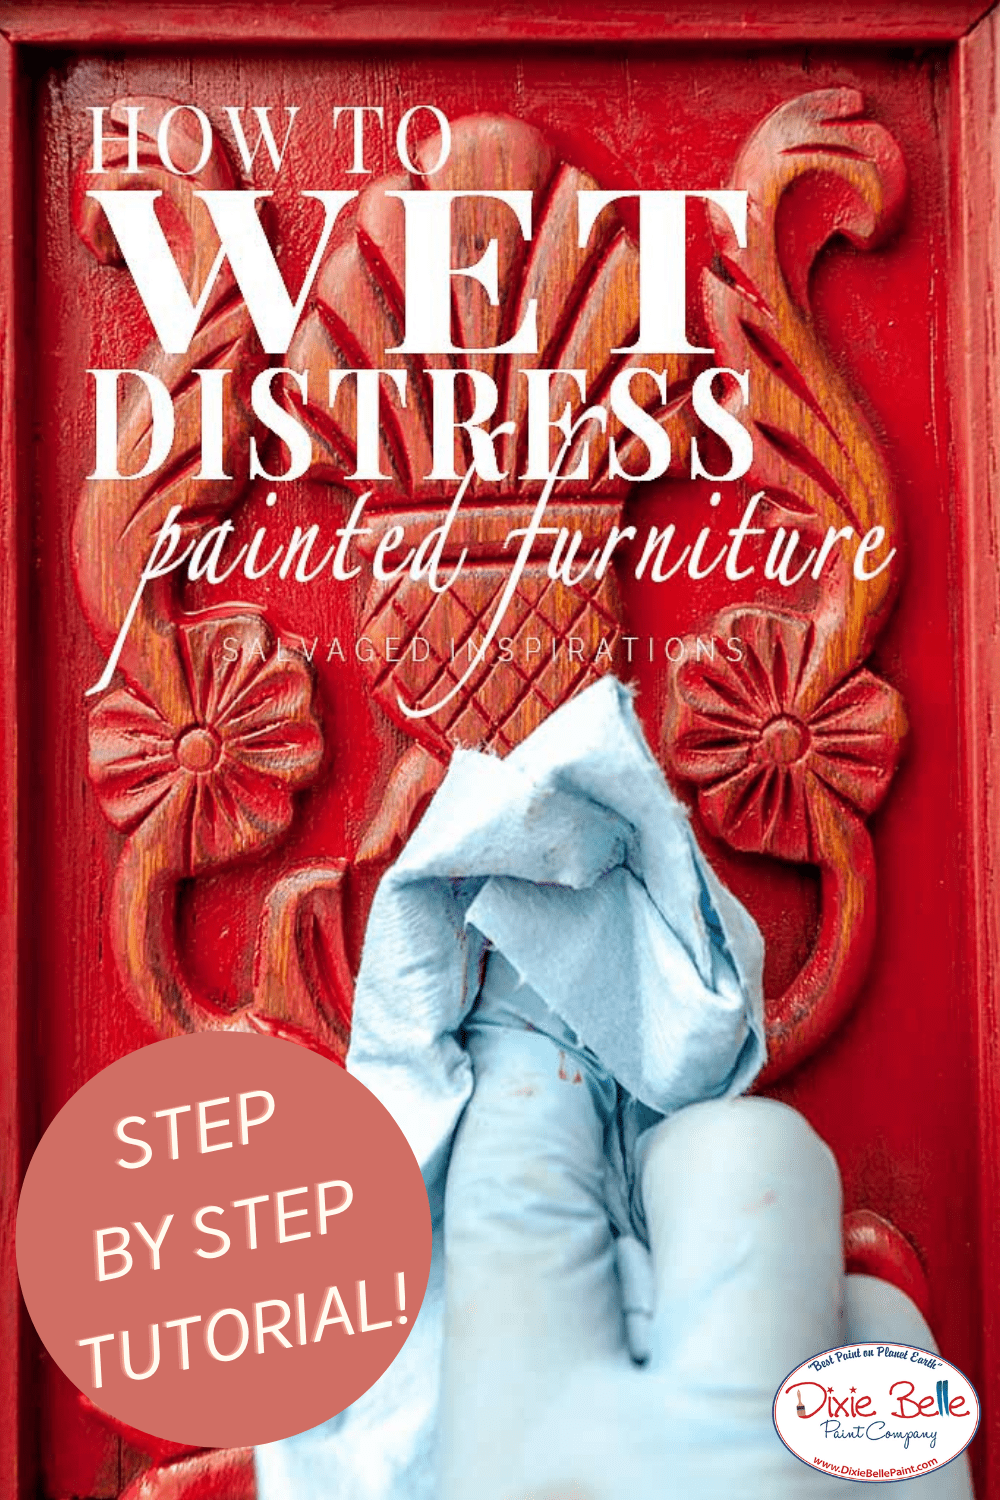
Hi everyone! It’s Denise from Salvaged Inspirations! I’m excited to share this makeover because I don’t come across pieces like this too often! To show off all these gorgeous details, I decided to WET Distress this finish. WET Distressing your painted furniture can add a TON of character by giving it a more worn-in look. It’s a simple furniture painting technique that creates stunning results. As a bonus, I’m sharing MY FAVORITE way of doing it which will give you a much softer and subtle blended look. The best part, NO SANDING required!
What is wet distressing? Wet distressing simply means wiping back your paint to reveal what’s underneath. This can be done using a damp or slightly wet lint-free cloth, an old sock, baby wipes, a sponge, paper towel, or a shop towel… which is always my first choice.
BONUS TIP ~ I like to wet distress WHILE my paint is still WET. You don’t often hear this but it’s MY favorite way to get a “blended” and seamless distressed look. You can also do it the traditional way and wait until your paint is dry but not cured. Usually, 1-2 hours after you have painted.
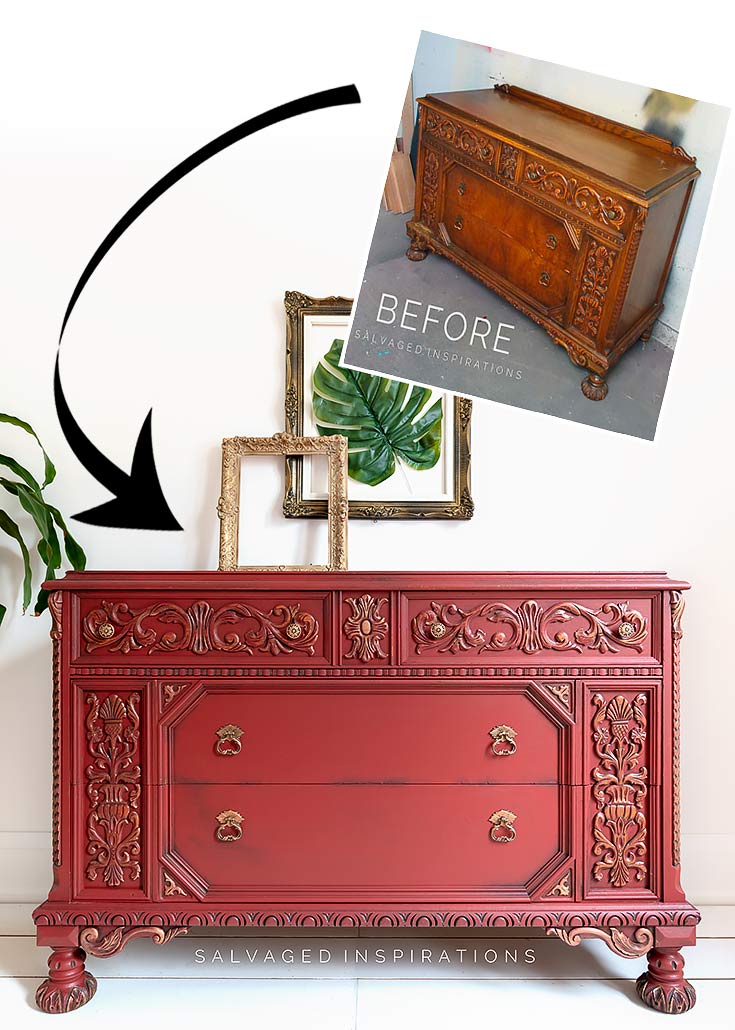
I found this ornate dresser on Facebook Market place and thought it was the perfect piece to kick off the year. Isn’t she gorgeous?
Materials List:
- Ornate Vintage Dresser
- White Lightning Cleaner
- Dixie Belle Mud (Brown)
- Paint Brushes
- Sandpaper | Shop Towels
- Water Misting Spray Bottle
- BOSS
- Barn Red 25%
- Rustic Red 75%
- Copper Gilding Wax
- Black Glaze
- Satin Clear Coat
How To:
Step 1:
I started by giving this piece a super good cleaning with this cleaner mixed with water.
Step 2:
This dresser was solid but the backplate needed repair along with some deep scratches on the top. I filled the scratches with DB Mud (brown) and after sanding them smooth I used BOSS Primer on the top only. This was to hide any filler marks and ensure no bleedthrough to the parts I sanded.
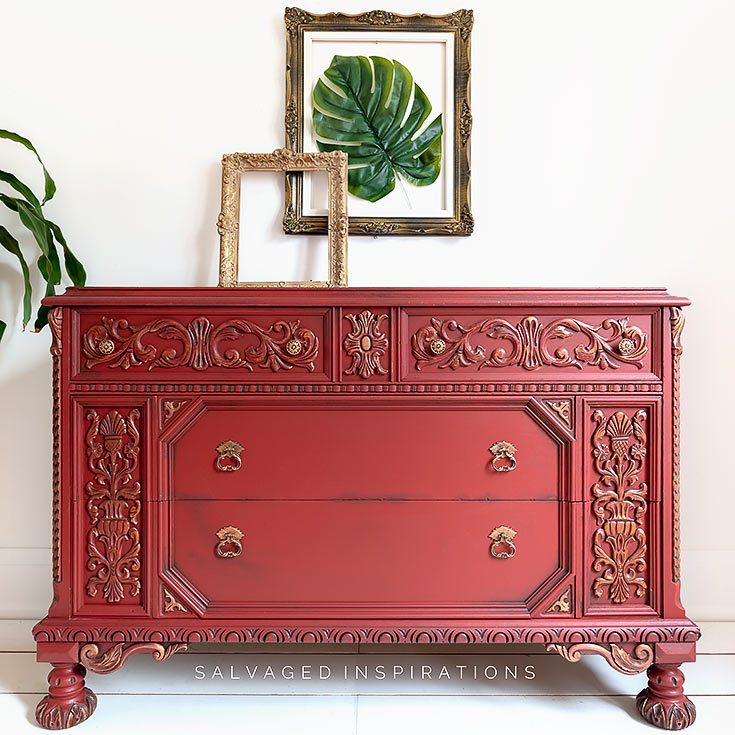
Step 3:
I had leftover paint hanging around from previous projects. To use it all up, I mixed a CUSTOM RED using 25% Barn Red and 75% Rustic Red.
Step 4:
This dresser took two coats. After painting EACH coat (while the paint was still WET), I used a damp shop towel and wiped back the paint on all the details. I used this water mister to spray some water on my shop towel rather than dipping it in water or putting it under a tap because I want it damp, not too wet.
To read the rest of this tutorial on wet distressing, head over to Salvaged Inspirations here!