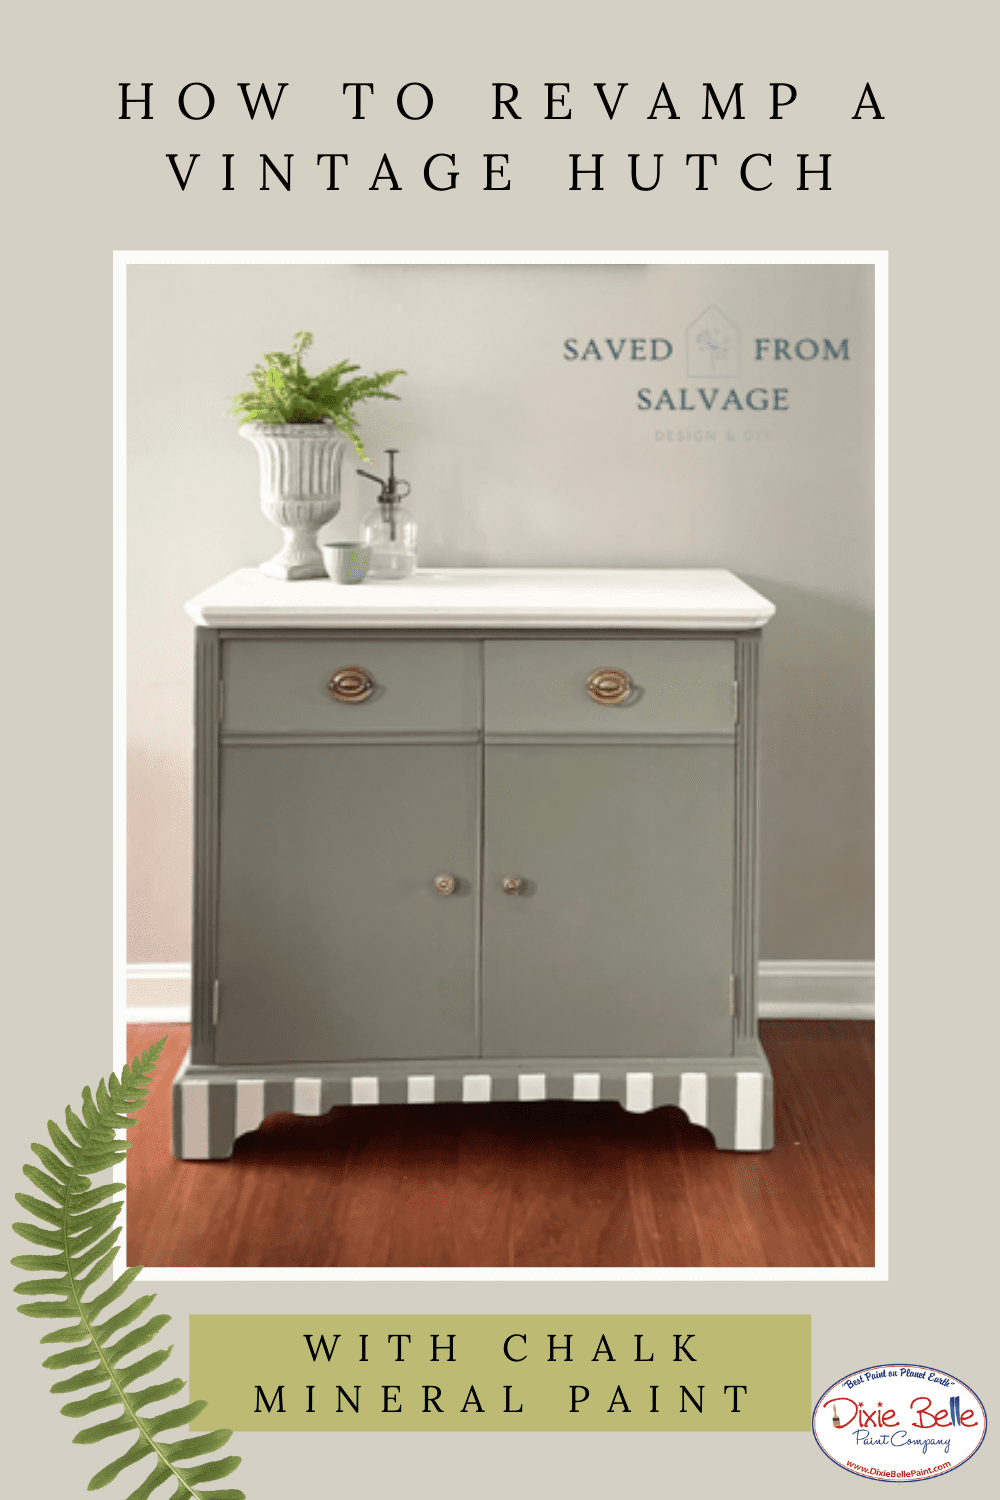
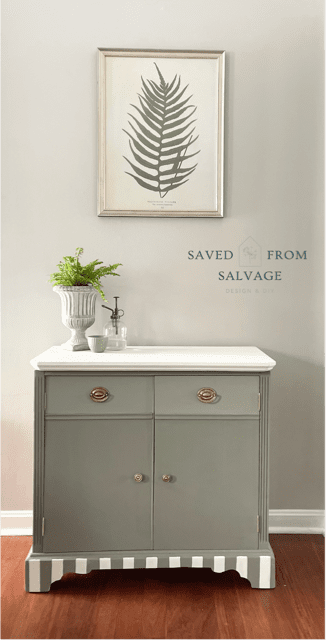
Hi everyone! It’s Regina from Saved from Salvage! Do you like roadside finds? This was rescued from a trash pile. Today, I’m going to share how to revamp a hutch into two separate pieces! Let’s get started!

Materials List:
How To:
Step 1:
First, the bottom section was cleaned with White Lightning on the outside. The inside needed even more. I used a degreaser, vacuum, and razor blade.
Step 2:
Next using an orbital sander, I sanded outside and inside to clean up and remove the chipped paint.
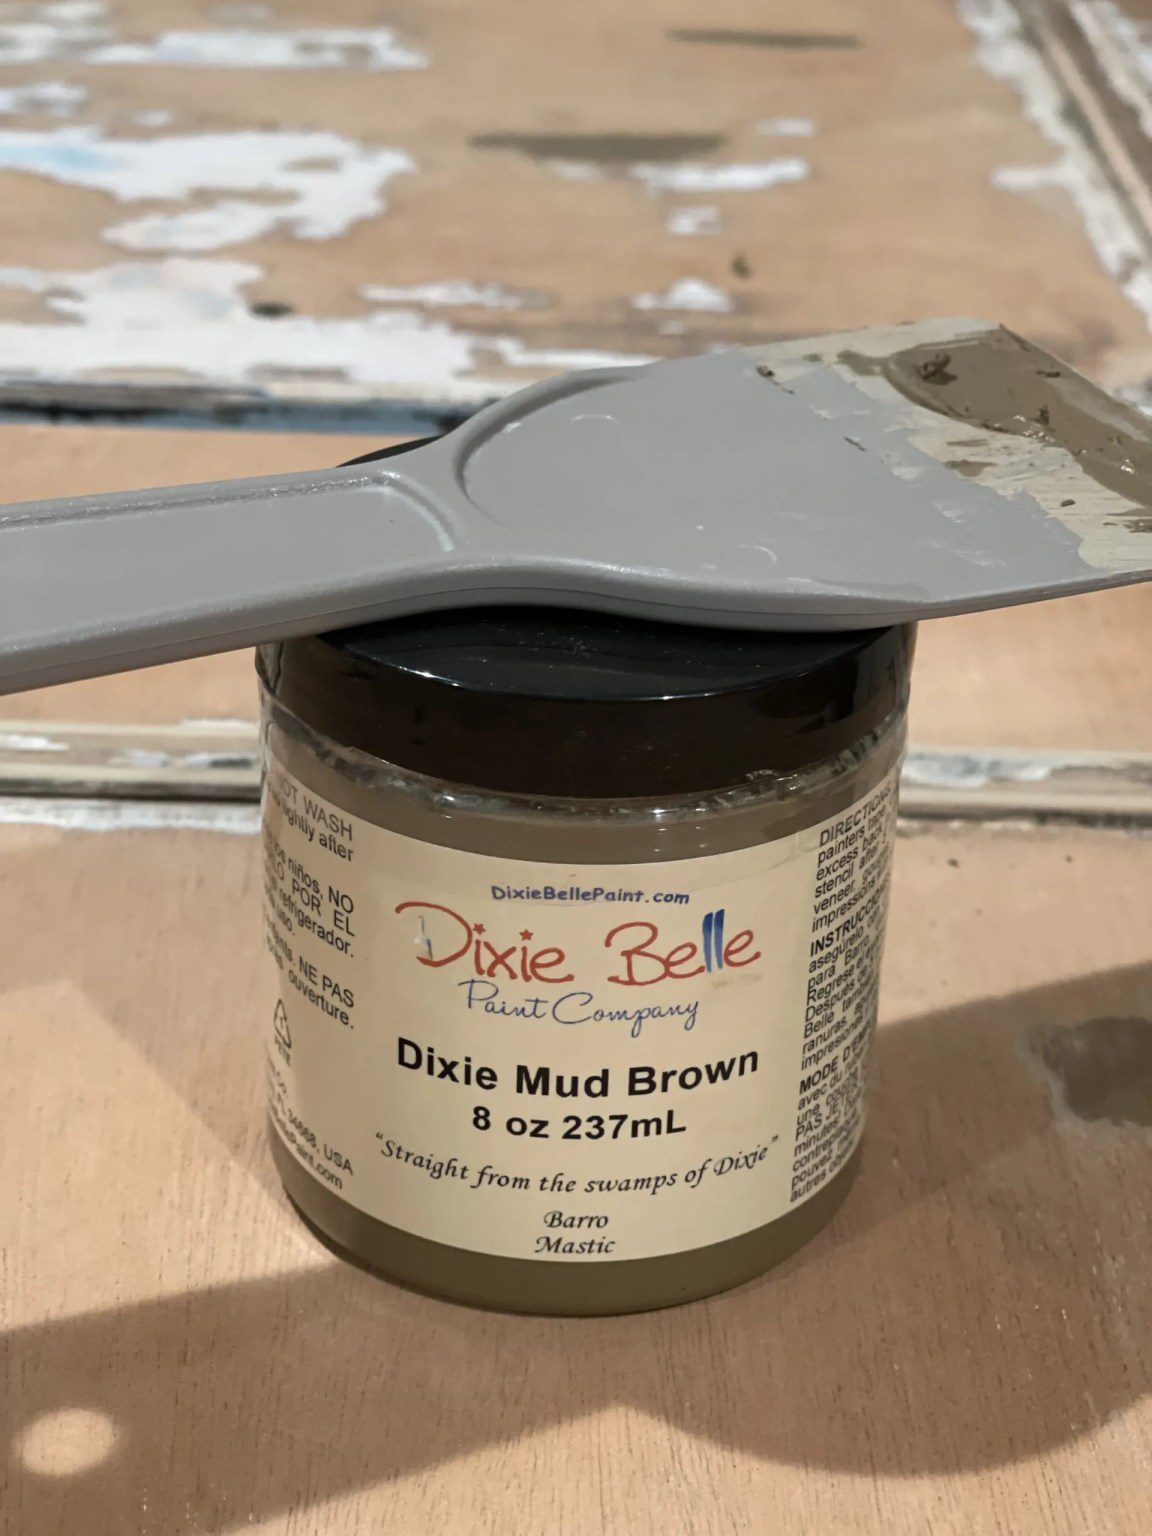
Cleaned and sanded. I had some spots that needed mud to even them out. So next I added some mud to the splintered and low spots.

Step 3:
Removing and cleaning up the hardware was the next step. I used white vinegar and dropped in the hardware, the handles were solid brass. Then scrubbing with baking soda, they cleaned up beautifully. The knobs were the same. The hinges were rusty and yucky, not brass, I used some gilding wax to brighten them up and pop.
Step 4:
Next I began painting. With the inside being so cruddy, I started with two coats of Dixie Belle Boss in white. This is a primer that prevents bleed through and odor. The inside was blue so after the Boss, I painted it with Dixie Belle Drop Cloth. This lighter color would definitely brighten the inside.

To read the rest of this helpful tutorial, hop on over to Saved from Salvage here!