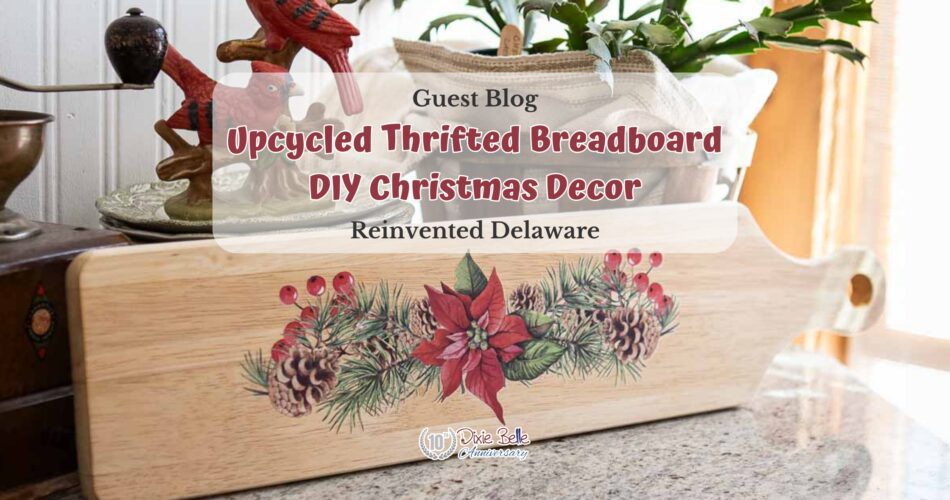
Looking to bring festive charm into your home with a unique twist? In today’s guest blog, Cynthia from Reinvented Delaware shares an easy and budget-friendly Christmas decor project! Using a thrifted wooden breadboard and a beautiful Dixie Belle holiday transfer, Cynthia walks us through transforming everyday finds into seasonal treasures. Get ready to add a touch of holiday magic to your home decor with this creative DIY idea!
(The following is an excerpt from Reinvented Delaware. Read the full article here.)
Creative Upcycle Idea for Christmas Decor
Upcycling items you find at the thrift store is a great way to decorate your home for Christmas. DIY projects can become a holiday tradition for you and your family. We’ve made many projects for our home decor over the years.
Even though my children are grown and gone, I continue to upcycle and repurpose our tired Christmas decor. I often head to our local thrift stores to find unique pieces to upcycle! The wood section at any Goodwill Thrift Store is usually stocked with items that people have gotten tired of or stopped using.
Like the wooden cutting board I found while out thrift shopping recently, the long and narrow shape caught my eye and I knew I could do something with it!
Supplies for This Vintage Breadboard Project
You will only need a few tools and supplies to give an old cutting board a makeover. You may already have some of the supplies at hand so there will be little additional cost for you!
The fun part is choosing your favorite transfer. I love the one I chose – it’s so festive and can be used for the winter season as well as for Christmas.
Here are the supplies I used:
- thrift store cutting board
- 150 grit sandpaper (option to use a power sander)
- cleaning cloth
- transfer (I used Caroling Cardinals)
Step One: Clean the Breadboard
To clean the used breadboard, simply scrub it with a solution of course salt and lemon juice with hot water. Allow the wooden breadboard to dry completely before applying the transfer.
You can use dish soap if you like but the salt and lemon juice solution will remove any leftover food particles. Do what you feel is best to clean the board from the previous owners!
Step Two: Sand the Wooden Board
Once you clean the board, you may like the farmhouse-style look of a used cutting board with all of its markings. If so, leave it as is!
Or you may want to create a new appearance on the cutting board. Give the old cutting board a good sanding with a power sander like an orbital sander using a 150-grit sanding disc.
This is the fastest way to smooth the board from any previous use. I like to use my orbital sander in my outdoor workshop because it stirs up a ton of dust!
You can also use sandpaper and sand it down by hand. Be sure to remove the sanding dust after the sanding process.
Whether you use a power sander or if you sand it by hand, be sure to sand the sides of the cutting board as well as the handle. Breadboards come in different shapes so yours may not have a handle.
Step Three: Apply the Transfer
Once the cutting board is clean and sanded to your liking, it’s time to apply the transfer. It’s fun to sift through transfers and find just the right one to fit your board.
The breadboard I found at the thrift store is the perfect size for a long baguette. The bread can be cut on the side with the grooves that will catch the bread crumbs.
The other side is perfectly flat and is just the right size for one of the transfers I had on hand!
Step Four: Seal the Breadboard
The next step isn’t completely necessary but it’s always a good idea to seal in the design. It’s so easy with spray wax! Shake the bottle, spray onto the surface, and wipe away the excess!
I repeated this several times to make sure I had good coverage. Allow the spray wax to dry completely!
Our board looks lovely sitting on the counter, don’t you think? It would also look pretty hanging on a hook on our kitchen wall!
The amazing thing about this transfer is that there are so many sections that can be used on several different projects! If you have a vendor booth where you sell your upcycled and repurposed home decor pieces, this transfer will take you far!
By the way, wouldn’t this breadboard make a great gift for a friend who loves to cook?
We hope you’re feeling inspired to try this festive breadboard makeover! With just a few simple steps, Cynthia’s project shows how easy it can be to create meaningful decor that feels one-of-a-kind. A big thanks to Cynthia for sharing her creativity with us! For another fun and easy Christmas decor idea, check out our blog, Create a Festive Water Slide Garland with Dixie Belle Paint.
