Hello, all! It’s Denise from Salvaged Inspirations here!
Materials:
- Terra Clean
- Shop Towel
- Premium Chip Brush
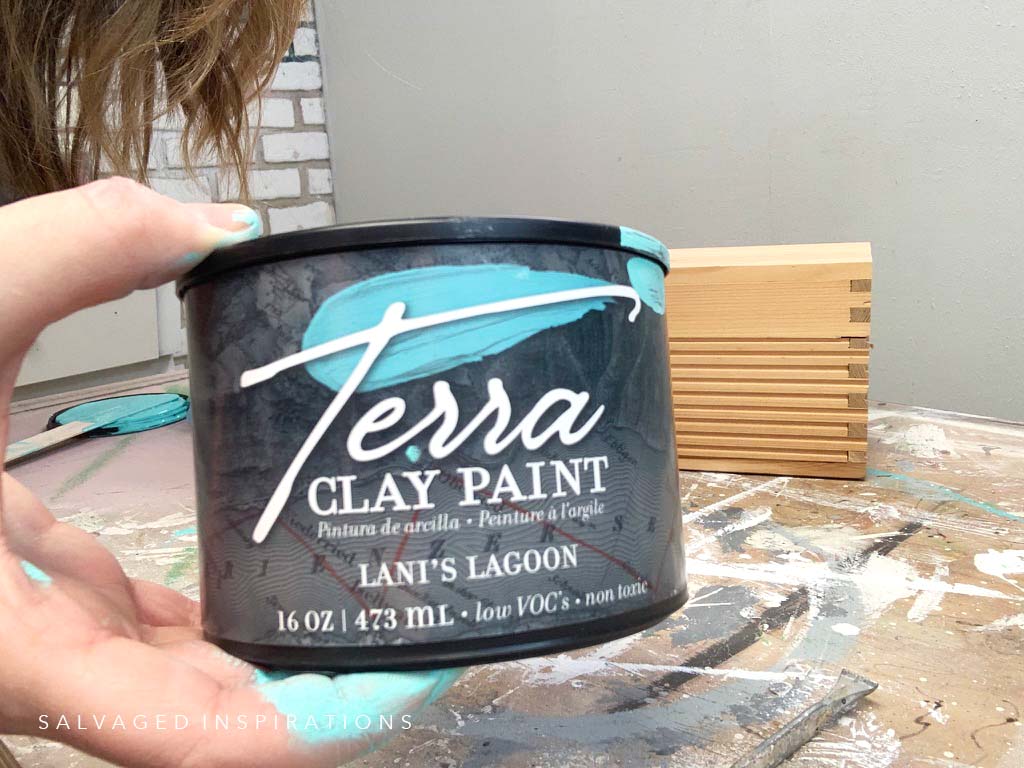
- Lani’s Lagoon Terra Clay Paint
- Malachite Terra Clay Paint
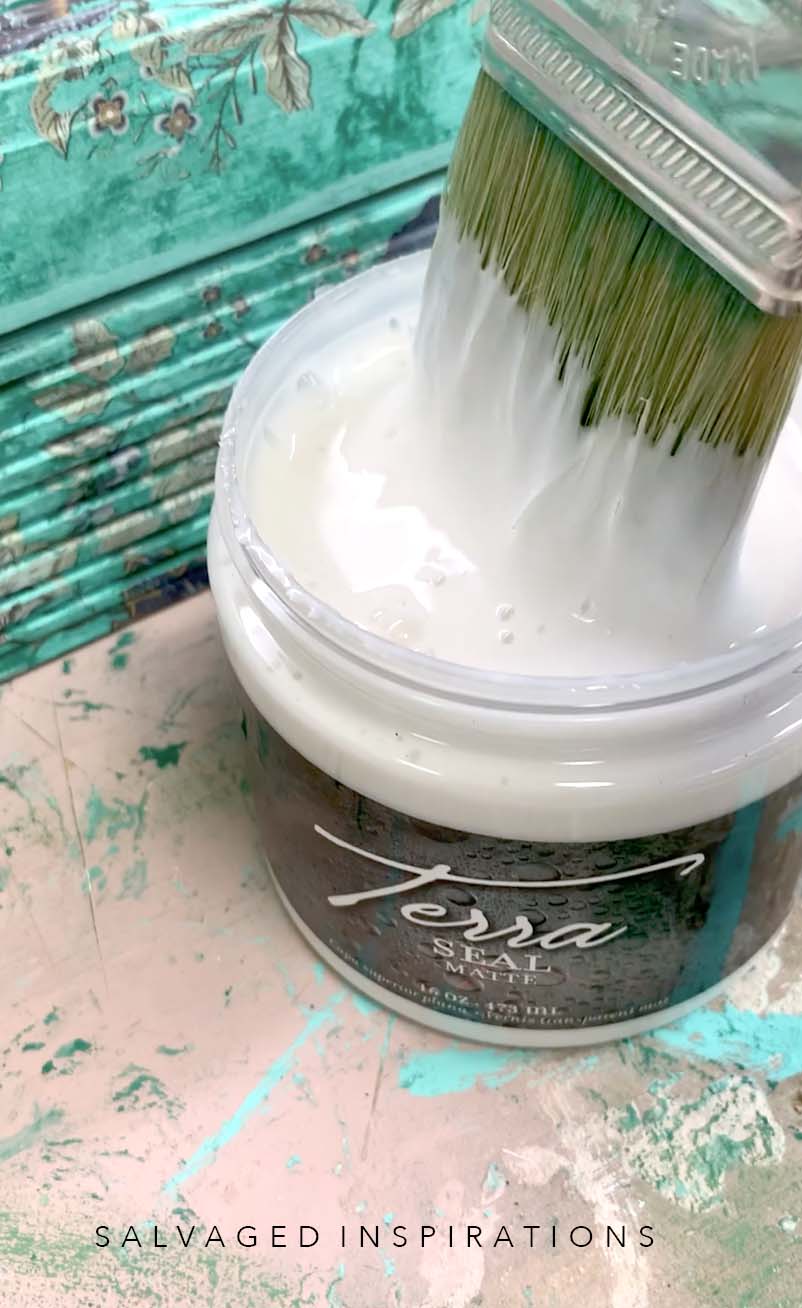
- Terra Seal Matte
- Water Mister Bottle
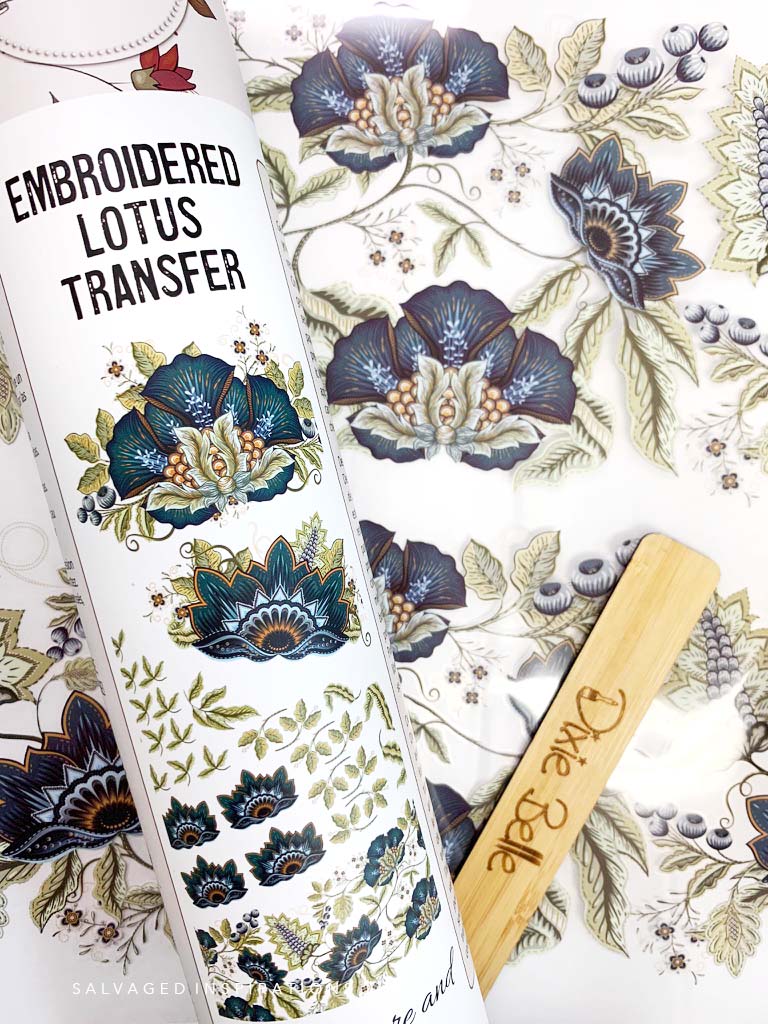
- Embroidered Lotus Transfer
How To:
Step 1:
The first step to any makeover is always to clean the piece properly before starting.
Step 2:
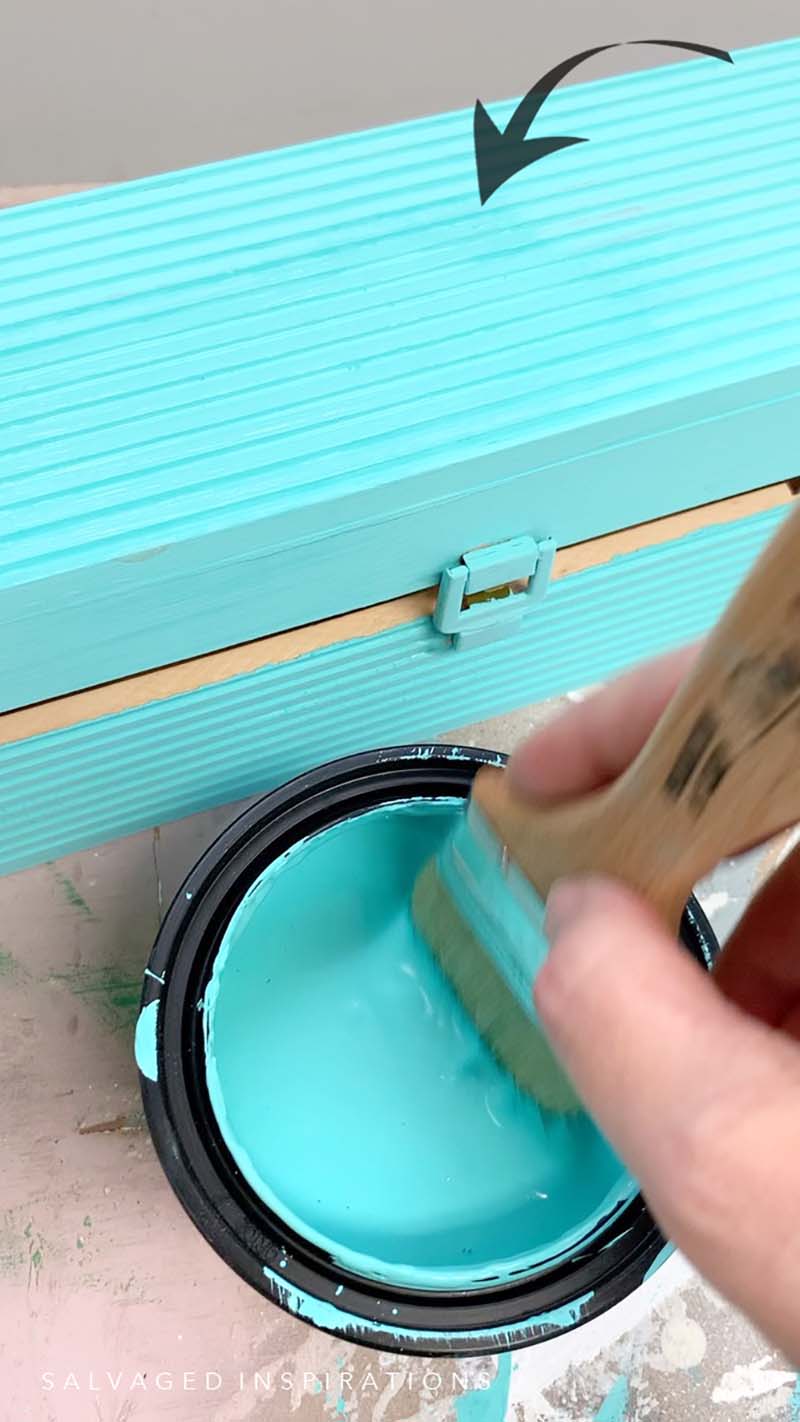
For the base, I used Lani’s Lagoon. I used my mister bottle to thin out the paint before applying the first coat with a Premium Chip Brush.
Step 3:
I waited 2 hours for the first coat to dry, then added my second coat.
Step 4:
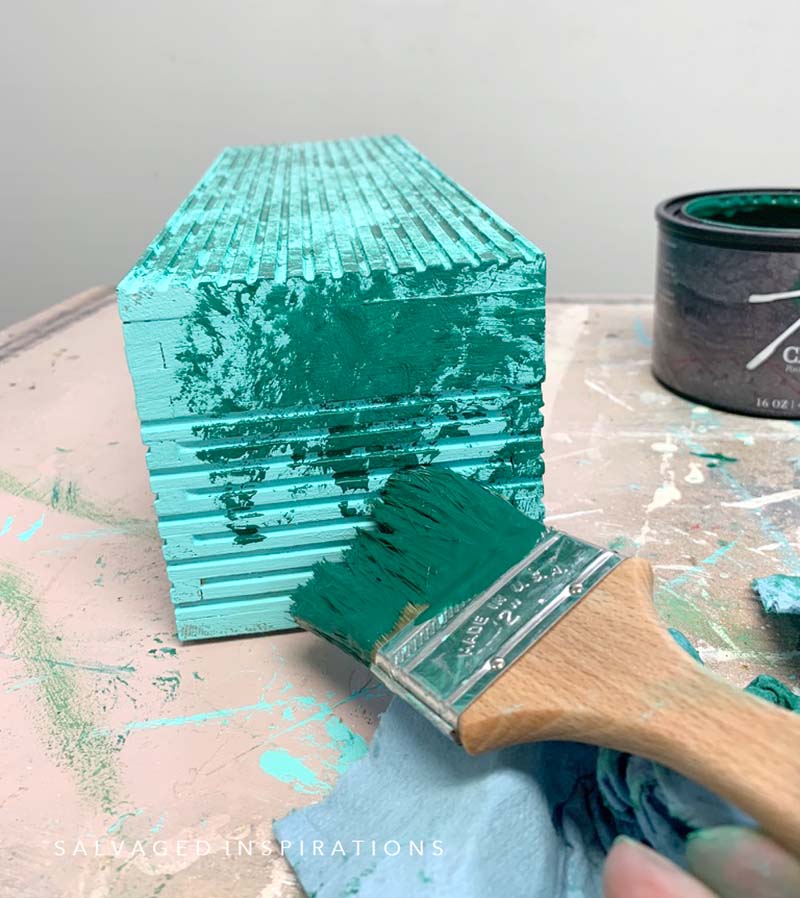
To create some optional texture, I added Malachite Terra Clay Paint by dabbing the green onto the piece using the same premium chip brush I used for the Lani’s Lagoon.
Step 5:
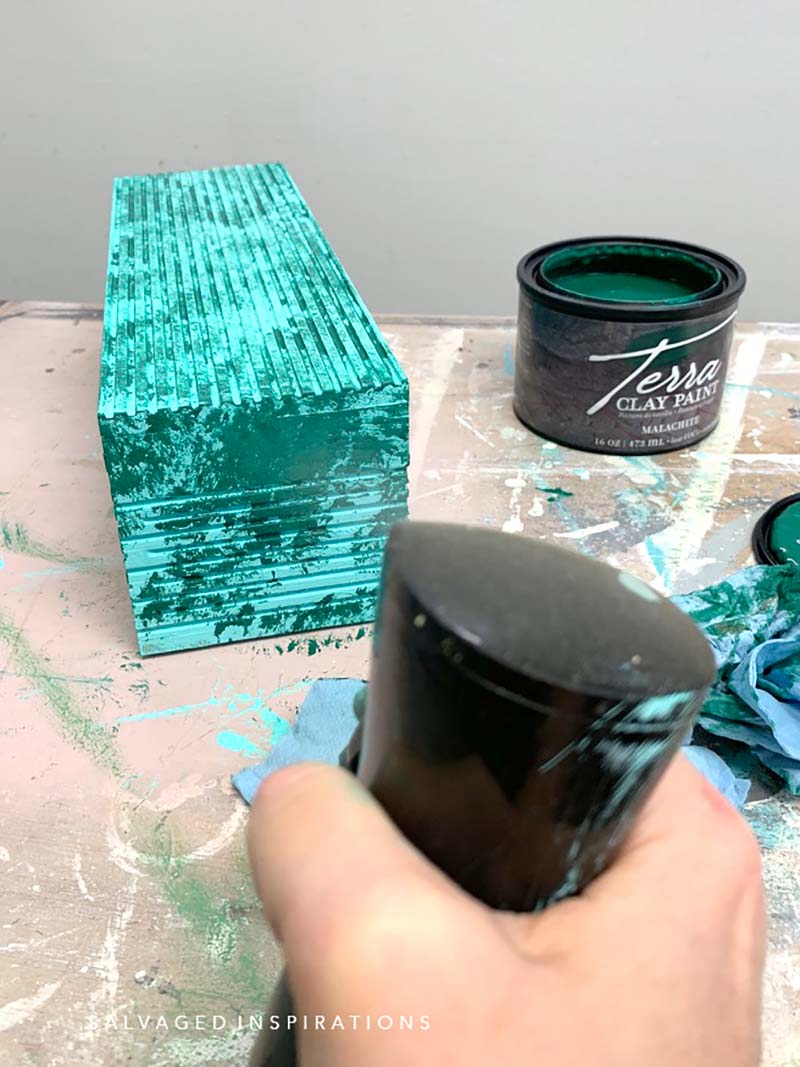
I used my mister bottle to spray the wet paint to reactivate so it’s easier to move the paint around. I then dabbed at it with a shop towel until I got my desired look.
Step 6:
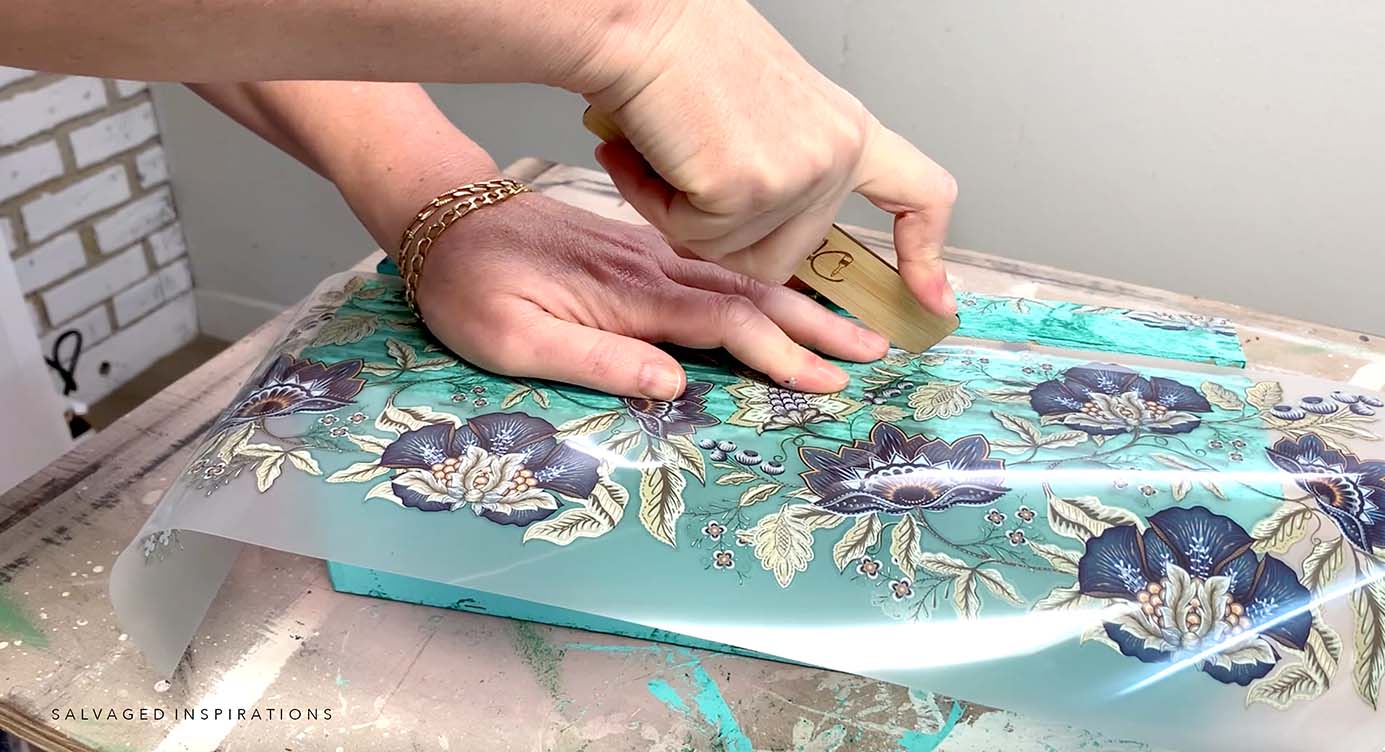
Next, I added a transfer to the grooved wood of the wine box using the Embroidered Lotus Transfer.
Step 7;
Lastly, I protected my piece with Terra Seal by applying 2 coats.