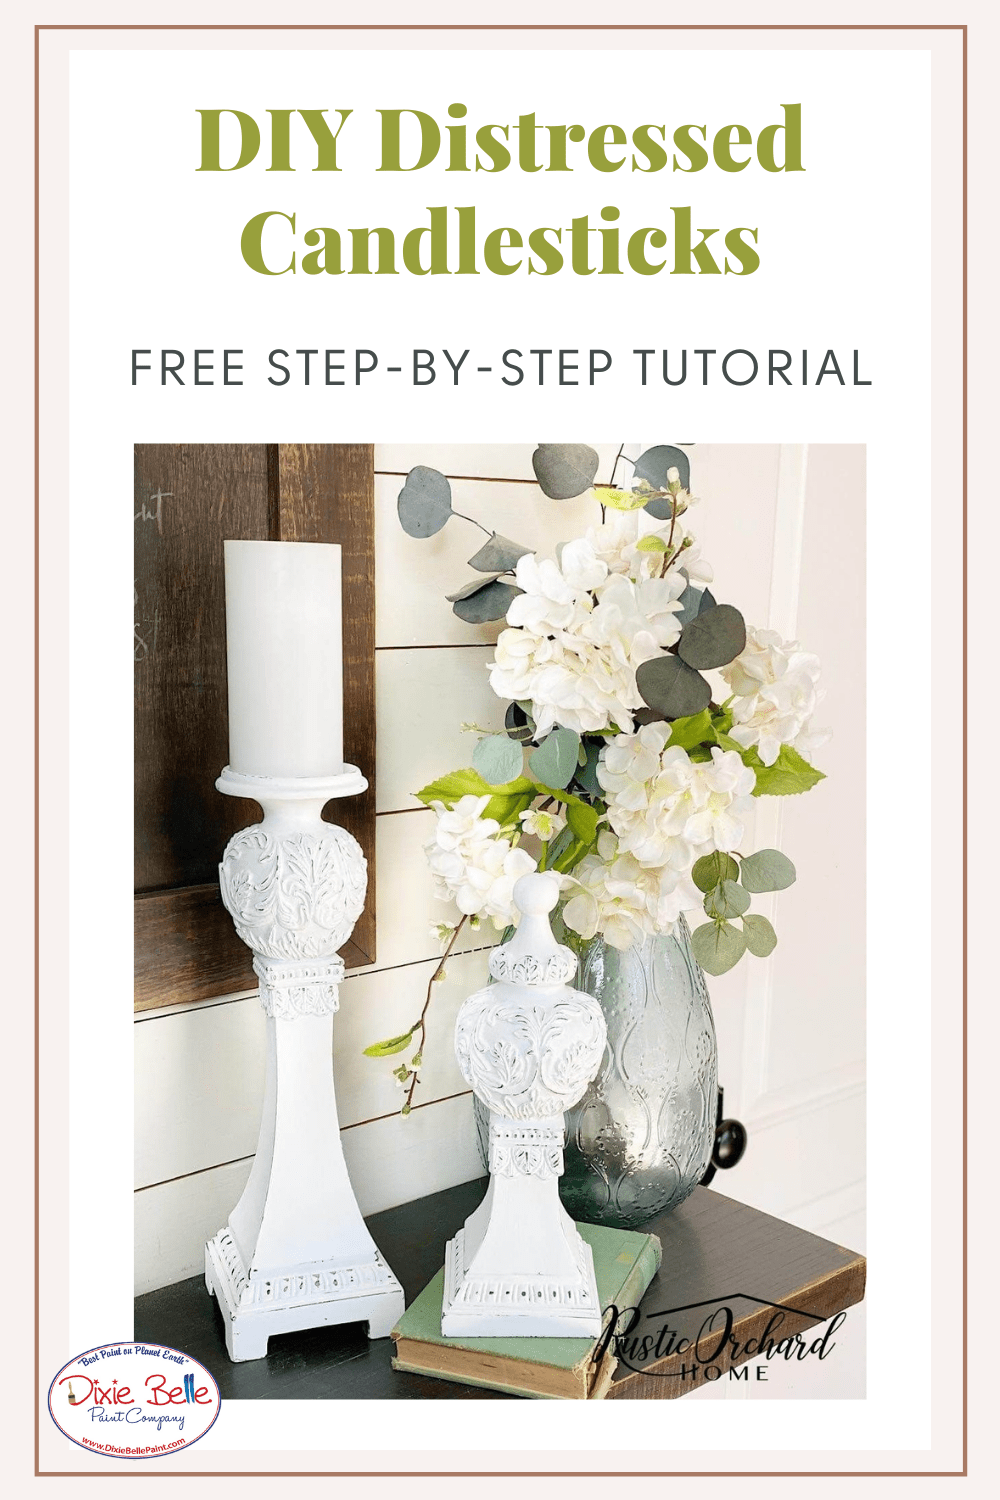
Hi everyone! It’s Tammy from Rustic Orchard Home! Refreshing home décor pieces you already have around your home is a great way to save money! Today, I have an Upcycled Wooden Candlesticks tutorial that is sure to get your creative juices flowing. You’ll see how a few coats of paint can really change the look of something that may have otherwise been thrown away or donated. Let’s get started!
Materials List:
- Wooden Candlesticks or other décor for upcycling
- White Lightning Cleaner
- Cotton Chalk Mineral Paint
- Satin Clear Coat
- Sand Paper or Sanding Sponge
How To:
Step 1:
First, begin by making sure the décor you will be upcycling is clean. If you paint on top of dirt, your paint will not stick! This can be done with a damp cloth or, if the items are extra dirty, you can use a product like Dixie Belle’s White Lightning Cleaner.
Once your décor is clean and dry, you can start painting.
Step 2:
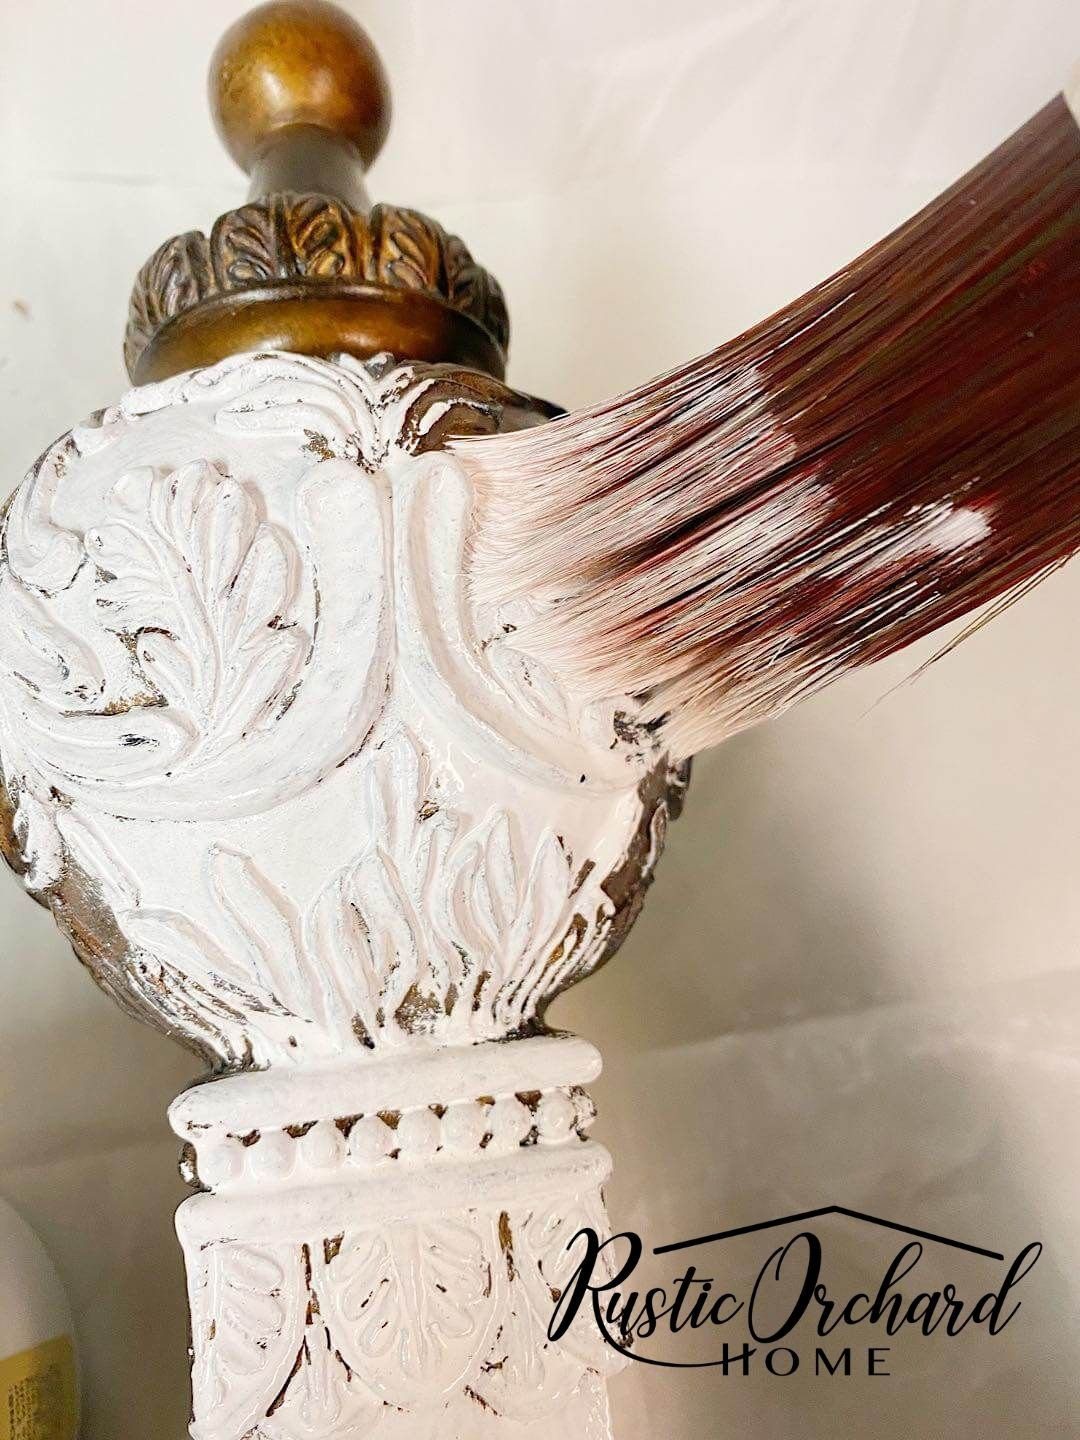
Next, I used Dixie Belle Chalk Mineral Paint in the color Cotton and an Oval Small sized paint brush, also from Dixie Belle. As I was painting, I made sure not to get paint in all of the nooks and crannies of the candlesticks. If you want a less distressed, or rustic look, simply do a better job at making sure the entire surface is covered with paint.
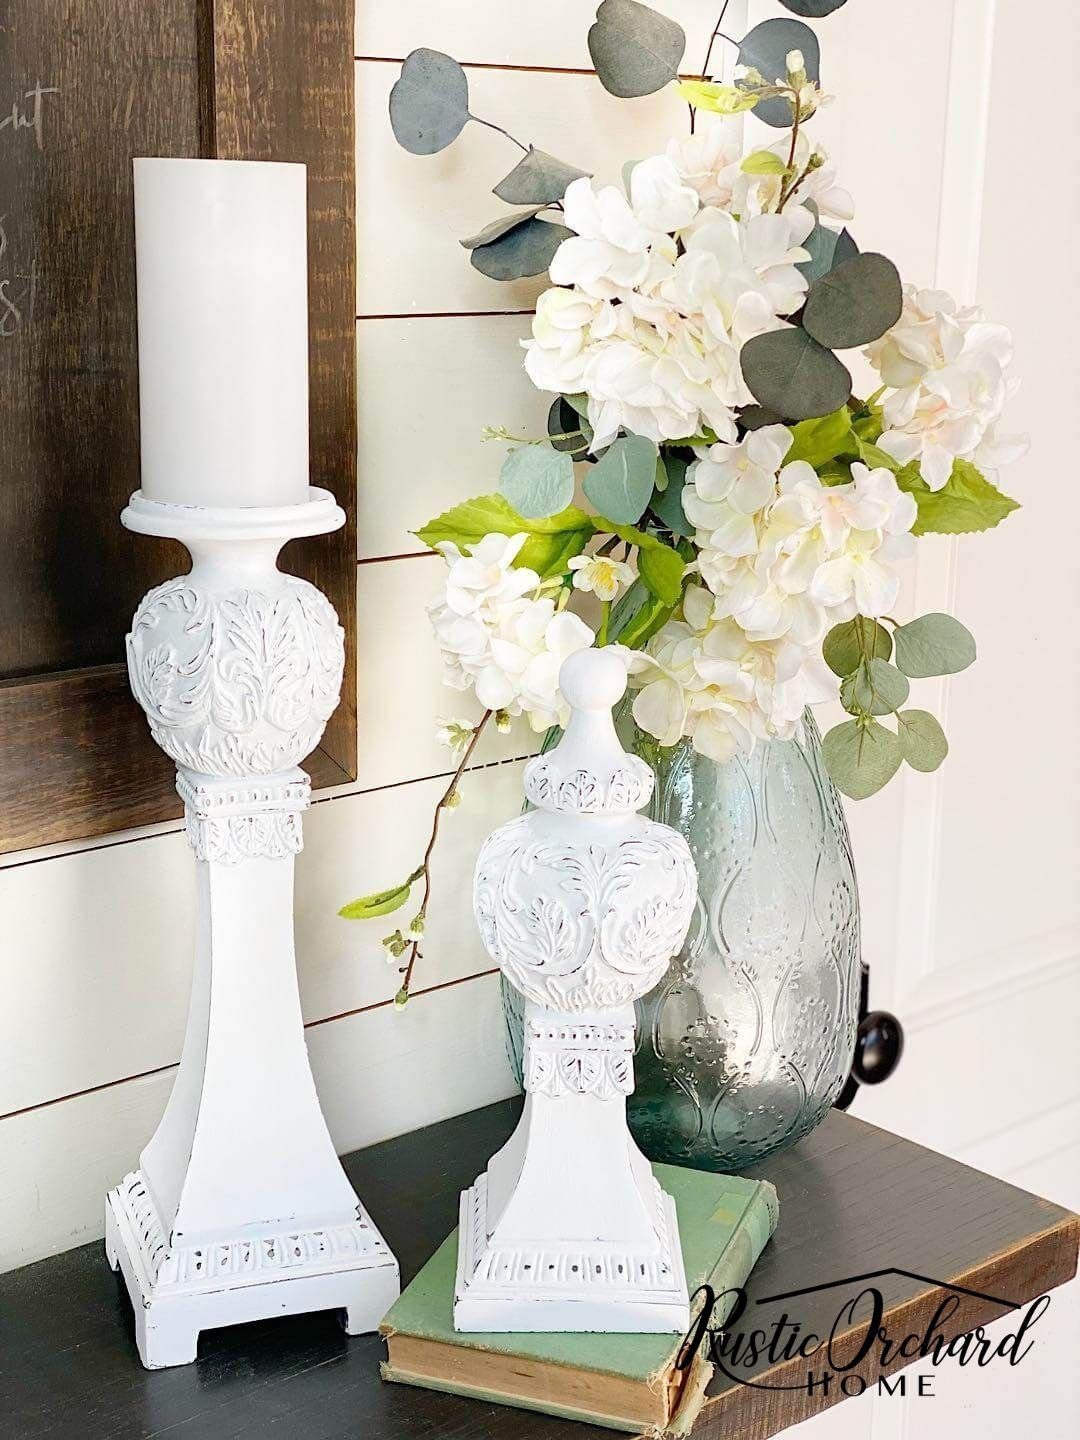
I ended up applying two coats of Cotton on both of my pieces of décor.
Step 3:
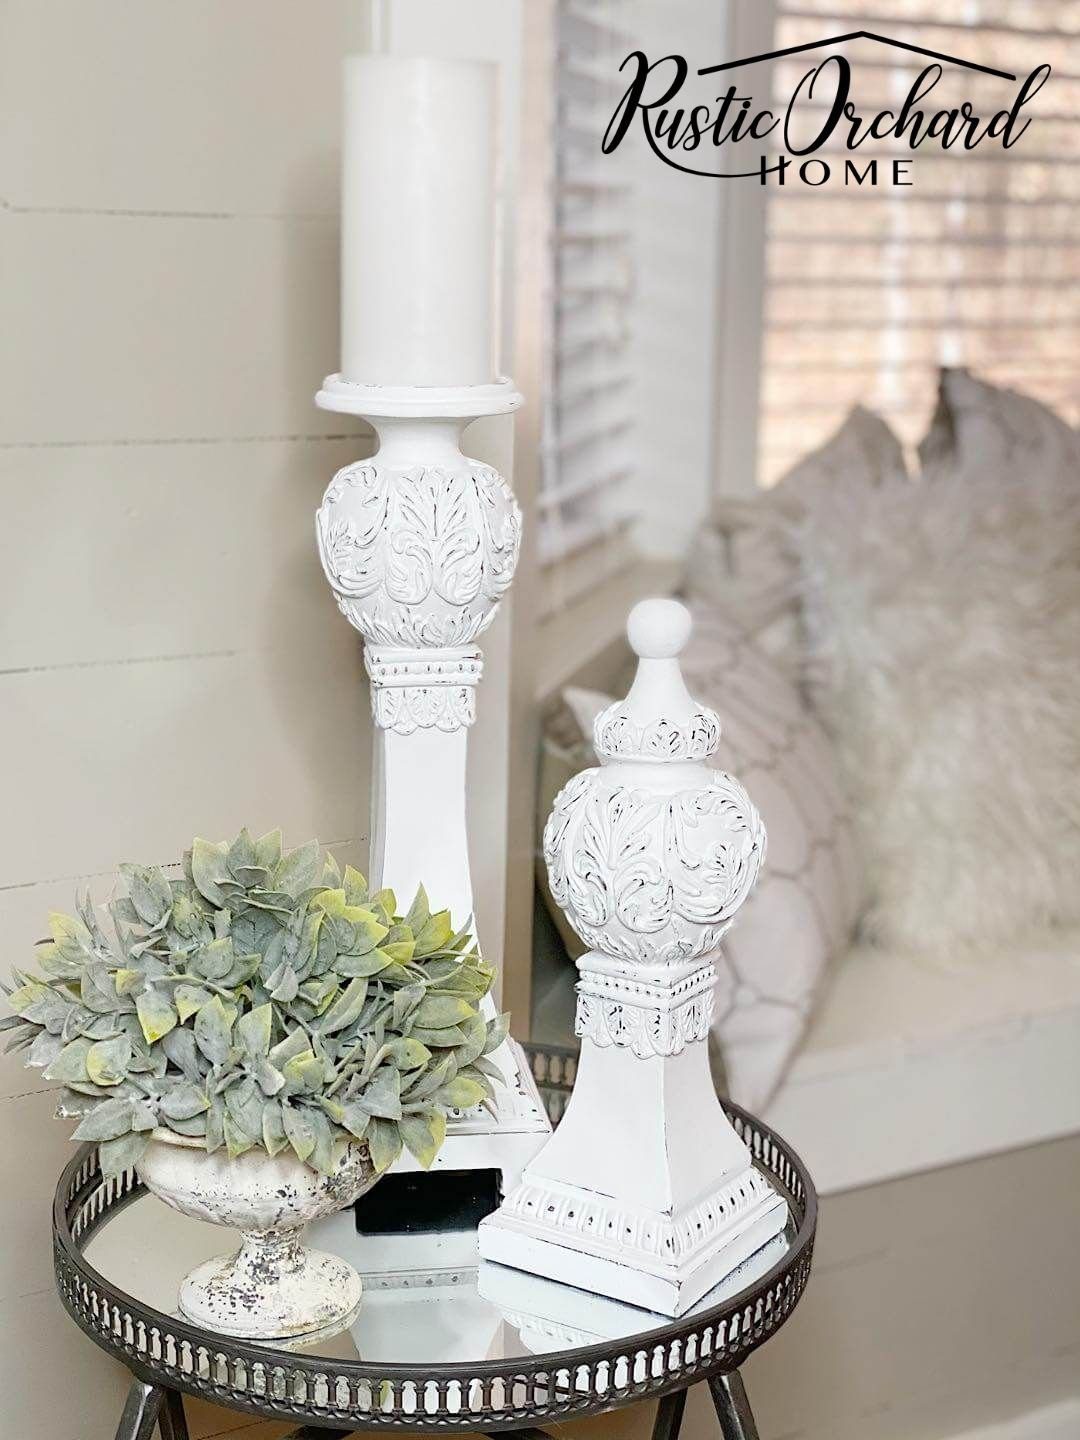
Once the paint is dry, it’s time to sand. Since these pieces were already brown, I lightly sanded down the high points to create a distressed look.
To read the rest of this charming tutorial, head on over to Rustic Orchard Home here!