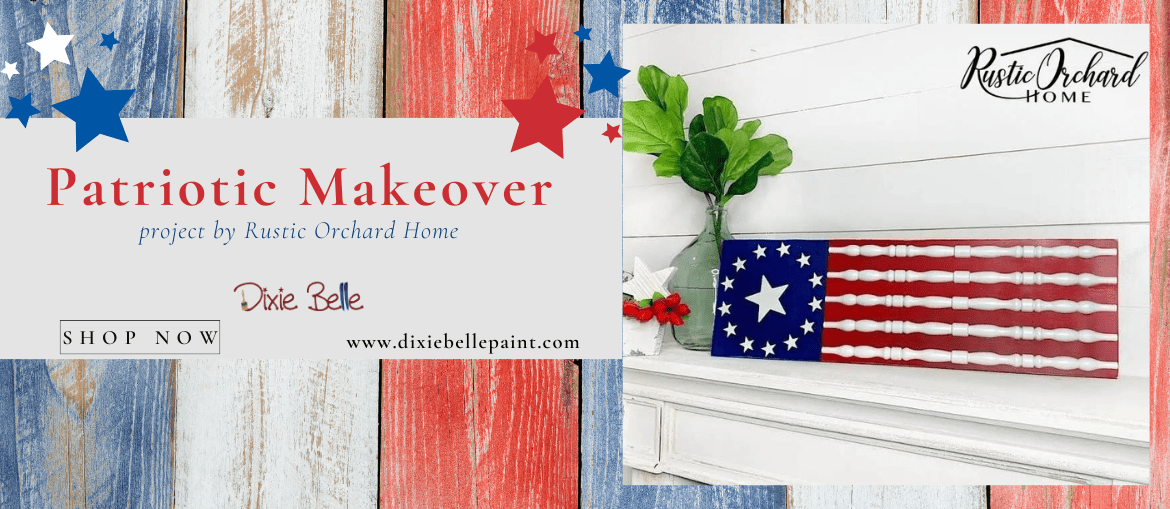
With the 4th of July around the corner, why not share a Patriotic Makeover just for you! Hey, everyone it’s Tammy from Rustic Orchard Home, I’m going to show you how I used some upcycled spindles to make a Patriotic Wood Flag that you can use in multiple ways. Let’s get started!
Material List:
-
DBP Barn Red Chalk Mineral Paint
-
DBP Bunker Hill Blue Chalk Mineral Paint
-
DBP Fluff Chalk Mineral Paint
-
DBP Satin Clear Coat
-
DBP Artist Brushes
Step 1: Paint!
This project started with some upcycled spindles that were cut in half long ways. You can find old spindles at thrift stores, flea markets, or garage sales. Along with the spindles, I used a precut set of stars. For the base of the flag, I used a 1×12 board that was cut down to 3 feet long. Feel free to make this project fit your space by changing up the size of the board, as needed. Now that we have all of the pieces gathered, it’s time to paint. I used the colors Barn Red, Bunker Hill Blue, and Fluff from Dixie Belle Chalk Mineral Paint.
Firstly, measure a space for the stars and tape it off accordingly. Secondly, paint the section where the spindles will go with the color Barn Red. Once the red portion is dry, remove the tape and add a new piece that will guide you as you paint the other portion of the board with the color Bunker Hill Blue.
Thirdly, you can paint the stars and spindles. I used a small brush and the color Fluff from Dixie Belle.
Step 2: Distressing and Placing
Once the blue paint is dry, remove the tape. Then, use a palm sander to distress the surface of the board to your liking. Lastly, I used a Medium Strength Multi-Purpose adhesive, but you can use whatever glue you like best. Once all of the pieces have been glued in place, add a layer of Clear Coat to preserve the finish. Let the clear coat dry completely before displaying.
And here it is! Perfect for your summer front porch.
To learn more about this Patriotic Makeover, head over to Rustic Orchard Home!

