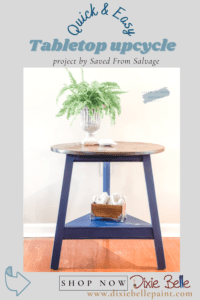
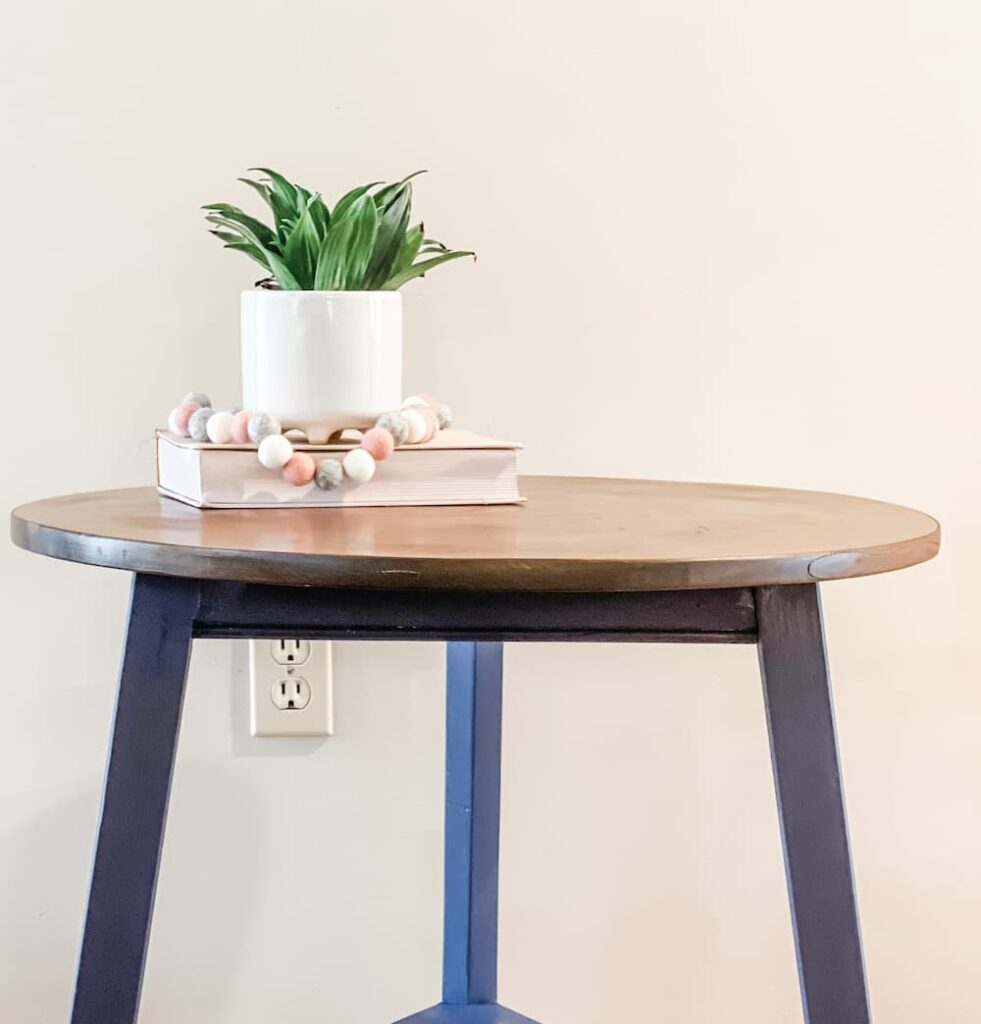
Hey everyone! It’s Regina from Saved From Salvage and today we are going to learn how to paint and stain an upcycled table! Silk All-in-One Mineral Paint and No Pain Gel Stain are the perfect products for a quick update that fits your decor.

Material List:
- DBP Silk Mineral Paint Nautical
- DBP White Lightning Cleaner
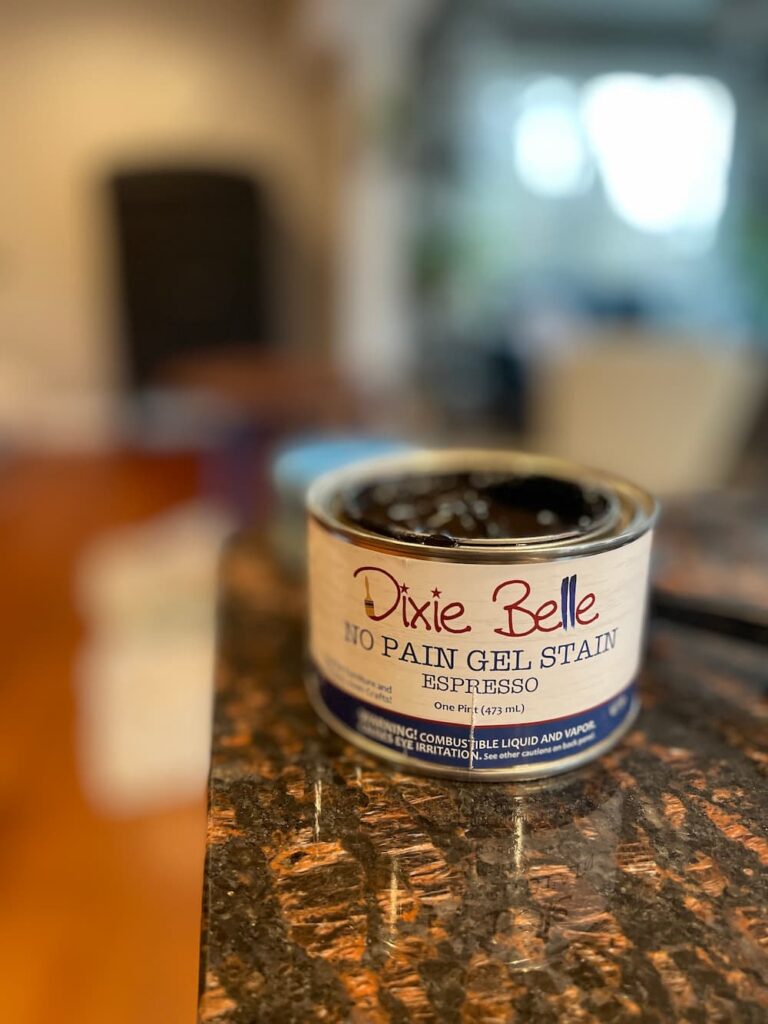
- DBP No Pain Gel Stain Espresso
- DBP Clear Coat Flat
- We recommend a DBP Synthetic Brush for projects like this.
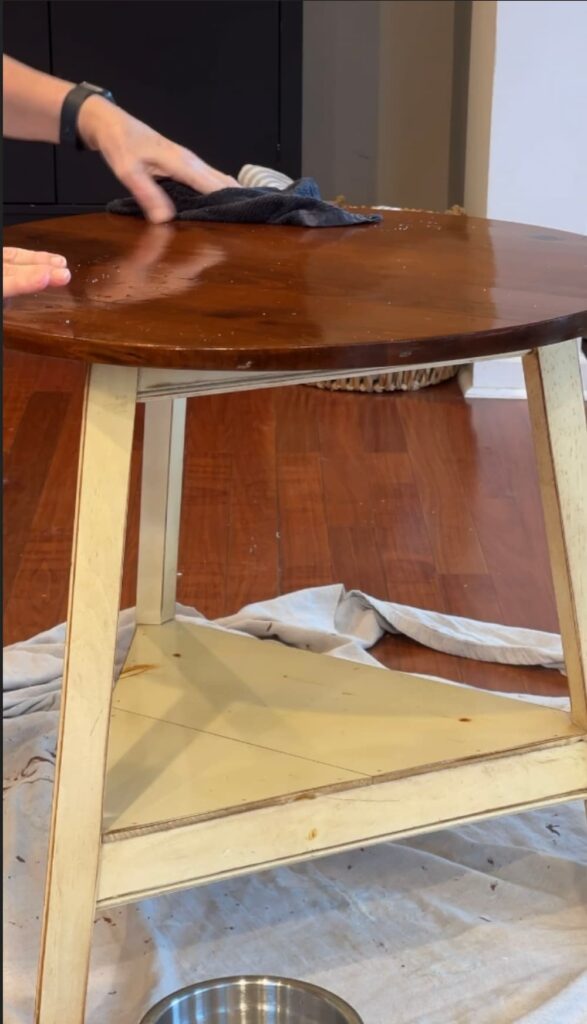
Step 1: Clean and prepare the piece for painting!
Firstly, dust your project and then clean well with Dixie Belle White Lightning Cleaner. You mix it with water and use, it either from a bowl or spray bottle. I couldn’t find my spray bottle, so bowl it was. The top had some rough spots, and some scratches that were pretty deep. I decided to sand it even though I still wanted a wood top.

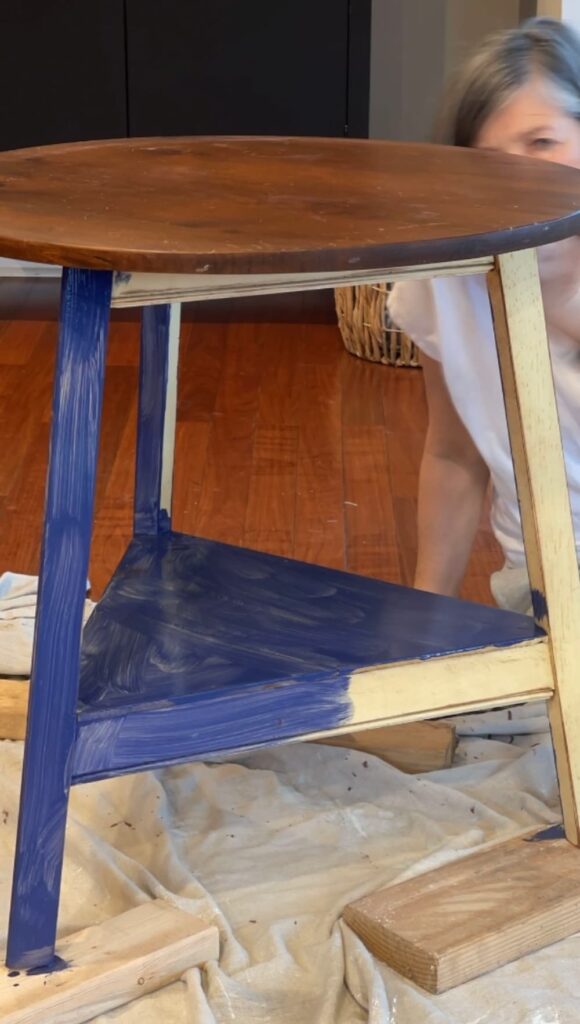
Step 2: Let’s paint!
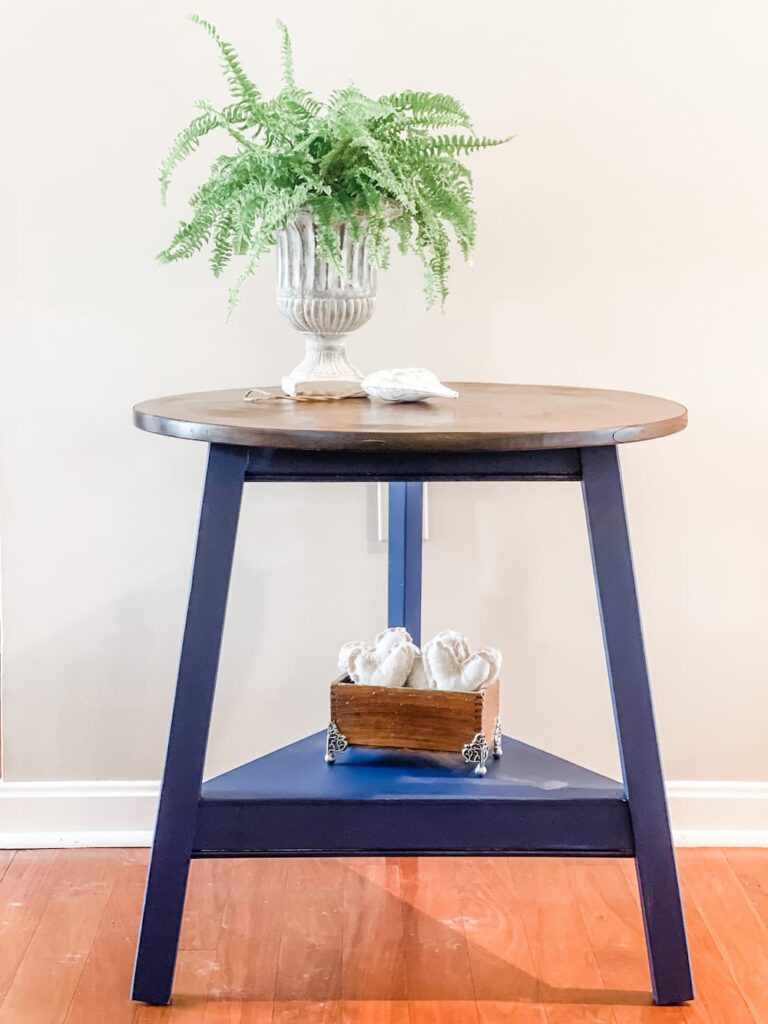
The next step is to paint your piece in the color of your choice, I decided to go with Nautical. After that dried, I added a second coat. I could see a few spots I wanted to touch up so I decided to do a light 3rd coat.

Step 3: Stain your piece to perfection!
Next, I stained the top with the No Pain Gel Stain in Espresso. This gel stain is a dream to work with. Regular stains are thin and messy. This went on really nicely with no dripping. After you rub on an even coat, wipe back the excess with a rag.
Step 4: Seal your project!
The last step is to add a coat of Clear Coat Flat to the legs and shelf. I wanted a little extra protection, especially for the shelf.

For more information on Paint and Stain an Upcycled Table, head over to Saved from Salvage!