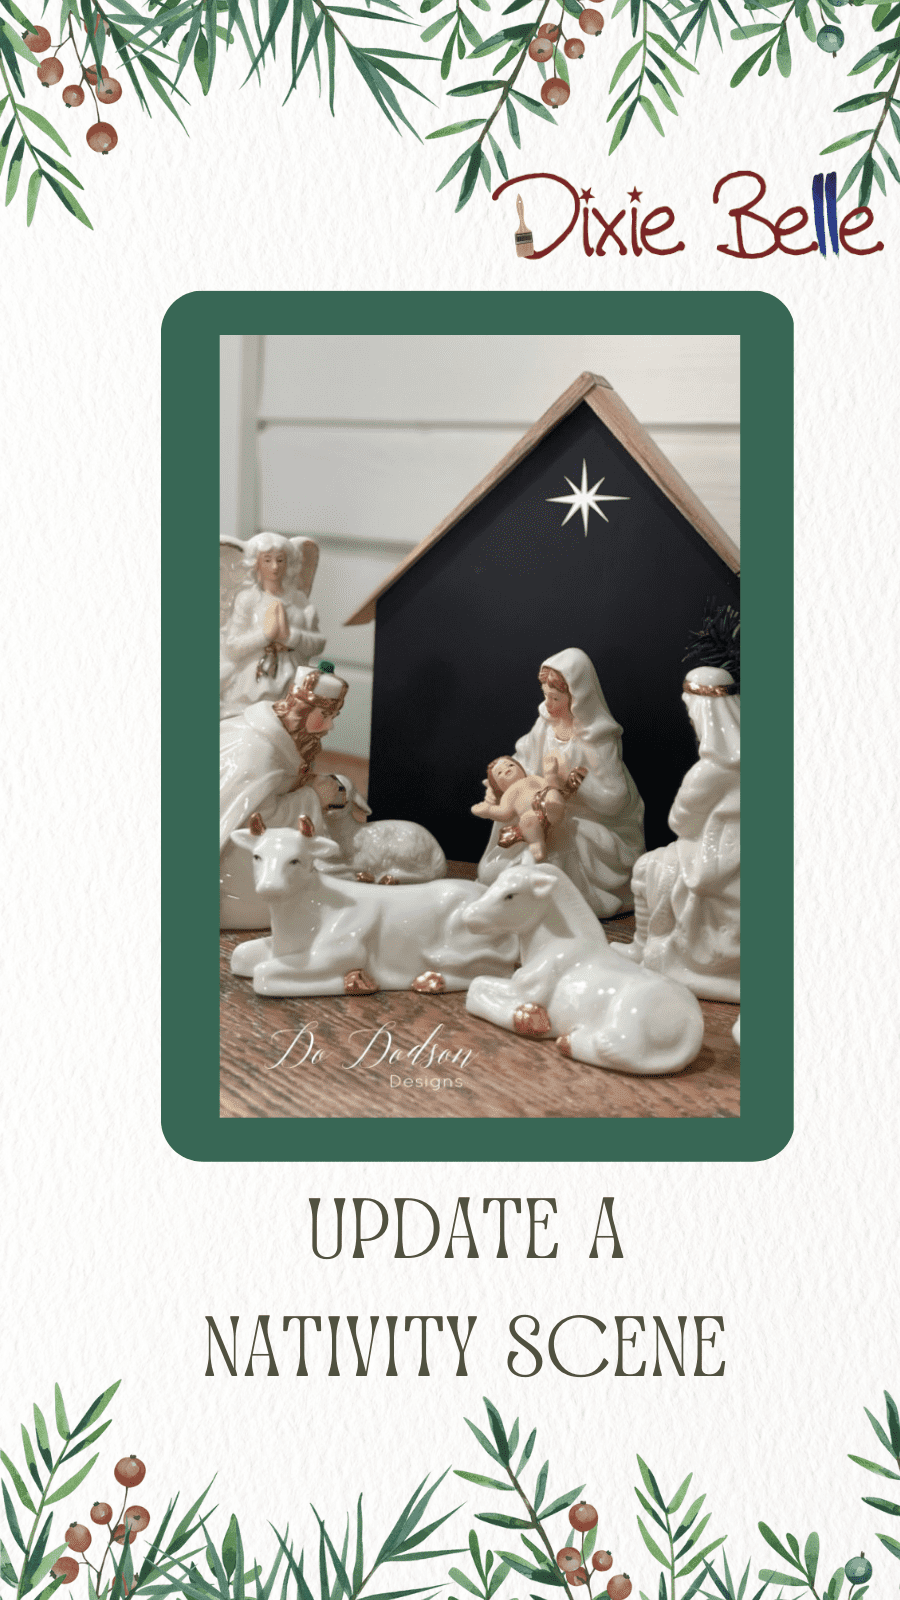
Hey everyone, It’s Do from Do Dodson Designs here! Today, I will show you how to Update a Nativity Scene Stable. This is a great project for beginners and can be completed in just a few hours. Let’s get to it!
Materials List:
- scrap wood pieces (2×8 or 1×8 board)
- wood shims (for the roof)
- pencil
- miter saw, or miter box with saw
- wood glue
- midnight sky (chalk mineral paint)
- paint brush or artist brushes
How To:
Step 1:
Firstly, I measured the nativity characters. The tallest one of the wise men in my nativity set was 7 inches, so I cut my wood to be 10 inches to the peak of the stable.
Step 2:
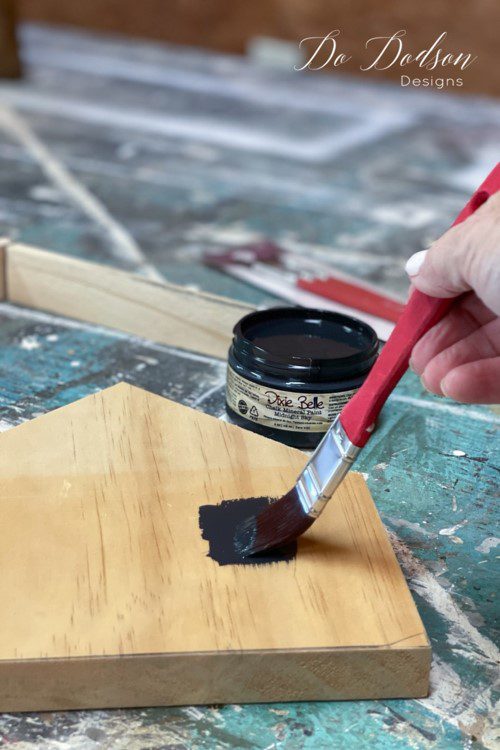
Secondly, mark with a pencil where you want to cut the wood. Cut a 45-degree angle to make the peak on top of the stable.
Step 3:
Thirdly, I used wood skims to make a wood roof, don’t forget to trim the tapered ends so that they match on both sides!
Step 4:
Next, I used Midnight Sky Chalk Mineral Paint and I applied two coats with a large artist brush, allowing each coat to dry thoroughly.
Step 5:
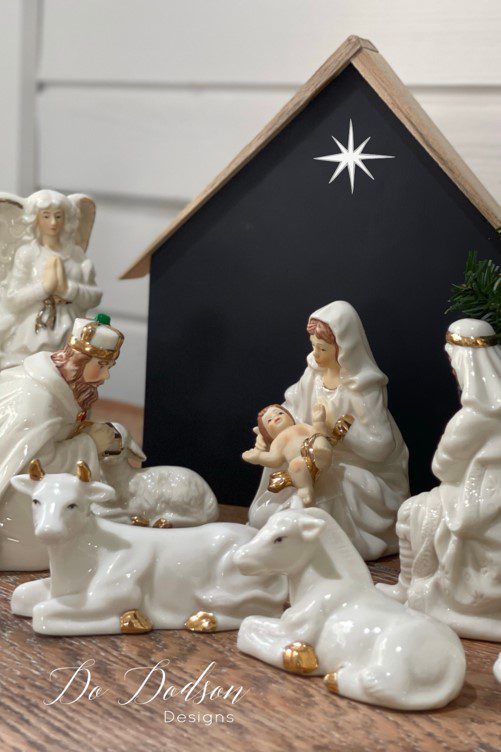
Finally, after painting the wood block, apply glue to the two wood shim on for the roof. Don’t forget to add the star of Bethlehem!
For more information on how to Update a Nativity Scene Stable, head to Do Dodson Designs here!