Hey everyone, it’s Becky Peerman from The Vixens Den here! Today, I will show you how to update this Vintage File Box. Let’s get started!
Materials List:
How To:
Step 1:
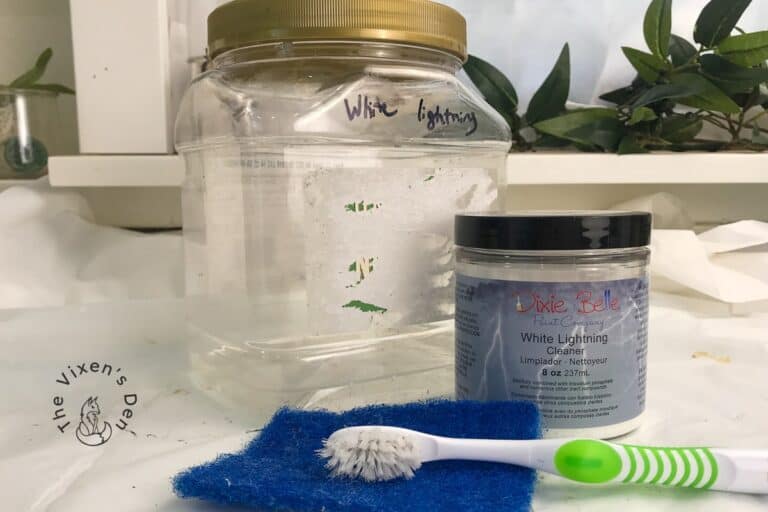
Firstly, I gave this vintage file box a good cleaning with White Lightning and then rinsed it thoroughly with warm water. White Lightning helps ensure that the paint will adhere to the file box, rather than dirt and grime.
Step 2:
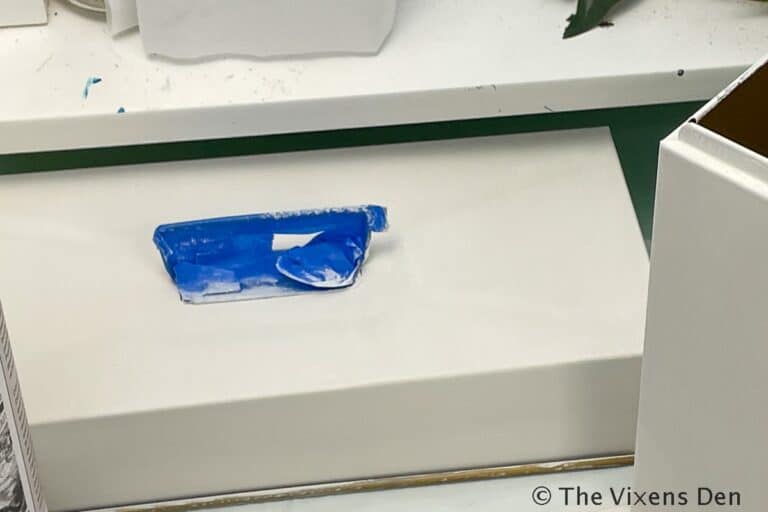
Secondly, after cleaning I am going to be priming this vintage file box with 2 coats of Slick Stick. I taped the area that I am not going to be painting, the brass handle, and the lock. Slick Stick is an adhesion primer that is applied to slippery surfaces such as plastic, ceramic, glass, or slick surfaces. After the second coat was applied, I let it dry overnight.
Step 3:
Thirdly, I chose Moonbeam Terra Clay Paint as the base color. Terra Clay Paint is a thick artisan clay paint that is intended for more textured looks, only one coat was needed to achieve full coverage, then I let it dry overnight.
Step 4:
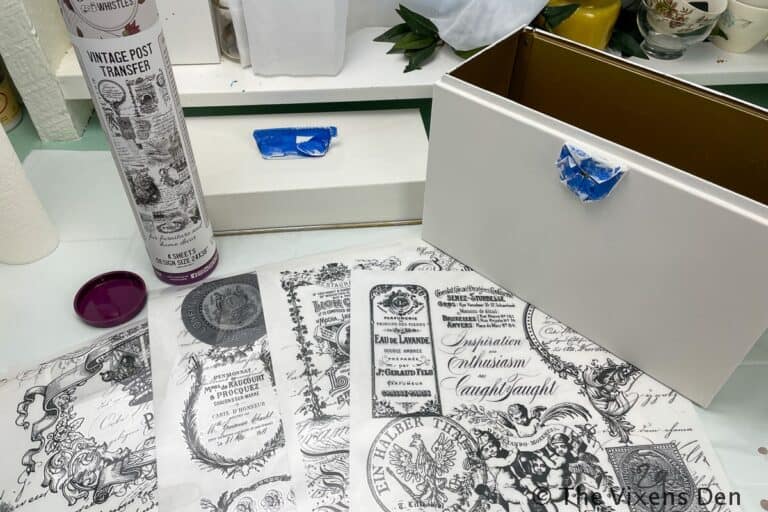
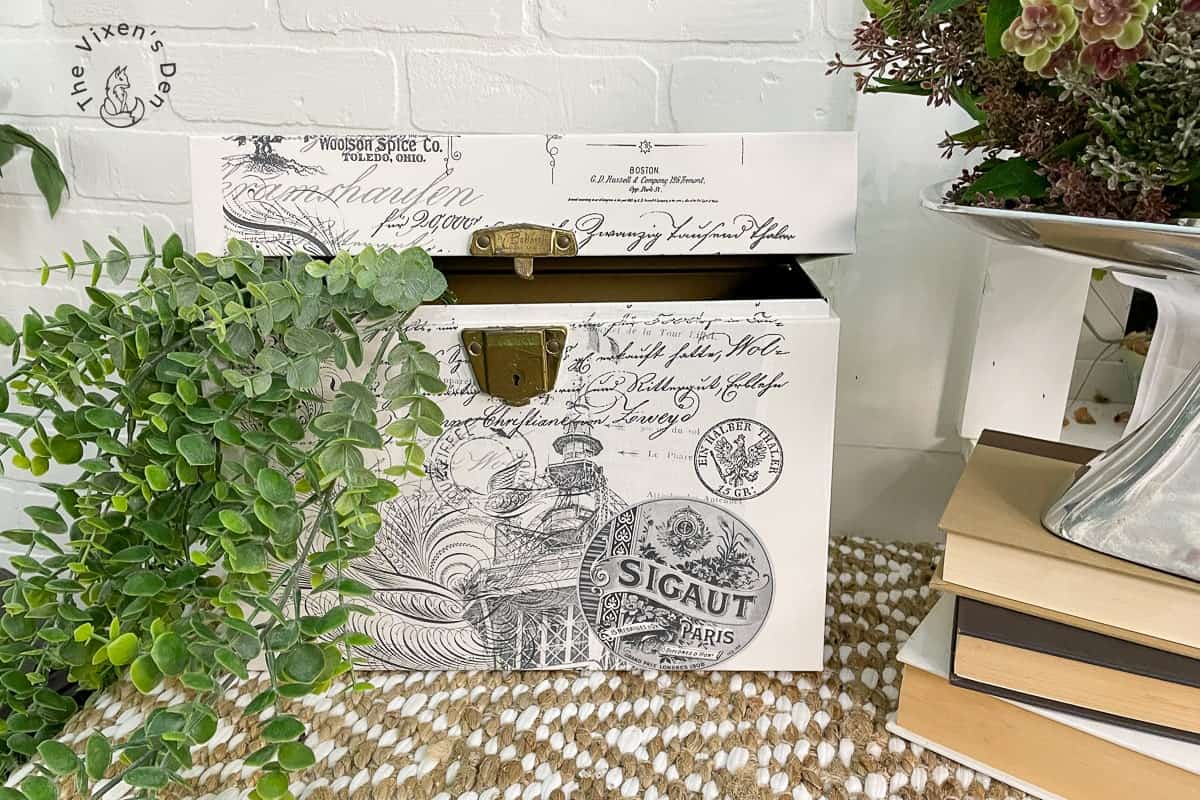
Next, the Vintage Post Transfer was perfect for this vintage file box. As I was applying the transfer to the top, I found it helpful to burnish the transfer from one side to the next, this helps prevent wrinkles and minimizes tearing.
Step 5:
Finally, once the Vintage Post Transfer was complete, I applied Terra Seal in a thin coat and let it cure for 21-30 days!
For more information on how to Update a Vintage File Box, head over to The Vixens Den here!