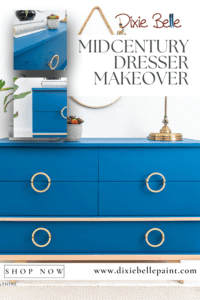
Hey everyone it’s Denise from Salved Inspirations. Come check out this Midcentury Dresser Makeover, I’m sharing my thoughts on using the brush-on-roll-off method on furniture

Material List:
-
DBP White Lightning Cleaner
-
DBP Flat Large 2″ Paint Brush
-
DBP Au Naturel VooDoo Gel Stain
-
DBP Cape Current Silk All-In-One-Mineral Paint
Step 1: Clean and prep!
I picked this dresser up at a restore, the laminate top had some wear and tear and there were some chips and gouges that needed repairing. Otherwise, it was in great shape. This dresser got a good cleaning on the inside and out using this White Lightening Cleaner mixed with some water in a spray bottle. Before filling any hardware holes, dings, and gouges, I went ahead and added one coat of this Slick Stick. Once the dresser was clean and dry, I filled the hardware holes using Epoxy.

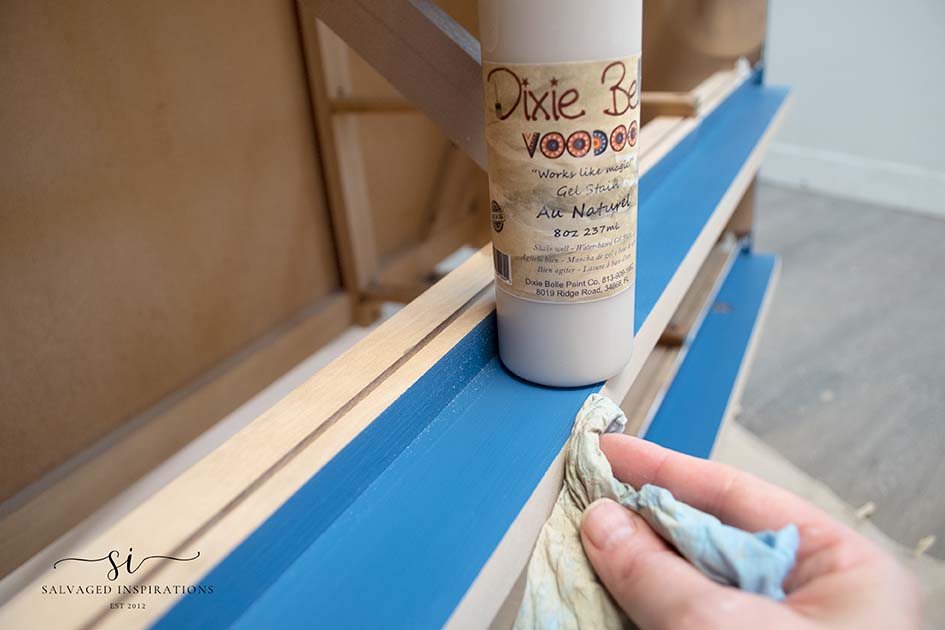
Step 2: Sand and Stain!
While I had my sander out, I sanded the old finish off the feet and base of the dresser. To keep the raw wood look, I stained the feet and the two wood runners using the Dixie Belle Au Naturel VooDoo Gel Stain. It kept the wood looking all-natural.

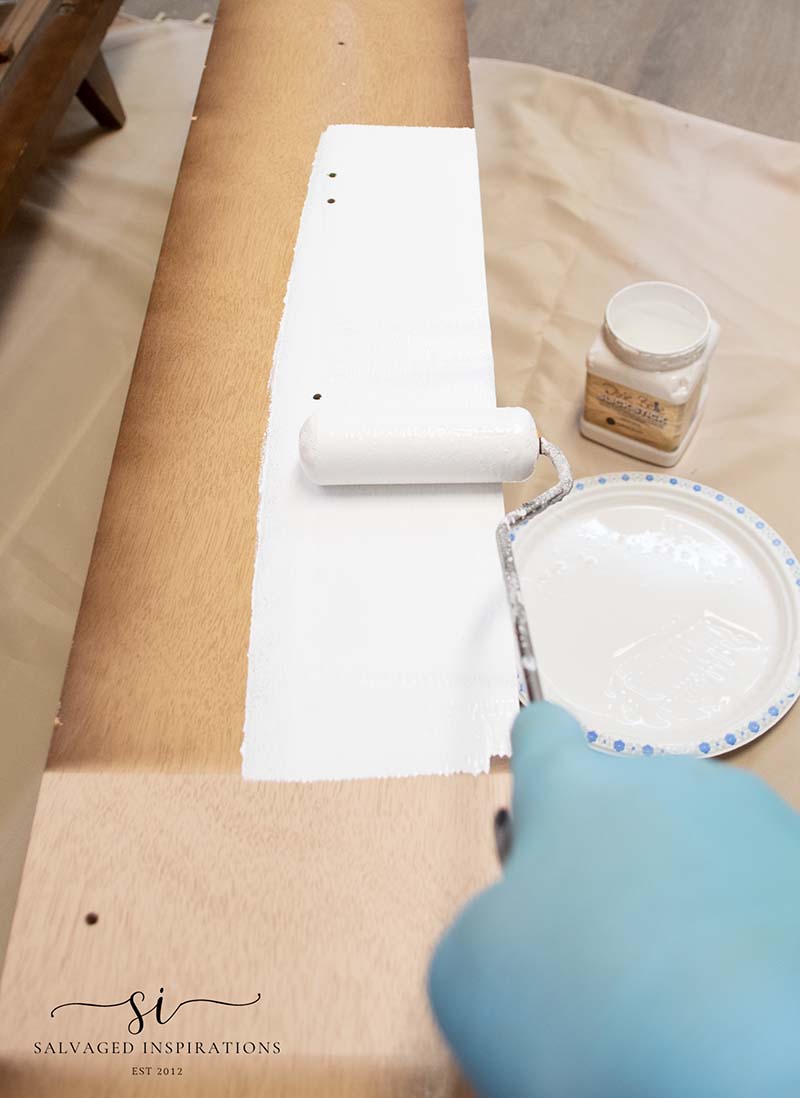
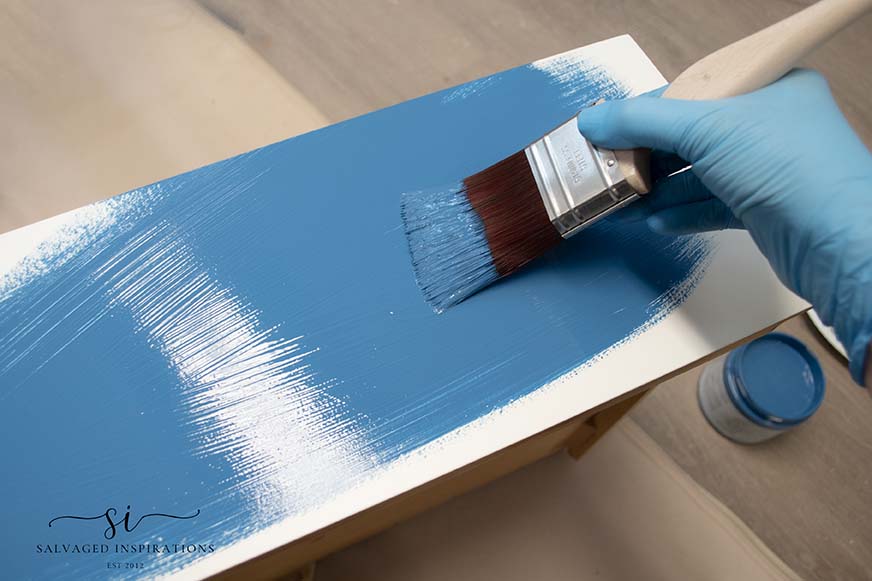
Step 3: Paint!
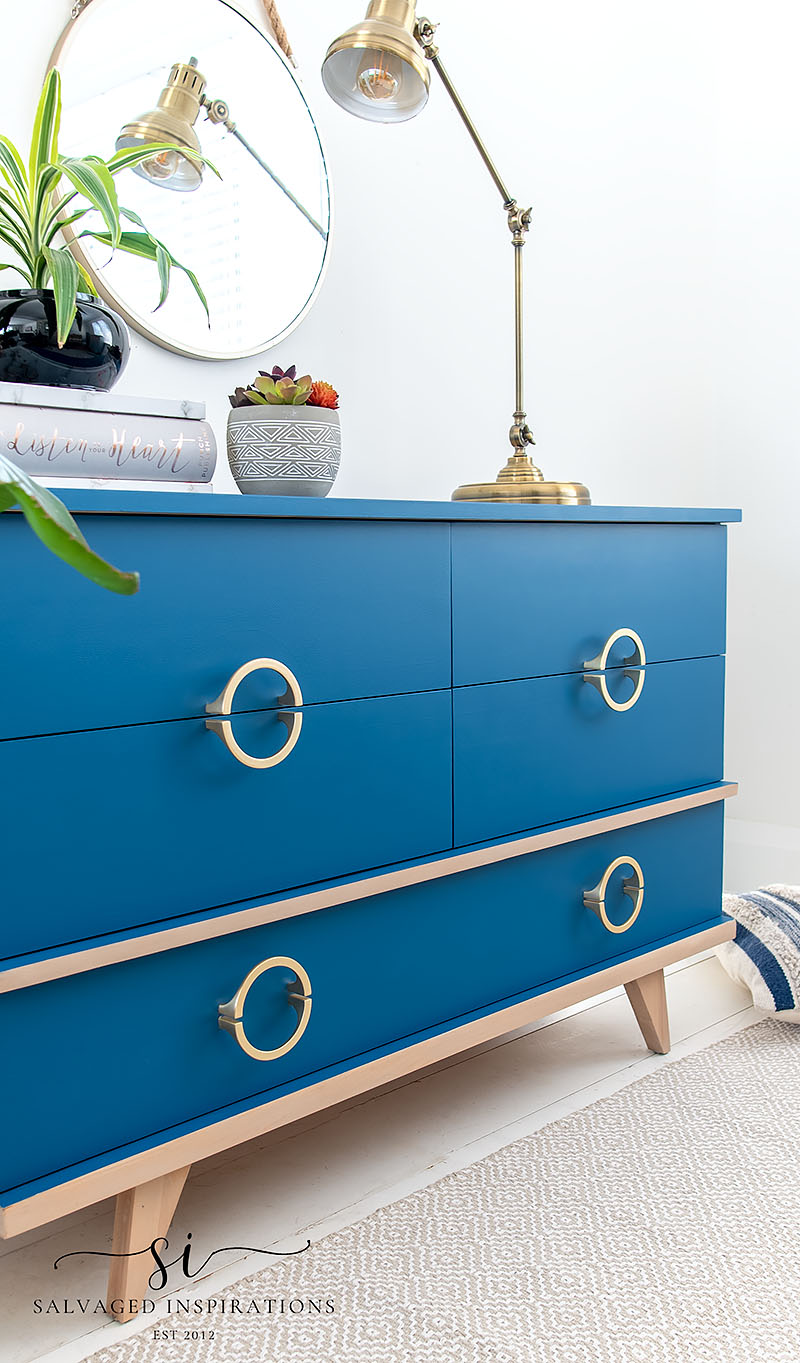
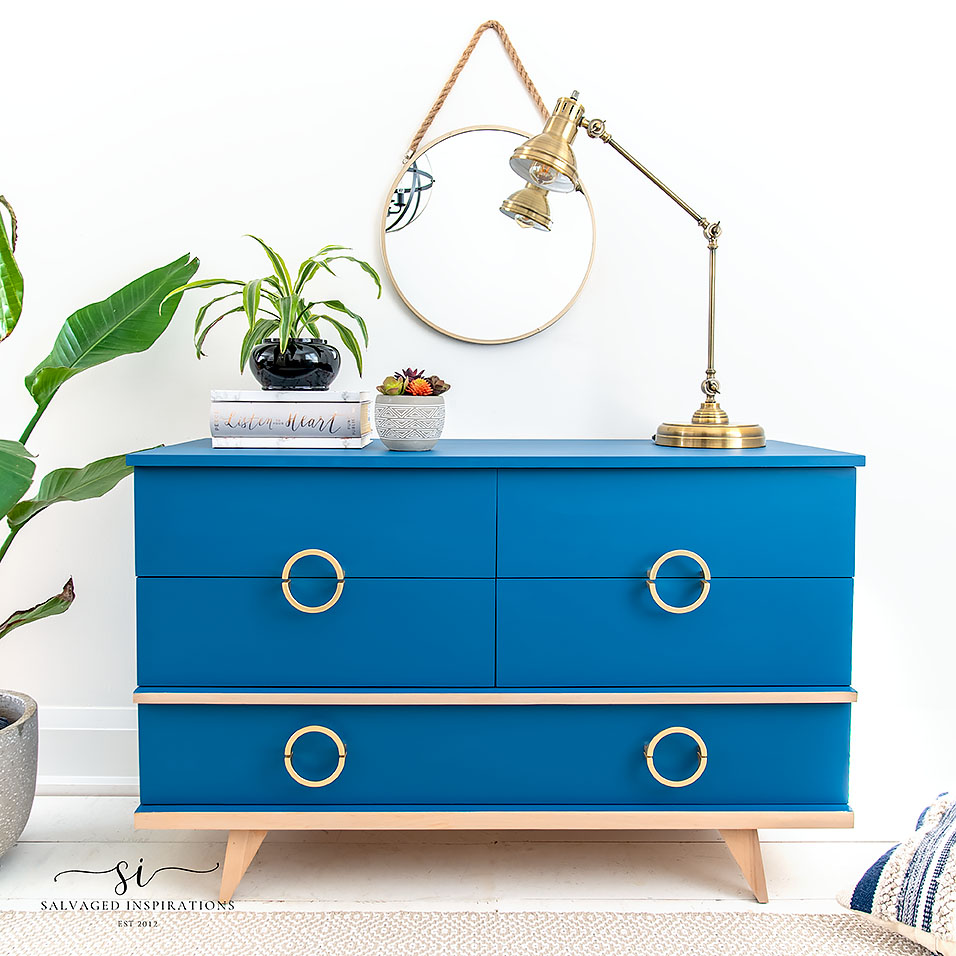
Now for the fun part! I chose to paint this MCM Dresser in this vibrant blue – Dixie Belle Cape Current. I used my 2.5″ flat synthetic brush to apply a generous amount of paint making sure to get all the areas of the drawer covered. Then using my roller, I rolled OVER the brushed-on paint to eliminate any brush strokes. Most of it leveled out after it dried. I also made sure to sand in between each coat as well. I also used the roller to paint the edges. Two coats were required for full coverage on this dresser.

To finish the modern look, I installed new hardware.

To learn more about this Midcentury Dresser Makeover head on over to Salvaged Inspirations.