
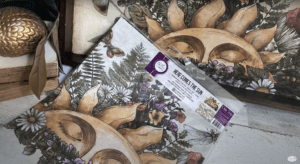
Crafting enthusiasts are always on the lookout for innovative and inspiring materials to take their projects to new heights. If you’re someone who enjoys creating unique and personalized crafts, look no further than Dixie Belle Decoupage Paper. This versatile and high-quality crafting material opens up a world of possibilities for creating stunning decoupage projects. In this blog post, we will walk you through the step-by-step process of Mastering the Dixie Belle Method using the Dixie Belle Decoupage Paper to elevate your craft projects.
Step 1:
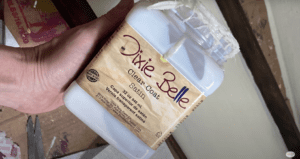
Firstly, prepare the Surface Before you begin working with Dixie Belle Decoupage Paper, it’s important to prepare the surface properly. Apply a thin layer of Dixie Belle Clear Coat Satin to the area where you will be placing the decoupage paper. The Clear Coat Satin acts as a sealant and adhesive, ensuring that the paper adheres well and provides a smooth finish.
Step 2:
Secondly, to make the decoupage paper more pliable and easier to work with, lightly mist the back of the paper with water using a Mister Bottle. Be sure to use a light mist and avoid soaking the paper. Allowing the paper to absorb the water for a minute or two will make it more flexible and easier to position.
Step 3:
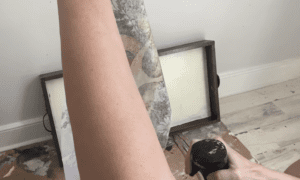
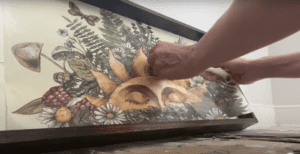
Thirdly, Smooth Out Wrinkles Using a wadded ball of plastic wrap, gently smooth out any wrinkles on the decoupage paper. Start from the top and work your way down, lifting the paper as you go to help smooth out any creases or bubbles. The plastic wrap helps to prevent the paper from tearing and creates a smooth surface.
Step 4:
Fourthly, allow the Paper to Dry Once you have positioned the decoupage paper and smoothed out any wrinkles, allow it to fully dry. This step is crucial to ensure a secure and long-lasting bond. Be patient and wait for the paper to dry completely before moving on to the next step.
Step 5:
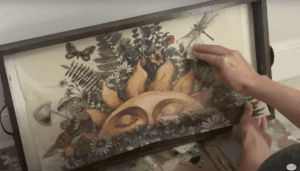
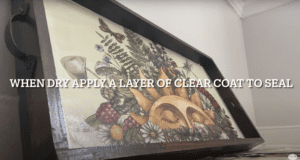
Lastly, apply a Topcoat To protect and enhance the decoupage paper, finish your project with a topcoat. Dixie Belle offers a variety of topcoat options to choose from, allowing you to customize the final look of your craft project. Select a Dixie Belle topcoat that suits your desired finish, whether it’s matte, satin, or glossy. Apply the topcoat according to the instructions provided by Dixie Belle, ensuring complete coverage over the decoupage paper.
Dixie Belle Decoupage Paper opens up a world of creativity and adds a touch of elegance to your craft projects. By following these simple steps of Mastering the Dixie Belle Method– applying a clear coat, making the paper pliable, smoothing out wrinkles, allowing it to dry, and finishing with a topcoat – you can achieve professional-looking results. So, go ahead and let your imagination soar as you create beautiful decoupage crafts with Dixie Belle Decoupage Paper!


This one is definitely getting saved for later!
We’ll be here!