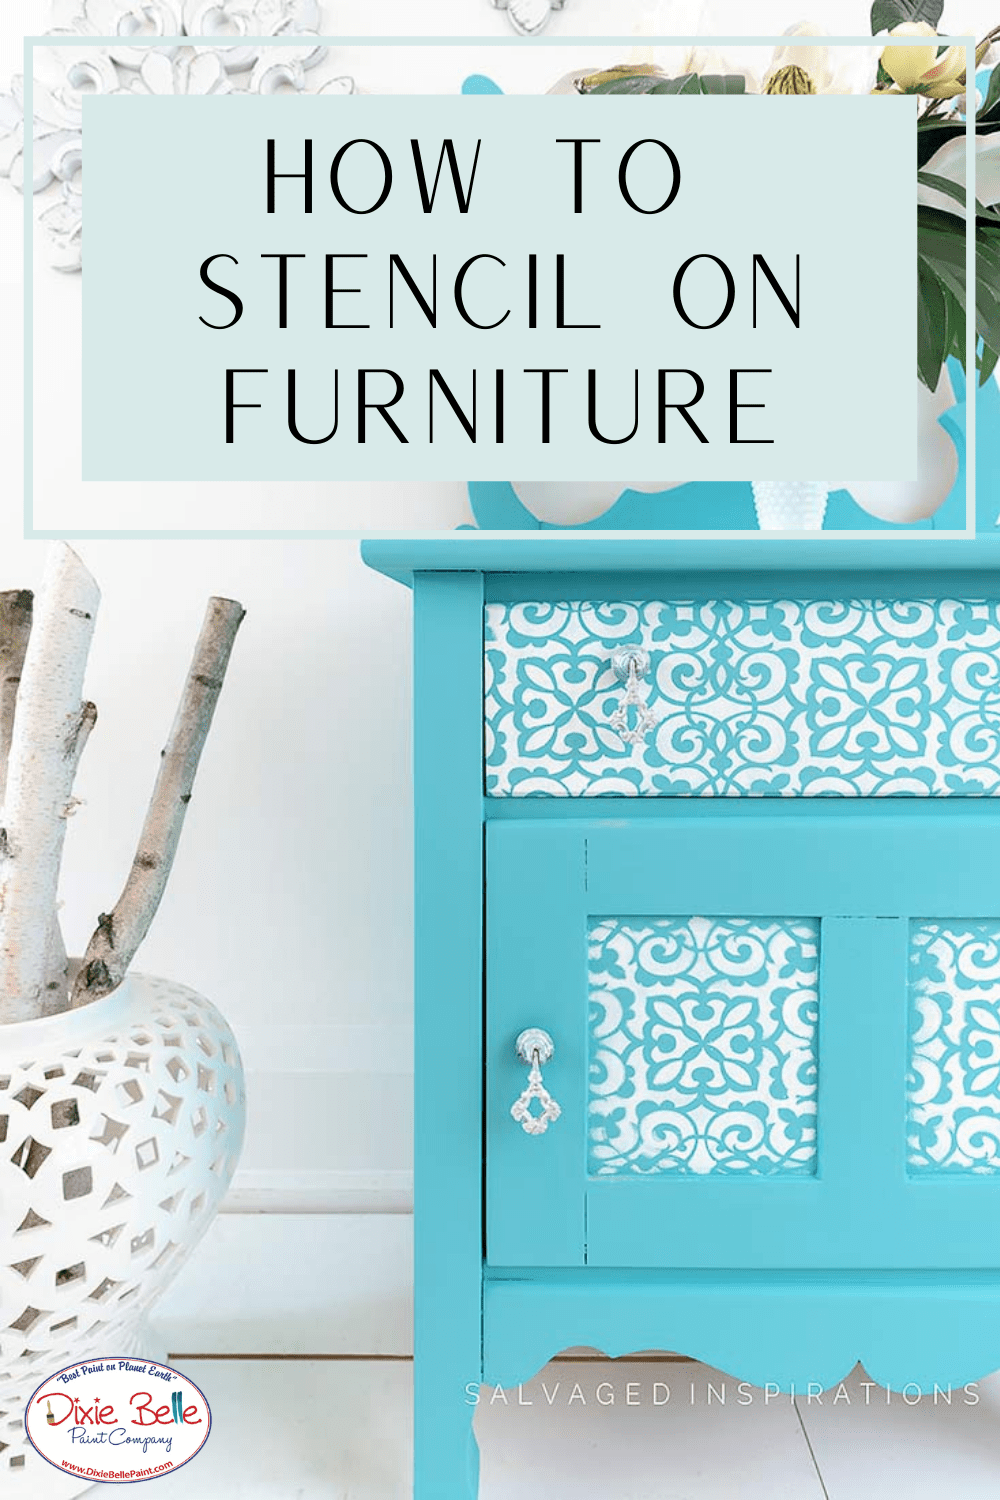
Hi everyone! It’s Denise from Salvaged Inspirations! Today I’m sharing an easy step by step on How To Stencil On Furniture. When I first started painting furniture, it took me a few years to work up the courage to use stencils because I was afraid I was going to ruin my freshly painted pieces. But I’m SO glad I started using them in my makeovers. Stenciling is super easy and creates SUCH GORGEOUS designs!
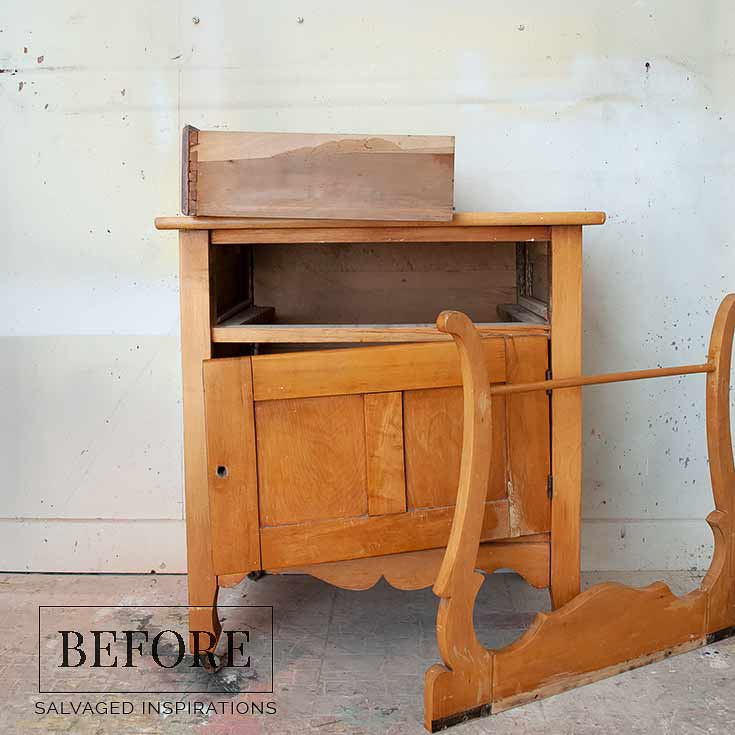
So, here’s the original curb-shopped before…

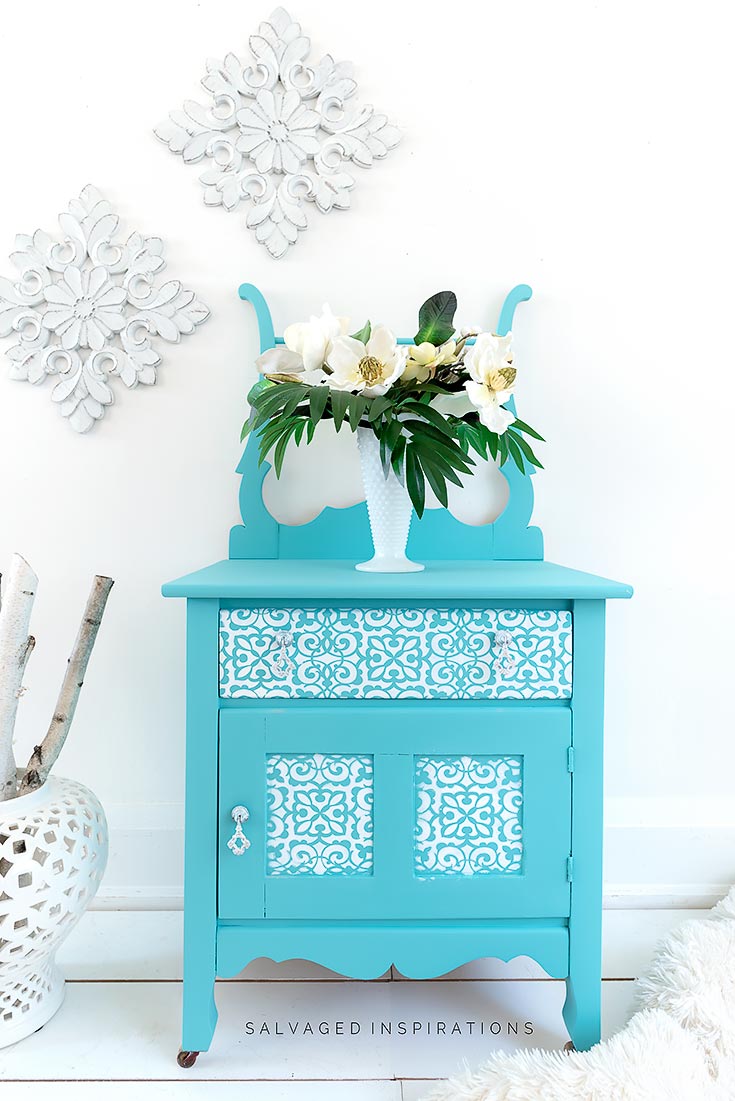
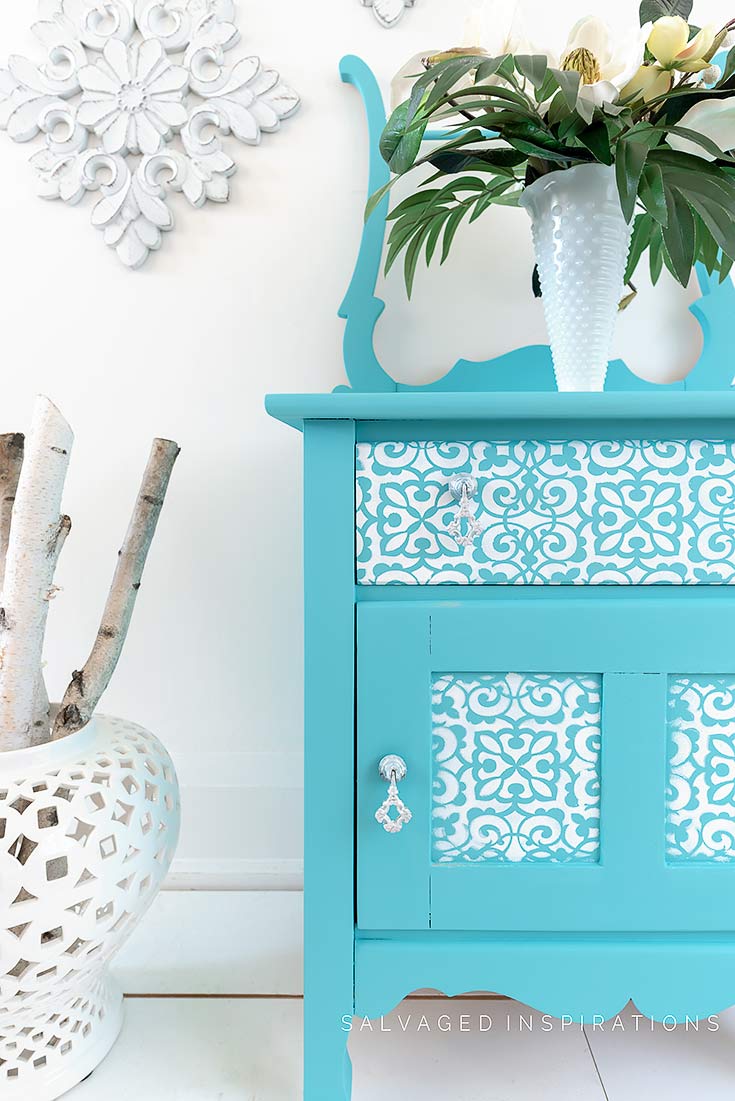
Here’s what it looks like now! I’m loving this custom color and beautiful design from Dixie Belle’s brand new stencils!

Materials List:
- Washstand
- Mini Angle Paint Brush
- Sandpaper | Shop Towels
- Stencil Brush
- Temp Adhesive Spray
- Painters Tape
- Water Misting Spray Bottle
- The Gulf (80%)
- Peacock (20%)
- Cotton
- Dixie Belle Morocco Stencil
How To:
Step 1:
Before I do anything, I plan my design. Planning a design includes where you’d like your stencil design to appear on your furniture and what colors you will be using for your base and your stenciled design.
Step 2:
Once you have a plan for the placement and color scheme you can start painting your basecoat.
For this washstand, my basecoat was 80% The Gulf and 20% Peacock . Mixing these two colors gave me a color similar to a Tiffany Blue!
Tip~ When mixing a custom color, always make sure to mix enough so you don’t run out halfway through. It’s always better to have a little more than not enough.
Step 3:
Once I painted two coats of my custom blue and it dried 100%, I was ready to stencil. For a clean design, it’s best to secure the stencil with a temporary spray adhesive or some painter’s tape.
Step 4:
To paint the stencil design, I like to use a stiff round stencil or wax brush and/or a foam roller for larger designs.
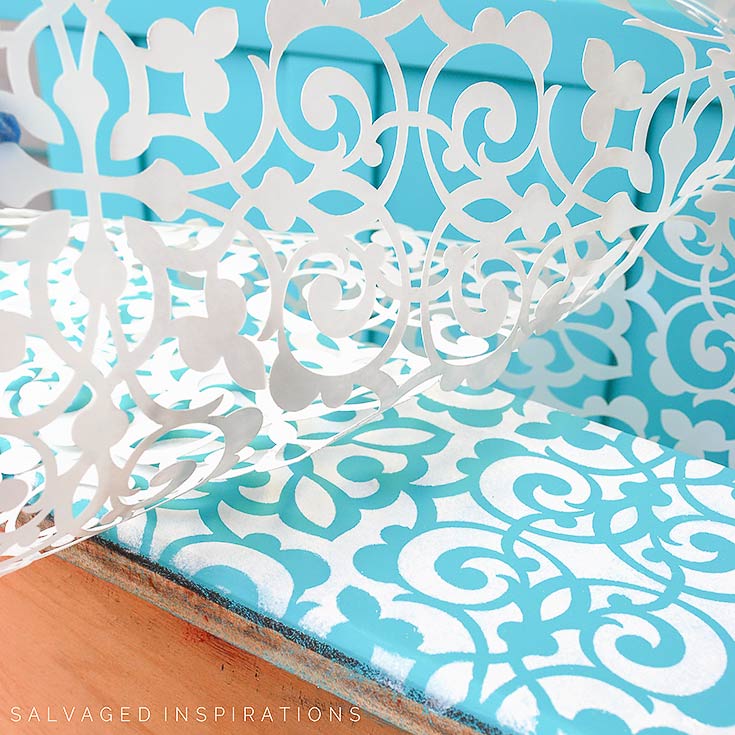
The key to painting a clean stencil design~
- Load your brush or roller with paint and then OFFLOAD the excess paint.
- Dab your brush in an up and down motion, not side to side.
- Press the stencil firmly against your furniture while the other hand dabs the paint.
- Two light coats are better than one heavy coat.
- Reposition your stencil perfectly when extending the design.
To read the rest of this helpful tutorial, head on over to Salvaged Inspirations here!