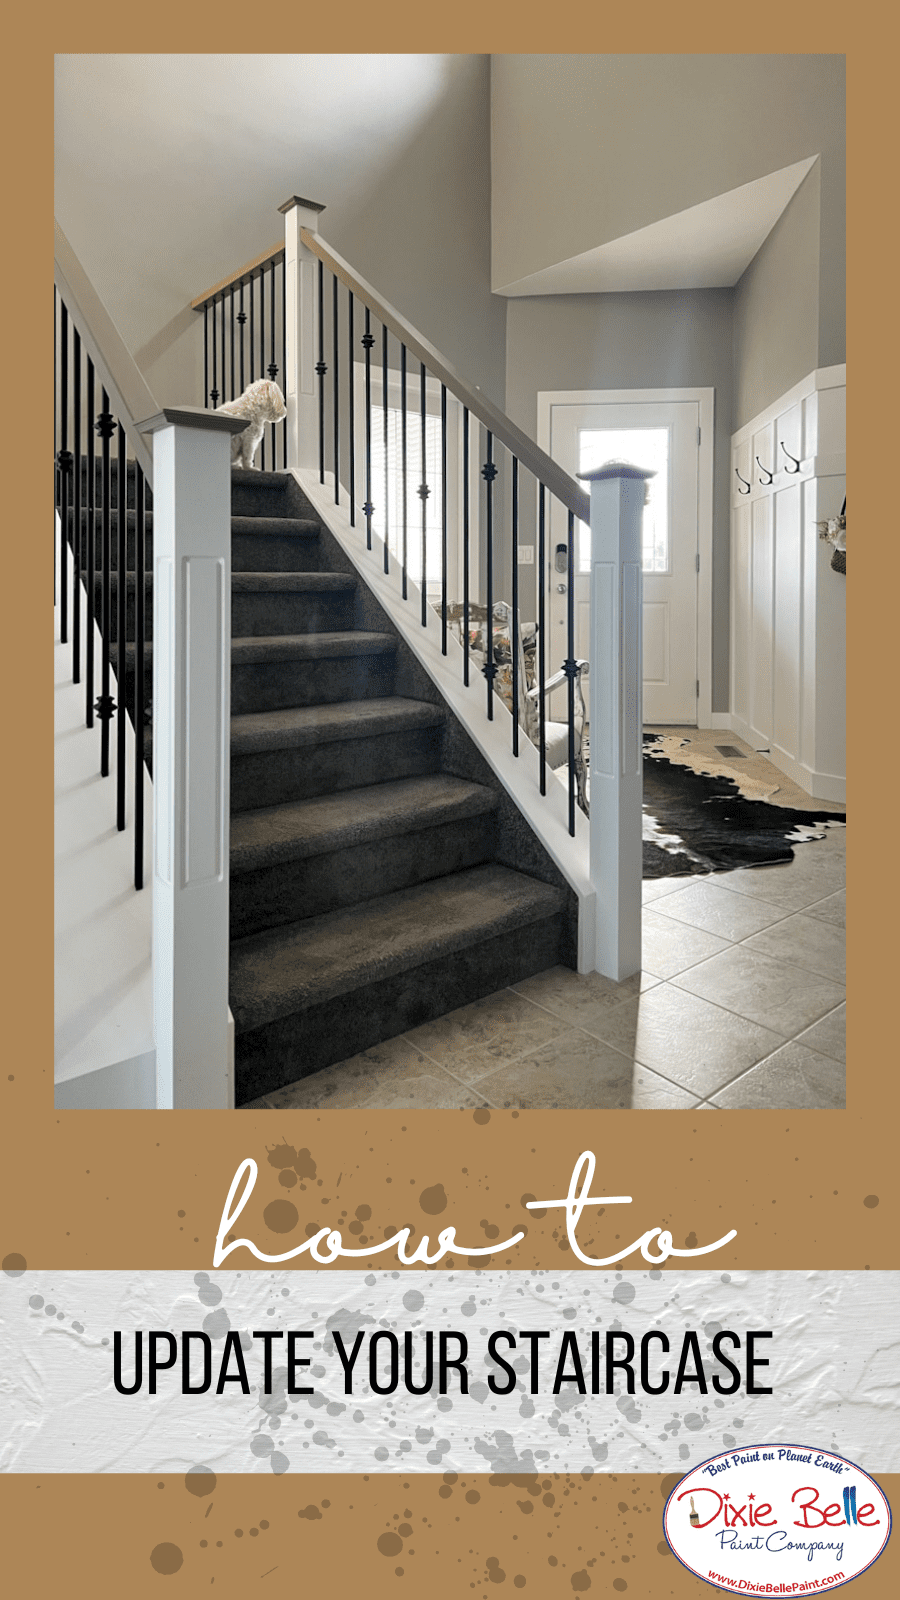
Hey everyone, it’s Marieza from Home with Marieza here! Today, I am going to show you How to Update Your Staircase! Do you want to start personalizing your staircase but don’t know how to get started? Follow along and see how I did it!
Materials List:
- BOSS Primer
- Cotton Chalk Mineral Paint
- Clear Coat in Satin
- Paint Stripper
- Scraping Tool
- Painters Tape
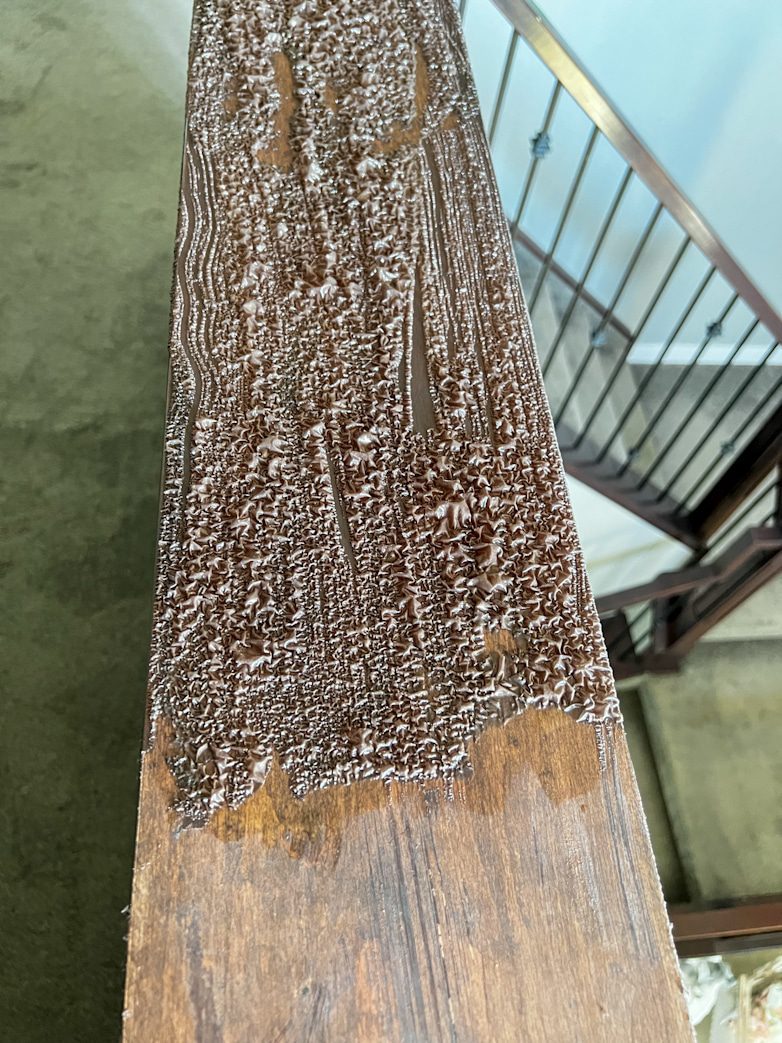
Step 1: Stripping The Staircase With Paint Stripper
Firstly, we have to remove the old finish. Now is the time to decide how you want to remove the old finish. I figured using the heat gun would be the least messy but I only ran into problems, as it did not work. My next move was to remove the old finish with a paint stripper. After applying the paint stripper, it stripped most of the paint away but it left behind some residual color. Instead of sanding inside the house, I decided to choose a warm brown that matches similar to the original wood. After removing the stain, I gave everything a light scuff for the primer to adhere better.
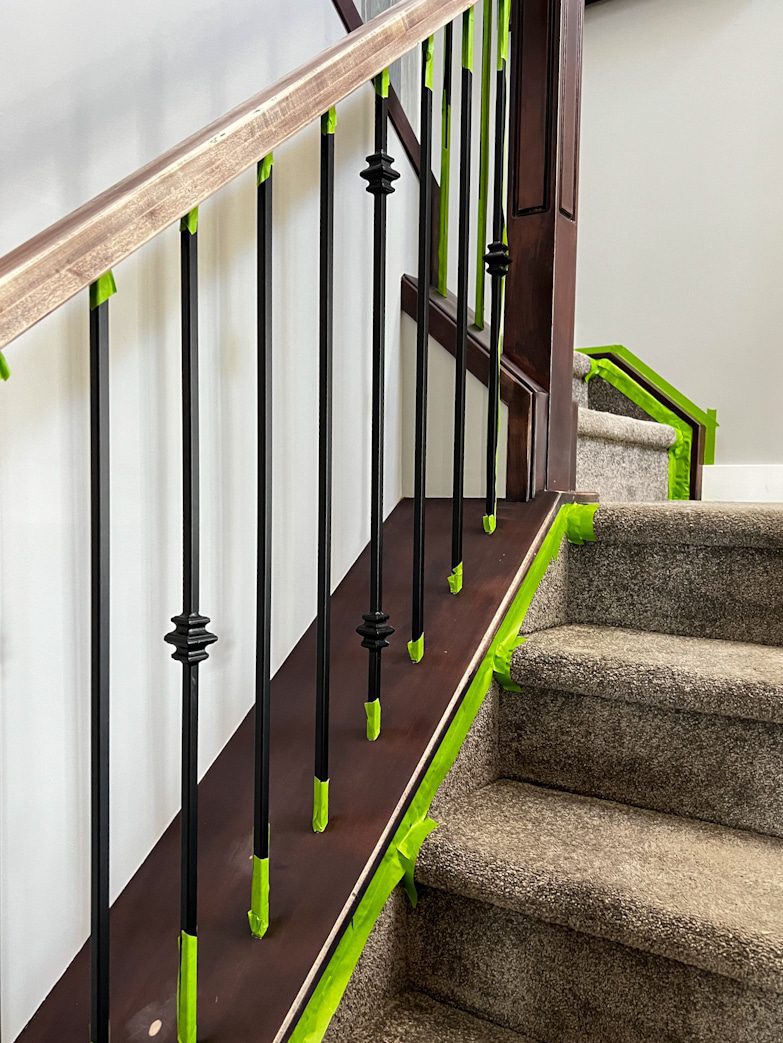
Step 2: Prepping The Staircase
Secondly, time to prepare the staircase. I have carpet so I had to carefully tuck painter’s tape between the staircase and the carpet. I also added tape to the top and bottom of each baluster. After you have everything taped off, now it’s priming time! I decided to use BOSS Primer from Dixie Belle. The container stated that its a “problem solver” and that is what it did for me. BOSS stands for Blocks Odors, Stains and Stops Bleed Thru.
Step 3: Time To Paint
Thirdly, once the primer had time to dry, I started painting the newel posts and stringer caps in Cotton Chalk Mineral Paint. Now, using chalk mineral paint for a staircase may seem odd but it has proven time and time again to withhold better than anything I have used before. If you clean and prepare properly as well as seal, your chalk mineral paint will hold up. I applied 3 coats of Cotton Chalk Mineral Paint to get the perfect white coverage. I chose a warm neutral brown for the handrails and newel caps to go with the Cotton.
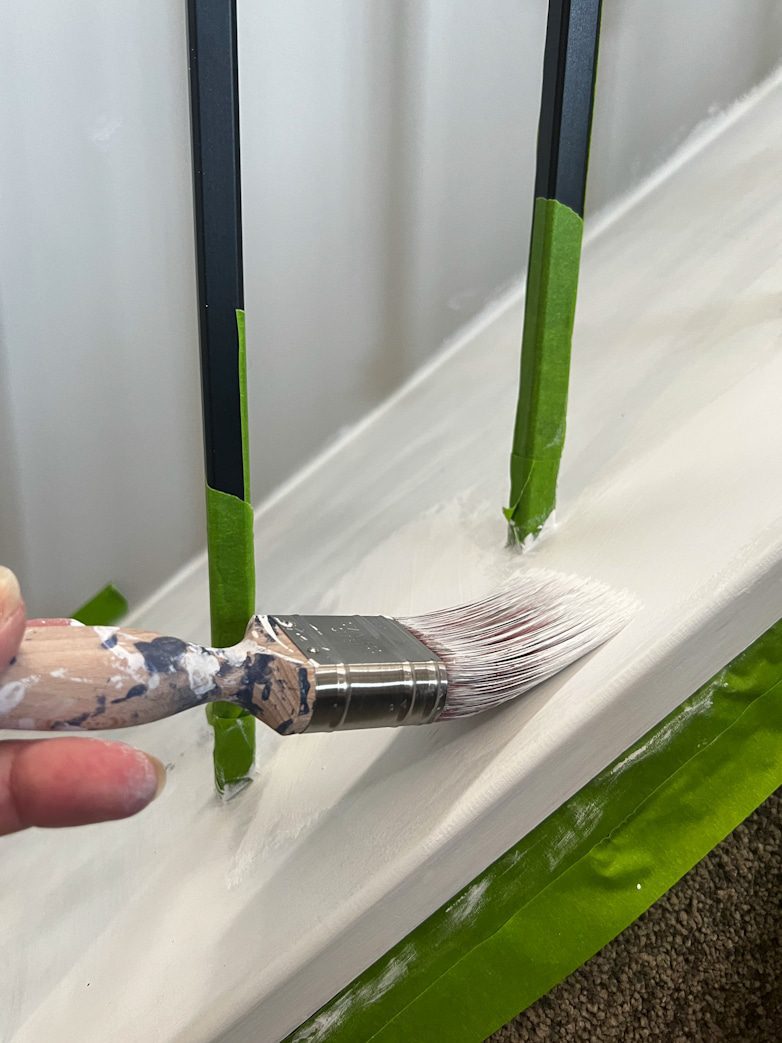
PRO TIP: Have a mister bottle handy so you can mist your paint to avoid brushstrokes, this allows for a smoother texture. If you do end up with brushstrokes, use fine grit sandpaper and do a quick pass over the brushstrokes once dry.
Step 4: Topcoat Application
Finally, I sealed the whole staircase with my trusty Clear Coat in Satin from Dixie Belle. I am so satisfied with the colors I chose, this process took me two and a half weeks but it brightened my whole entryway!
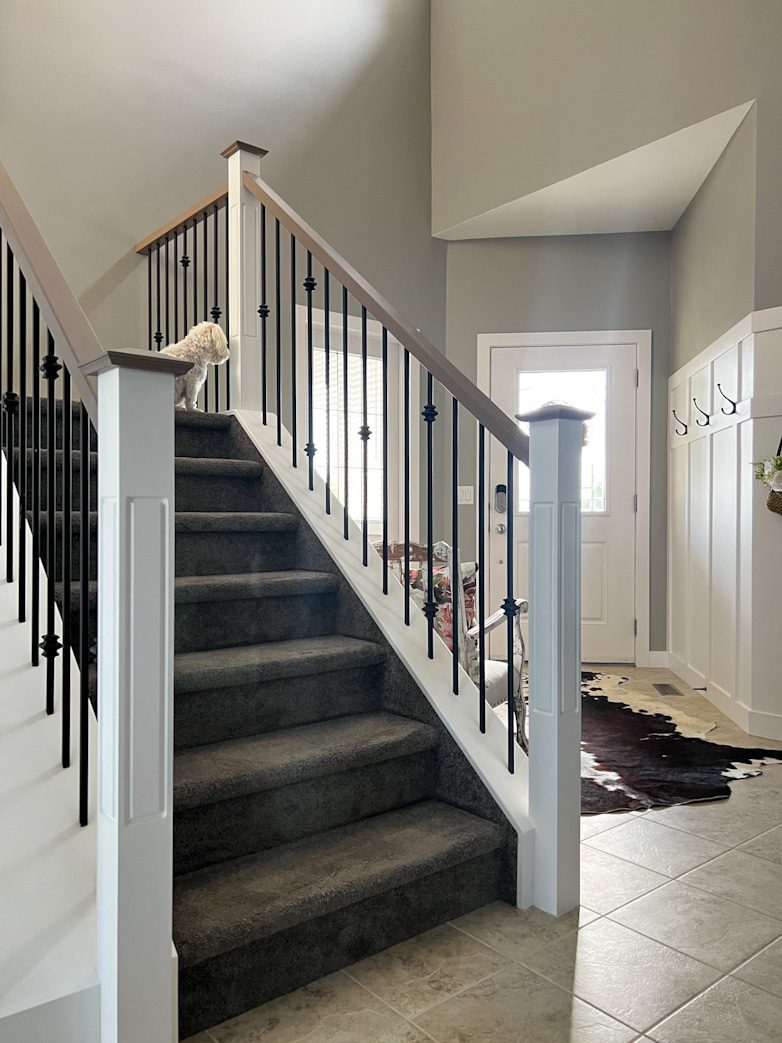
For more information on How to Update Your Staircase, hop on over to Home with Marieza!