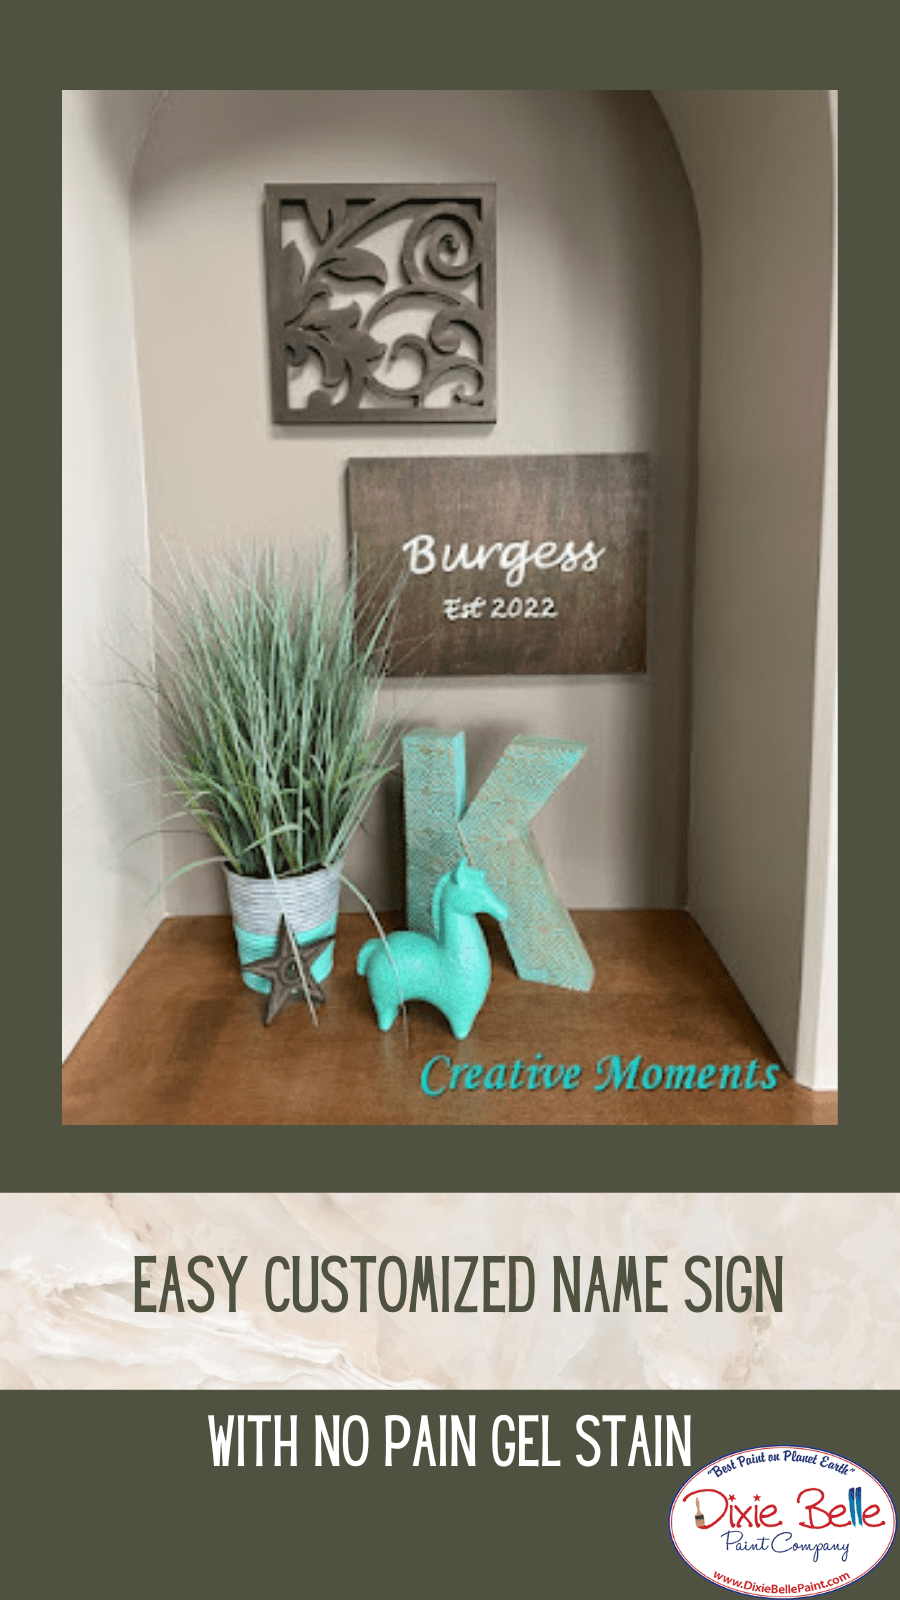
Hey everyone, Lee Ann from Creative Moments! Today I will show you how to create a super Easy Customized Name Sign that you can make for your home or give as a gift! Let’s get started!
Materials List:
- Piece of plywood (13′ X 10′)
- DBP Sanding Sponge
- Walnut No Pain Gel Stain
- Clear Coat in Satin
- DBP Applicator Sponge
- Blue Shop Towel
Step 1: Prepping Your Wood Sign
First, think of what size you would like your sign to be. I already had a piece of 13″ X 10″ plywood so that is what I chose to use. I lightly scuff sanded the top and edges of my plywood with a DBP Sanding Sponge, to make sure the sign was as smooth as possible.
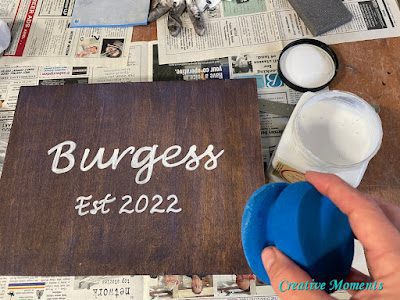
Step 2: Applying No Pain Gel Stain
Secondly, I added a fabulous stain to the board. I chose the color Walnut No Pain Gel Stain because it is such a rich, brown that is awesome with just about everything. I used a shop towel to apply the Walnut No Pain Gel Stain and then wiped it back with a clean one, allowing the stain to dry for 72 hours.

PRO TIP: The less amount of No Pain Gel Stain you use, the faster it dries. You can always apply more and then let it dry in between coats but if you try to put a lot on at once and don’t wipe it back, it will take longer to dry. Always wipe back!
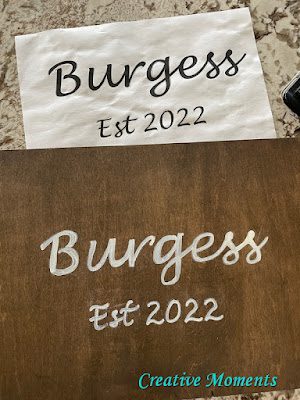
Step 3: Choose a Font and Size Of Lettering
Next, choose a font and size to your liking for your sign. After I decided how I wanted it, I printed it out and made an outline with a pencil, and then hand-painted the letters. After the paint dried, I went over the whole board again with a DBP Sanding Sponge to smooth the letter edges and assure for a seamless finish.
Step 4: Adding Hardware and Clear Coat
Lastly, I made sure there was a hanger on the back and then added Clear Coat. Once the sawtooth hanger was affixed, to seal everything I applied 2 coats of Clear Coat in Satin using a dampened DBP Applicator Sponge. This makes it easy to apply to flat surfaces with a streak-free finish.
For more information about this Easy Customized Name Sign, head over to Creative Moments!