Hi everyone, Denise from Salvaged Inspirations here!
From the first time I applied a textured stencil, it became a go-to technique for many of my projects. Applying a raised stencil can be intimidating though, right?!
If you’ve never tried a raised stencil before, I have some easy tips in hopes it will encourage you to give it a go!
I really hope you give it a try because it’s an amazing way to add pattern, color, and character when working with flat-faced furniture.
I started with these chunky nightstands I bought at my local ReStore.
Materials List:
- Nightstands – SALVAGED
- Sawmill Gravy
- Chocolate Chalk Mineral Paint
- Satin Clear Coat
- BOSS
- Spray Gun
- Sandpaper
- Dalia Crest Raised Stencil
- 3D Stencil Texture Paste
Tips & Tricks:
- Use green tape to hold down your stencil while applying the fiber paste.
- Sand down the rough edges off after it is 100% dry.
- Use a variety of finishes to get different looks. Gilding Wax, dry brushing, dark waxing, glaze just to name a few.
- Use a stencil specific for a raised design. These stencils are thicker and have a few millimeters in height for the best results.
- Measure your placement to be accurate.
- Raised stencils are VERY forgiving. If you make a mistake, it can easily be wiped right off while still wet, so no worries.
How To:
I started by cleaning, sanding and applying BOSS primer to stop any bleedthrough.
For a flawless professional finish, I spray with Sawmill Gravy – a gorgeous soft beige neutral!
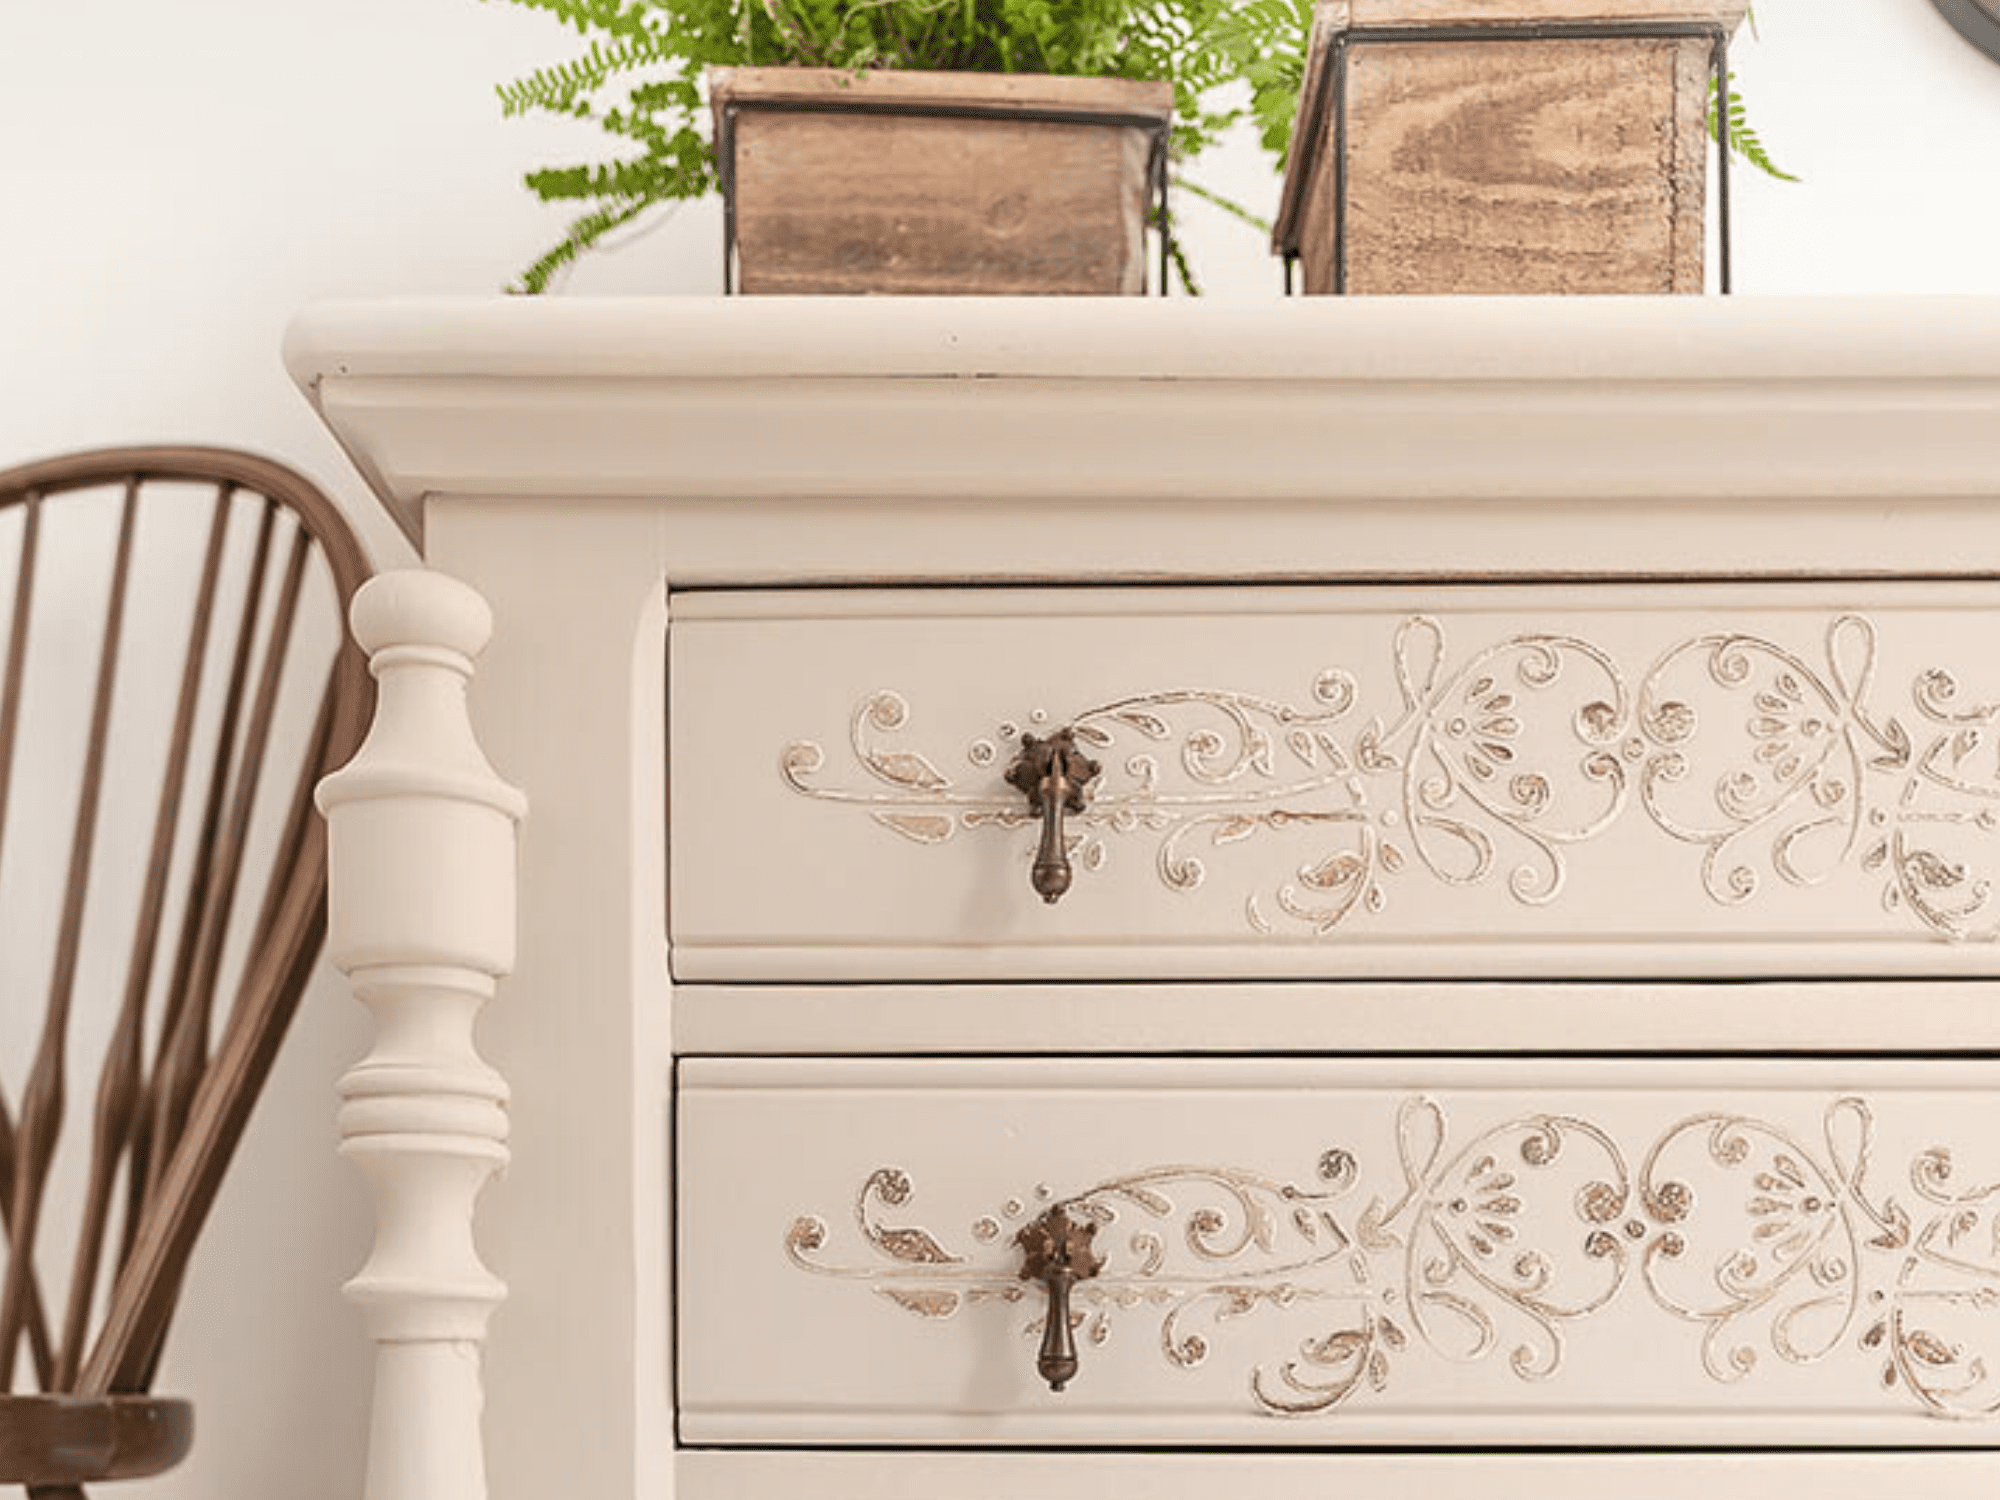
For the drawer design, I used the Dalia Crest 3D stencil. The stencil is a little thicker so you end up with a more raised/textured design.
Between stenciling each drawer, I cleaned off the stencil so my design stayed crisp and clean.
My original thought was to leave the design in white, but after I picked the teardrop hardware, I thought this rich Chocolate Brown would tie in nicely.
To give it more texture, I sanded back so there are lighter and darker areas.
To learn more about this masterpiece, head over to Salvaged Inspirations here!

