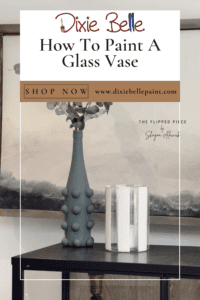
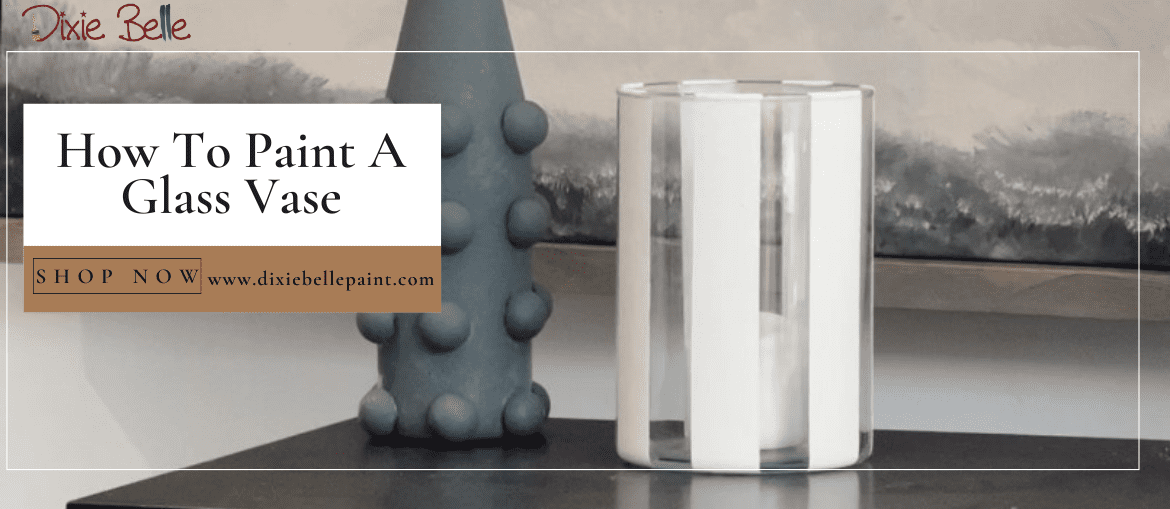
Are you tired of the old, boring glass vase that has been sitting in your home for years? Why not paint it to give it a brand-new look? Glass vase painting might seem like a difficult task, but with the correct tools and methods, it can be a simple and enjoyable project. In this post, you will learn how to paint a glass vase so you can turn it into a lovely piece of home decor!
First and foremost, let’s talk about the paint. For this project, a water-based Chalk Mineral Paint is advised. Chalk Mineral Paint can be used on glass with the help of Slick Stick, and other smooth surfaces and dries quickly. The end product also has a vintage appearance and is simple to distress. They can be bought online or at your local retail store.

Tips on DIY Glass Vase Painting
Here are some pointers to keep in mind when you paint your glass vase:
- Apply the paint with a fine-quality brush. Avoid using spray paint since it might not stick to the glass surface adequately.
- You will need to prep the glass with Slick Stick so the Chalk Mineral Paint can stick.
- Before adding another layer, be patient and let the paint dry fully. This will reduce the likelihood of paint flaking or chipping over time.
- Don’t worry if you make a mistake. Before the paint dries, you can remove it with ease with a moist towel.
- To make a one-of-a-kind and customized vase, experiment with various colors and techniques.
Now, let’s get into the details. Follow the below five steps and tips on how to paint a glass vase.
Clean the Vase
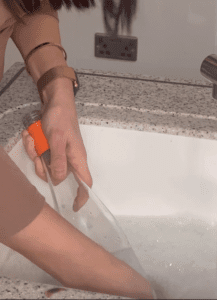
Start with thoroughly cleaning the vase. Any debris, dust, or residue preventing the paint from sticking correctly should be removed. After washing the vase with White Lightning, rinse well with clean water and then dry it off with a fresh towel.
Prepare the Paint
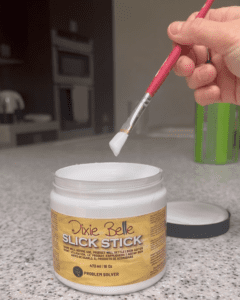
It’s time to get the paint ready now. You don’t need to mix water or any other medium with Chalk Mineral Paint if it is water-based. Just whisk the paint until it’s creamy and smooth. Due to the glass surface, it is recommended that you use Slick Stick to allow the paint to stick to the surface.
Apply the Paint
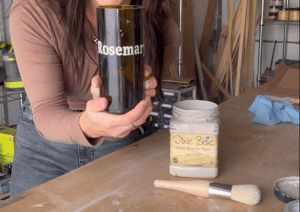
Use a fine-quality brush to apply the paint to the glass vase in thin layers. This will aid in the proper adhesion of the paint to the surface. It is preferable to use multiple thin layers as opposed to one thick coating. Ensure that you cover the vase’s whole surface, including the bottom. Let the paint completely dry before adding another layer.
Distress the Paint (Optional)
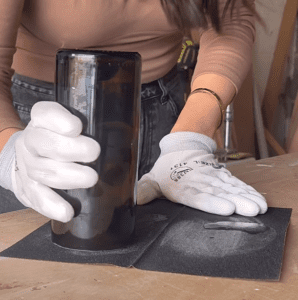
After the paint has set, you may distress it for an antique, distressed appearance. Sand the vase’s surface lightly using sandpaper, paying attention to the places that will inevitably deteriorate over time. Before proceeding to the next step, be careful to remove any dust or debris.
Seal the Paint
Sealing the paint is the final step in vase painting. By doing this, the paint will be shielded from fading over time. Apply a clear wax or topcoat. Use a brush to apply the wax or sealer, and then give it time to thoroughly dry.

Congrats! You’ve painted your glass vase successfully! It not only has a lovely appearance, but it also gives your home’s aesthetics a unique touch. Painting a glass vase is a simple and enjoyable do-it-yourself activity that may turn a dated, uninteresting vase into a lovely home decor item. Use water-based Chalk Mineral Paint and the instructions in this post to make a unique vase that adds personality to your house. So let’s begin learning how to paint a glass vase by picking up a brush.
