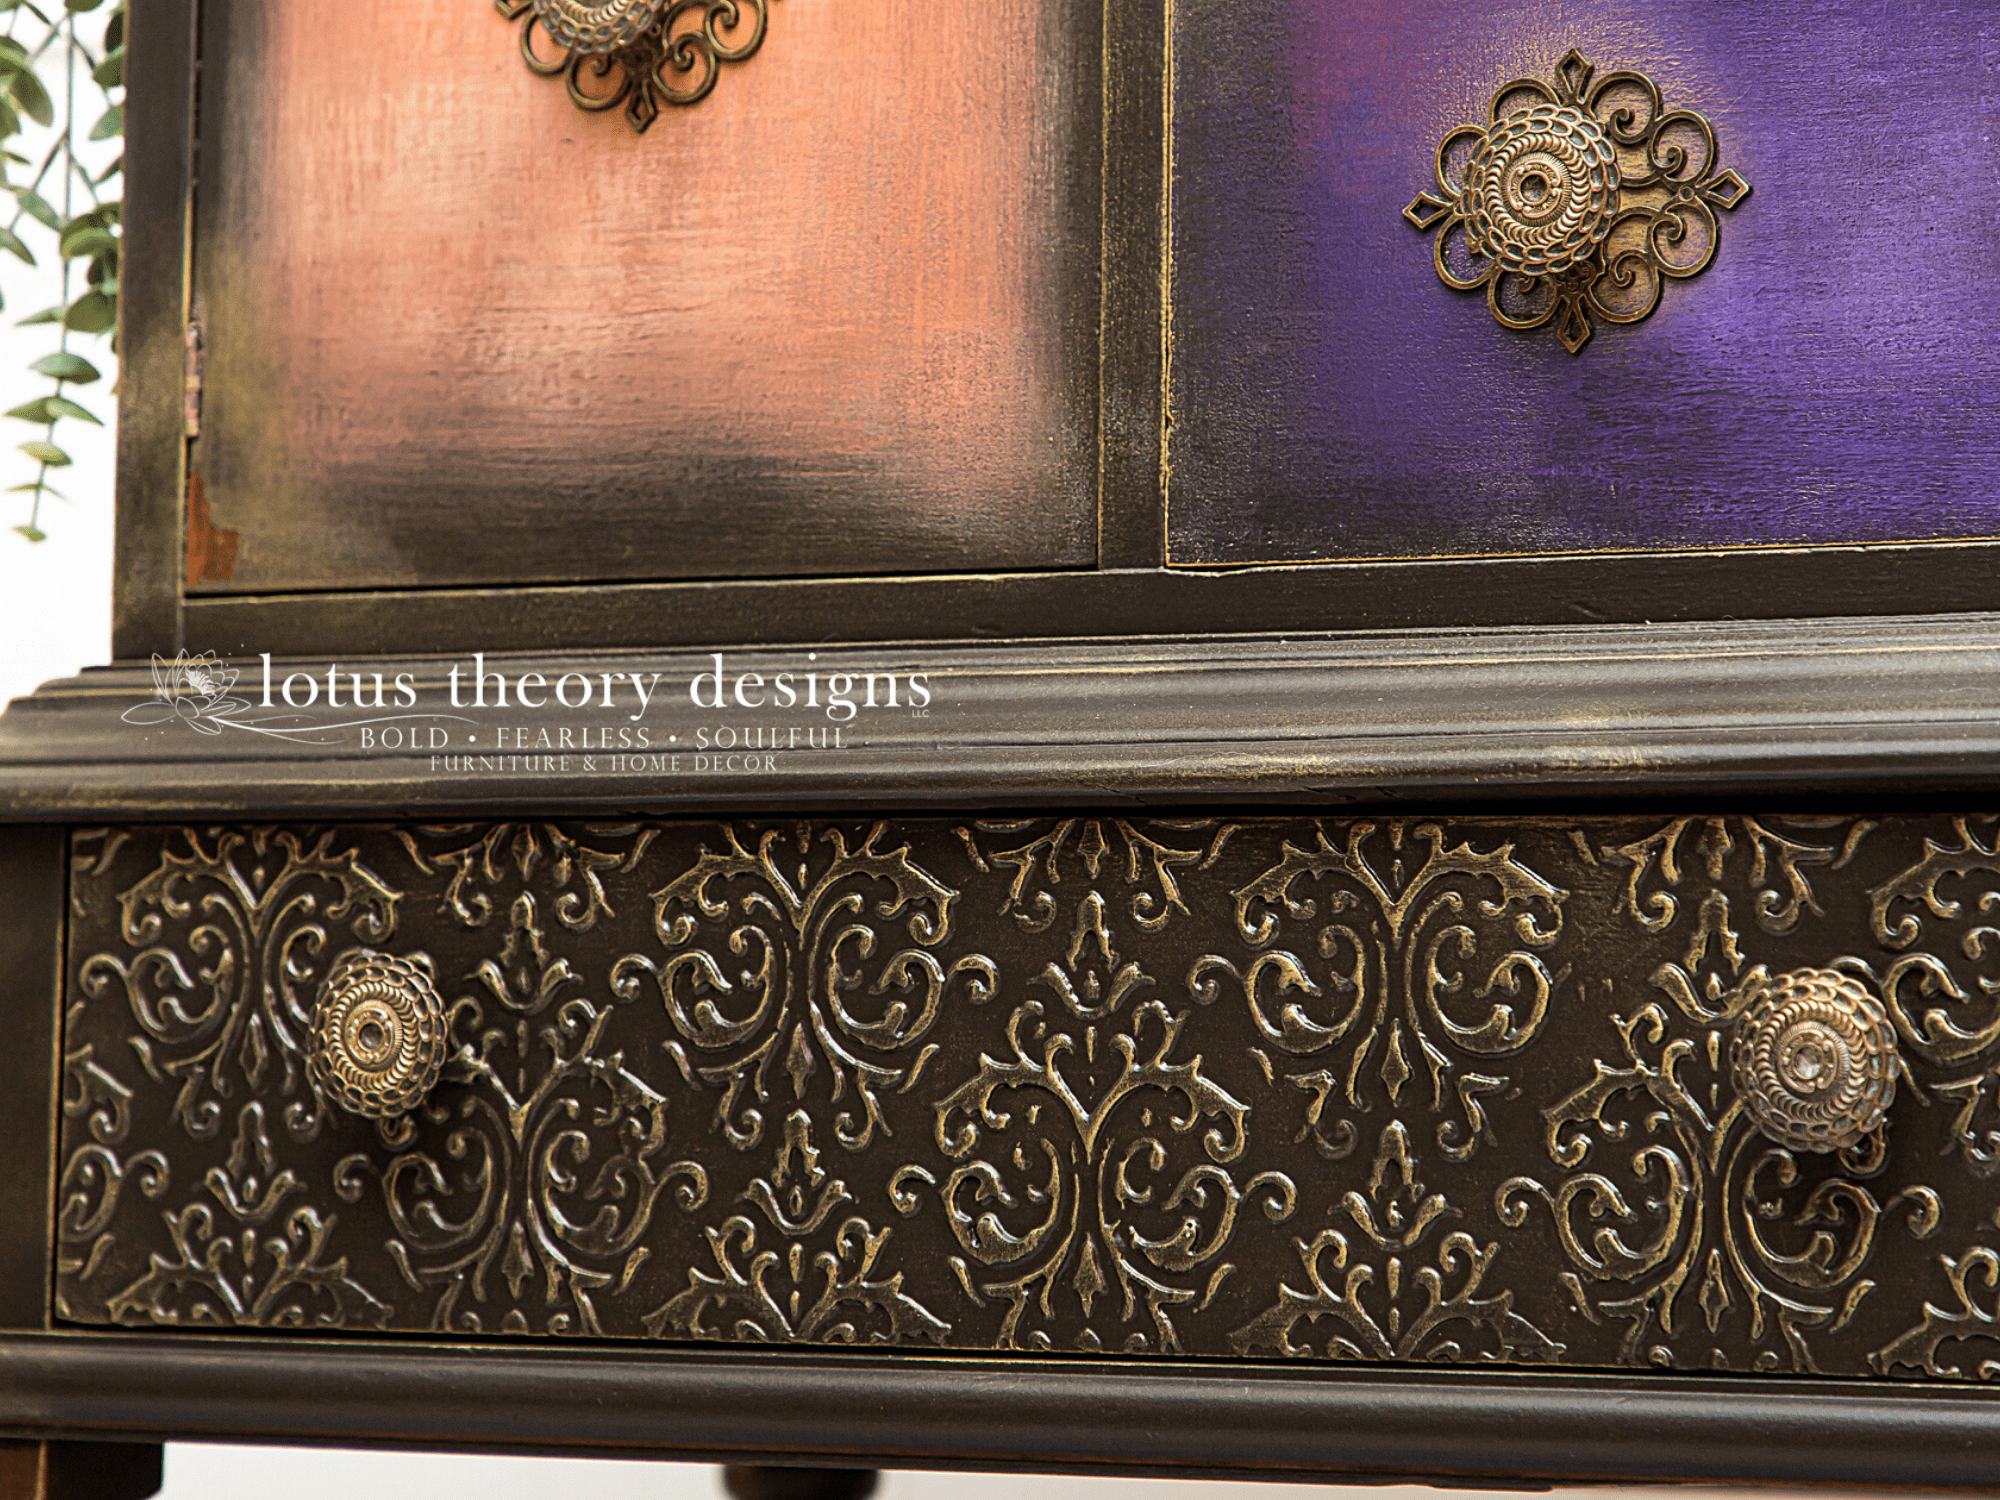
Want to create an exquisite raised stencil effect to get texture and design patterns on your furniture or home decor?! You’ve come to the right place! This beautiful effect is actually really simple to create. Using stencils along with Dixie Mud is an excellent way to add dimension, character, and visual interest to your piece.
Let’s take a look at the magnificent furniture pieces Bianca has designed with a raised stencil effect.
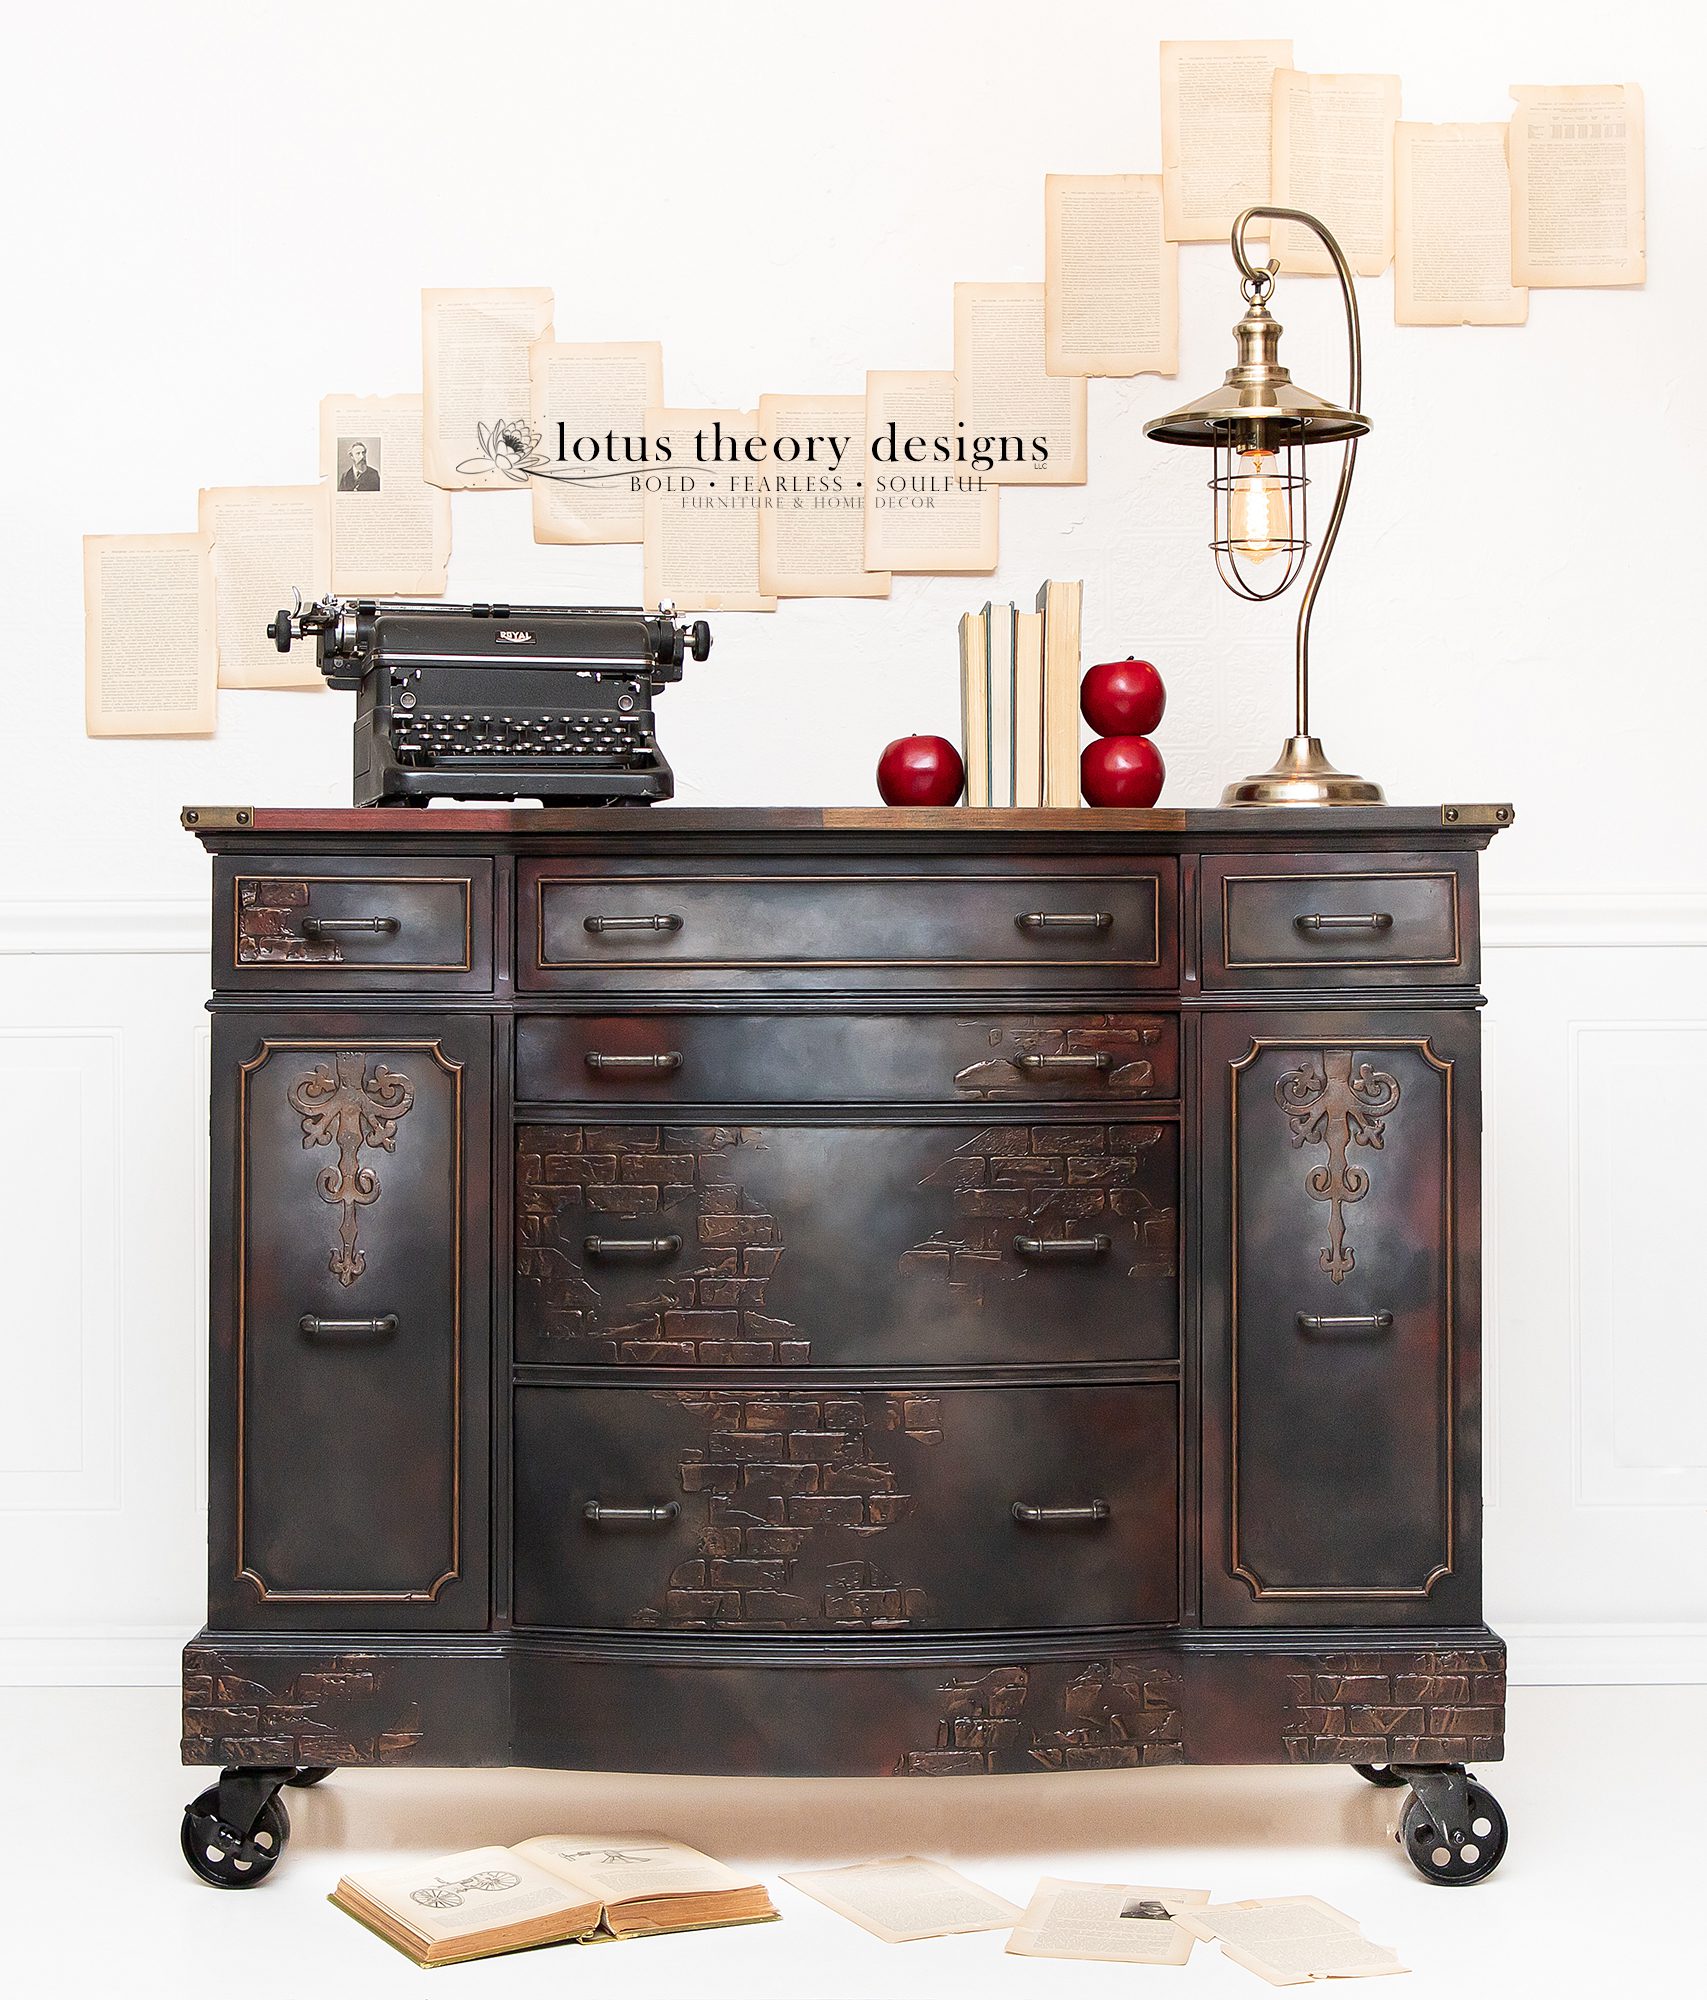
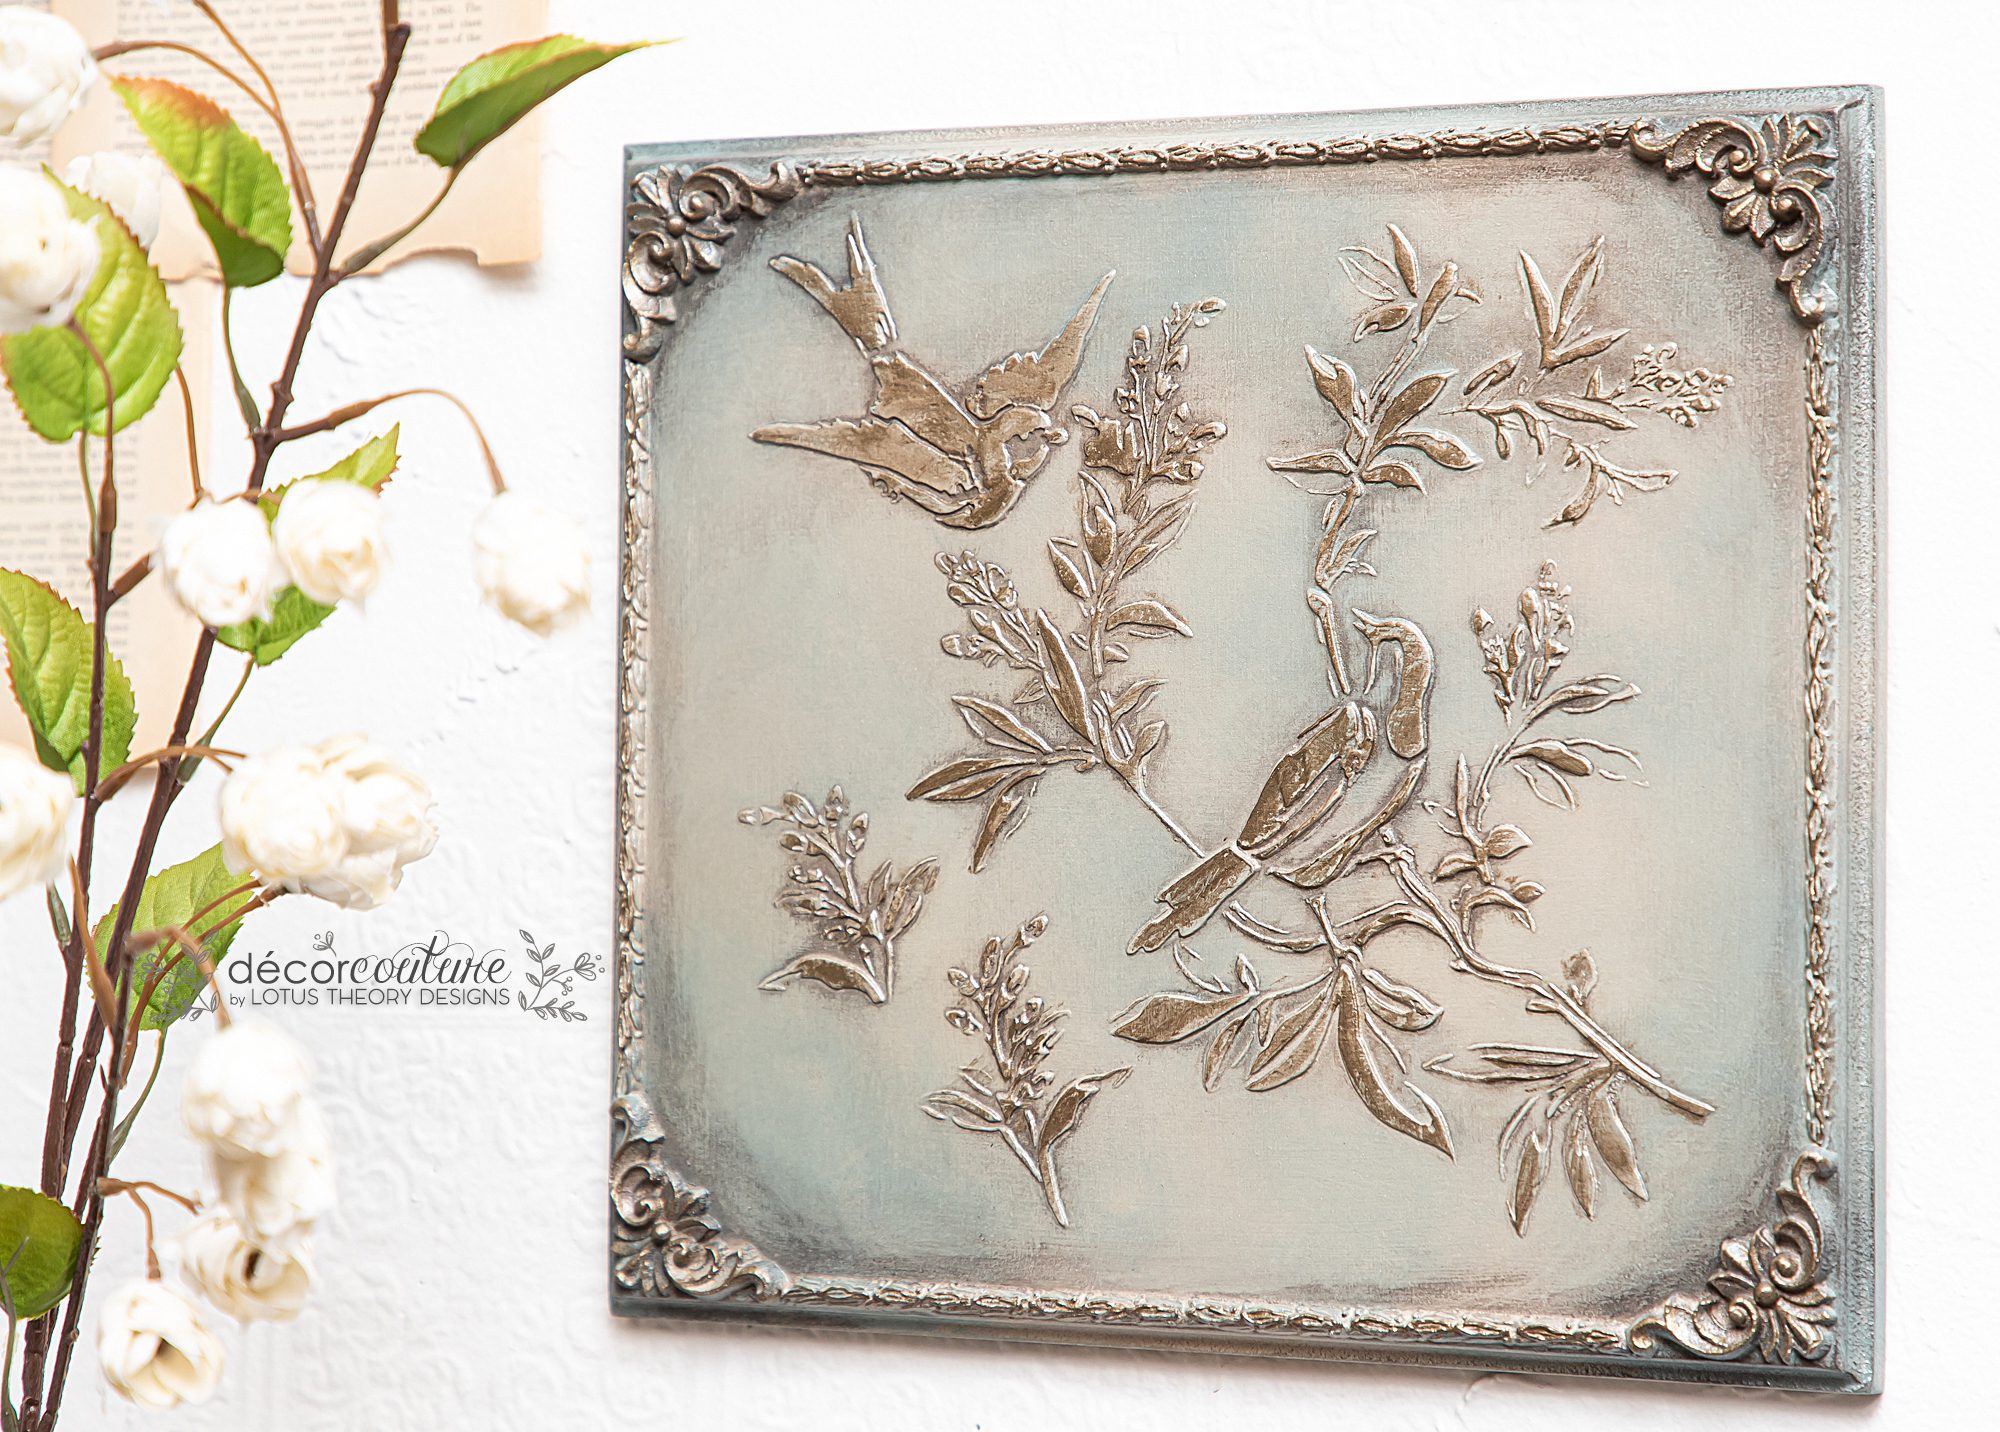
Materials List:
- Dixie Mud
- A stencil from your local craft store
- Synthetic Brushes
- Dixie Belle Paint color of your choice
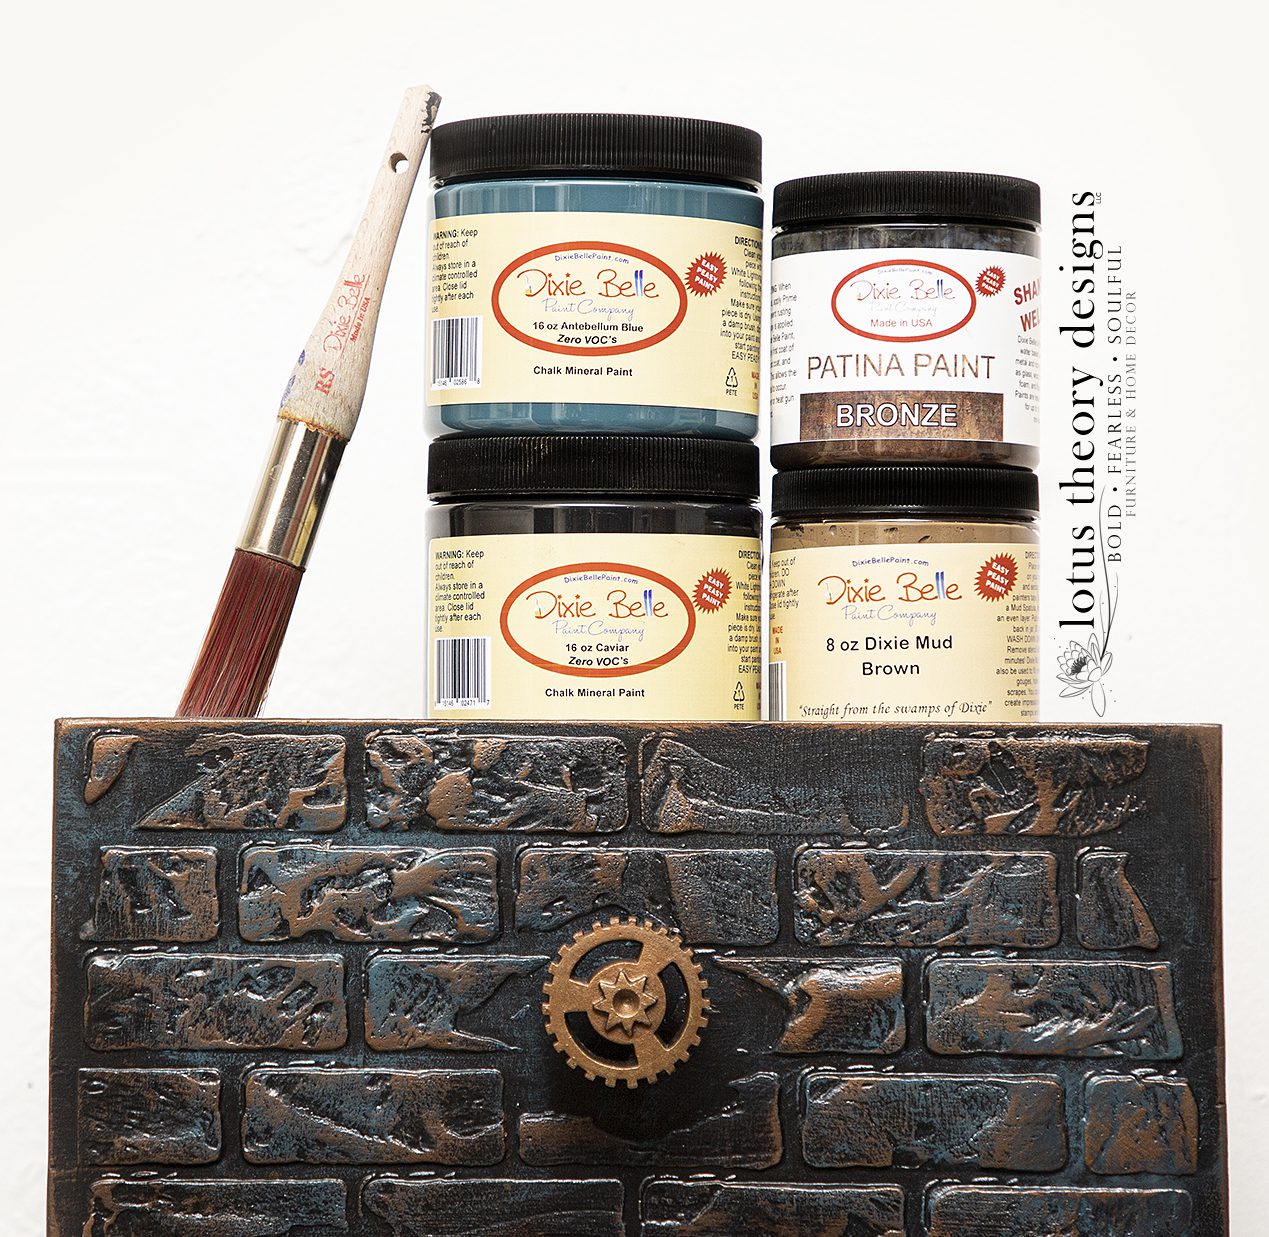
Steps for How To Create a Raised Stencil Effect
Creating raised texture using a stencil and Dixie Belle Paint’s Dixie Mud is as simple as 1-2-3!
-
Prep the Surface:
Clean and lightly sand your furniture or décor piece to ensure proper adhesion for Dixie Belle Mud. -
Secure the Stencil:
Choose your favorite stencil design and firmly tape it to the surface to prevent shifting. -
Apply Dixie Belle Mud:
Using a small spatula or putty knife, spread Dixie Belle Mud evenly over the stencil, pressing gently to fill all cut-out areas. -
Smooth and Lift:
Smooth the surface carefully, then slowly lift the stencil straight up to reveal your raised design. -
Dry Completely:
Allow the Dixie Belle Mud to dry thoroughly (typically 30 minutes to 1 hour, depending on thickness and environment). -
Sand if Desired:
Lightly sand the raised design for a smooth finish or leave it textured for added depth. -
Paint and Seal:
Paint over the dried design with Dixie Belle Paint in your choice of color. Once dry, apply a top coat or sealer to protect your finished piece.