Greetings Ghouls and Goblins! Only 4 more sleeps until Halloween night! Can you believe how quickly this year has gone by?! Time flies when you’re having fun and creating. In today’s blog, we are going to be creating a terrifying piece of Halloween home decor sure to elevate the look of your Haunted Mansion. This project is presented to us by a talented artist by the name of Tracey from Tacey’s Fancy. Tracey is a creator with Dixie Belle Paint Company and has created countless projects with our endless product line. You can follow the links to purchase any products she uses throughout the blog. Happy creating and Happy Halloween! Take it away Tracey!
The following is an excerpt from Tracey’s Fancy blog. Click here for the original post.
Recycled Wall Art – Red Rose
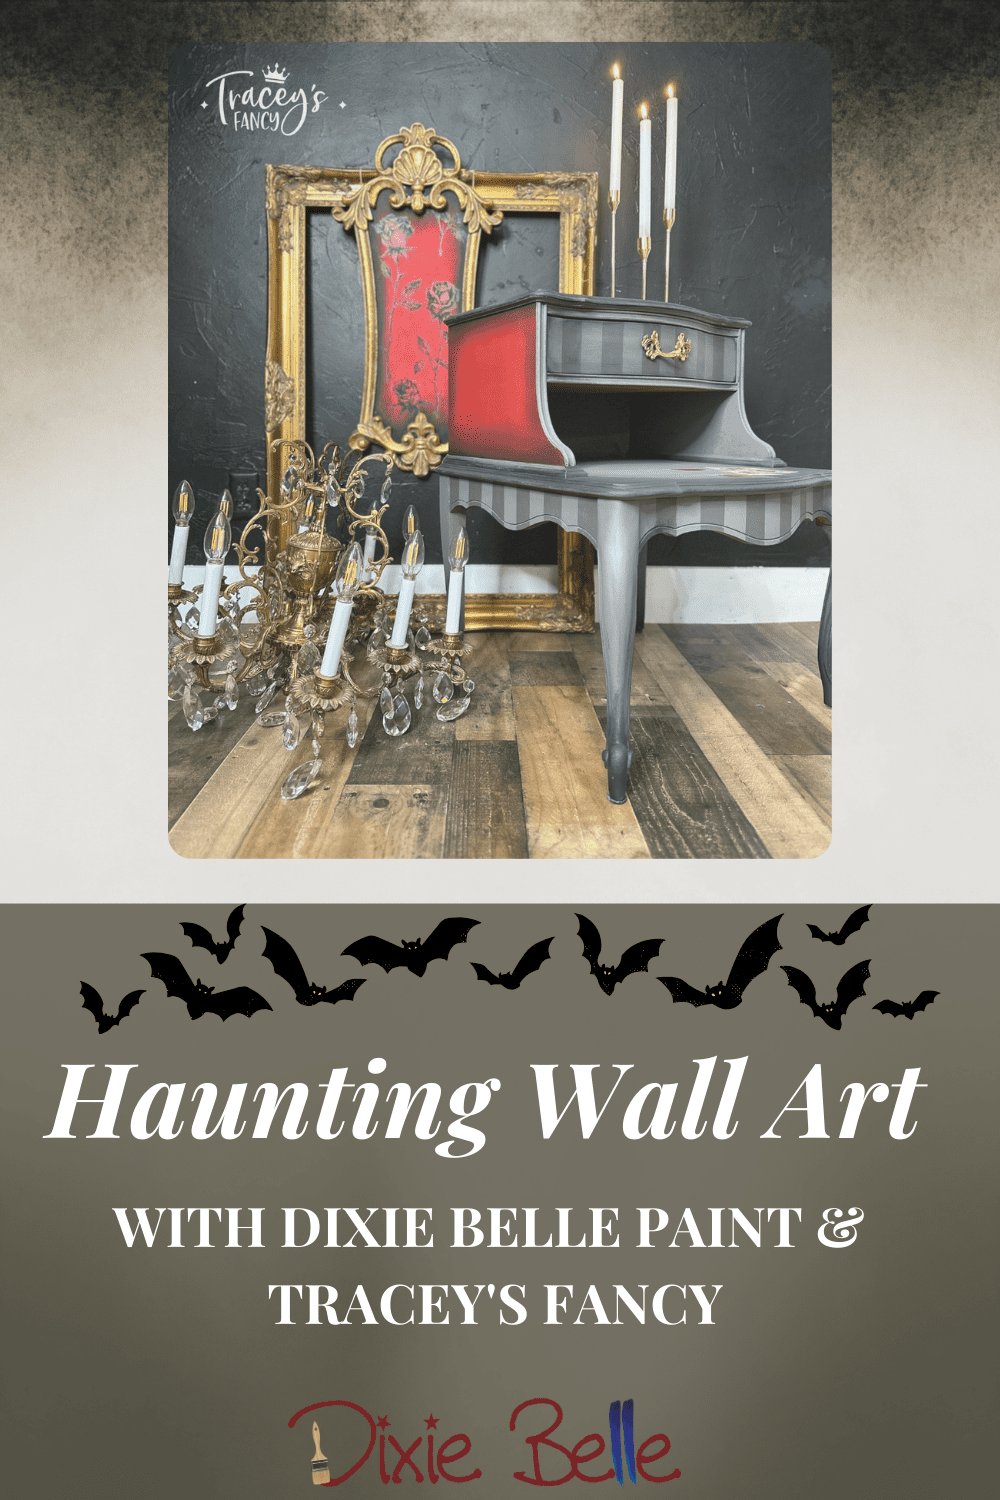
Time for a new look. It is the perfect size to compliment a small end table that I’m redesigning. So let’s get started!
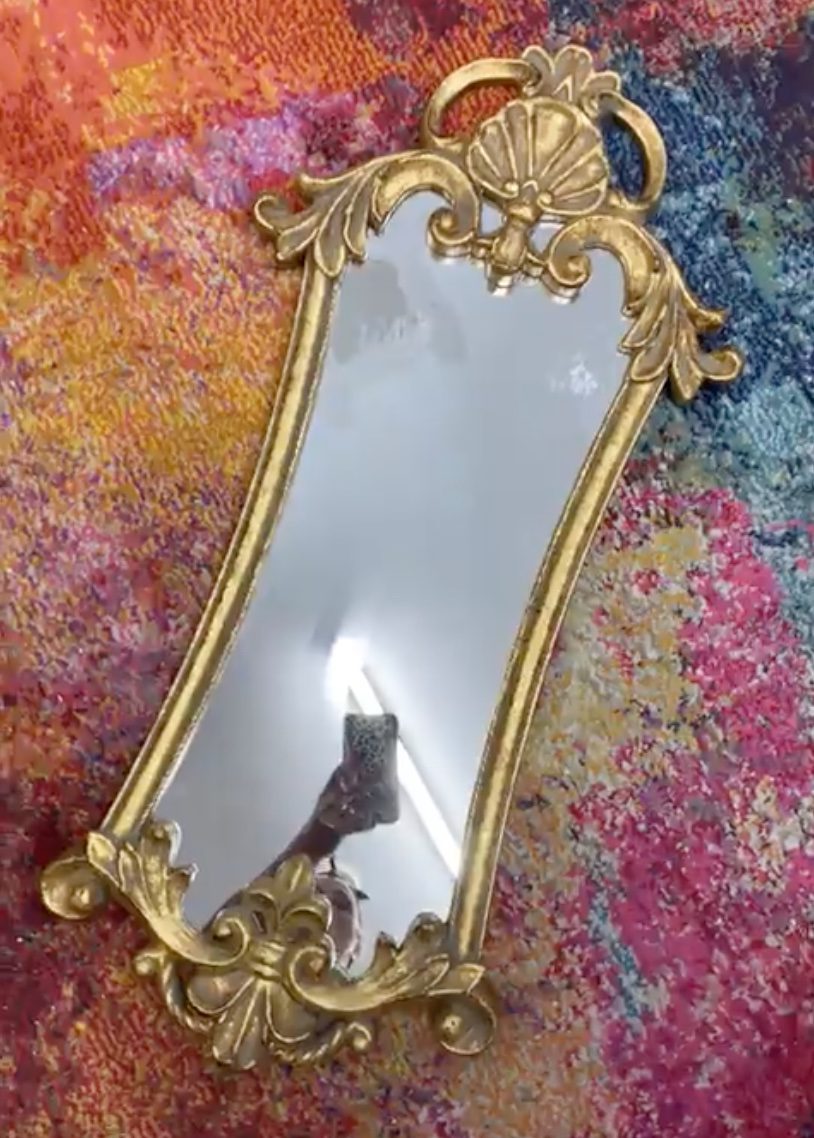
The original piece was a gold gilded mirror. Beforehand, I hand-painted it to use as a sign in my local boutique booth because it was the perfect size and style for a very small space. I closed my booth a few months ago and brought this little sign home. I loved the shape and I felt certain I would find a new use for it.
Supplies Used
Dixie Belle Chalk Mineral Paint in Honky Tonk Red
French Tip Brush from Dixie Belle Paint
Dixie Belle Chalk Mineral Paint in Caviar
Dixie Belle Paint Top Coat Flat
Roses are Red Transfer from Dixie Belle Paint Belles and Whistles
Stippling a Base Coat
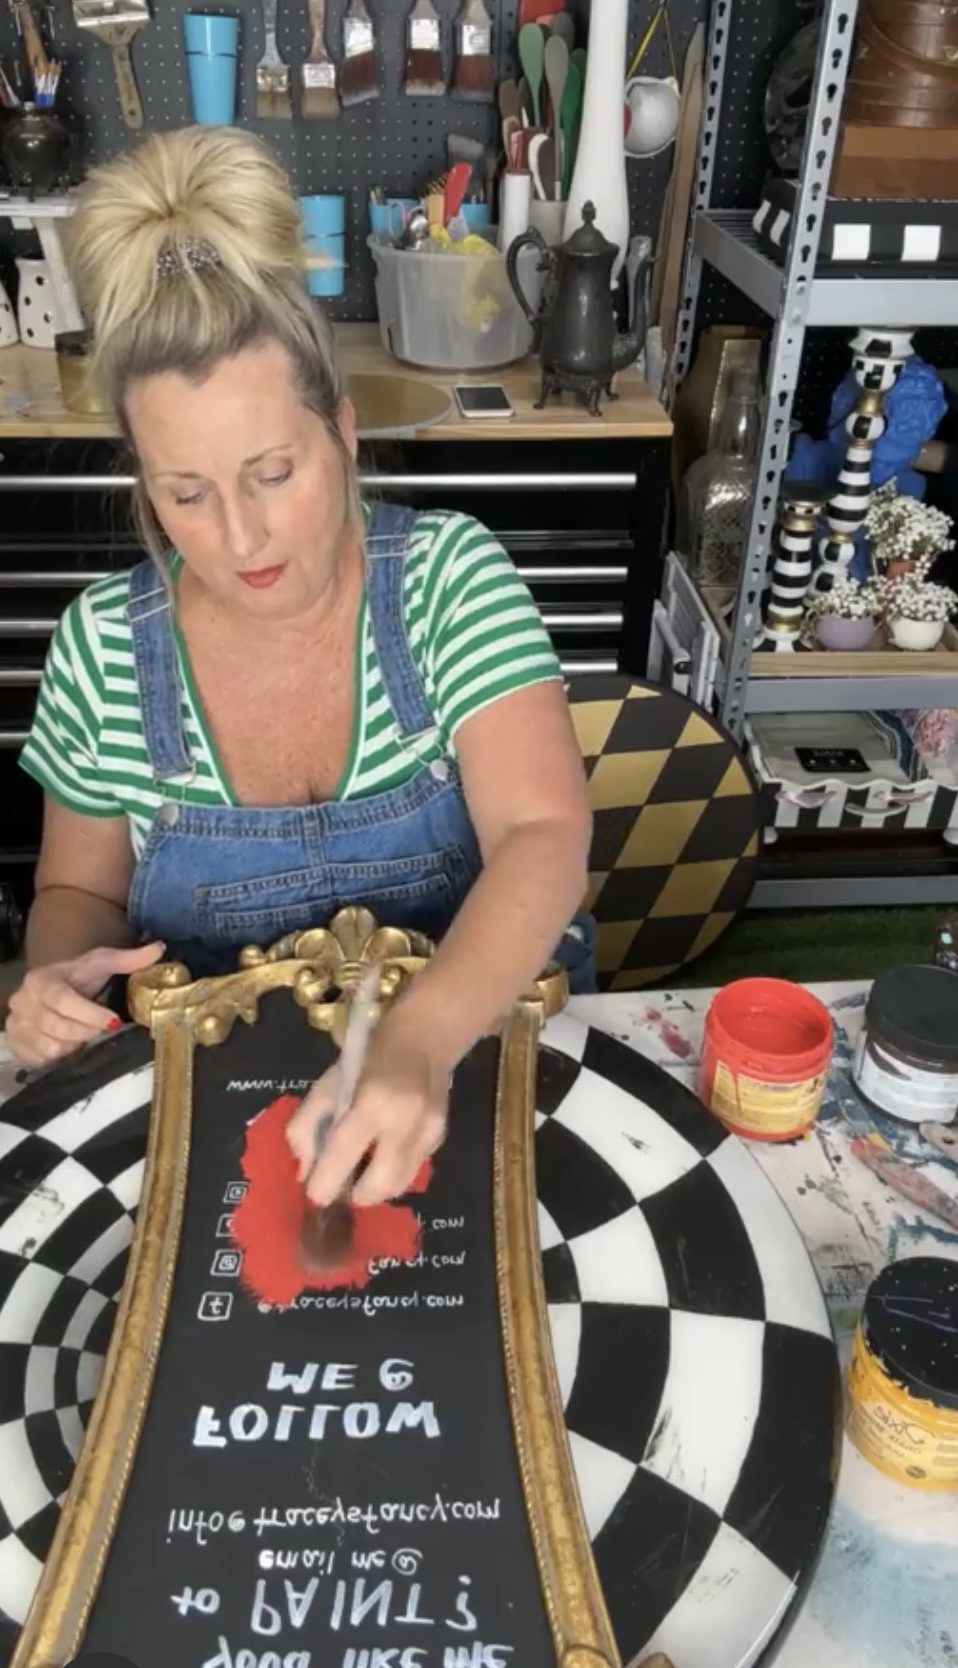
I began by simply stippling a single red coat of Dixie Belle Paint in Honky Tonk Red over the previously painted words. I then used a small craft brush to apply a border of Dixie Belle’s signature Chalk Mineral black paint in color Caviar around the edge where the red met the gold frame.
Light Blending of Black on Red
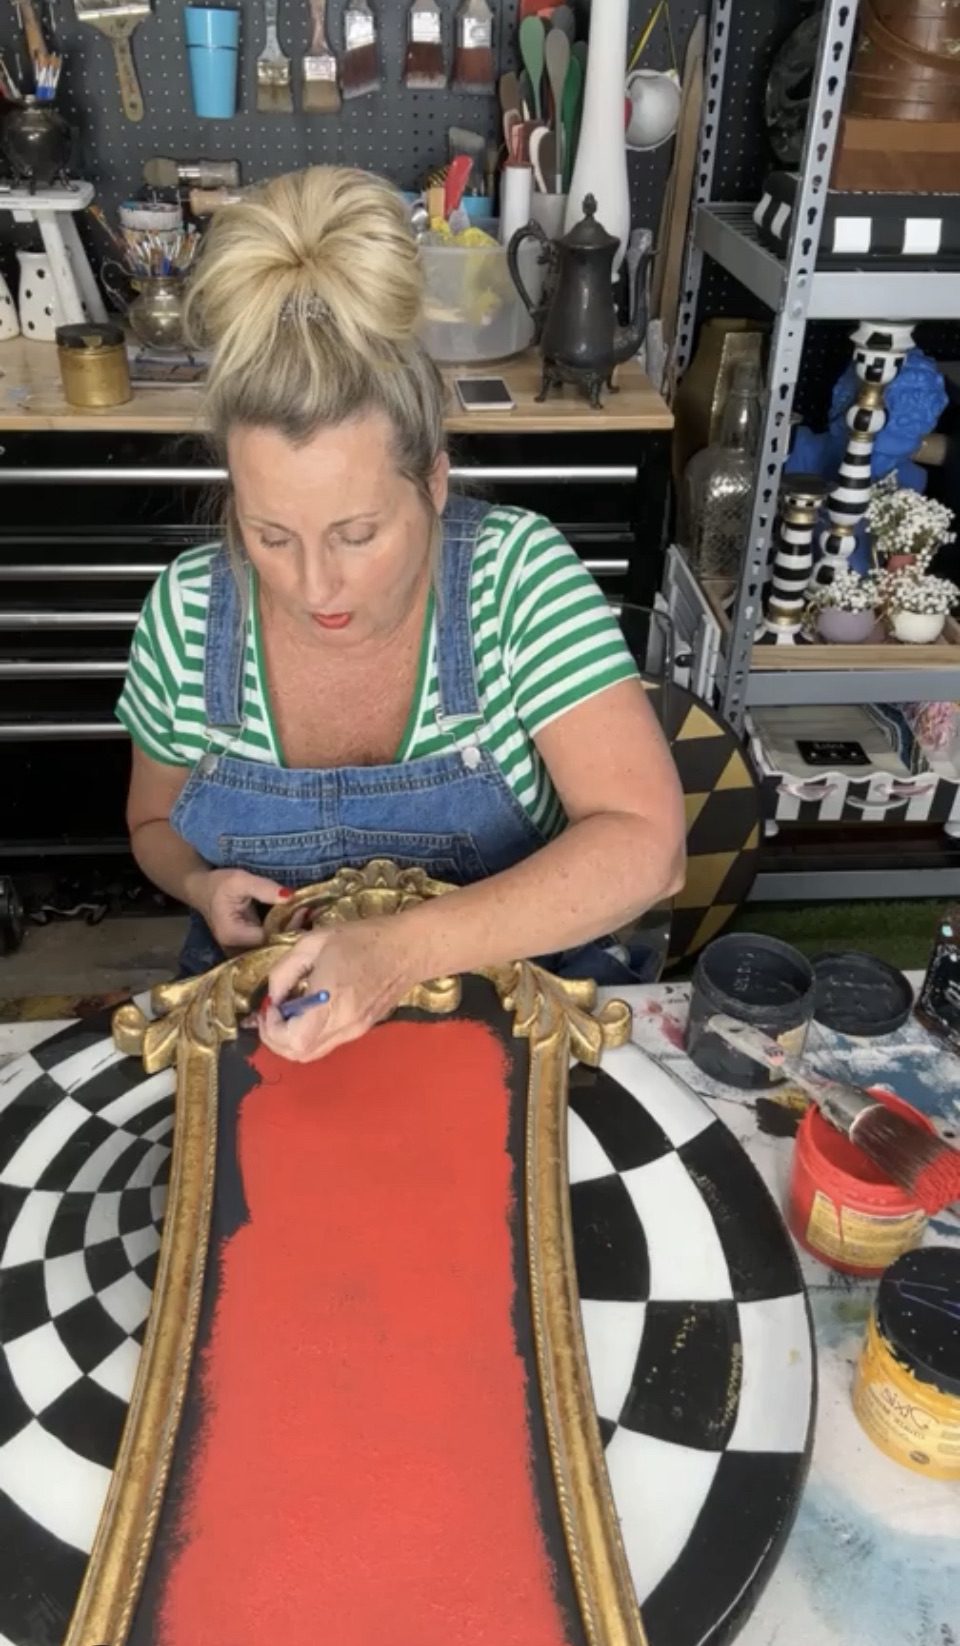
While this black paint was still wet I used my French Tip brush from Dixie Belle to stipple the black and ever so lightly bring it into the red area. I continued to do this in sections, using my craft brushes to add a bit more black and a bit more red….then stippling them together with the French Tip brush. The colors red and black are very contrasting and are not the easiest colors to blend. However, I love the dramatic vibe they offer together….so stippling is a great way to get that smoky blend!
Applying CLEAR Design Transfers
Once completely dry, I chose a few clear transfers from Dixie Belle Paint Belle’s and Whistles line. The one I chose is the Roses are Red Transfer. I LOVE the giant red roses that this transfer offers and I will be using them on the end table that I mentioned. I wanted to bring the flowers into this recycled wall art. For that reason, I decided to go with the long-stemmed roses as they were the perfect shape to be displayed here. I also LOVE the fact that these roses are clear and will take on the color of whatever you are painting! They are so easy to work with….simply peel away from the plastic backing, lay in place, and rub to release!
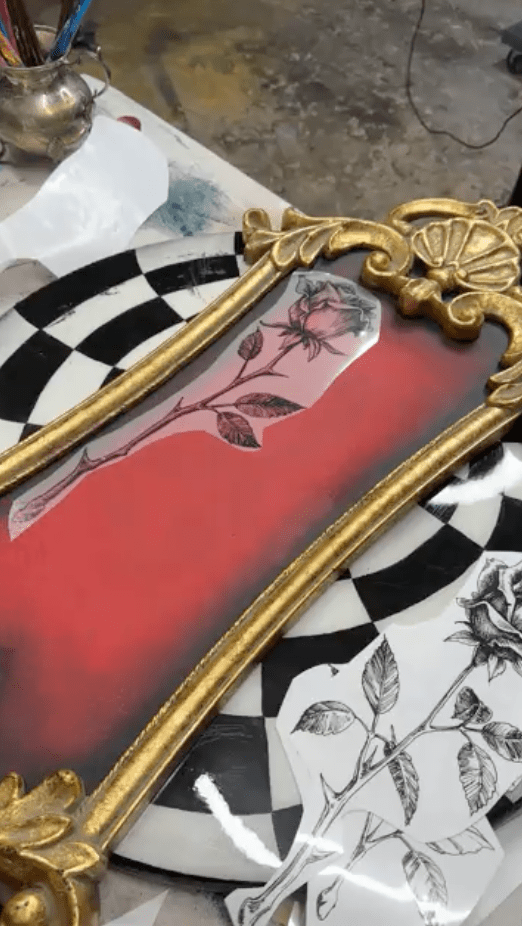
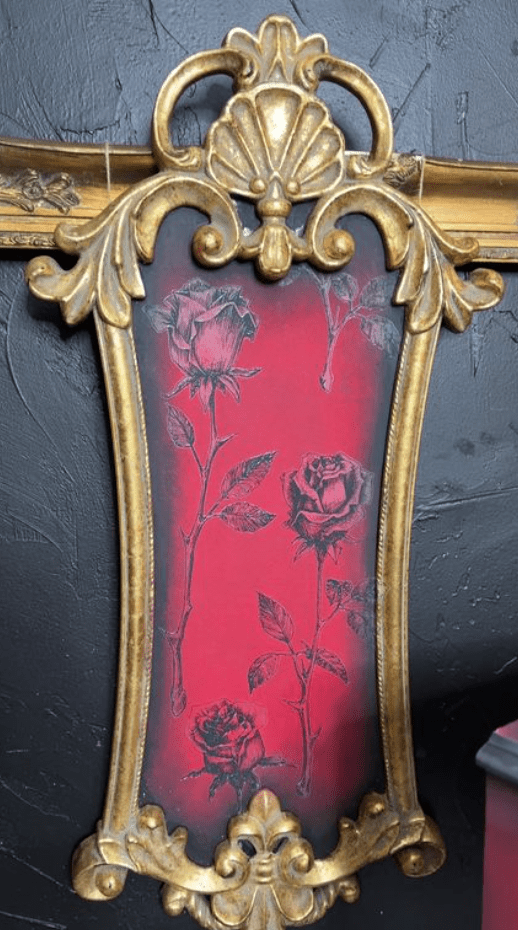
Once rubbed on really well I sealed with a single coat of Dixie Belle Paint in Top Coat in Flat. I used two of the three long-stemmed roses and I LOVE how they give a shadowed soft red vibe against the deep red/black background!
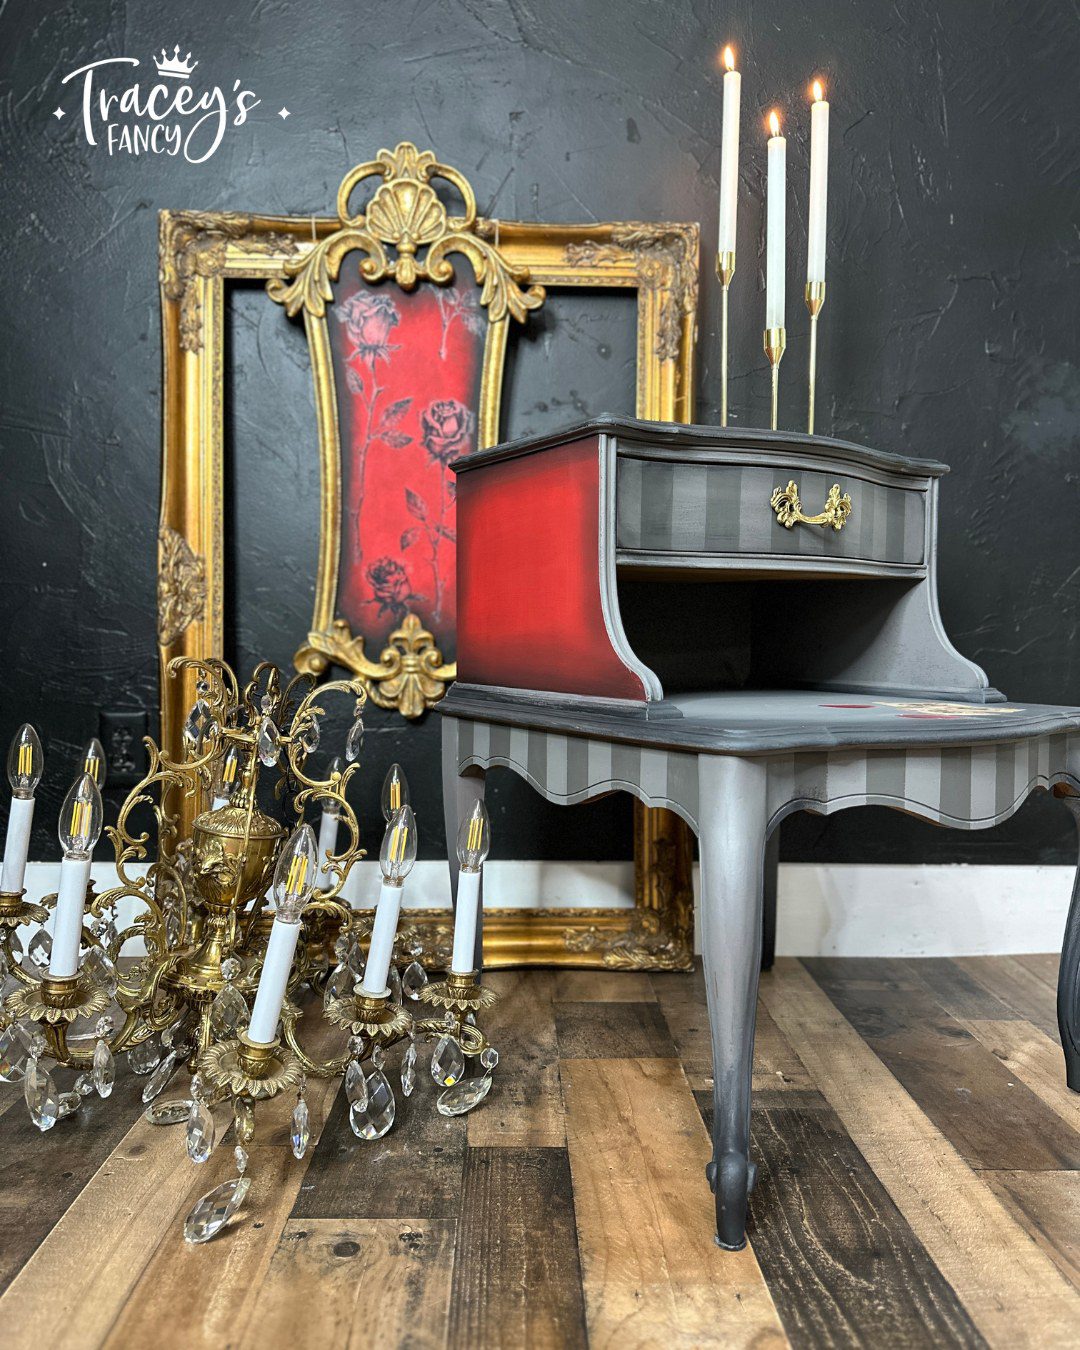
The Finished Look: Recycled Wall Art
Remember, if you love the shape of something – don’t toss it! I have no doubt you’ll be able to use it again very soon with just a little paint and vision! This project was fast and easy, taking less than 45 minutes to complete with the help of a heat gun to speed up the drying process! That’s the kind of project I like!!!


Love that transfer on this. Love seeing different ideas for wall art. Started following Tracy’s Fancy also, love her and her great ideas to be creative using the Dixie bell paints. She so talented and fun!!
We love Tracey’s Fancy! She is so creative, and like you mentioned FUN!