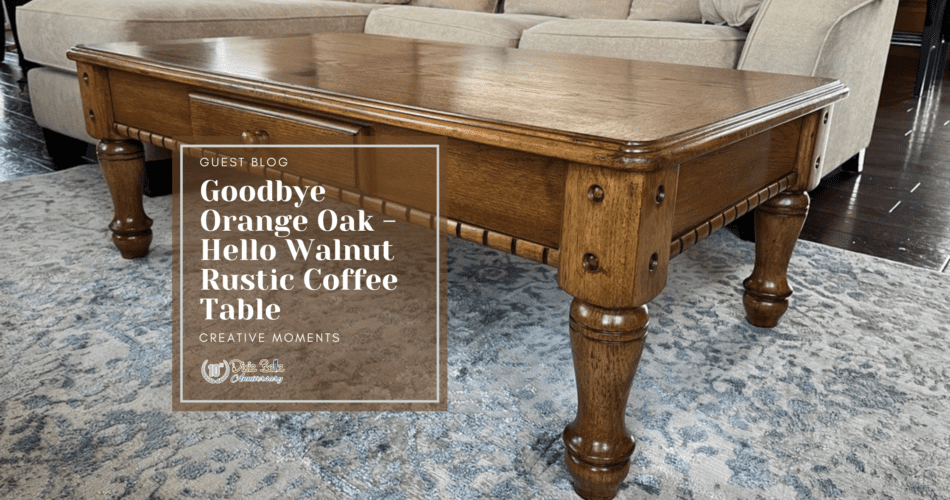
Welcome DIY enthusiasts! Today, we have a guest blog from Lee Ann at Creative Moments. She’ll show you how Dixie Belle’s No Pain Gel Stain updates a rustic coffee table. Follow her step-by-step guide to see how you can easily refresh your furniture.
(The following is an excerpt from Creative Moments. Read the full article here.)
This sturdy coffee table just needed a warmer stain color to update it from the orangish original finish.
Step 1:
The original finish was in great shape minus a few scratches on the top. I thoroughly cleaned and then lightly scuff-sanded the table, using a 220-grit sanding sponge. I then wiped off the sanding dust. Although No Pain Gel Stain can be applied directly over the existing finish, a light scuff sanding is recommended.
Step 2:
I chose Walnut No Pain Gel Stain for this update. See how it warms up the original finish!
Above is a photo of the leg before the No Pain Gel Stain, and the leg with the stain applied is pictured below.
Step 3:
Next, I wiped off the excess stain with a lint-free cloth; see below for the final after-color.
In the below picture, No Pain Gel Stain has not been applied to the drawer, but the rest of the table has been stained. This view clearly shows the color difference between before and after.
Step 4:
The coffee table was fully stained and left to dry for a few days. I used a sanding sponge to lightly smooth it once it was dry.
Step 5:
Finally, Black Best Dang Wax was brushed in the crevices to bring out the details more, and also on the entire top to provide a bit more sealing.
It is now complete and ready to get back to work.
We hope you enjoyed Lee Ann’s refresh of the rustic coffee table using No Pain Gel Stain. Check out Dixie Belle Paint Company for all your project needs, and follow Lee Ann at Creative Moments for more DIY tips. Happy crafting!
Check out our blog How to Refinish Wood Furniture to learn more about No Pain Gel Stain.

