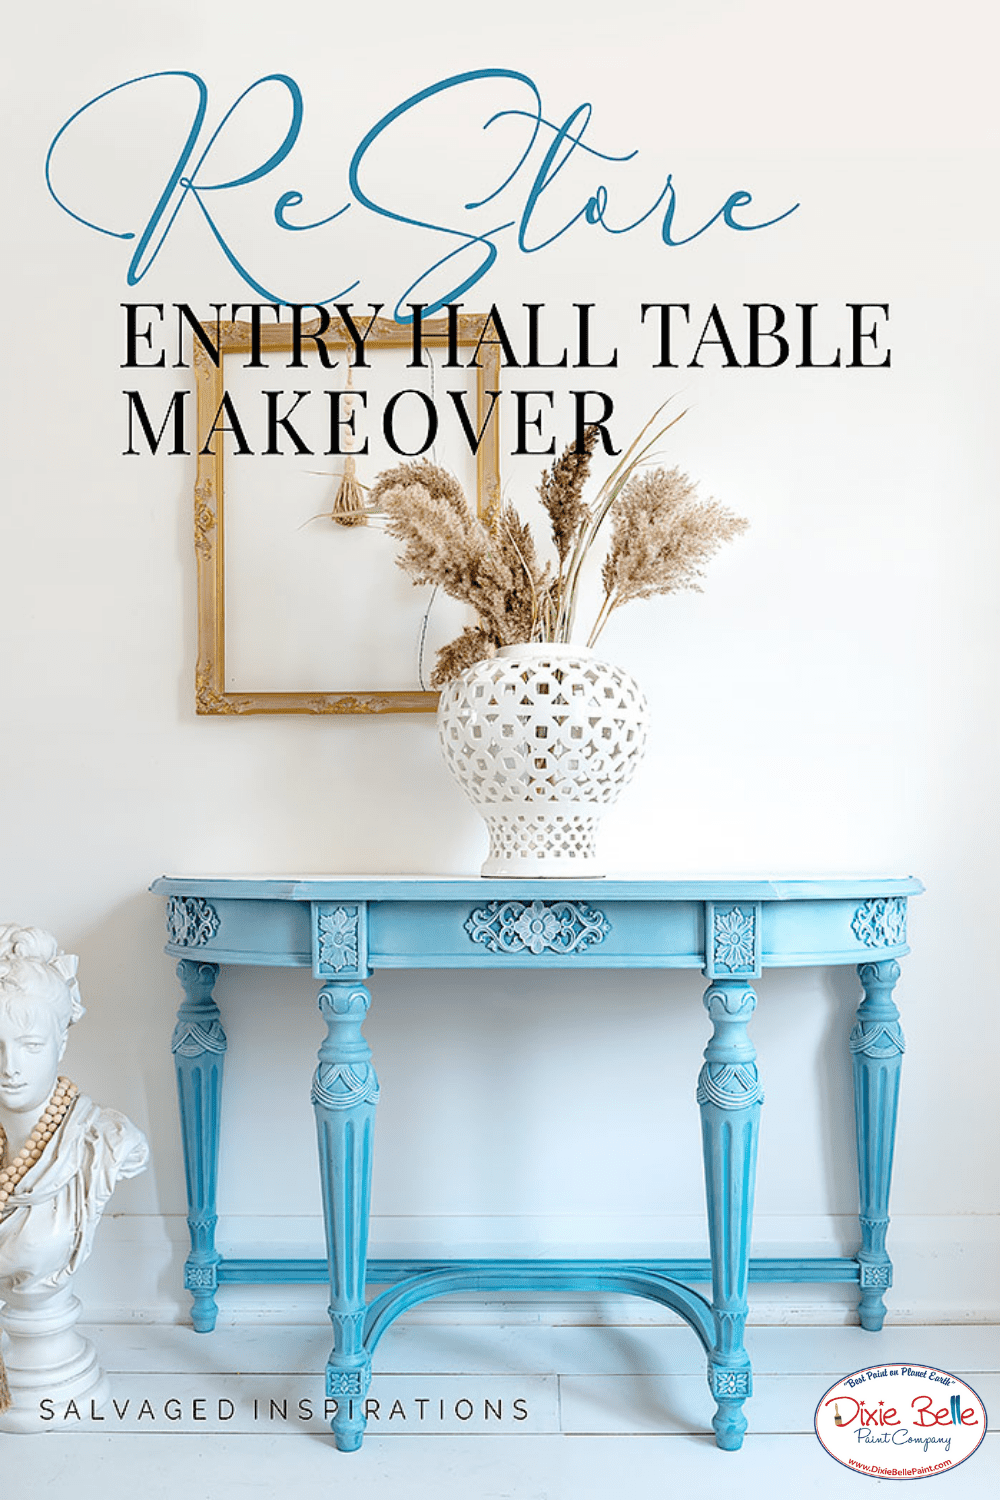
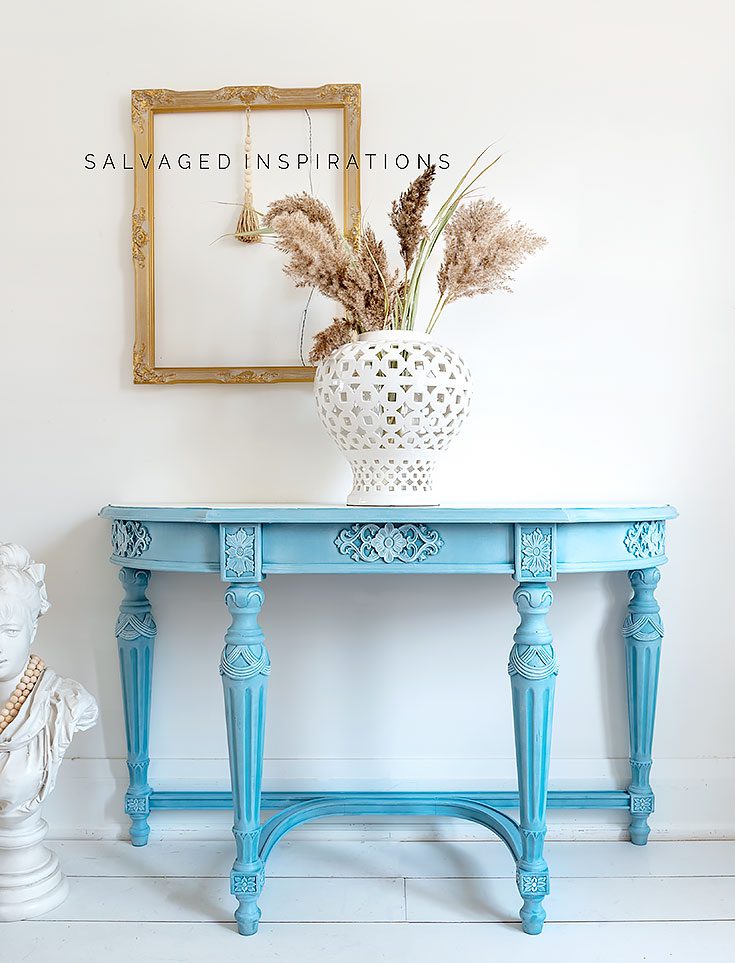
Hi, sweet creative friends! It’s Denise from Salvaged Inspirations! Today, let’s learn how to restore an entry hall table!
Materials List:
- Entry table
- White Lightning (Cleaner)
- Paint Sprayer | Paint Roller
- Orbital Sander | Sandpaper
- Slick Stick (Adhesion Primer)
- WoodUBend Applique #2157
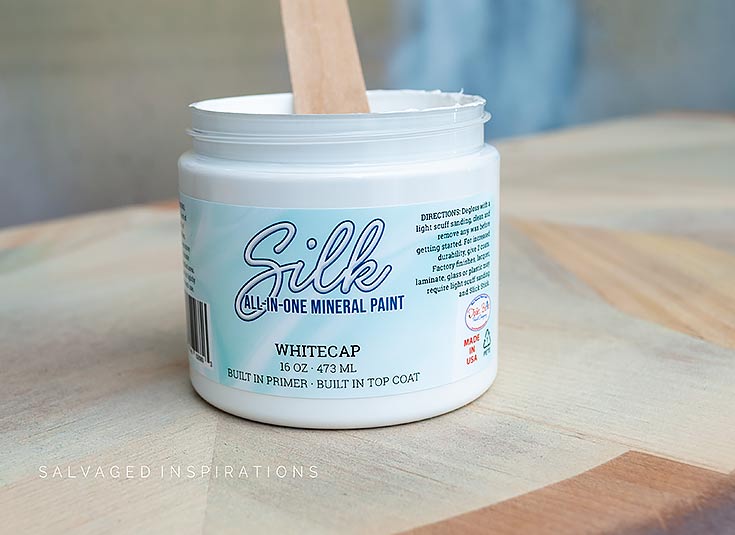
- Silk All-In-One Mineral Paint Whitecap
- Silk All-In-One Mineral Paint Harbor
- Best Dang Wax in White
How To:
Step 1:
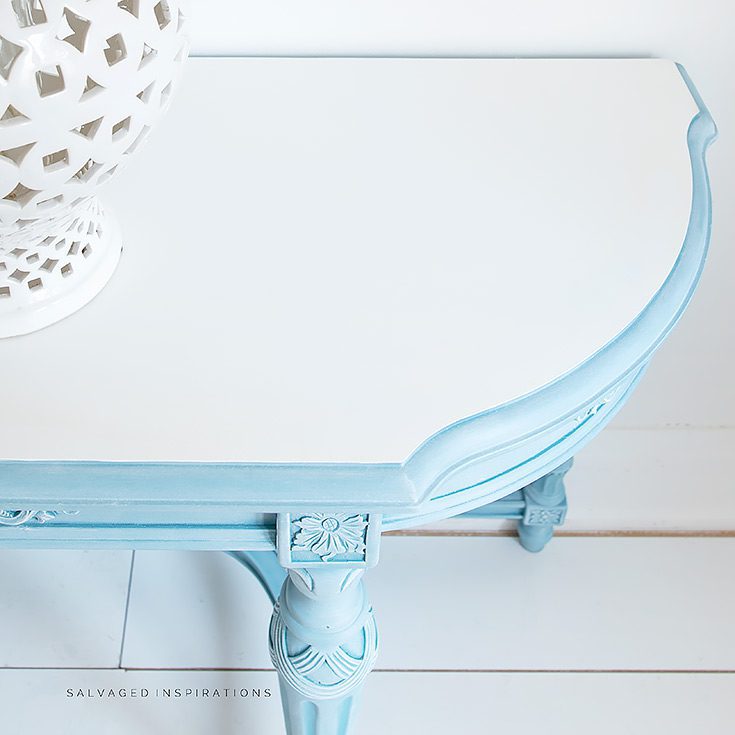
I started by cleaning this piece with White Lightning and then giving it an overall scuff sanding with #120 grit sandpaper. This table had a gorgeous sunburst inlaid top which I was originally going to stain but unfortunately, while trying to get out some dings and scratches, I sanded through the veneer in a few places. Uggghhh. So, I decided on a white top and blue bottom using white wax to highlight WoodUBend details and these gorgeous legs. You just have to go with the flow with these mishaps.
Step 2:
Before priming or painting, I added these WoodUbend designs to the front and sides of the table. These appliques are SO fun to work with and are easy to customize. I used applique #2157 which was too large for the table so I warmed it up with my heat gun and cut it down to size with a utility knife.
Step 3:
Because this table has a factory finish, I decided to use Slick Stick. I only applied it to the body of the table because the top was stripped down to a raw veneer and didn’t need an adhesion primer.
To read the rest of this beautiful tutorial, head on over to Salvaged Inspirations here!