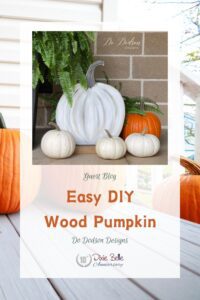
Welcome fall with this charming DIY Wood Pumpkin project by Donna from Do Dodson Designs! In this tutorial, Donna shows us how to create a stunning pumpkin decor piece for your front porch using simple wood materials and Dixie Belle Paint. It’s an easy and fun way to add a festive touch to your outdoor space, perfect for greeting guests and celebrating the season. Let’s get started and bring some autumn vibes to your porch!
(The following is an excerpt from Do Dodson Designs. Read the full article here.)

To say this is my favorite time of the year is definitely an understatement. Every year around this time, you’ll find me digging through my wood stash, hoping to create another unique Fall pumpkin creation for my front porch display.
SUPPLIES YOU’LL NEED: DIY WOODEN PUMPKINS
- scrap wood
- chop saw
- tape measure
- pencil
- wood glue or construction adhesive (liquid nail)
- nails or wood screws
- sanding blocks or sandpaper
- paintbrushes
- artist brushes (for blending and shading)
- BOSS (stain blocker for wood) (Dixie Belle’s new primer is Bonding BOSS)
- Drop Cloth (Chalk Mineral Paint)
- Coffee Bean (Chalk Mineral Paint)
- Pine Cone (Chalk Mineral Paint)
STEP 1: Gather Your Supplies for your DIY Wood Pumpkins
First things first, gather all the necessary supplies for your DIY wood pumpkin project.
- Wood: Choose a sturdy and weather-resistant type of wood if your DIY pumpkin will be exposed to the weather, such as rain. If you have a covered porch or plan on using the decor inside, you can use any wood you have on hand.
- Paint: Select a variety of colors that will complement your porch decor or match the festive spirit of the season. Consider orange, white, black, or even metallic tones for a unique touch.
- Adhesive: Invest in a reliable adhesive that securely holds the pieces of wood together. Wood glue or a strong construction adhesive should do the trick.
- Jigsaw, Chopsaw, or handsaw: Depending on your preference and availability of tools, use any of these to cut the wood into the desired shapes and sizes for your pumpkins.
- Sandpaper: Smooth out the rough edges of the wood and create a smooth finish with sandpaper. Opt for a medium-grit sandpaper for this step.
- Paintbrushes: Have a variety of paintbrushes on hand, including large brushes for broad strokes and smaller brushes for detailed work.
- Pencil and ruler: Use a pencil and ruler to mark and measure the dimensions of the wood before cutting.
- Optional: If you want to add extra embellishments to your wood pumpkins, consider gathering additional supplies like ribbons, faux leaves, or wooden stems.
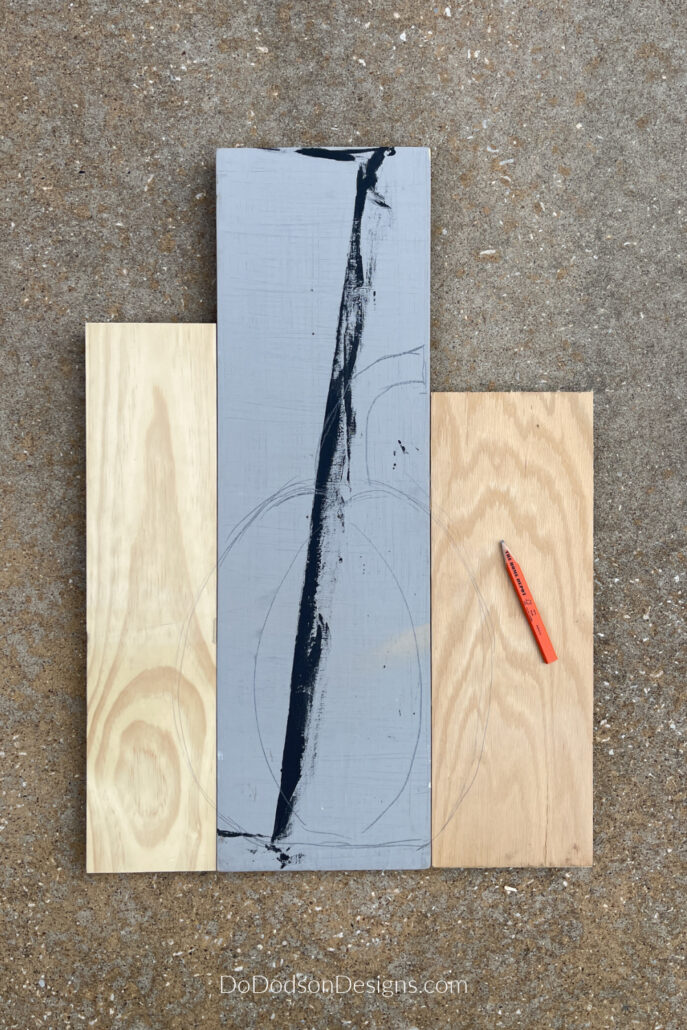
STEP 2: Measure and Cut the Wood
First, grab your measuring tape and pencil. It’s important to have precise measurements for a professional-looking wood pumpkin. Start by deciding how big you want your pumpkin to be. You can go for a traditional-sized pumpkin or get creative with different dimensions.
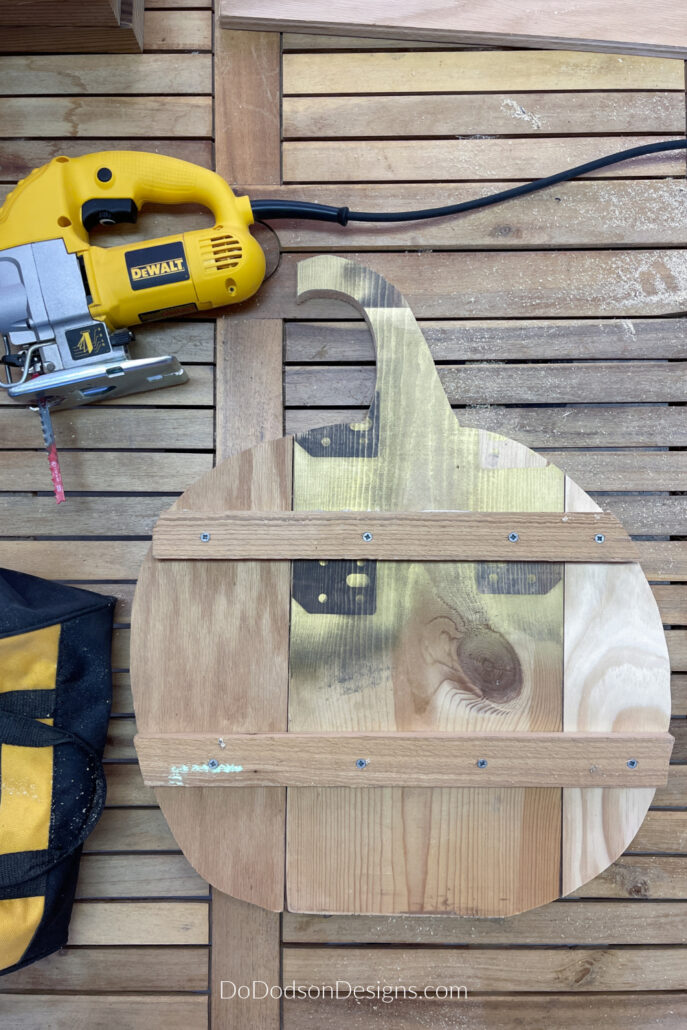
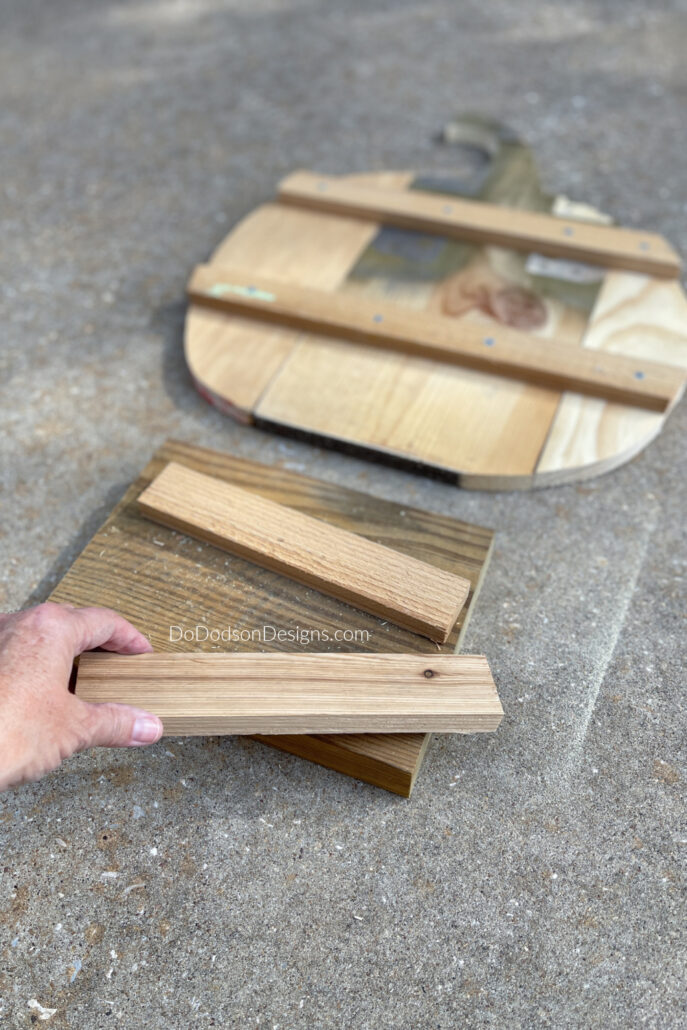
I used three pieces of scrap wood. You can use random sizes. Basically, you will be laying them side by side to make one large board. It’s a great way to use up all those odd-sized scrap pieces.

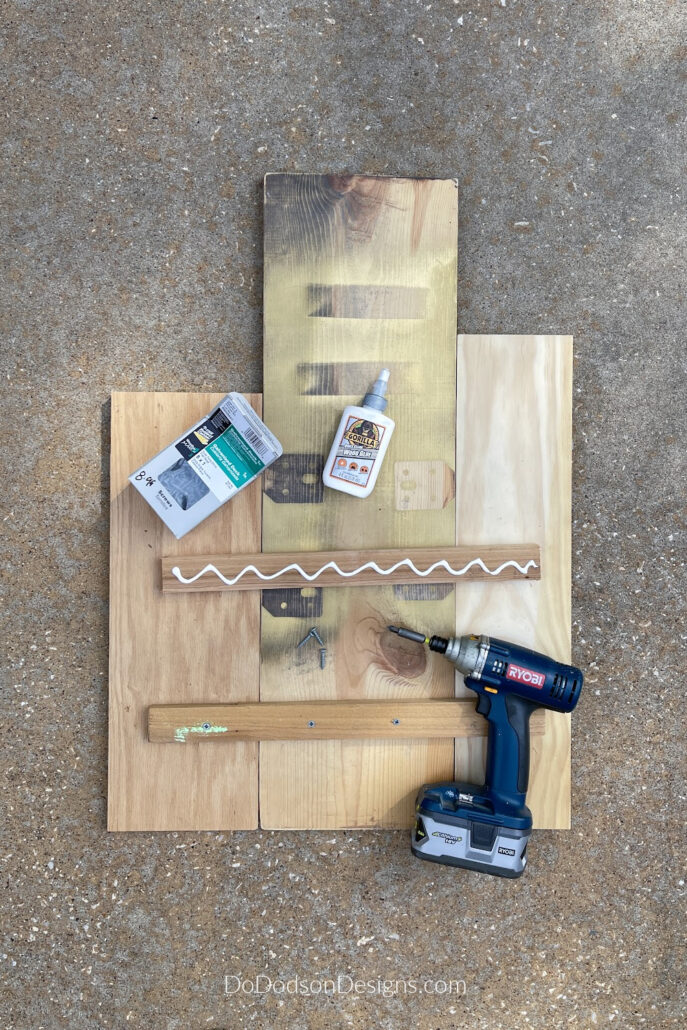
STEP 3: Connect the Boards Together
Once you have decided on your DIY wood pumpkin size, flip the three pieces over and secure them together with two cross pieces of wood. Small strips of wood are perfect for this, but make sure they are big enough to be secured with screws or nails without splitting the wood. If the wood is brittle and dry, drill a small pilot hole in the wood before securing it together with screws.
Apply a good amount of wood glue to the back of each cross piece and secure with nails or wood screws. Doing this will ensure a strong connection between the three boards.

STEP 4: Cutting The Shape of the Pumpkin
Now that your boards have been secured together and the glue is dried, it’s time to cut out the shape of the pumpkin. This step will be a breeze if you have a jigsaw. Position the wood on a stable surface and carefully follow the lines you marked. Take your time and cut slowly to ensure a clean and precise cut.

Once you have cut all the necessary pieces, give them a quick sanding to smooth out any rough edges. This will make your wood pumpkins safer to handle and give them a polished finish.

Now that your DIY wood pumpkins have taken shape, it’s time to paint and decorate. Let your imagination run wild as you transform your wooden beauties into charming front porch decor that will delight you anytime you walk past them.
Step 5: Painting The Wood Pumpkin
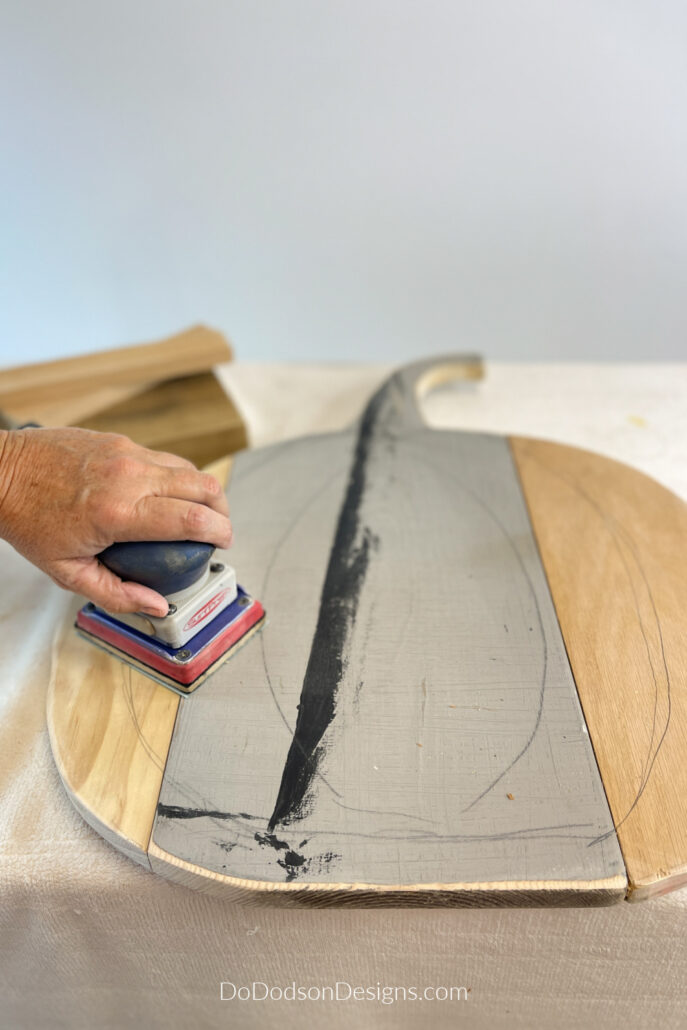
Before you begin painting, make sure to prepare your surface properly. Sand down any rough edges or uneven areas to create a smooth canvas for your creativity. Wipe away any dust with a clean cloth, ensuring a clean surface for optimal paint adhesion.
Because I’m painting over bare wood, I used a wood tannin blocker called BOSS (Dixie Belle’s new and improved primer is now called Bonding BOSS). Apply two coats, allowing each coat to dry before applying the next. This will prevent any surfacing stains and ruining the painted pumpkin finish. If you use a darker color, you can skip this step. But I’ve never seen a black pumpkin. 🙂 Have you? That could be fun!
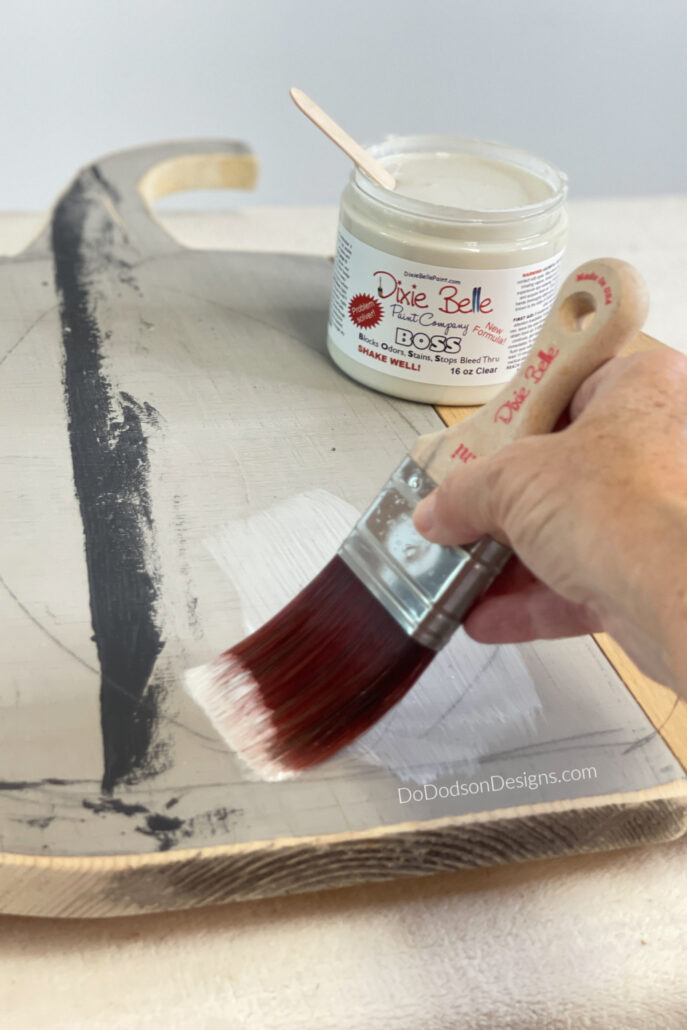

Once your pumpkins are prepped, grab your paintbrushes and let the magic happen. Apply a base coat of paint to the entire wooden pumpkin, covering it evenly. This will serve as a foundation for any additional layers or decorative elements you want to add later. Let the base coat dry completely before moving on to the next step.
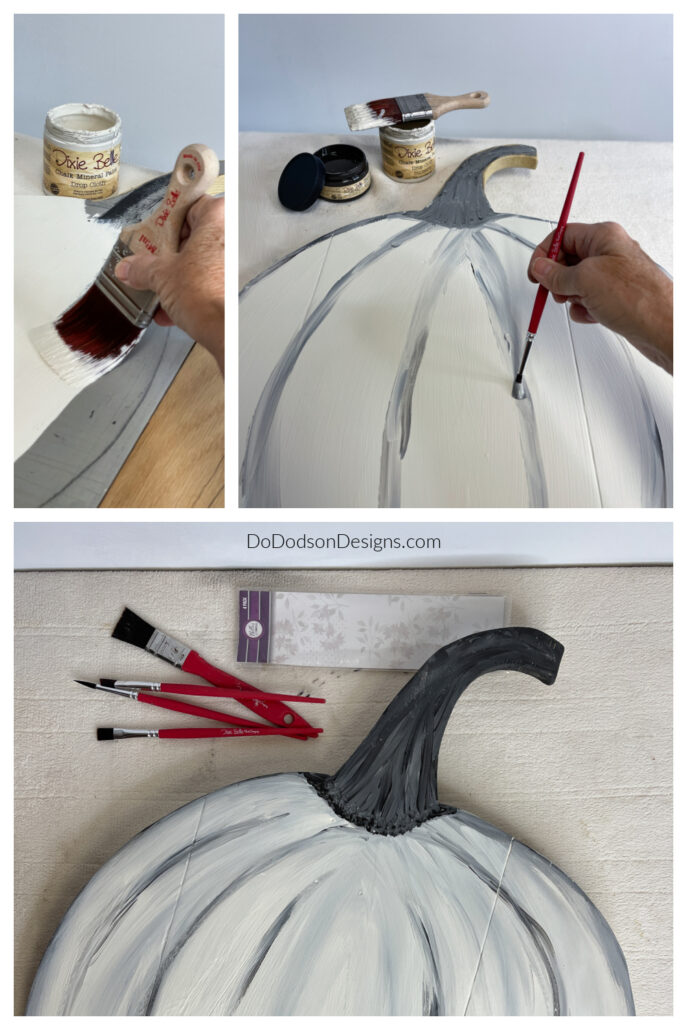

Now comes the fun part – painting your pumpkins! You can use various techniques to add texture and visual interest. You can also use stencils, stickers, or even freehand painting to create designs like polka dots, stripes, or floral patterns. If you’re feeling adventurous, you can even try your hand at faux finishes, such as distressing or antiquing, to give your pumpkins an aged and rustic look.
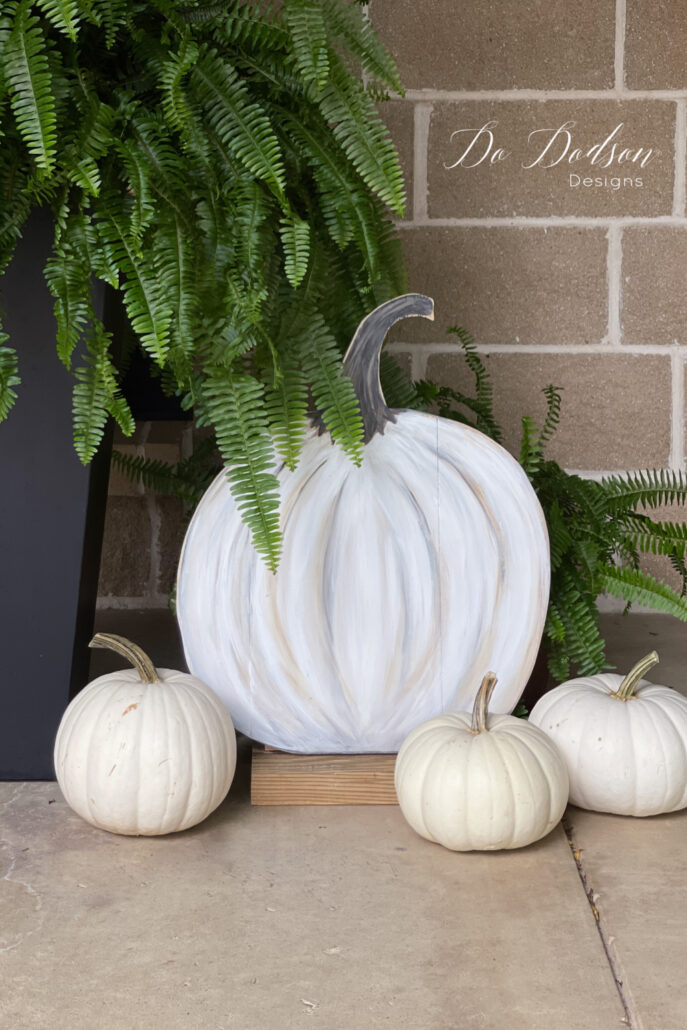
For my DIY wood pumpkin, I decided to go with white (Drop Cloth) with accents of brown/black (Coffee Bean) and (Pine Cone) by Dixie Belle Paint Co.
After you’ve finished painting and decorating your DIY wooden pumpkin, you’ll need to construct the base that will allow it to stand independently.
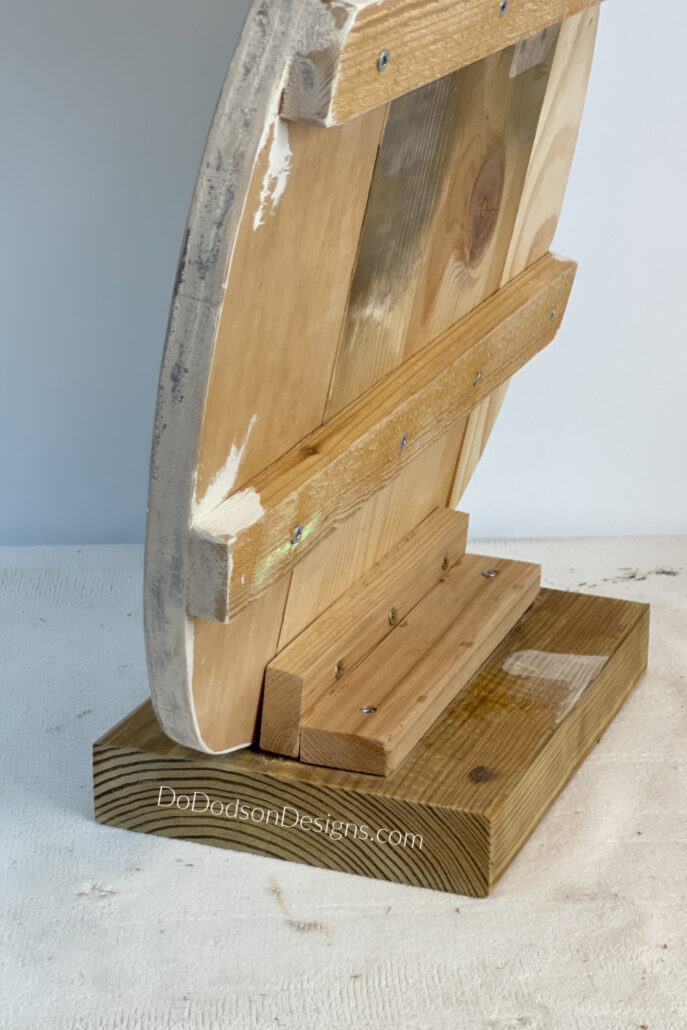
STEP 6: Making The Base For The DIY Wood Pumpkin
Here’s where all those little scrap pieces of wood come into play.
The size really isn’t that important, but it depends on how large your pumpkin is. For my DIY wood pumpkin, I’m using 1X2 cedar wood. You could also use 1X4s.

I predrilled holes into the back pieces and secured the pumpkin to the base with wood glue and screws.
The base is made from a 2X8. Don’t skimp on the base. You’ll need a heavier, wider board to hold the pumpkin upright and from toppling over.


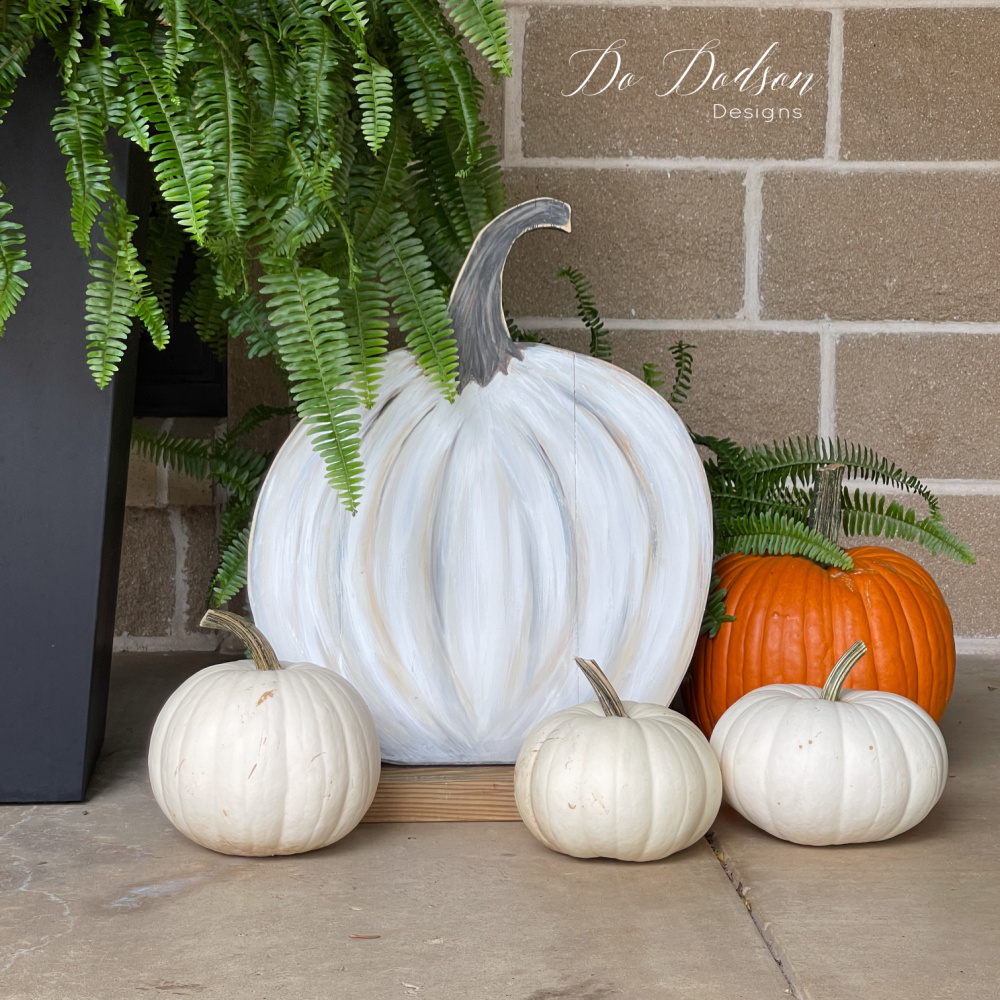
Display Your DIY Wood Pumpkins and Enjoy
First, consider the layout of your porch and how the wood pumpkins will fit into the overall design. Think about the available space, the existing decor, and the desired visual impact. Will you place the pumpkins in a straight line or cluster them together? I personally like to add real pumpkins mixed in with my display. Play around with different arrangements until you find one that tickles your fancy.
And there you have it—a beautiful wood pumpkin to adorn your front porch! Donna’s easy DIY project is a wonderful way to celebrate the season and add a personal touch to your outdoor decor. We hope you enjoyed crafting along and are inspired to create more seasonal pieces. Don’t forget to share your pumpkin with us; we’d love to see how you decorate your porch this fall! For another easy front porch decor project, check out our blog, Create Outdoor Lanterns with Dixie Belle Paint.