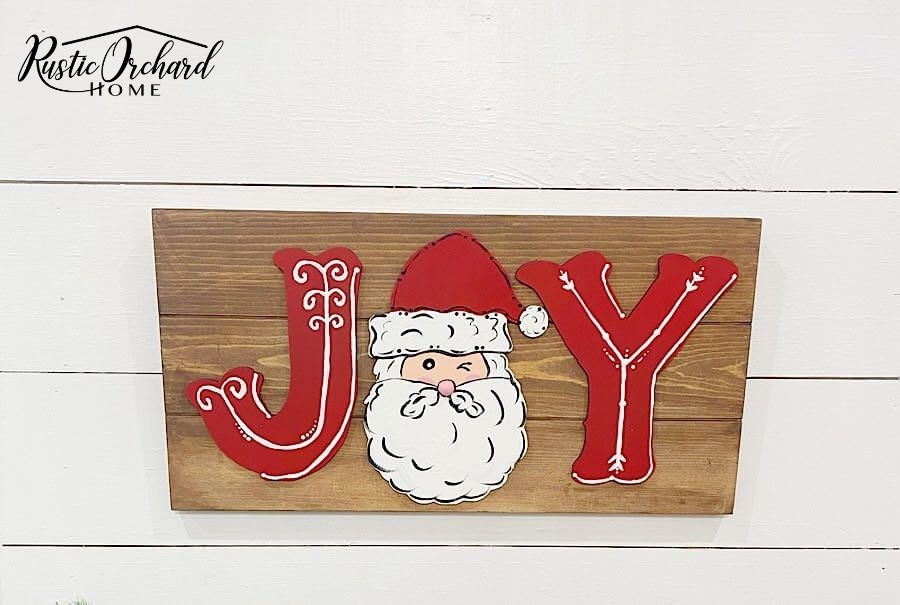
Hi everyone! It’s Tammy from Rustic Orchard Home! Who’s ready for all things Christmas?! Today, I’m going to share how to create a DIY Santa Sign! Let’s get started.


Materials List:
- JOY Sign Kit with Santa Head as the “O”
- Santa Head Cutout
- Faux Shiplap Sign Blank
- Unfinished Split Wood Balls
- Whitecap Silk All-In-One Mineral Paint
- Apricot Dixie Belle Chalk Mineral Paint
- Anchor Silk All-In-One Mineral Paint
- Barn Red Dixie Belle Chalk Mineral Paint
- Tobacco Road Voodoo Gel Stain
- Paint Brushes
- Small Squeegee
- Gorilla Super Glue
How To:
Step 1:
Begin by using a pencil to sketch out Santa’s face. The pencil marks will help you stay on track with the detail when painting.
Step 2:
Next, paint on all of the white details using Silk All-In-One Mineral Paint in the color Whitecap. The white details include Santa’s beard, hair, his open eye, the brim of his hat, and the ball on the end of his hat. After that, use the color Apricot to paint on his face. Then, mix a bit of the Barn Red and Whitecap to create a light pink to paint the split wooden ball detail that will be used for his nose.
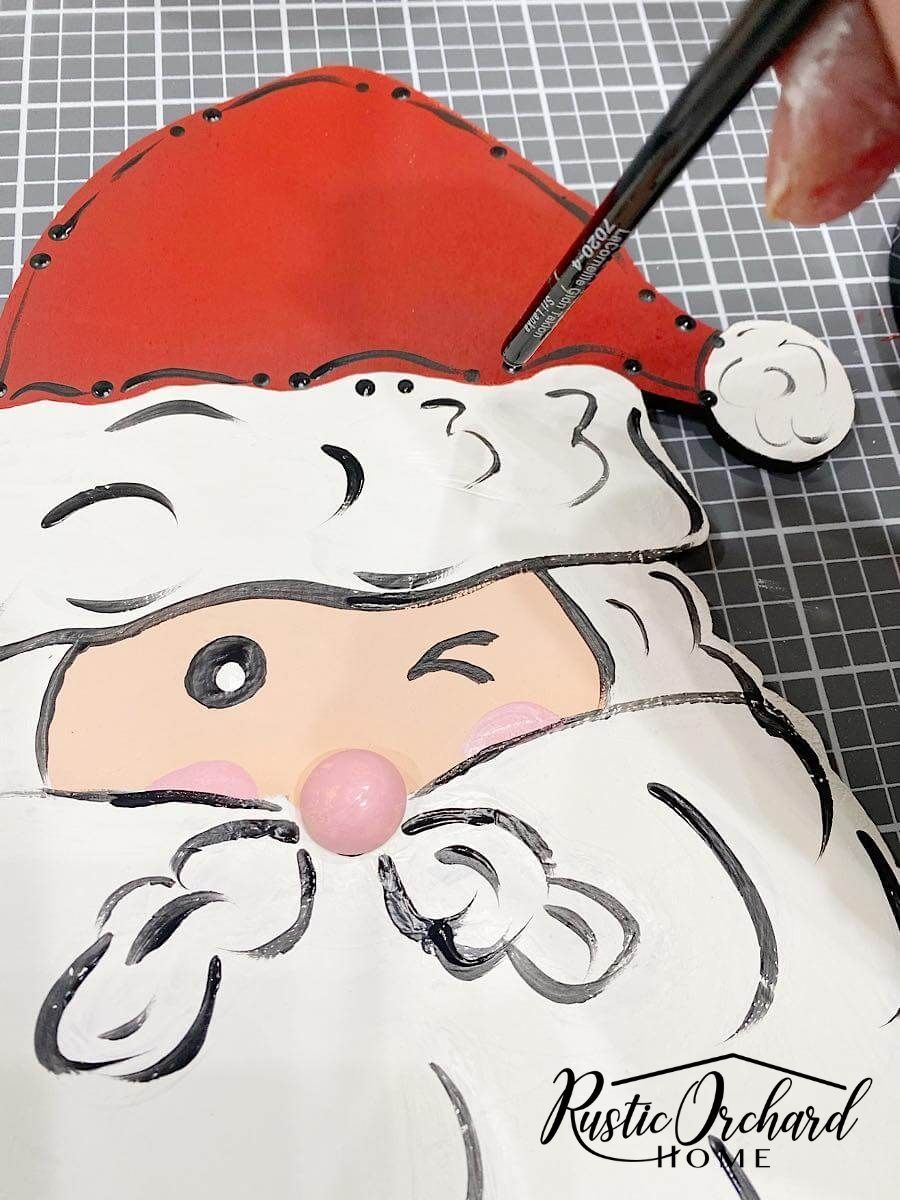

Step 3:
Next, use the color Barn Red to paint on his hat. Finally, use the color Anchor to add details that will give Santa some dimension. Also, be sure to finish off his eyes and cheeks. I used the same mix of Barn Red and Whitecap as I used for his nose on the cheek details. I added the appearance of “fluff” to his beard and hat, dots with the end of my paintbrush, and outlined to the entire piece where needed.

To read the rest of this festive tutorial, hop on over to Rustic Orchard Home here!