Hey there spooky crafters, it’s Nicky from The House on Silverado!
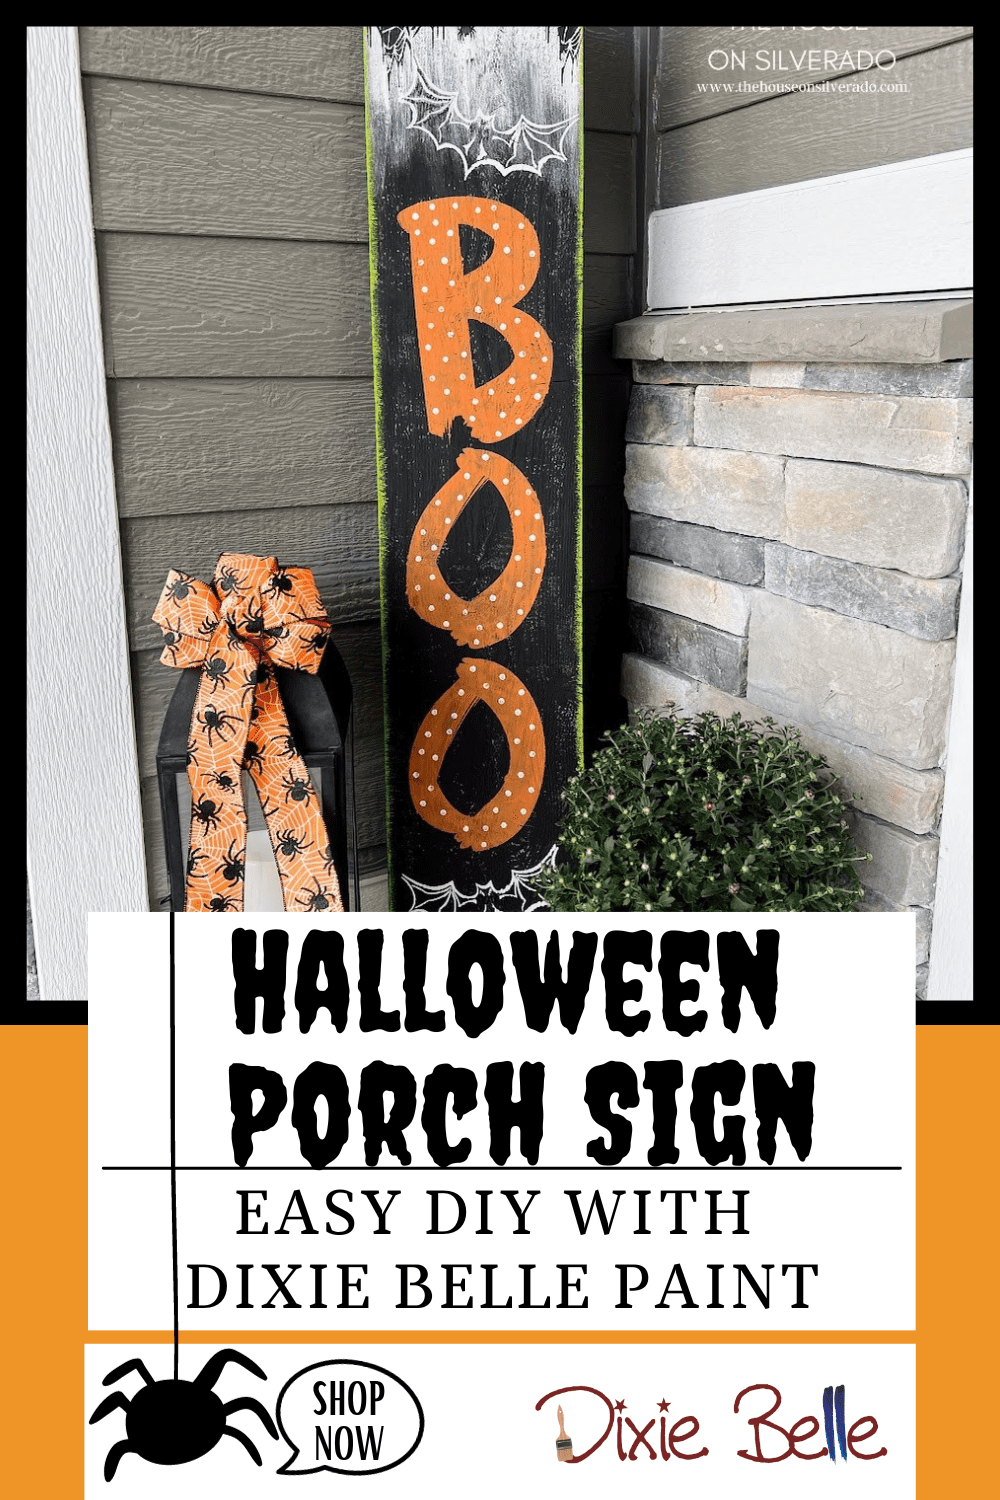
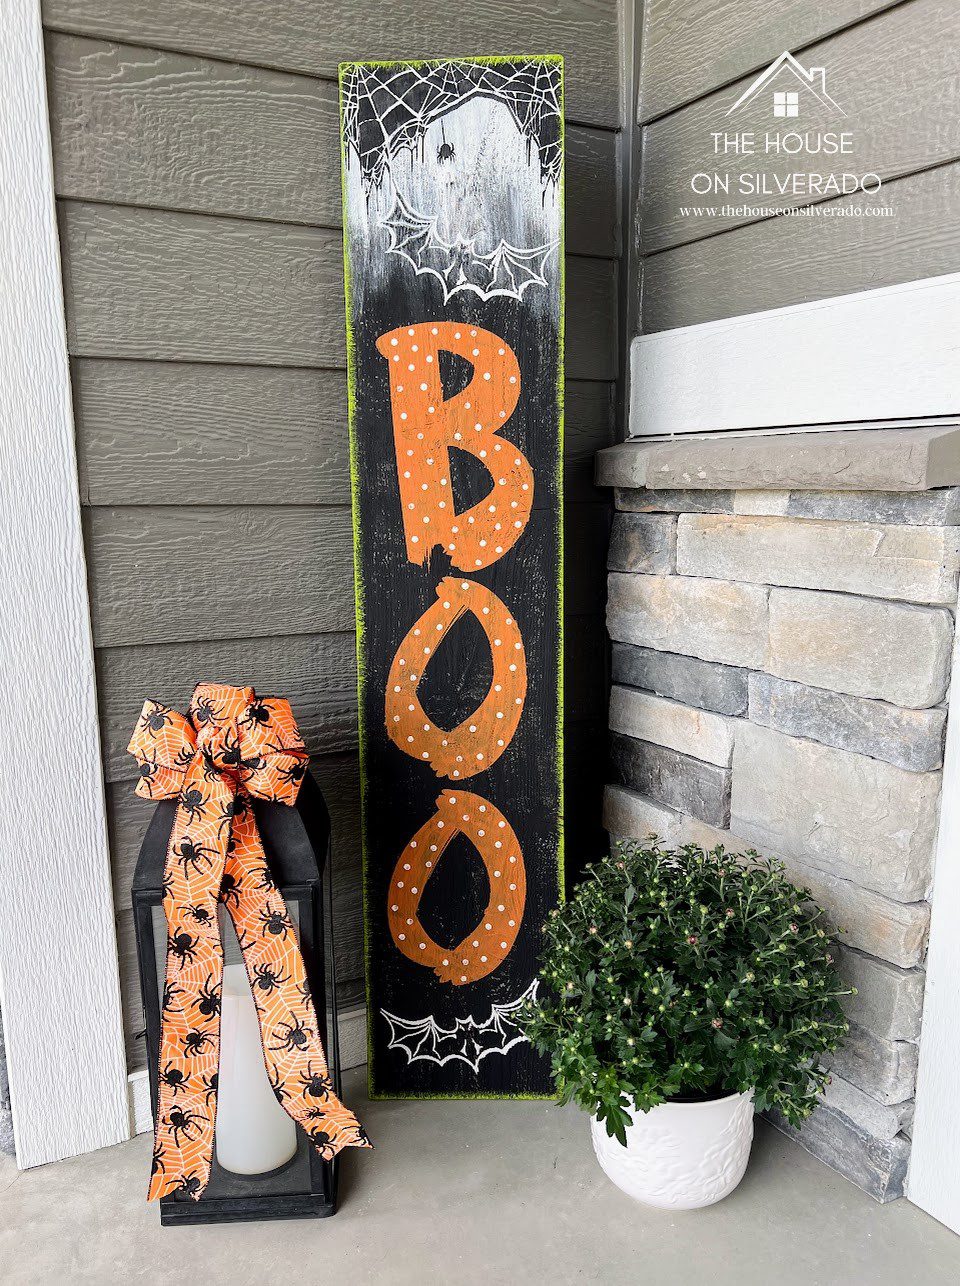
This easy DIY Halloween Porch sign is cute, colorful, and so much fun to make. Just a piece of wood, some of Dixie Belle’s Chalk Mineral Paint, and stencils are all you need to create your own. When I saw Dixie Belle’s Happy Halloween and Hello Autumn stencils, I knew right away they’d be a great way to make cute Halloween signs! Last year, I made this simple wooden porch sign for my fall porch. I don’t have many Halloween porch decorations, and since the back of this sign was still empty, it was prime real estate for creating another design.
Products Needed:
-
Happy Halloween Stencils
-
Black Chalk Mineral Paint — Caviar
-
Orange Chalk Mineral Paint– Florida Orange
-
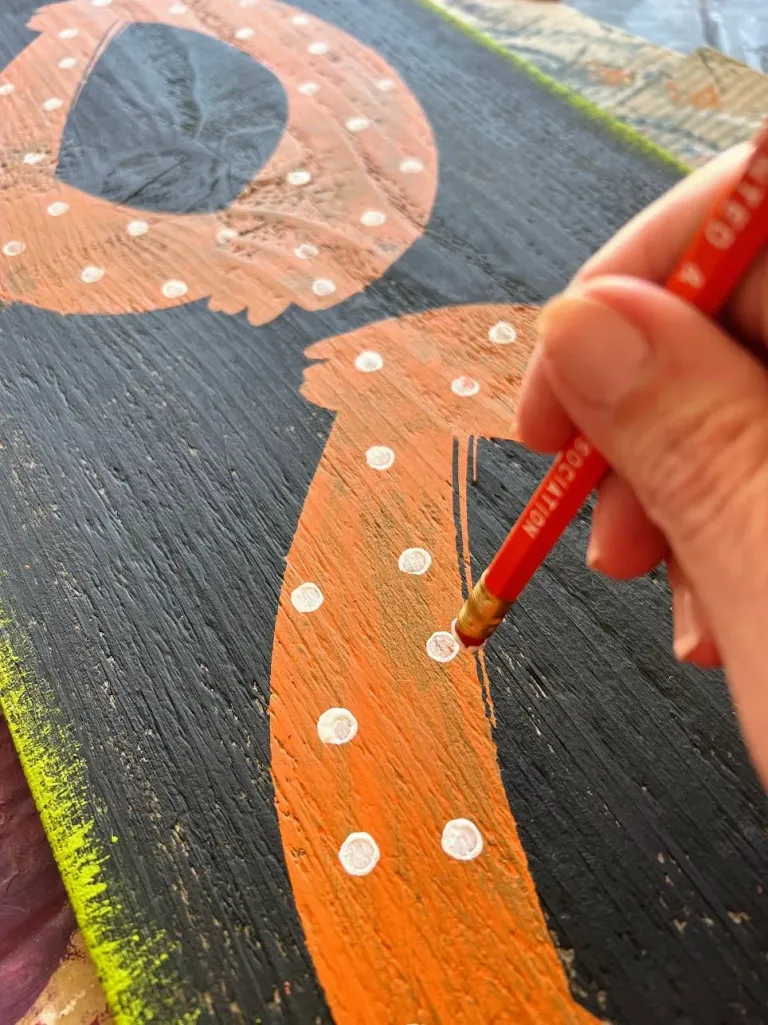
White Chalk Mineral Paint– Fluff
-
Red Chalk Mineral Paint– Honky Tonk Red
-
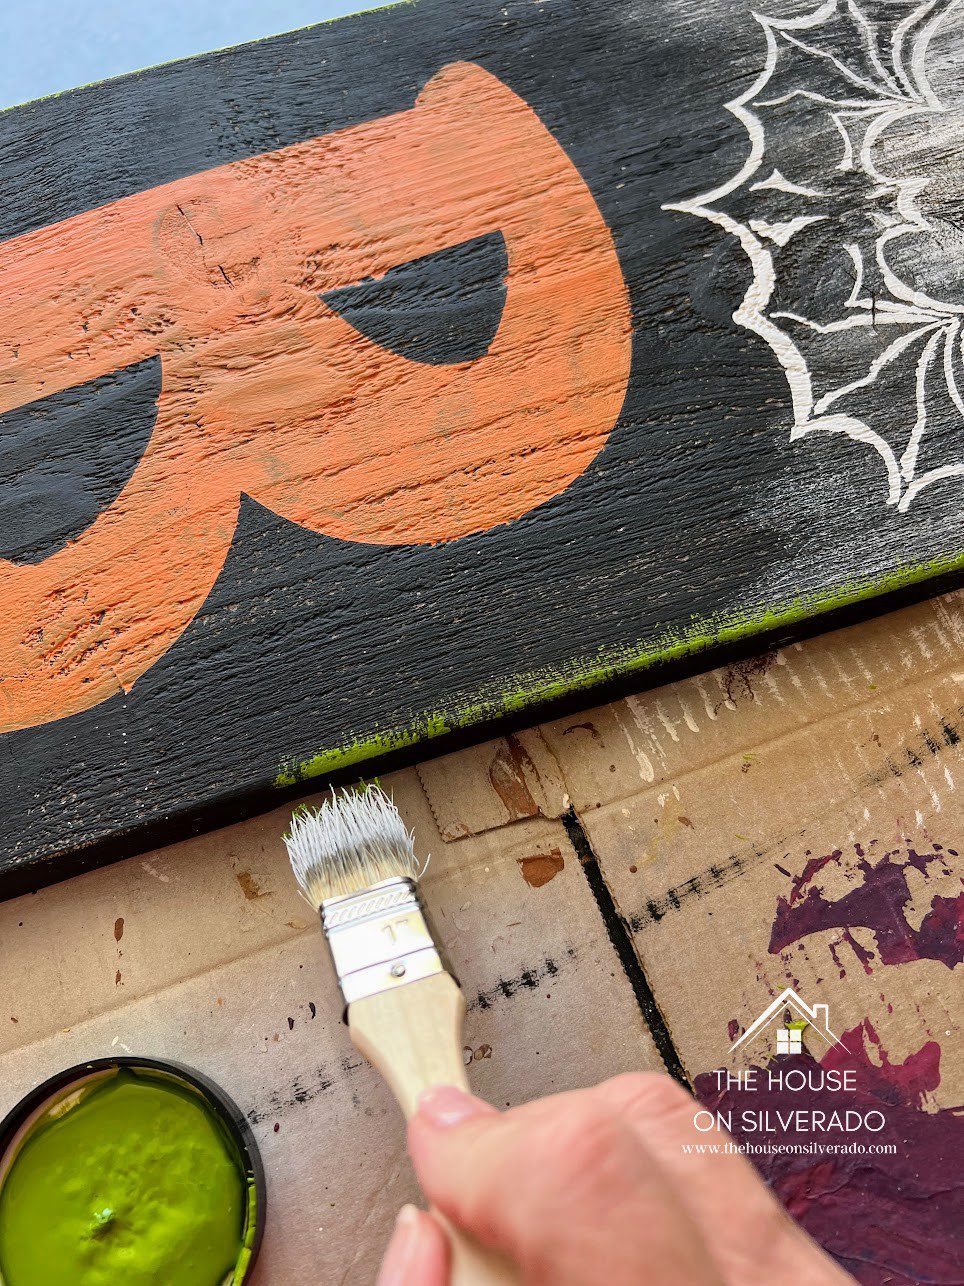
Green Terra Clay Paint–Pistachio
-
Flat Satin Clear Coat
-
Chip Brush
-
Artist Brushes
Wood
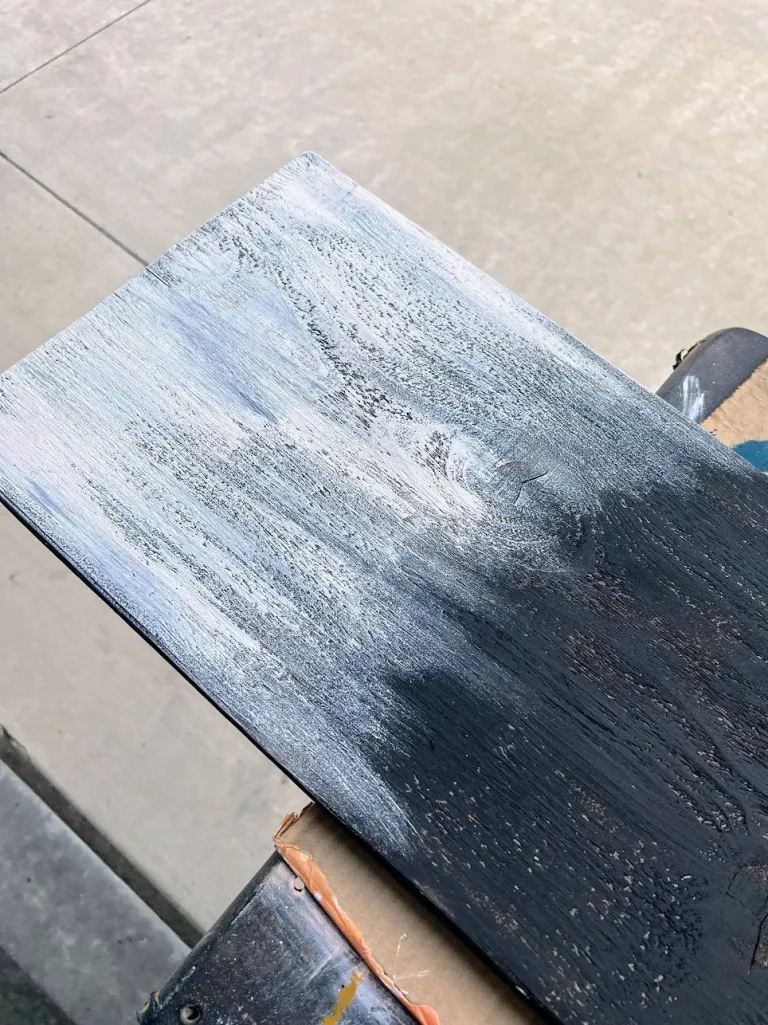
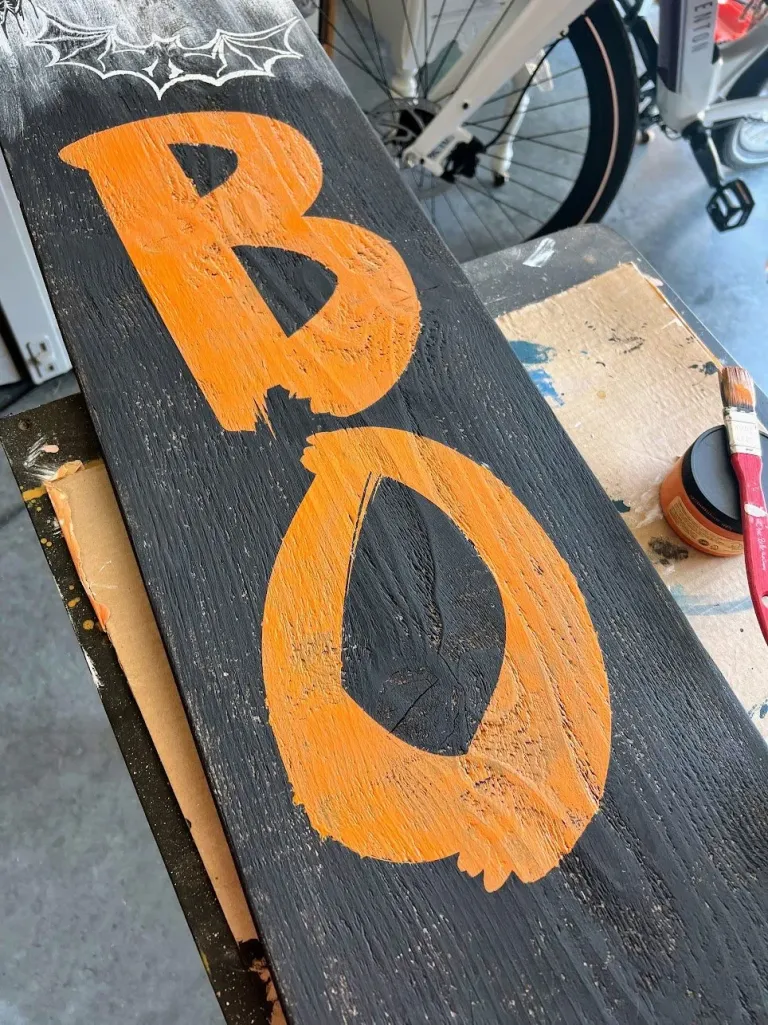
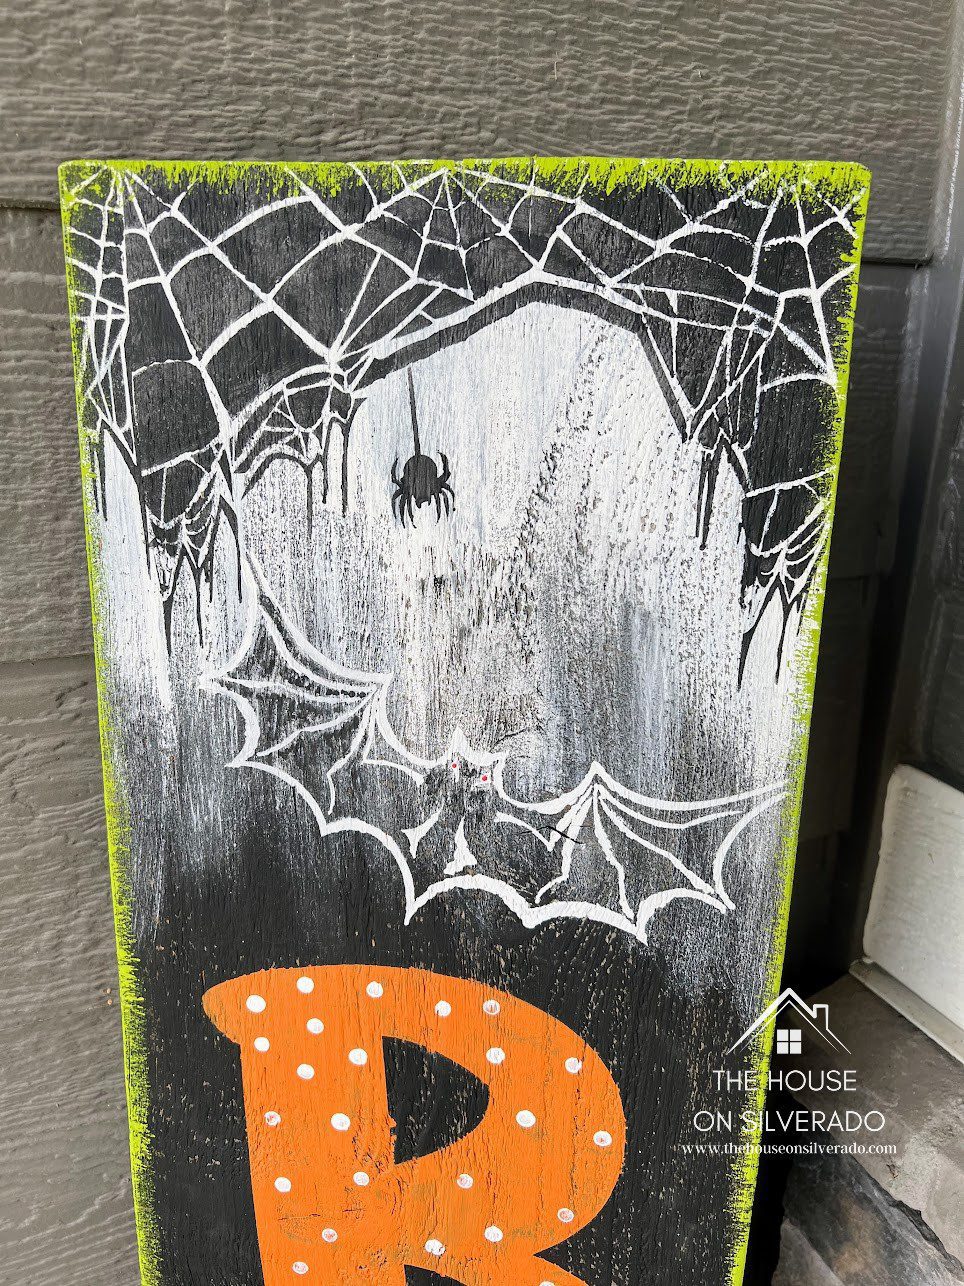
You’ll need a piece of wood to create your DIY project. Mine started as a piece of cedar scrap wood leftover from building our screened porch and deck, but any old wood will work. This piece measures approximately 53.5″ x 12″, but you can make your sign any size you choose. The first thing I did was gently sand the surface of the wood board to remove any splinters. Next, I gave the entire thing a coat of black paint. I used Dixie Belle’s Chalk Mineral Paint in the color Caviar. Next, I used a chip brush to dry brush some white paint, Dixie Belle’s “Fluff“, at the top of the board. Since my wooden sign was black, I needed some white so the spider and spider webs would show up.
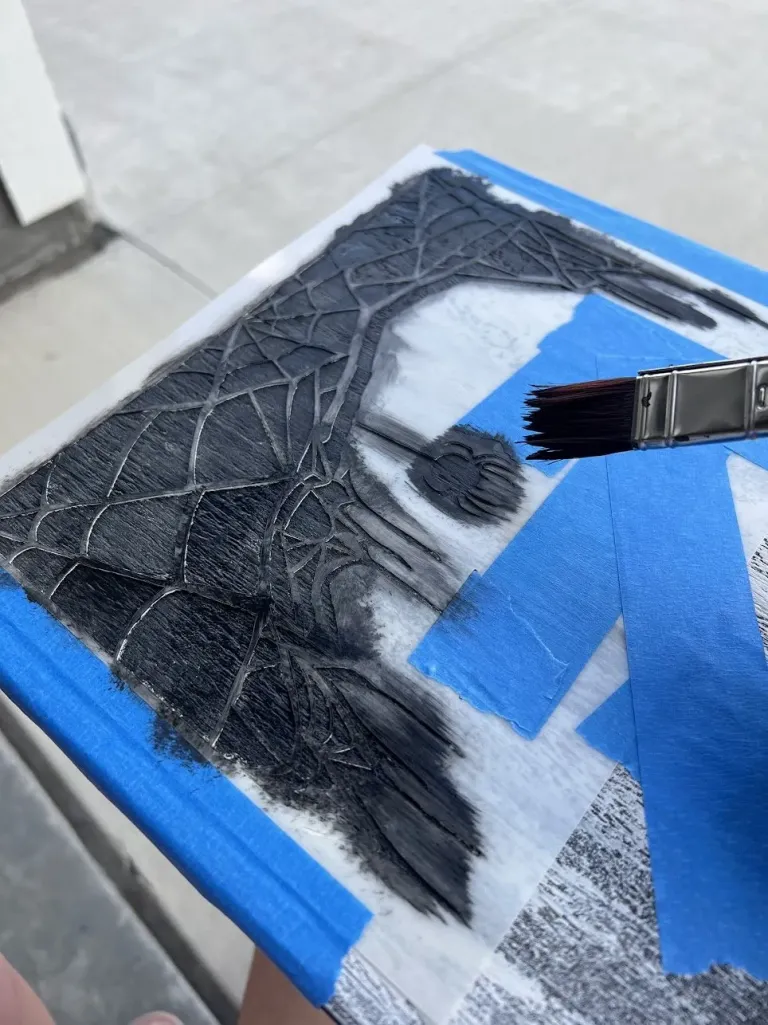
I taped my stencil down using blue painter’s tape and gently dabbed Caviar on, being careful to use an up-and-down motion so it wouldn’t bleed under the edges. I don’t like really scary Halloween decorations, but this has just enough of a creepy vibe to it, while still being cute.
Clear Coat Protection
One final layer of Flat Clear Coat will give some added protection to your Halloween sign. My sign is going on a covered front porch where it won’t get a lot of harsh weather exposure.
Fall Front Porch/Spooky Halloween Porch
Finally, I was ready to decorate my outdoor space with my new “two-for-one” reversible sign.
It makes me so happy how easy it is to set up my front door for the fall season, and then just flip it over once October arrives. I can quickly transform the look of my whole porch by swapping my fall burlap and ribbon wreath for my Halloween wreath in a matter of moments.
I love easy decorating like this, don’t you?
Happy Halloween –
Nicky at The House on Silverado
More Halloween Porch Sign Ideas
The best part about this fun wooden sign is that you can customize it any way you want!
- Get creative with your lettering. Your sign could say, “Spooky”, “Happy Halloween”, “Black Cat Crossing”, “Welcome”…
- Dig into your craft supplies for embellishments to hot glue onto your sign: a pretty Halloween ribbon, googly eyes, vinyl decals, glitter…
- Dixie Belle has several other options included in their new Halloween and Autumn stencil sets. Choose from pumpkins, jack-o-lanterns, and more…