Hi everyone, Denise from Salvaged Inspirations here!
I spotted this sad-looking plant stand in the snow. It was missing the third leg but the rest of it was in pretty good shape.
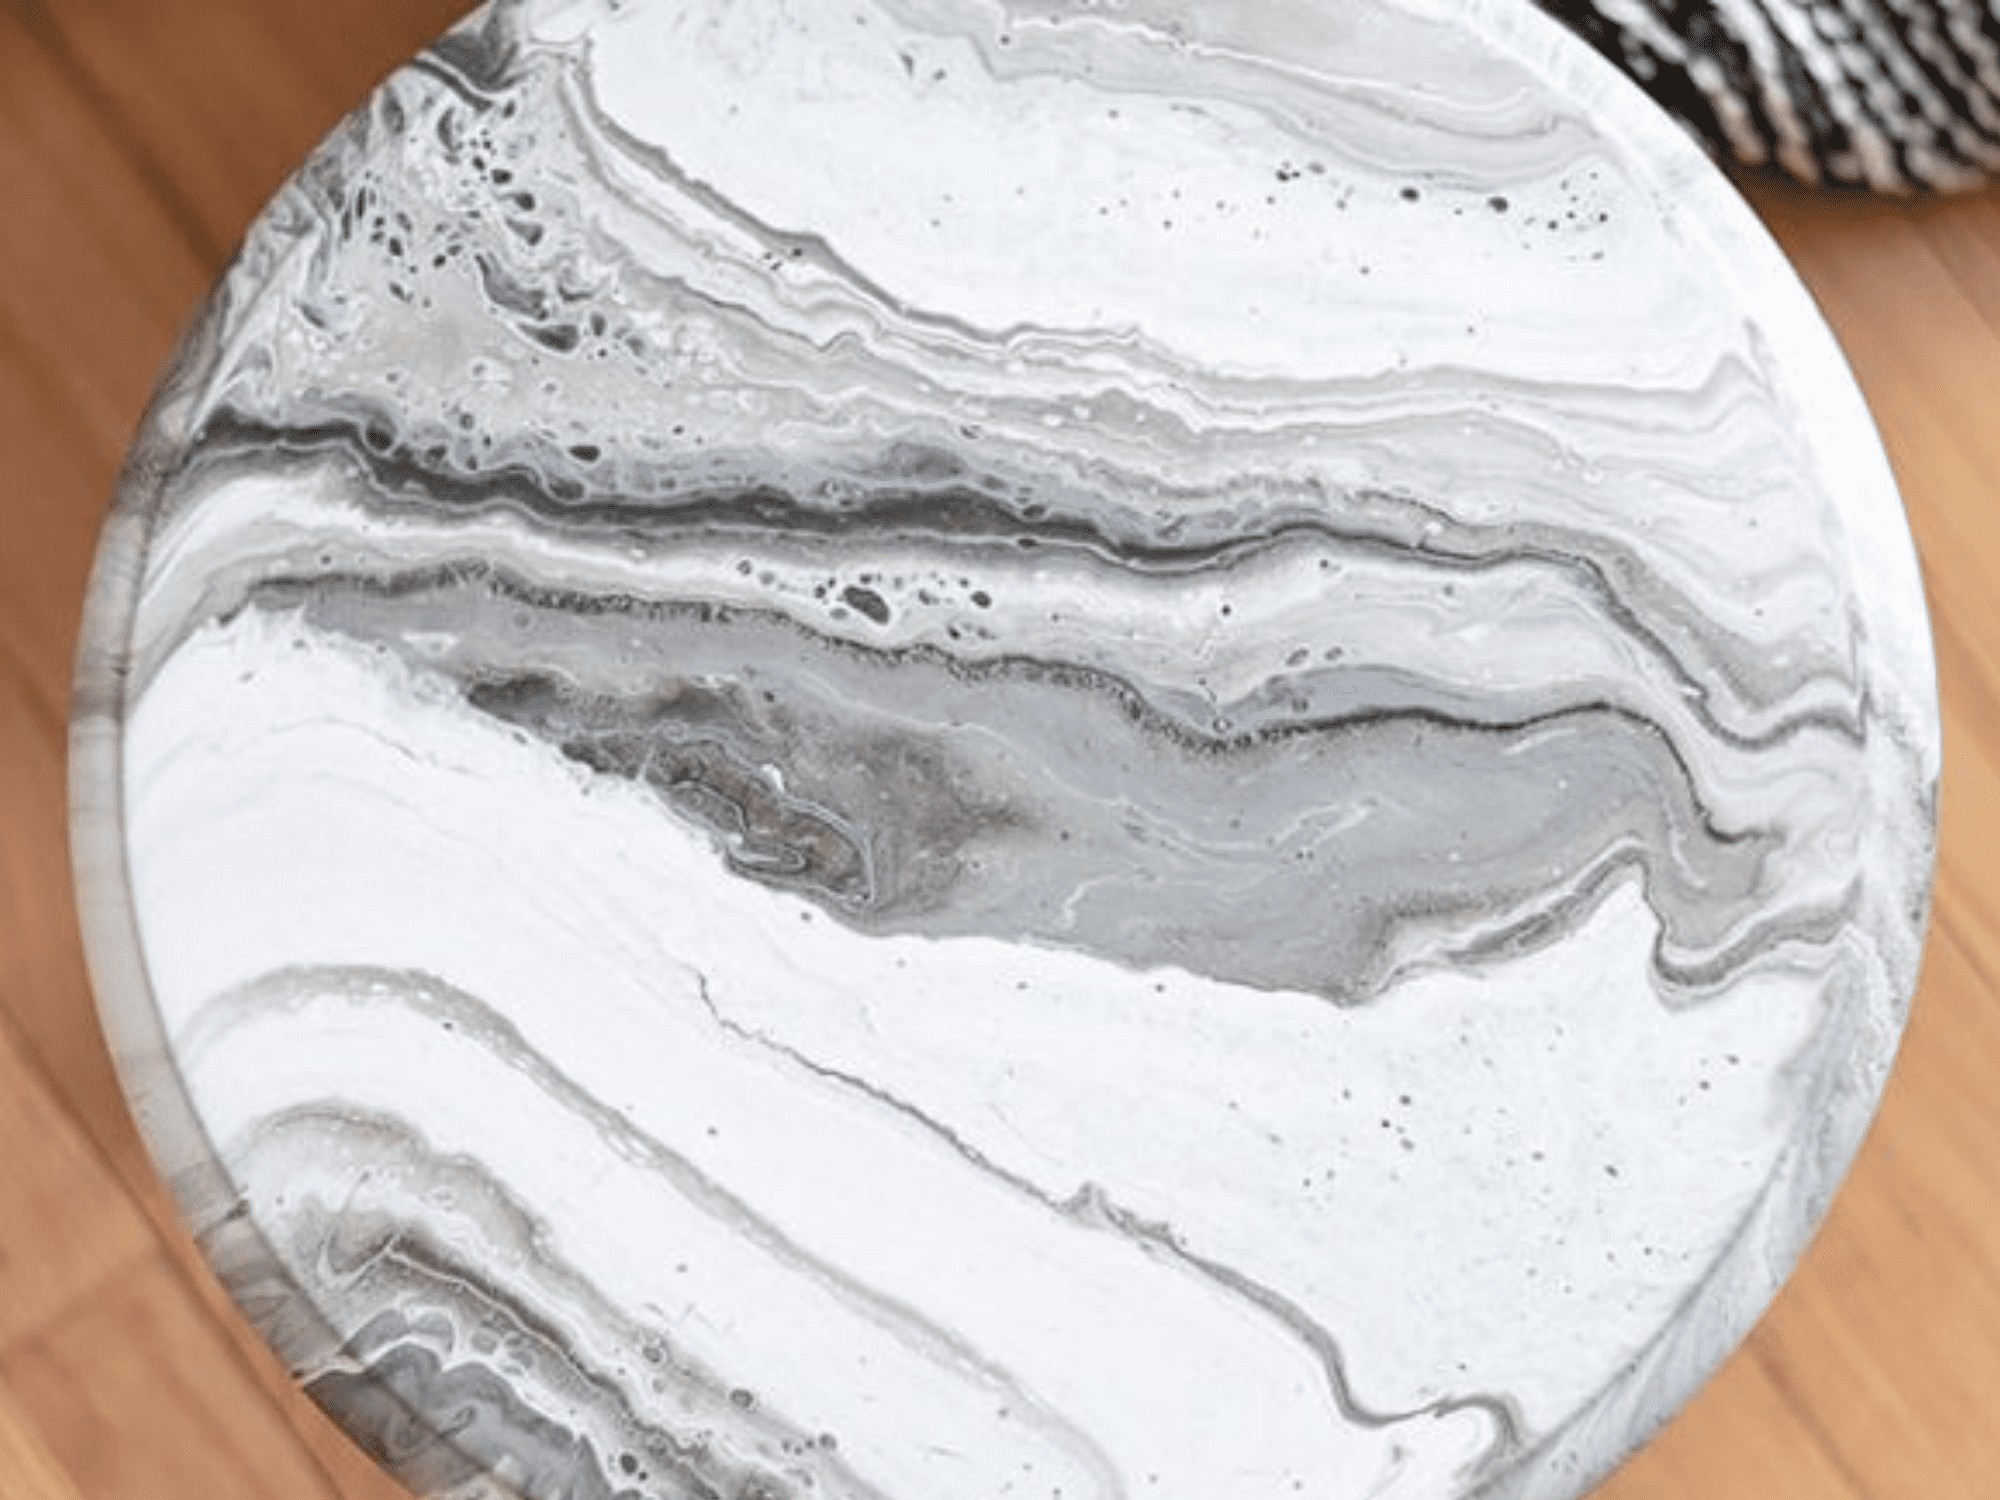
Check out the difference some hairpin legs and a fun marble pour painting technique can do!
Materials List:
- Bombay Plant Stand – SALVAGED
- Floetrol
- Mini Angle Paint Brush
- Sandpaper | Shop Towels
- Water Misting Spray Bottle
- 8-inch HairPin Legs
- Cotton
- Silver Bullet
- Coffee Bean
- Gator Hide Topcoat
How To:
The first step is to clean the piece. For this plant stand, TSP and water was used. After removing the pedestal and legs, I measured and drilled three 8″ hairpin legs onto the backside of the plant stand top. Then, I primed the top of the piece.
PREPARE PAINTS FOR THE POUR
For this marble look, you can go as light or dark as you like. I picked more contrasting colors and also added in some Silver Bullet metallics for interest. Each color was mixed separately (in a plastic cup) with equal amounts of Floetrol, which helps the paint move around and gives the paint extra time to settle and lay flat.
COMBINE COLORS
In a new plastic cup, I combined my paint layering one color on top of another. I started by pouring in the Cotton, then added some silver metallic, and finally some Coffee Bean and finishing with the Cotton.
POUR THE PAINT
Now for the fun. I poured the paint onto the plant stand top and let it glide and slide while tipping it back and forth making sure the entire top was covered — including the sides. Once I was happy with the look, I set it down and let it dry overnight.
Because I’m going to use this for ‘live’ plants which will need watering, I used this topcoat. Gator Hide is not only water-resistant (like most topcoats) but it’s actually waterproof.
Head over to Salvaged Inspirations here for more details about this project!

