
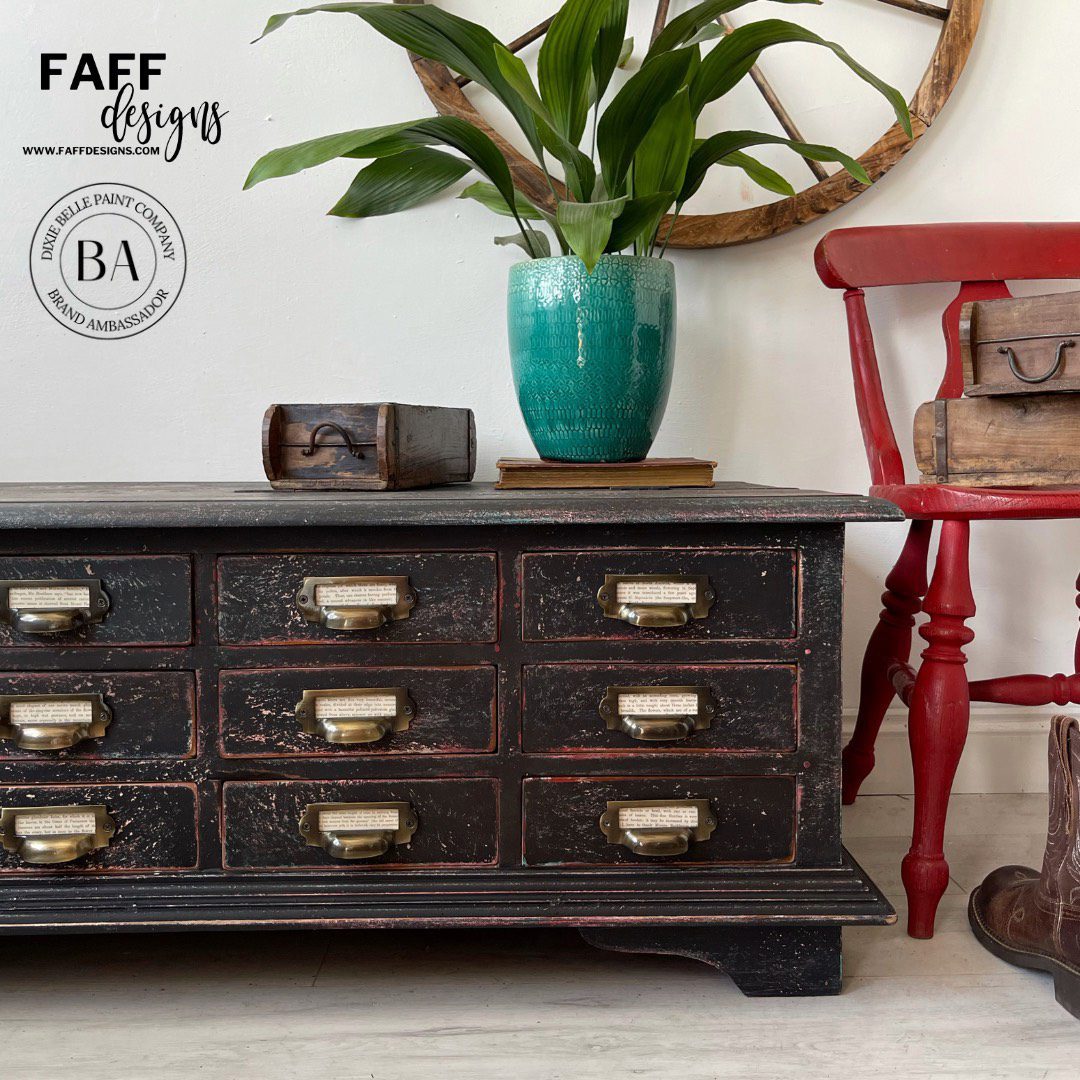
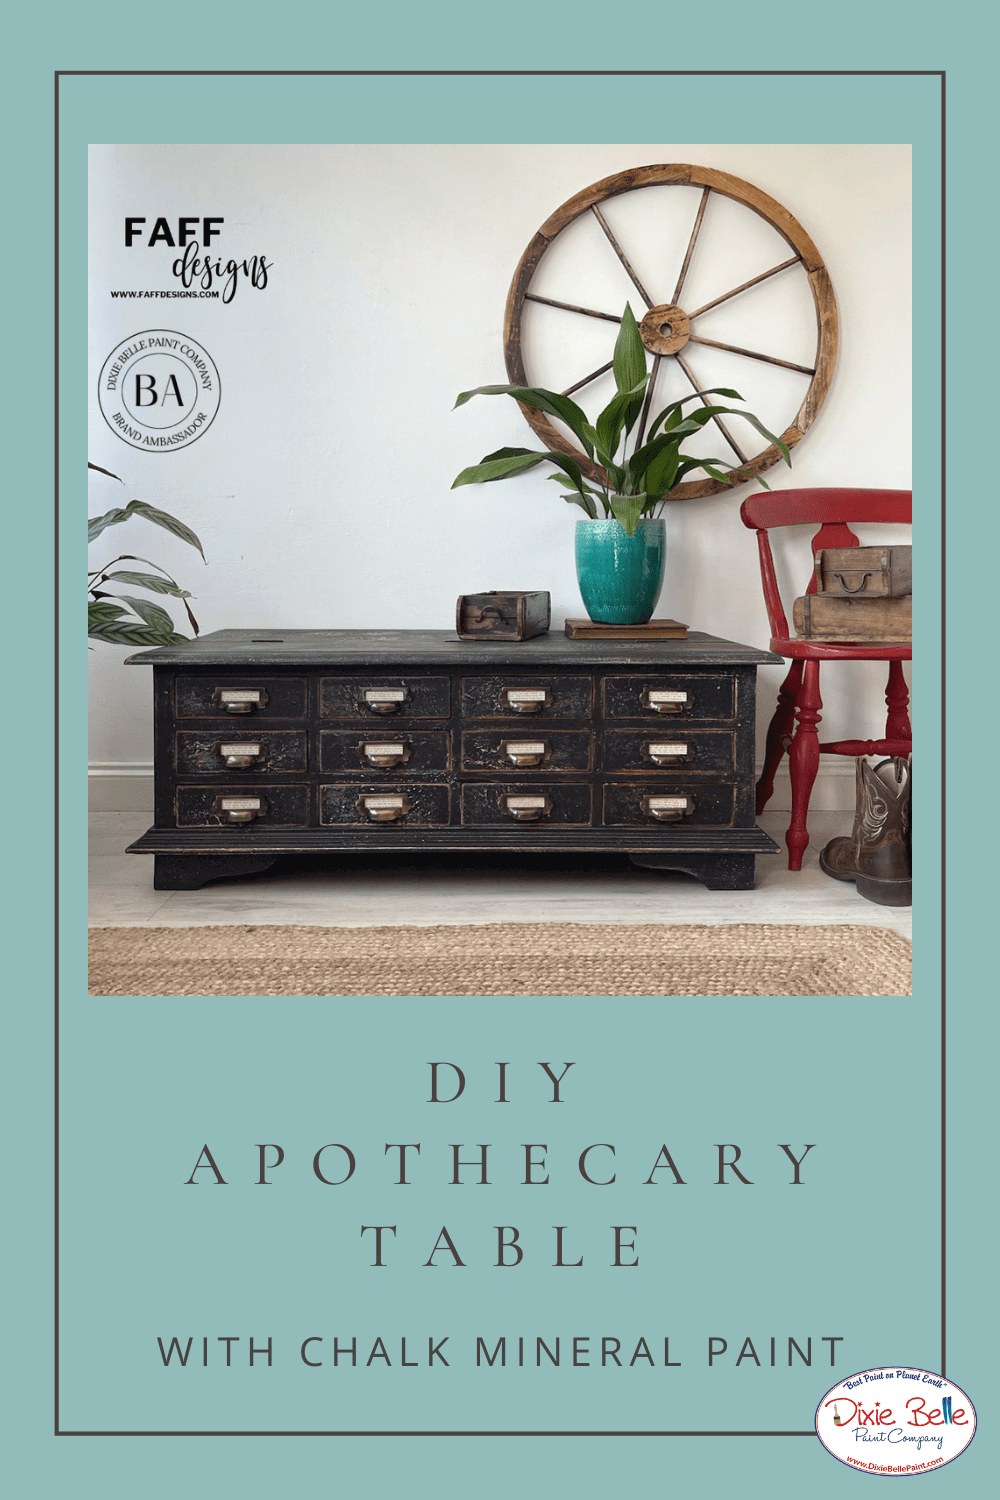
Hi everyone! It’s Connie from FAFF Designs! I love creating this industrial apothecary style and have done a few pieces using different colour schemes. This one is ‘classic apothecary’ colours. Read on to find out how I do it!
Materials List
- White Lightning
- Sea Spray
- Drop Cloth Chalk Mineral Paint
- Honky Tonk Red Chalk Mineral Paint
- The Gulf Chalk Mineral Paint
- Caviar Chalk Mineral Paint
- Best Dang Wax in Clear
- Best Dang Wax in Brown
- Premium Chip Brush
- Synthetic Brush
- Best Dang Brush
- Apothecary Handles
How To:
Step 1:
I started with cleaning the piece using White Lightning then a scuff sand. I used Sea Spray mixed with Drop Cloth and stippled the mixture on using a premium chip brush for the base coat.
Step 2:
Once this was dry, I layered Honky Tonk Red and The Gulf over the top allowing each layer to dry thoroughly between. I also used a beeswax block to create a resist in some areas. I used a dry brush to apply the layers and varied the thickness of the paint so that when this is distressed later on, it has various tones and depth of colours.
Step 3:
The final colour is Caviar. I applied two coats of this for complete coverage.

To read the rest of this lovely tutorial, head on over to FAFF Designs here!


#commentforacause I think this transformation is stunning. I love how FAFF layered all of this to come up with this rustic but polished apothecary cabinet.
We’re so happy you love it, Jacqlyn! We love a rustic look too ?
#commentforacause
Love this makeover! Faff designs always does such gorgeous work and the time the Brand Ambassadors take to teach us step by step is amazing.
Love how Faff Designs aged this piece with layers of colors and distressing.
Thanks for the love, Marilyn! We agree! ?