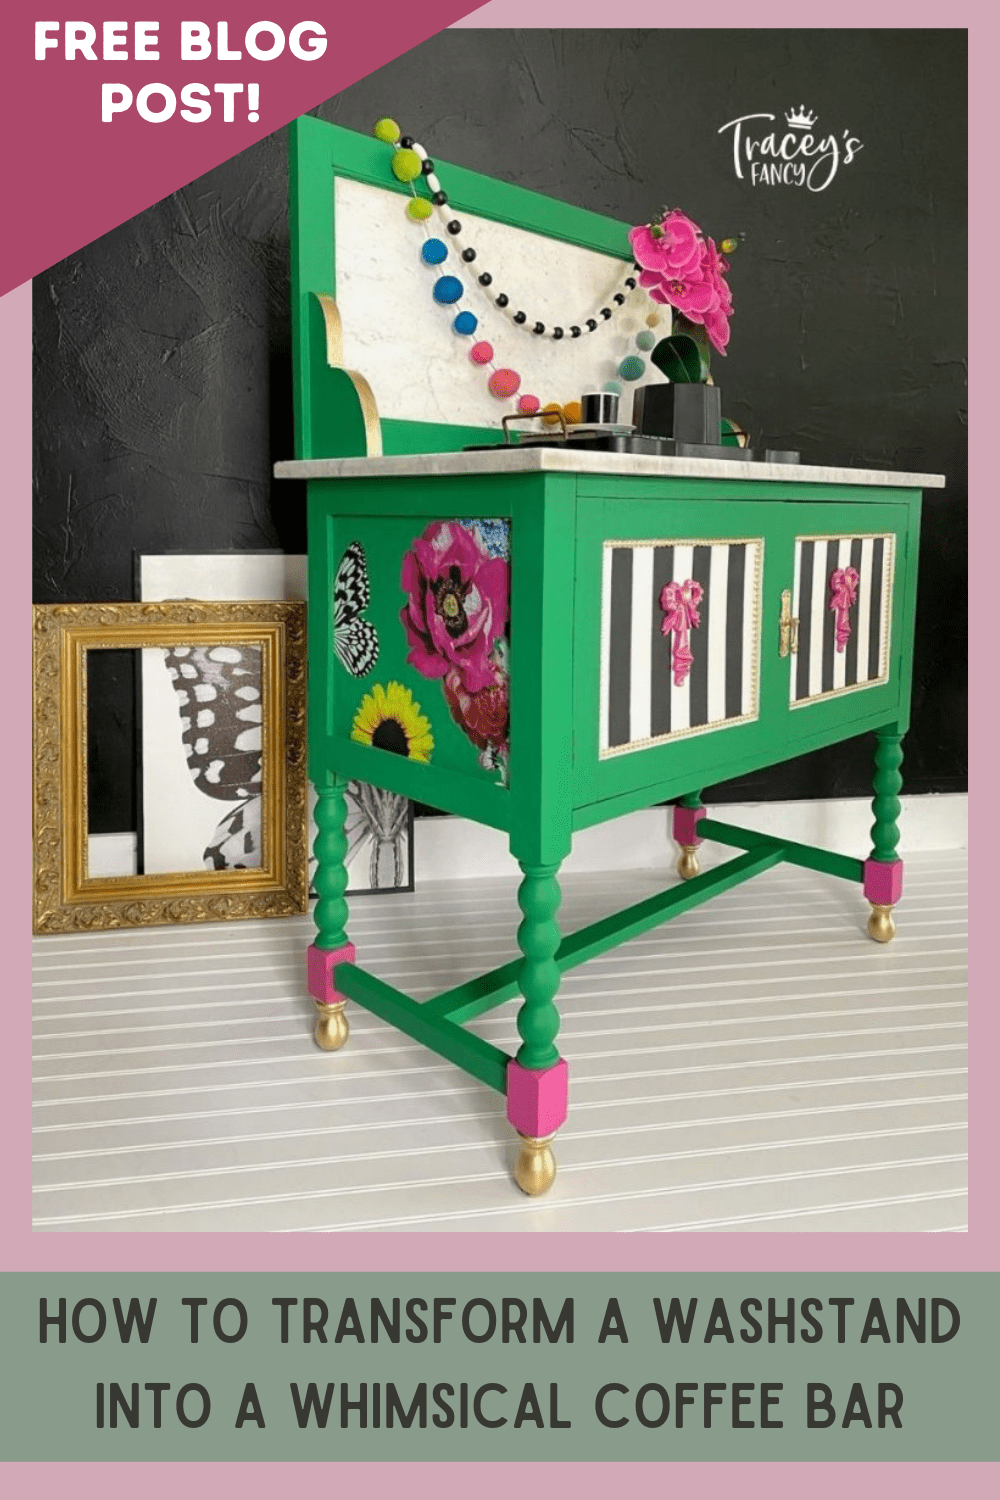
Hi friends! It’s Tracey from Tracey’s Fancy! I came across this early 1900’s washstand while purchasing an armoire from a nearby Bed & Breakfast. The owner offered it to me for an extremely fair price….. but I really had no need for it. I purchased it anyway and placed it in storage where it sat for 9 straight months. Until now! Let’s get started!
Materials List:
Whimsical Wonderland Transfer
How To:
Step 1:
First, I cleaned thoroughly with White Lightning. My go-to “clean and non-toxic” primer is Dixie Belle’s BOSS (my favorite is gray) for both color blocking and bleed through.
Step 2:
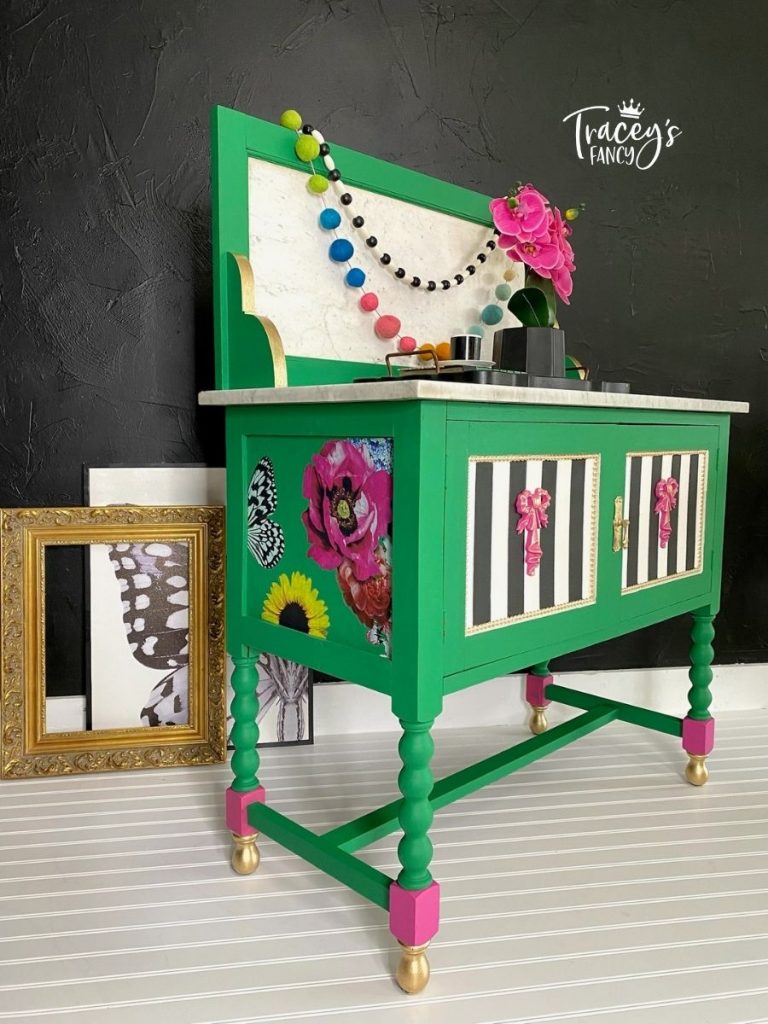
Next, I chose my color palette….. green/pink/black/white….. but I really wanted a specific shade of green. Therefore, I used Dixie Belle’s NEW Color Lab to create exactly what I was after! First, I found a picture of the green that I wanted online. Then, I plugged it into their Color Lab…. and it told me exactly what Dixie Belle colors to mix and how much of each to obtain that color. So instead of the over-the-top boldness of Tree Frog green, I created a version that is just a bit more mature. If you haven’t tried the Color Lab, I hope you will! I could play in it for hours! I used this gorgeous custom blend of green and painted two full coats on the entire piece. You can find the color lab HERE!

Step 3:
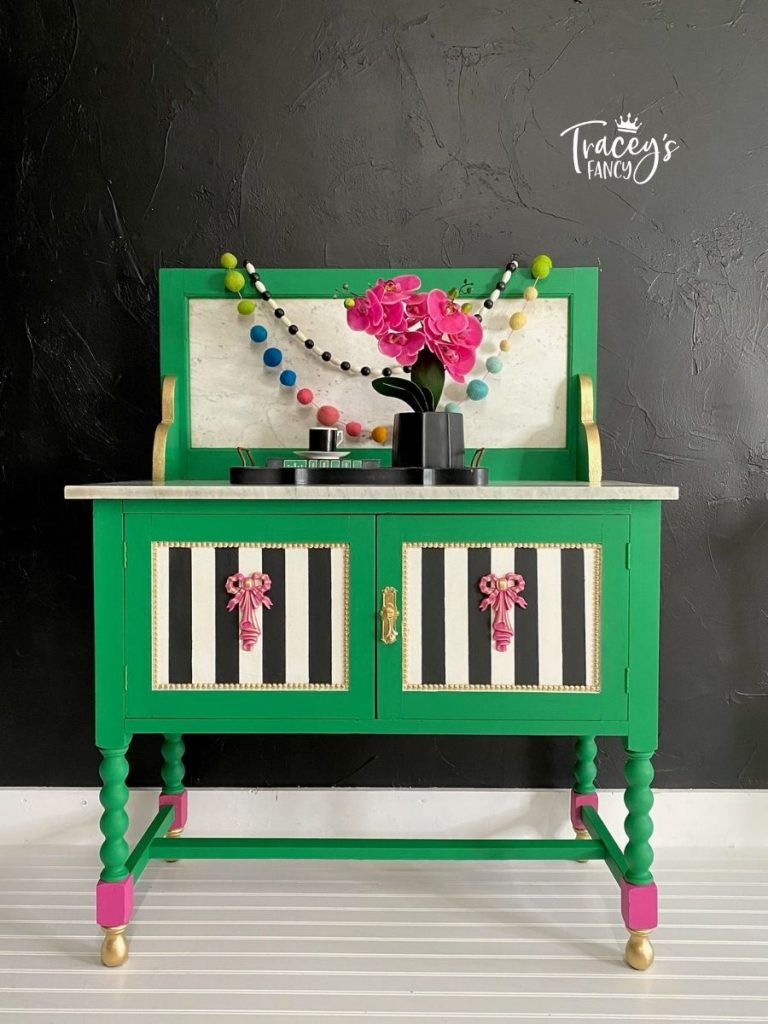
The front door insets are painted in a base coat of Fluff, however I still had a spot or two of bleed through. So I chose to second coat the white in Salt Water from the Silk Paint Line since it contains a single coat of blocking primer. This did the trick. I taped off and painted the stripes in Anchor…. also from the Silk Paint Line.
To read the rest of this fanciful tutorial, hop on over to Tracey’s Fancy here!