Welcome to the Dixie Belle Paint Company blog! Donna from Do Dodson Designs is here with a fun, easy DIY candy corn centerpiece perfect for autumn. Follow her simple steps to add a festive touch to your Halloween decor!

(The following is an excerpt from Do Dodson Designs. Read the full article here.)
Love it or hate it, candy corn is an iconic symbol of Halloween and Fall. I, for one, am still a fan of these white, orange, and yellow sugary treats—so much so that I thought I’d create a holiday centerpiece with this candy corn craft idea I had. Let’s make some DIY candy corn decor with scrap wood, shall we? Read on for the tutorial.

Craft Supplies:
Here is what you will need to create this simple DIY candy Corn Decor for Fall decorating.
- scrap wood or lumber (whatever you have on hand)
- miter saw or circular saw
- wood sander (MY FAVE SANDER!)
- 100-grit sandpaper (for rounding the corners) and finish with 220-grit sandpaper
- cotton white (chalk mineral paint)
- colonel mustard yellow (chalk mineral paint)
- Florida orange (chalk mineral paint)
STEP 1: DIY Wooden Candy Corn Decor Tutorial
Grab whatever scrap wood you have around the house. If you’re an avid DIYer like myself, you probably have some pieces stacked up in the corner of your garage, waiting for the perfect project to use them on.

STEP 2: Cutting The Candy Corn Wood Pieces
Depending on the size of the wood you have on hand, you can make your wooden candy corn any size you want.
I used various sizes of scrap wood pieces but used the same method for cutting them.
Find the center of the board and cut a 20-degree angle on both sides. Once you have the angles, simply cut the bottom of the corn with a straight cut.

Oh, you can chop off the tip of the candy corn if you wish for a more rounded top. I did some of both.
STEP 3: Sanding And Smoothing The Wood Pieces
You have options here. You can hand-sand each piece with sandpaper or use a sanding block. Using 100-180 grit will help round off the wood corners. The final sanding is done using 220 grit to prepare the wood for painting.

STEP 4: How To Stop Wood Bleeding Through Paint
Because wood has tannins, you will need a stain and or tannin blocker to prevent those wood tannins from bleeding through your paint.
I know from experience that any time I use white paint on wood, it will need a stain blocker. There’s nothing worse than seeing those ugly discolorations peeping through your beautiful paint job, sometimes even days later.
Today, I’m using BONDING BOSS in white. It also comes in clear and gray. It’s a problem solver!
I use one coat of the BONDING BOSS for my small wood craft projects, but two coats over wood furniture before painting.

STEP 5: White, Yellow, and Orange Paint
To paint my candy corn decor, I started with white. I painted from the top down all the way around. This may require two coats.

Next, paint yellow from the bottom upward all the way around.

Lastly, paint the centerpiece orange. This section is a bit larger than the white and yellow.
I had thought about using painter’s tape but decided to do it freehand so that I could give the lines where the colors meet a bit of a curve. This will give the wooden candy corn the appearance of a smoother, rounded transition.
Besides, have you ever seen a perfect piece of candy corn?

STEP 6: Optional Distressing
After the paint is dry, distress the edges so that the white primer shows through the colors. It kind of appears as highlights on the candy.
This part is totally optional, but I find it adds a bit of rustic charm that blends perfectly with my other Fall farmhouse decor.

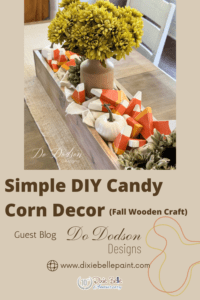
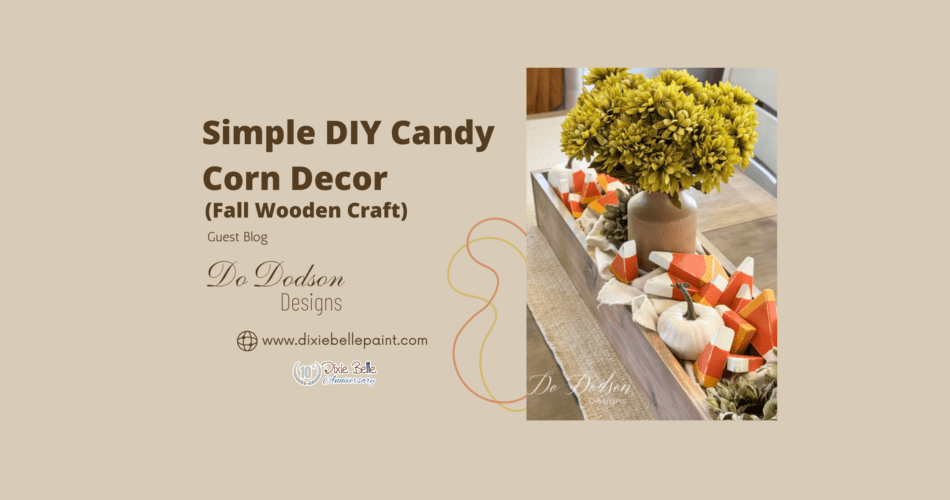
Fall Candy Corn Decor Centerpiece
How stinking cute are these?! Oh my goodness, I LOVE how these turned out!
I sprinkled them randomly in my wood box centerpiece I made last year.

Thanks for checking out Donna’s DIY candy corn centerpiece! For more creative ideas, follow Do Dodson Designs and stay tuned to our blog. For more fall decor ideas, check out our blog, 8 Fall DIY crafts to Do With Kids.
