Hi everyone! It’s Denise from Salvaged Inspirations! Today I’m sharing an easy step by step on How To Stencil On Furniture. When I first started painting furniture, it took me a few years to work up the courage to use stencils because I was afraid I was going to ruin my freshly painted pieces. But I’m SO glad I started using them in my makeovers. Stenciling is super easy and creates SUCH GORGEOUS designs!
So, here’s the original curb-shopped before…

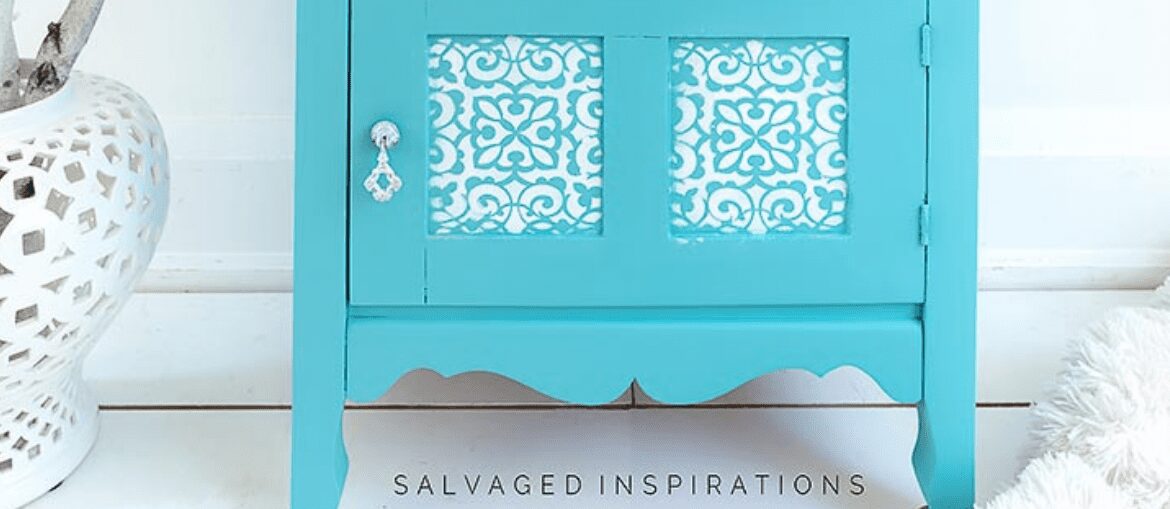
Here’s what it looks like now! I’m loving this custom color and beautiful design from Dixie Belle’s brand new stencils!

Materials List:
- Washstand
- Mini Angle Paint Brush
- Sandpaper | Shop Towels
- Stencil Brush
- Temp Adhesive Spray
- Painters Tape
- Water Misting Spray Bottle
- The Gulf (80%)
- Peacock (20%)
- Cotton
- Dixie Belle Morocco Stencil
How To:
Step 1:
Before I do anything, I plan my design. Planning a design includes where you’d like your stencil design to appear on your furniture and what colors you will be using for your base and your stenciled design.
Step 2:
Once you have a plan for the placement and color scheme you can start painting your basecoat.
For this washstand, my basecoat was 80% The Gulf and 20% Peacock . Mixing these two colors gave me a color similar to a Tiffany Blue!
Tip~ When mixing a custom color, always make sure to mix enough so you don’t run out halfway through. It’s always better to have a little more than not enough.
Step 3:
Once I painted two coats of my custom blue and it dried 100%, I was ready to stencil. For a clean design, it’s best to secure the stencil with a temporary spray adhesive or some painter’s tape.
Step 4:
To paint the stencil design, I like to use a stiff round stencil or wax brush and/or a foam roller for larger designs.

The key to painting a clean stencil design~
- Load your brush or roller with paint and then OFFLOAD the excess paint.
- Dab your brush in an up and down motion, not side to side.
- Press the stencil firmly against your furniture while the other hand dabs the paint.
- Two light coats are better than one heavy coat.
- Reposition your stencil perfectly when extending the design.

To read the rest of this helpful tutorial, head on over to Salvaged Inspirations here!


Se ve precioso me encanta
Thank you so much, Margarita! ?
Your blog is amazing it gives so many ideas and information.
Thank you so much, Jesica! We’re so glad you find it helpful! Have a lovely day! ?