
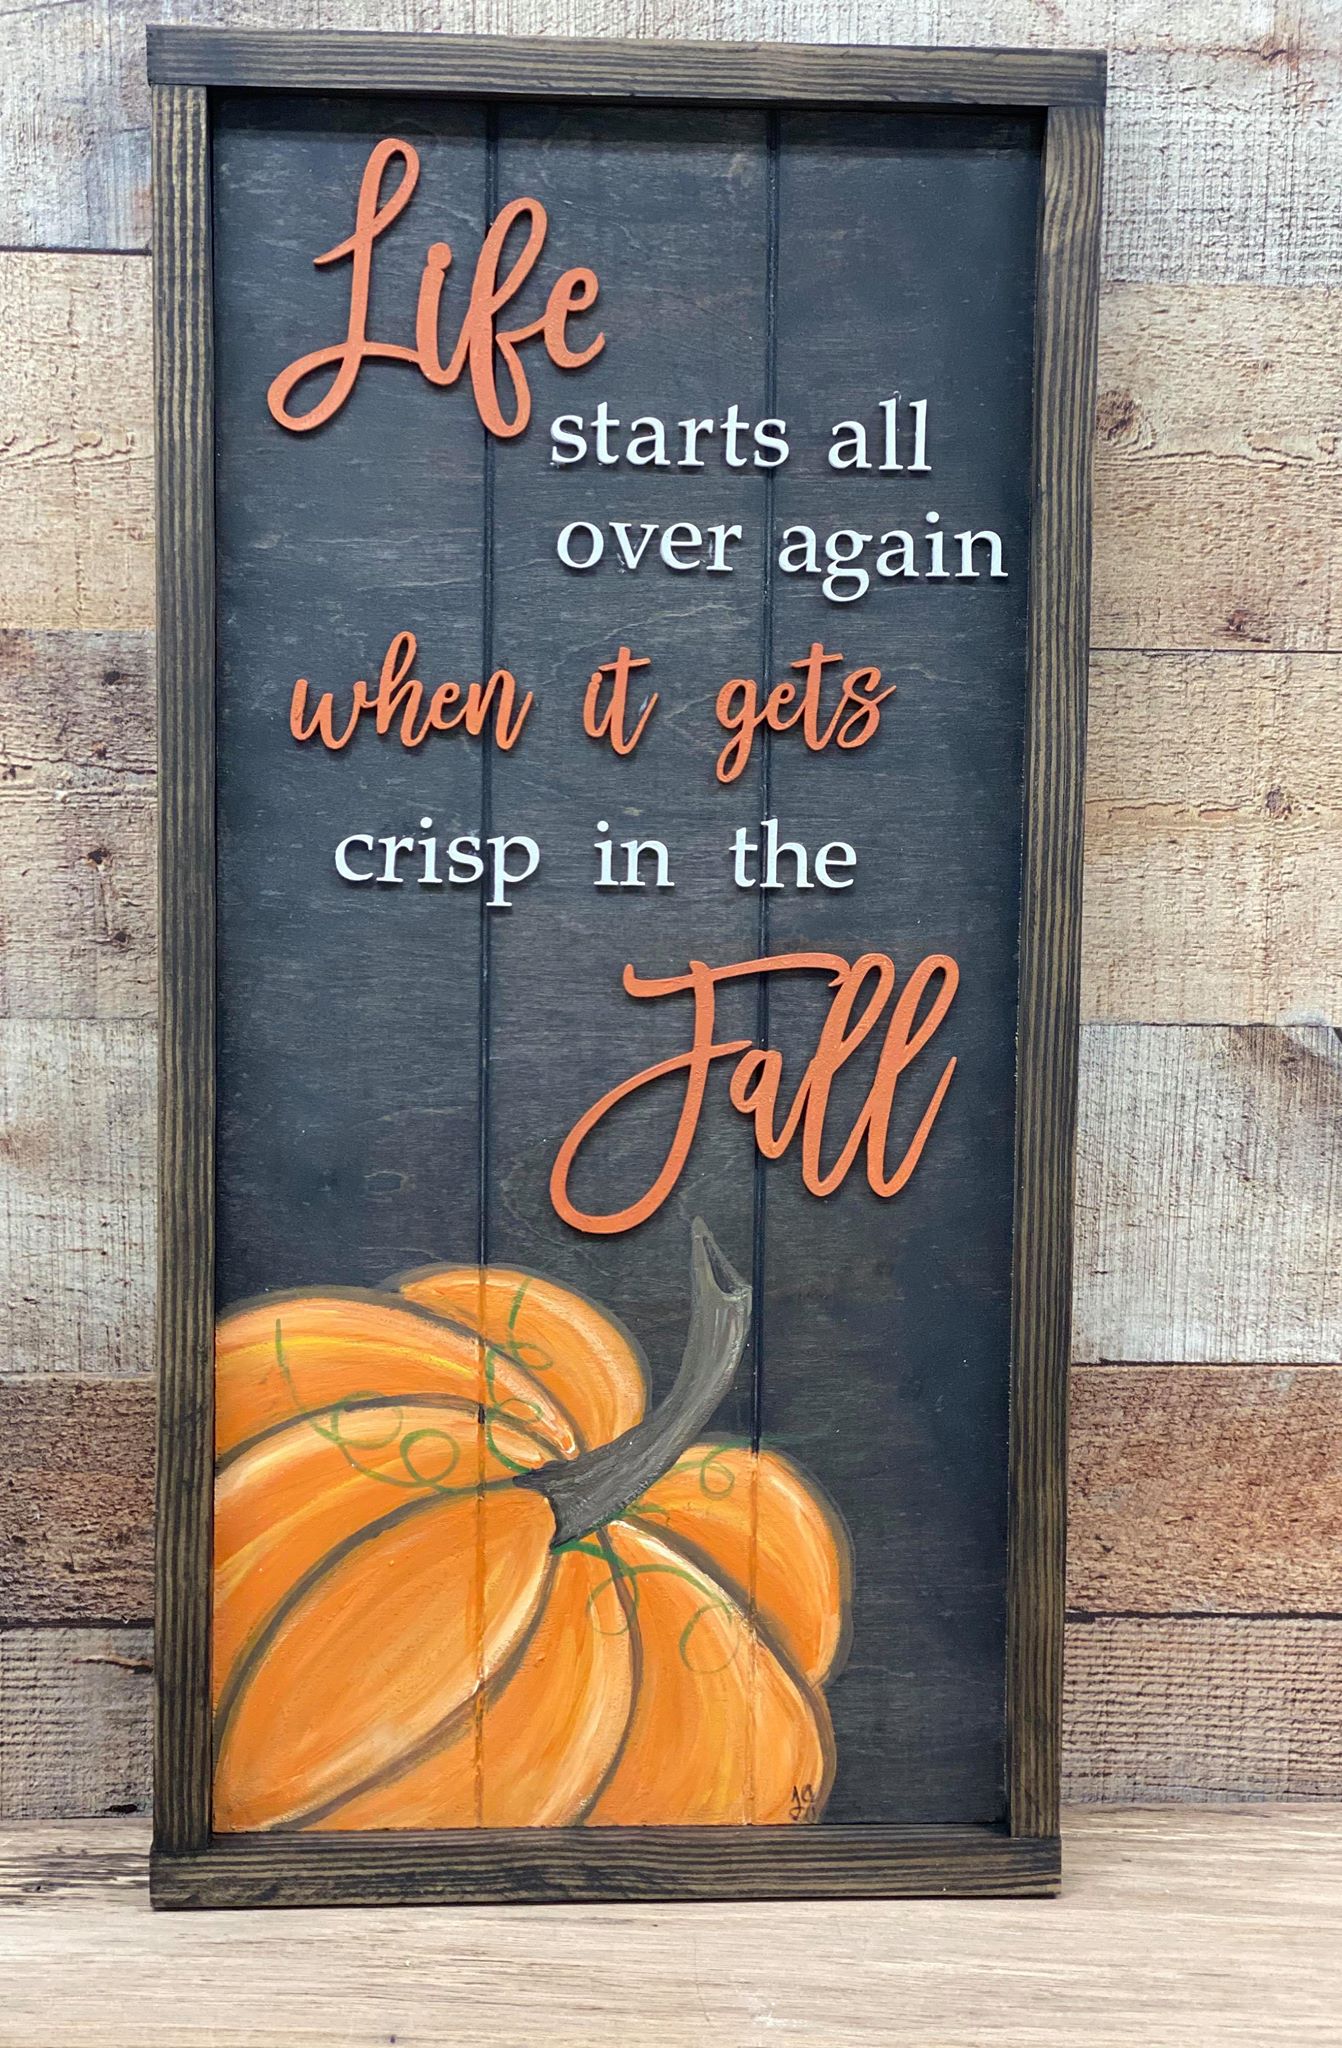
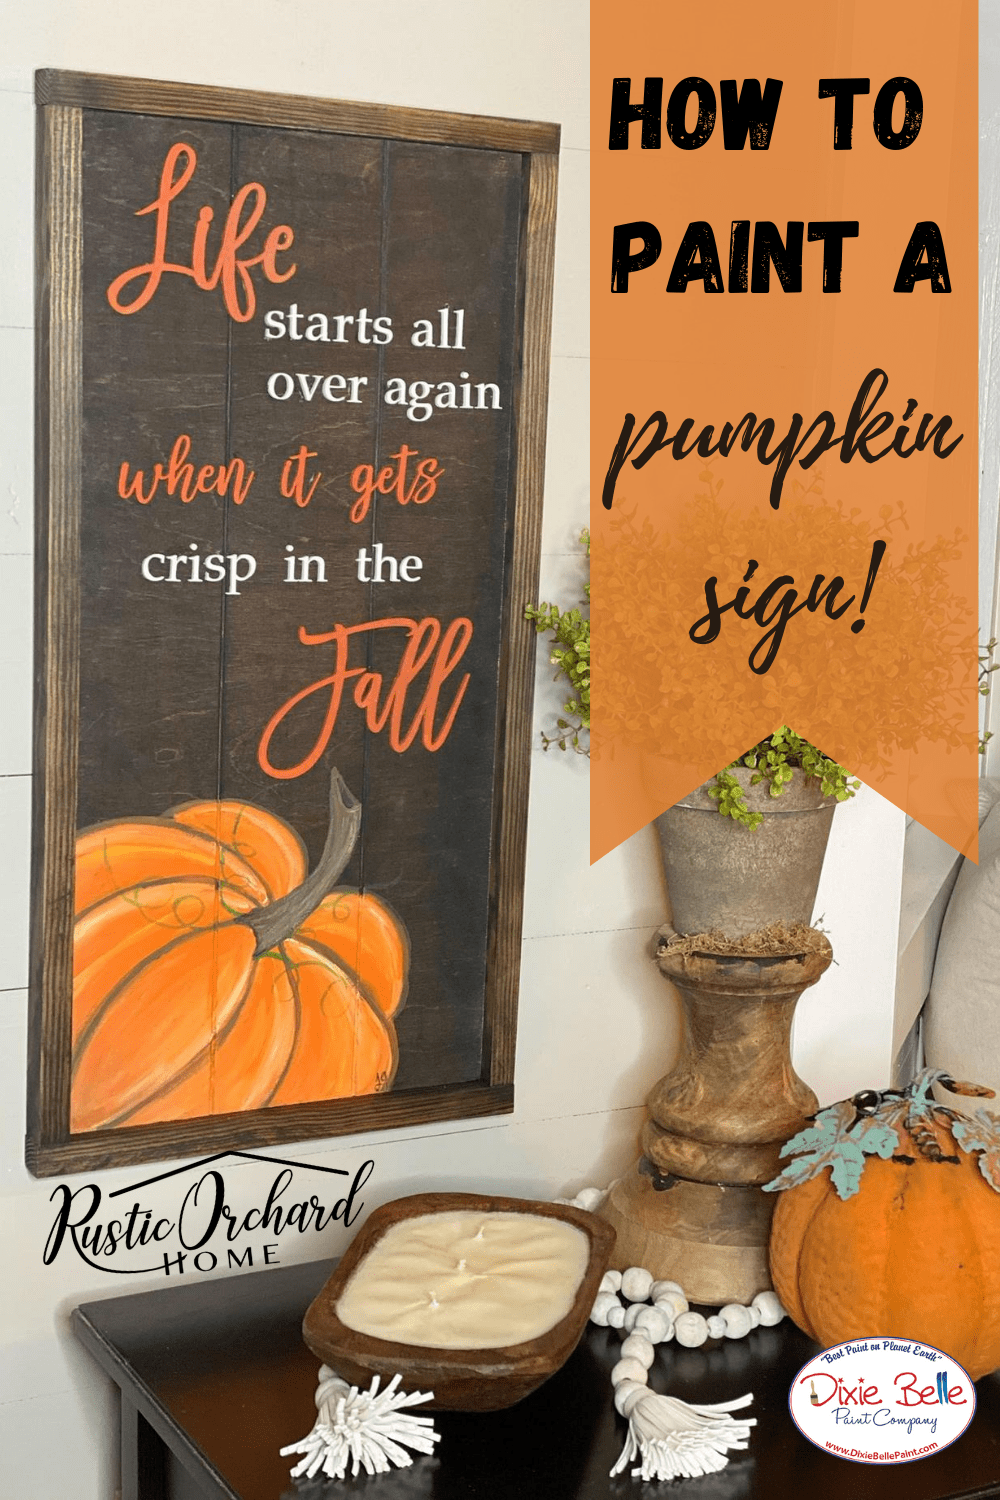
Hi everyone! It’s Tammy from Rustic Orchard Home! In today’s blog post, learn how to paint a pumpkin with this no-fail painting technique. This is something anyone can master with a little practice!
Once you learn how to paint a pumpkin with this freehand method, you will be ready to create all sorts of fantastic fall farmhouse decor! Let me show you how to add pumpkins to all of your fall decor with this simple tutorial.
Materials List:
- Faux Shiplap Sign Blank
- Colonial Black No Pain Gel Stain
- Fluff Dixie Belle Chalk Mineral Paint
- Colonel Mustard Dixie Belle Chalk Mineral Paint
- Coffee Bean Dixie Belle Chalk Mineral Paint
- Chocolate Dixie Belle Chalk Mineral Paint
- Florida Orange Dixie Belle Chalk Mineral Paint
- Evergreen Dixie Belle Chalk Mineral Paint
- Acrylic Paint Brush Set
- Gorilla Super Glue
How To:
Step 1:
I started this project with a Faux Shiplap Sign Blank from Twin Knob Woodworks. The shiplap look is a groove cut into the board, giving it that classic look. Wonderful product for sign makers, crafters and DIY-lovers to paint, stencil and chalk mineral paint custom designs. Exact measurements for each blank is 11 1/4” wide 22 1/2” long 3/4” thick. I also opted to add the frame to the blank.
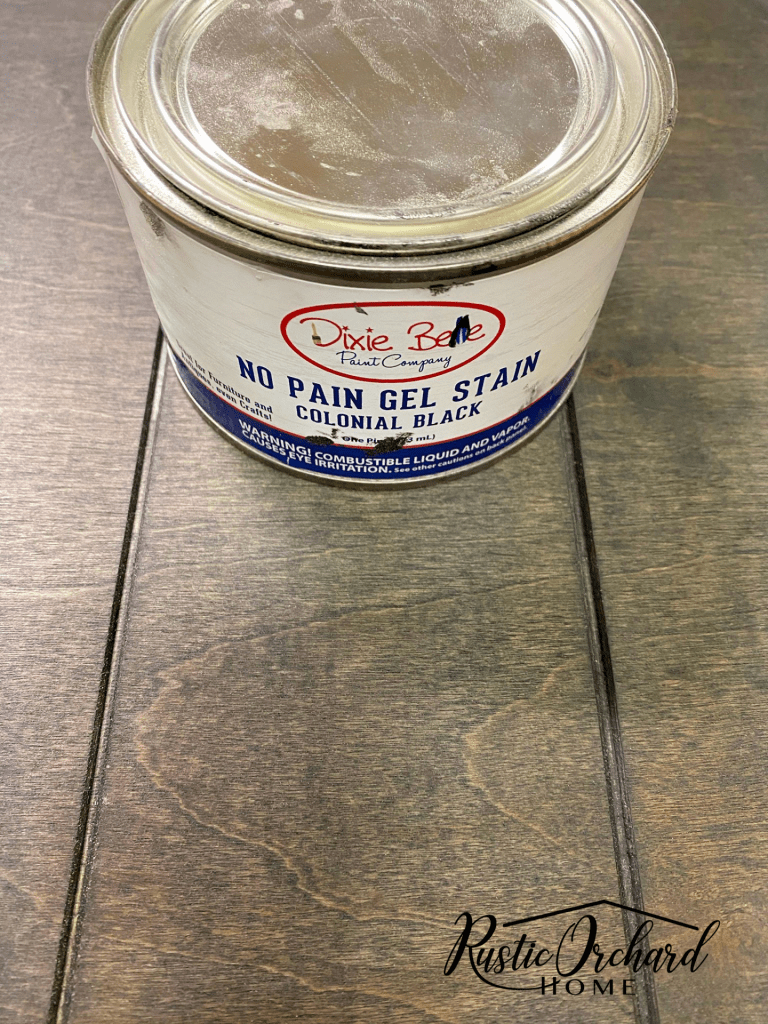
Step 2:
For the base coat of the sign, I applied a layer of No Pain Gel Stain in the color Colonial Black. Simply use a rag to apply and let dry before moving onto your next steps.
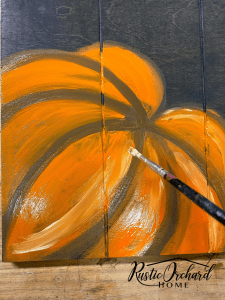
Step 3:
Once your surface is dry, you’ll want to grab all of your paint colors and your acrylic artist brushes. Start by making an oval shape with the color Chocolate. Then add “C” shaped strokes to create a large pumpkin shape.
Step 4:
Next, fill in with the color Florida Orange. Then, use the colors Fluff and Colonel Mustard to add highlights and dimension.
To find out how to complete this adorable painted pumpkin sign, head on over to Rustic Orchard Home here!


how do i get ebooks sent yo me regularly?
Hi Deanna! The eBooks are posted once a month, here on the blog! ?