
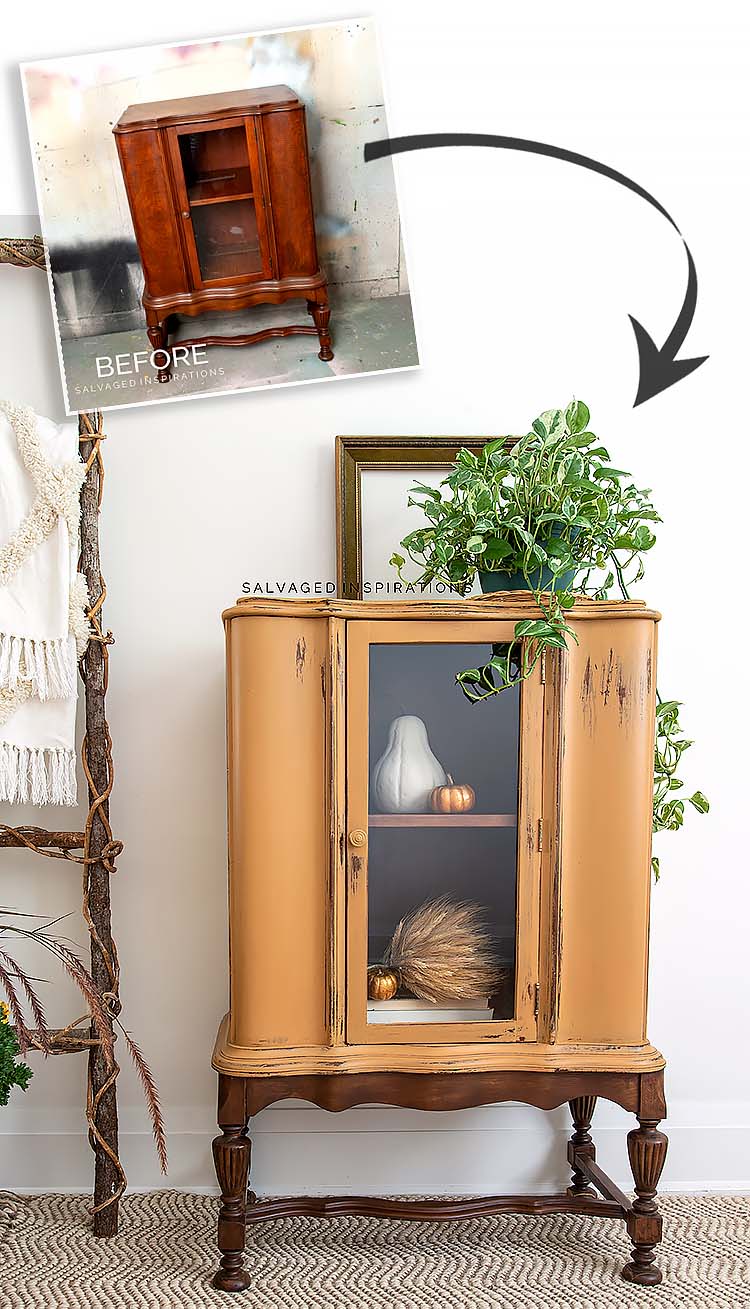
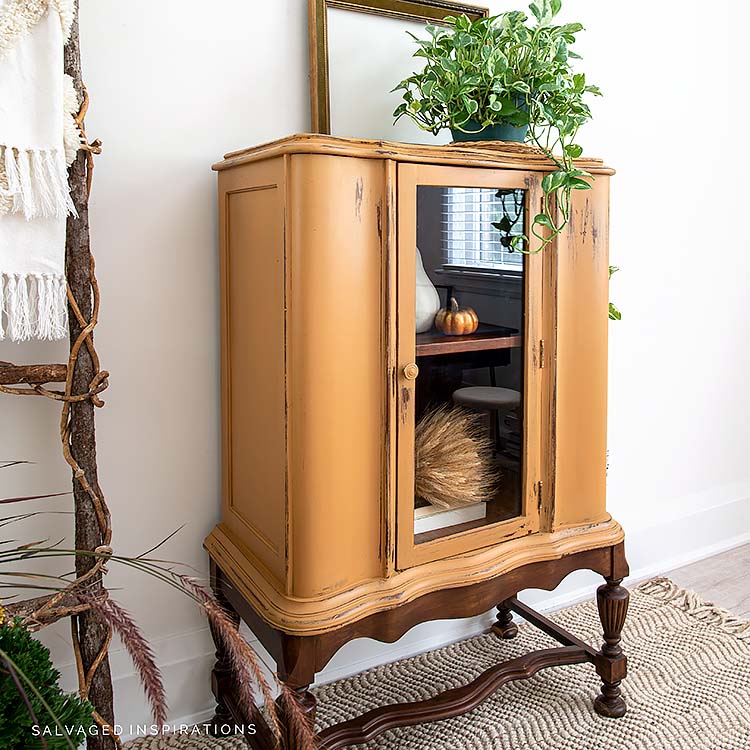
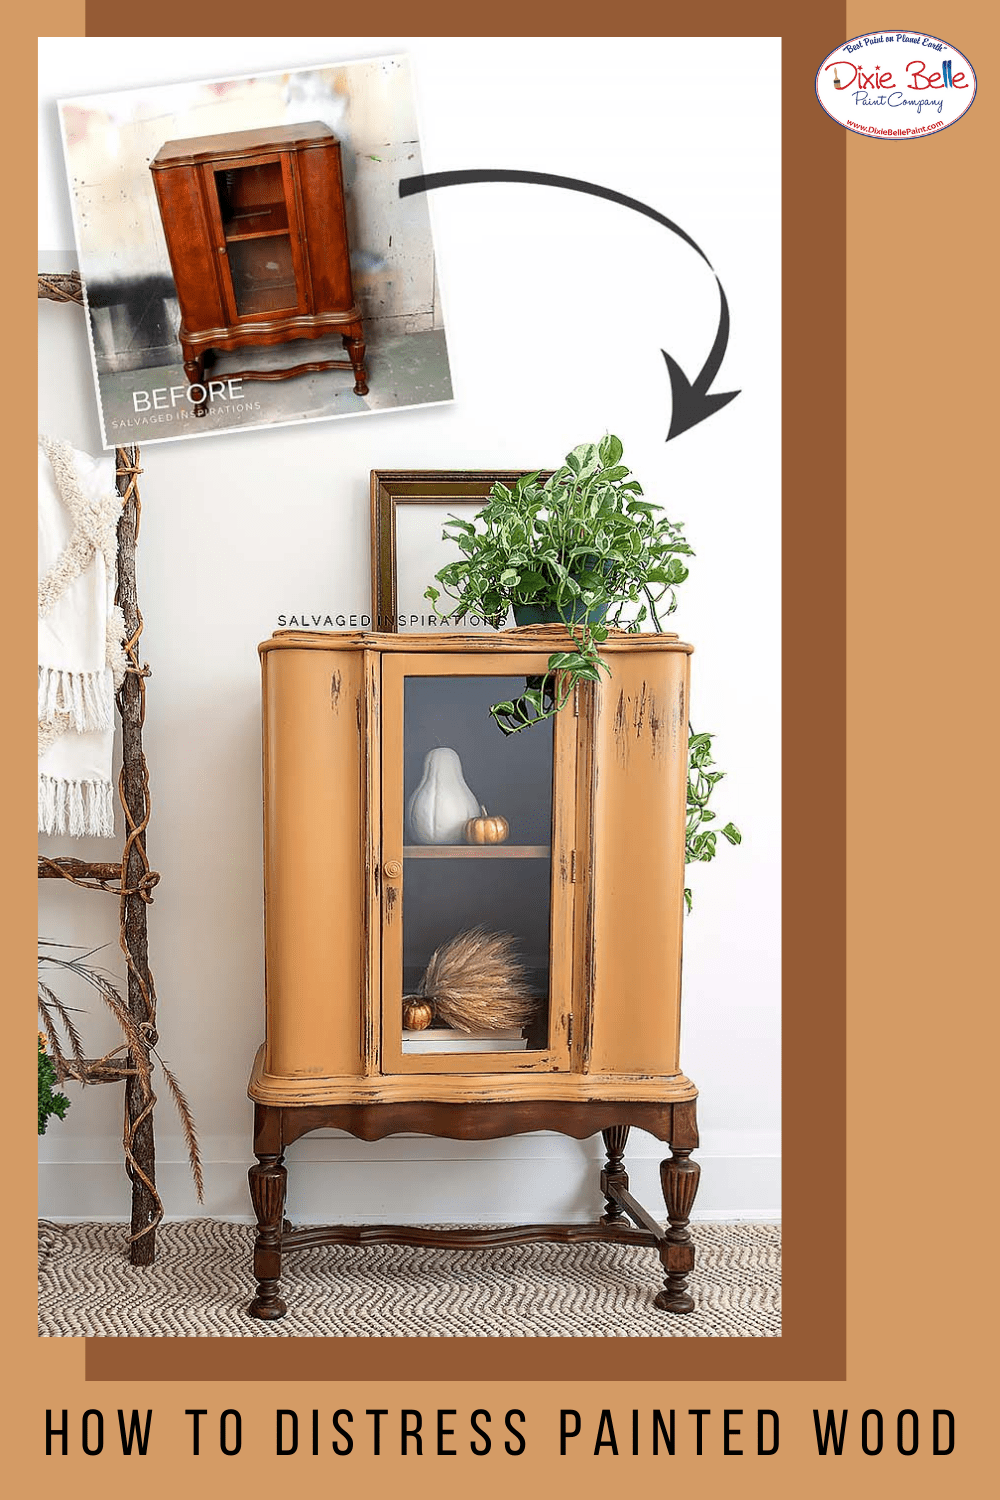
Hi everyone! It’s Denise from Salvaged Inspirations! Are you looking for an easy way to create a naturally worn distressed finish? It’s REALLY easy to do and lends itself to a gorgeous vintage look. I can’t tell you how much fun this Pumpkin Spice Mini China Cabinet was to work on. I enjoyed every minute and I hope these 7 Tips on How To Distress Painted Furniture with Sandpaper will help you achieve a similar look!
Materials List:
Paint Brushes
Shop Towel
White Lightning (Cleaner)
Sanding Sponge | Tack Cloth
Water Mister
Pumpkin Spice Paint
Best Dang Wax in Clear
How To:
Step 1:
First, this cabinet was cleaned inside and out using this cleaner. After it was clean and dry, I gave it light once over with this sanding sponge to add a little tooth for the paint to adhere to.
Step 2:
Next, paint! I used Pumpkin Spice from the Dixie Belle’s Suzanne’s Fall Color Collection. This Chalk Mineral Paint brushed on beautifully and took two coats to get the coverage I wanted.

Step 3:
I haven’t painted a distressed piece in a while so this was a lot of fun! Using this 220 sanding sponge, I lightly sanded to the first coat of paint to remove some paint and expose the stained wood in areas it would naturally wear over time. Like the hinge area, corners, and around the doors and knob.
Once the first coat of paint was distressed with this 220 sanding sponge, I applied the second coat of Pumpkin Spice. I used my water mister to thin out the paint around the distressed areas and applied it heavier in non-distressed areas.
7 TIPS FOR DISTRESSING WITH SANDPAPER
- Sand and distress between EACH coat of paint
- Start with a higher grit and work your way to a lower grit
- Use higher grit sandpaper (220) for a softer distress
- Use lower grit sandpaper (120-180) for a stronger distress
- Apply additional coats of paint ‘lighter’ in areas you want the worn distressed look
- Sand with a light hand as to not remove the original finish of the wood furniture
- Use a water mister to help thin out the paint where distressed
To read the rest of this informative blog post, hop on over to Salvaged Inspirations here!


I like using Dixie Mud and Sea Spray for added texture when I distress painted furniture. #CommentForaCause
Hi Jennifer! That’s awesome! We love a distressed furniture look! Thanks for the love! ?
I love this color. The distressing looks great! #commentforacause
Thank you for the love! ?
Pumpkin Spice is a great color! I love all the limited edition fall colors! #commentforacause
We’re so happy you love the fall colors, Kharla! Thanks for supporting Comment for a Cause! ?
Ooh! Pumpkin Spice such a pretty color to have the natural wood peeking through when distressed! And great tips for distressing!
#commentforacause
This is absolutely stunning!! I am always impressed by the amazing things Denise does with DB products!! #commentforacause XO
Thank you, Christy! Yes, she is so talented! ?
I love your blogs.
Thank you, Chrissy! ?
Great instructions for distressing—especially about distressing at each layer of paint! Love the result!
Love the color and instructions, looking forward to trying this on a piece of my own!!#commentforacause
We’re so happy you love this post, Tanya! Thanks for the support! ?