
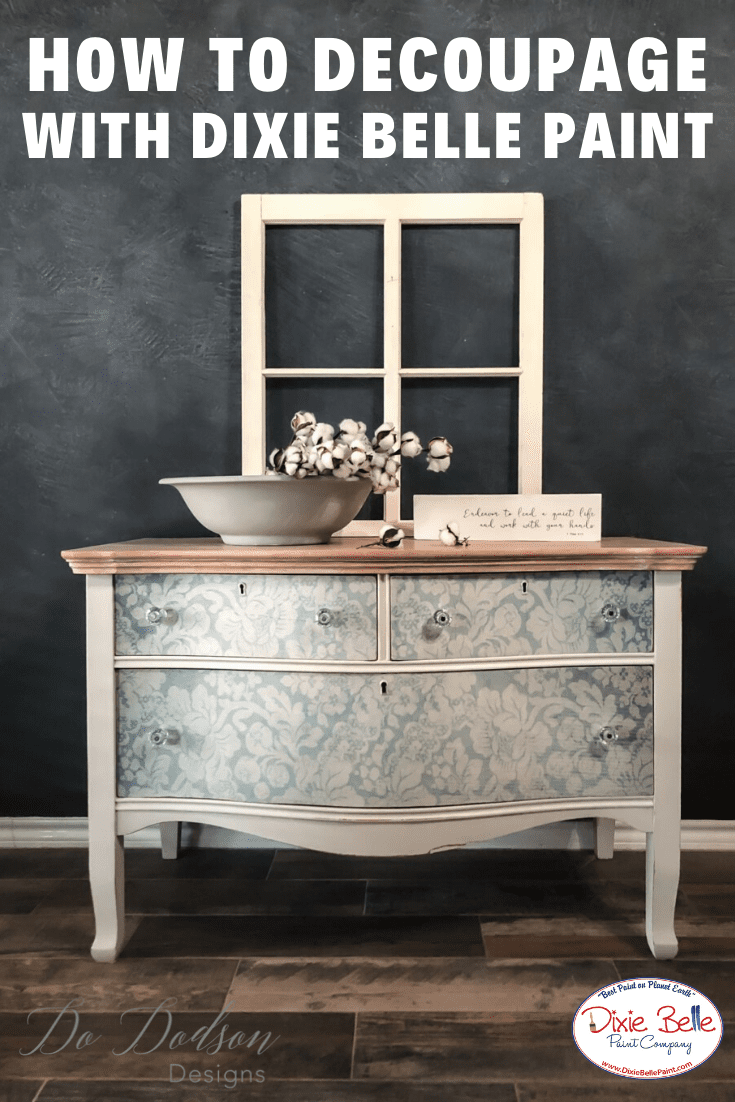
Decoupage furniture??? Where have you been all my life? Last week I went thrifting and came across this perfect little rounded front dresser. Oh yeah, decoupage tissue paper is going down!
Products Used:
- White Lightning (wood furniture cleaner)
- Spray Bottle (for White Lightning mixture)
- Baby Wipes
- White Wax
- Wax Brush
- BOSS Clear (stain blocker)
- Decoupage Tissue Paper (Demask 20×30)
- Sawmill Gravy (chalk mineral paint)
- Clear Coat – Satin (aka decoupage glue)
- Chip Brush (premium)
- Paintbrush
- Sanding Block (220-320 grit)
- SurfPrep Sander (optional)
- Gator Hide Top Coat (sealer for the wood top)
- Replica Antique Glass Hardware D. Lawless Hardware
How To:
Apply a liberal amount of the Clear Coat (aka glue for this project) to your surface. For this project, I painted the drawers with a light color first because the tissue paper is so thin.
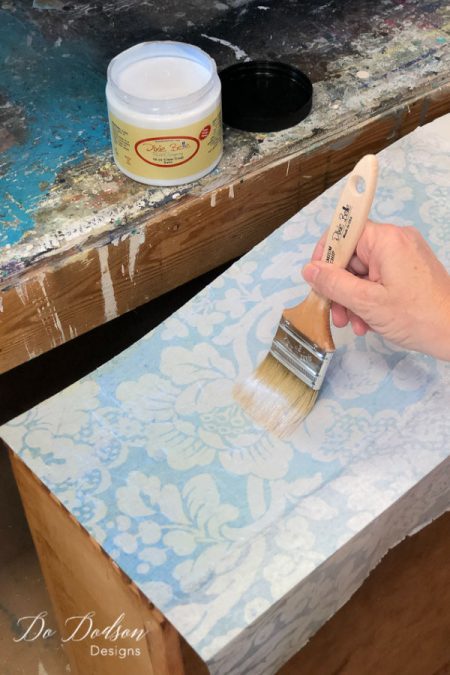
Apply the tissue paper over the topcoat. The tissue paper will draw itself into the topcoat quickly. Kind of like toilet paper to water… just be ready for it to absorb into the topcoat quickly. After applying the tissue paper, brush the topcoat over the tissue paper on the decoupage furniture to seal it in place.
Apply a small amount of the topcoat to your fingertip then use your finger to smooth any air pockets or tiny lines that have surfaced upon the paper of your decoupage furniture.
Apply a small amount of the topcoat to your fingertip then use your finger to smooth any air pockets or tiny lines that have surfaced upon the paper of your decoupage furniture.
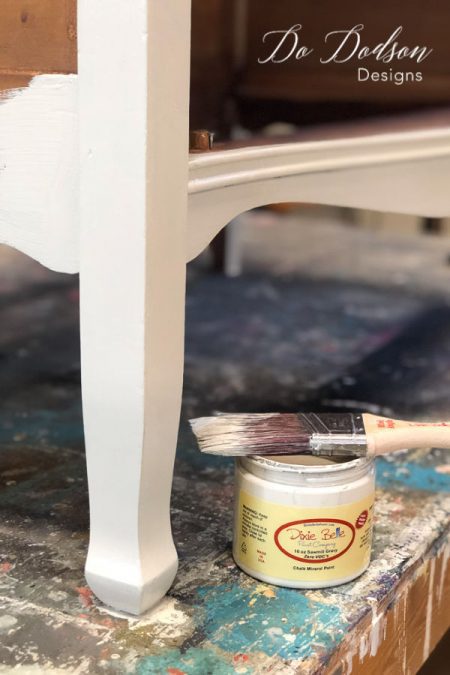
Chose a complementary paint color if you’re painting the remainder of the decoupage furniture. For this project, I chose Sawmill Gravy because of its vintage color.
Do you love the way this little dresser turned out? I’m really happy that I kept some of that beautiful wood to complement the vintage look. I’m still pretty new at this paper stuff, but it’s really pretty straight forward.
For more details on this painted piece, head to Do Dodson Designs here!


[…] Original Source […]