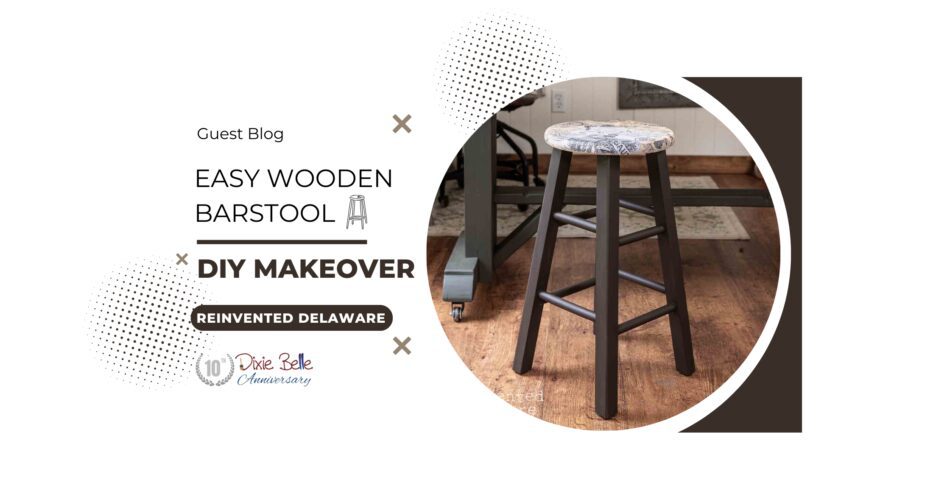
Welcome to the Dixie Belle Paint blog! Today, we’re excited to feature Cindy from Reinvented Delaware. Cindy is a pro at transforming thrift store finds, and she’s here to show us her latest project: a wooden stool makeover. Using Dixie Belle Paint products, she turned a simple stool into a stunning piece of home décor. Let’s get started!
(The following is an excerpt from Reinvented Delaware. Read the full article here.)
Are you ready to get creative and give new life to a thrift store wood stool?
In this blog post, I’ll guide you through the step-by-step process of transforming a plain and ordinary wooden stool into a unique and eye-catching piece that will add charm to any room.

Supplies:
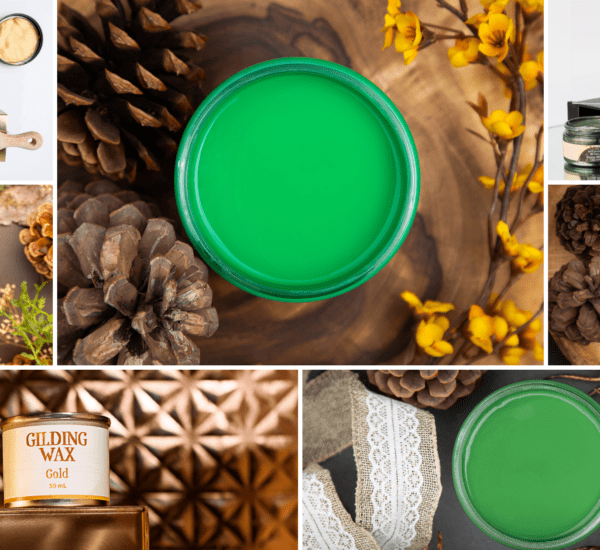
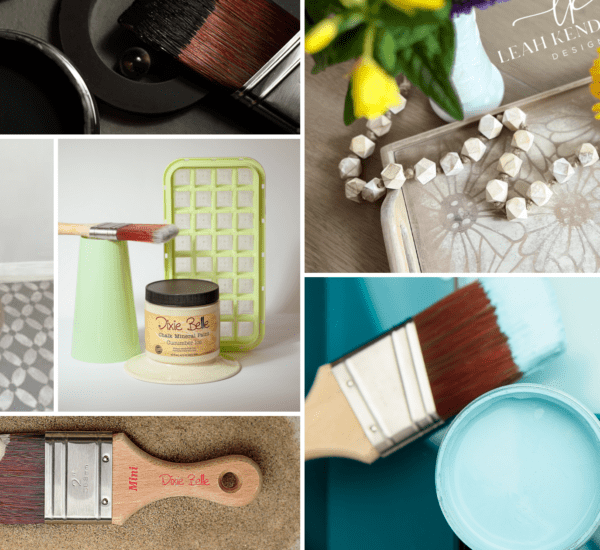
- Umber Silk All-In-One Mineral Paint
- Gator Hide Top Coat
- Small Paintbrushes
- Transfer of your choice
- White Best Dang Wax & Belle Brush
- spray shellac
- orbital sander
- sanding discs
From preparation to finishing touches, we’ll cover everything you need to know to achieve a stunning makeover on a budget. Get ready to roll up your sleeves and work on a fun and rewarding DIY project!
Step 1: Preparation
The first step in this makeover process is to give this wood stool a good cleaning. This will help to remove any dirt, grime, or old finishes, and create a smooth surface for the new paint or stain to adhere to.
Here are some tips on the best way to clean the stool to ensure a professional-looking finish.
- Use a solution of hot soapy water and a micro-fiber cloth and go over the entire piece. Once all of the surfaces have been thoroughly cleaned, wipe the piece down with a clean wet cloth and clean water to remove any soap. You can also rinse it off with a garden hose if the weather permits. The garden hose is my method for sure!
- If you think the piece has furniture wax on it, you can wipe the piece down with mineral spirits before the final cleaning. Read the instructions on the can and follow them closely so that you remain safe!
- Allow the piece to thoroughly dry before moving on with the makeover.
- If you need to remove layers of paint on old stools, Ready Strip will do the trick. I have used this product many times for my furniture makeovers and have had great success. Follow the instructions on the container!
The next step is to sand the wood stool if needed. My thrift store find had a very shiny surface and is fairly new. It did not have much wear and tear. If your wooden stool is well-used, you might not have to sand the surface.
If you do have to scuff sand the surface, use fine-grit sandpaper just enough to remove the shine. This will ensure good paint adhesion.

Step 2: Design Inspiration
Once the stool is prepped and ready, it’s time to decide on the design and look you want to achieve.
I wanted to create a vintage look for this bar stool makeover and remove the orange tones of the original wood. I also knew I wanted to use chalk paint on this project. Silk All-In-One Mineral Paint includes a primer and top coat so it saves a step!
To create the vintage look I wanted, I started digging through some leftover transfers I had on hand. I used some of the vintage-inspired transfers for other projects like a thrift store tote bag and some upcycled junk pieces that I had lying around!
After looking at the transfer, I decided the color Umber would be perfect for the legs of this little stool! It would pair perfectly with the vintage transfer!


Step 3: Paint and Transfer Design
The next step is to paint this wood stool. I applied two coats of the gorgeous warm brown Silk paint to the legs. I allowed enough time between coats for the paint to dry completely.
To add a decorative element to the bare wood seat area, I applied the vintage-looking transfer. Applying a transfer is so easy, especially on a flat surface like seats of bar stools like mine!
- Place the design on the surface, keeping the backing sheet in place.
- Once you have decided how to place the transfer, remove the backing sheet and lay the transfer on the surface.
- Use the tool that comes with transfer and rub over the top of the clear transfer sheet. This will press the transfer onto the wood surface of the furniture you are working on.
- Lift up the corner clear transfer sheet to make sure all of the design has transferred to the surface. If there are areas that haven’t transferred, lay it back down and go over it again with the tool.
- For the edges of the seat on the stool, I carefully lifted the clear sheet and held it in place as I used the tool to transfer the design to the edges.
**Do not completely remove the clear backing sheet once the transfer has made contact to the surface. When testing to see if the transfer has adhered to the surface, carefully lift one corner without completely removing the clear sheet.

Step 4: Finishing Touches
Wasn’t that an easy project?? Now all that needs to be done is to seal the piece! You won’t need to seal the Silk All-In-One Mineral Paint because it has a built-in sealer!

As for the transfer, I added a coat of white wax to soften the look of the transfer. I allowed the wax to cure for a week and then I added a clear coat called Gator Hide for additional protection. I will be sitting on this stool a lot since it is for my craft table!

We hope you loved Cindy’s thrift store wooden stool makeover! Her creativity shines through every step. Ready to start your own project? Check out the Dixie Belle Paint products Cindy used. Follow Reinvented Delaware for more transformations and share your creations with us. For more barstool makeover ideas, check out our blog, Barstool Beautification with Silk.