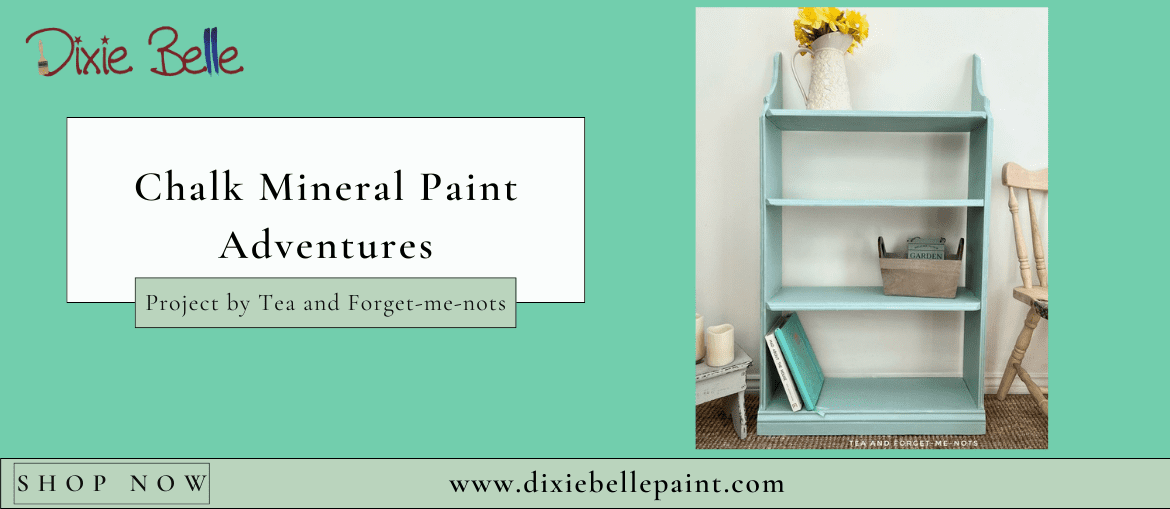
Hey readers it’s Rachel from Tea and Forget-me-nots. Come along with me on this Chalk Mineral Paint Adventures!
Materials Lists:
- DBP Best Dang Wax
- DBP Chalk Mineral Paint Sea Glass
- DBP Best Dang Brush
- DBP Synthetic Brush
- DBP Satin Clear Coat
- DBP Dixie Belle Mud
- DBP White Lightning Cleaner
- DBP Royal Damask – Stencil
Step 1 Prep
To start, I gave the piece a well-needed clean. I rinsed it with White Lightning TSP cleaner. I removed the leftover residue with clean water. Then as I had the first coat of paint and stain on the shelves, I scuff-sanded them. I used 180 grit sandpaper to rough up the entire surface to help the new paint grip to it and give a smooth finish. Then I removed that sanding dust with a damp lint-free cloth.
Step 2: Painting
Once the piece was cleared of dust and cleaned, I found a similar color, Dixie Belle Chalk Mineral Paint Sea Glass. Which is one of the best Chalk Mineral Paint colors for spring. With Chalk Painting, a little paint goes a long way. If you still find that the paint is thick to apply. You can use a mister bottle to spray a little water on the brush to help move the paint around. It’s a good idea to raise the piece off of the floor when painting at the bottom. This helps to keep a clean painted edge.
Step 3: Raised Stencil
A raised stencil uses a product to create a 3D layer before applying the paint. It adds an additional step in the process but gives the look so much depth. To go with the slightly shabby bookshelf, I chose to only partially apply the stencil. I used various portions of the design rather than the entire piece to give a distressed appearance. As though it had worn away over time. I used Dixie Mud as the stencil compound. I often use Dixie Mud as a wood filler. But the white version is great for creating raised stencils. I repositioned the stencil several times to apply it to various parts of the side. I positioned it strategically over things like a large nail head. Things that were fine originally but given the choice, may as well be covered. Where the stencil left any of the Dixie Mud in unwanted places, I wiped that off with a damp cloth. I waited 24 hours for the stencil to dry. And then painted over it in the same original color, Sea Glass. I like to paint over raised stencils to make them look like a naturally integrated part of the piece of furniture.
