
Hello everyone! I’m Cynthia Rust from Reinvented Delaware, excited to share a patriotic DIY project with you. Let’s create an American flag using reclaimed wood and Silk All-In-One Mineral Paint with a metal star. We’ll use some of my favorite Dixie Belle Paint products to make this beautiful and eco-friendly piece. Grab your paintbrushes, and let’s get started!
SUPPLY LIST:
Let’s look at the supplies you need to make this scrap wood flag using pickets! You probably already have some of the supplies on hand! Keep in mind you can make these flags quickly so you might want to make more than one to give as a gift or to sell them!
- 3 42″ long fence pickets (reclaimed or new)
- Red, Blue, and White chalk paint
- gold metallic paint (optional)
- outdoor-rated sealing clear coat
- paint brush
- thrifted metal star (more on that later)
- wood screws
- wood glue
- heavy wire for hanging
(The following is an excerpt from Reinvented Delaware. Read the full article here.)
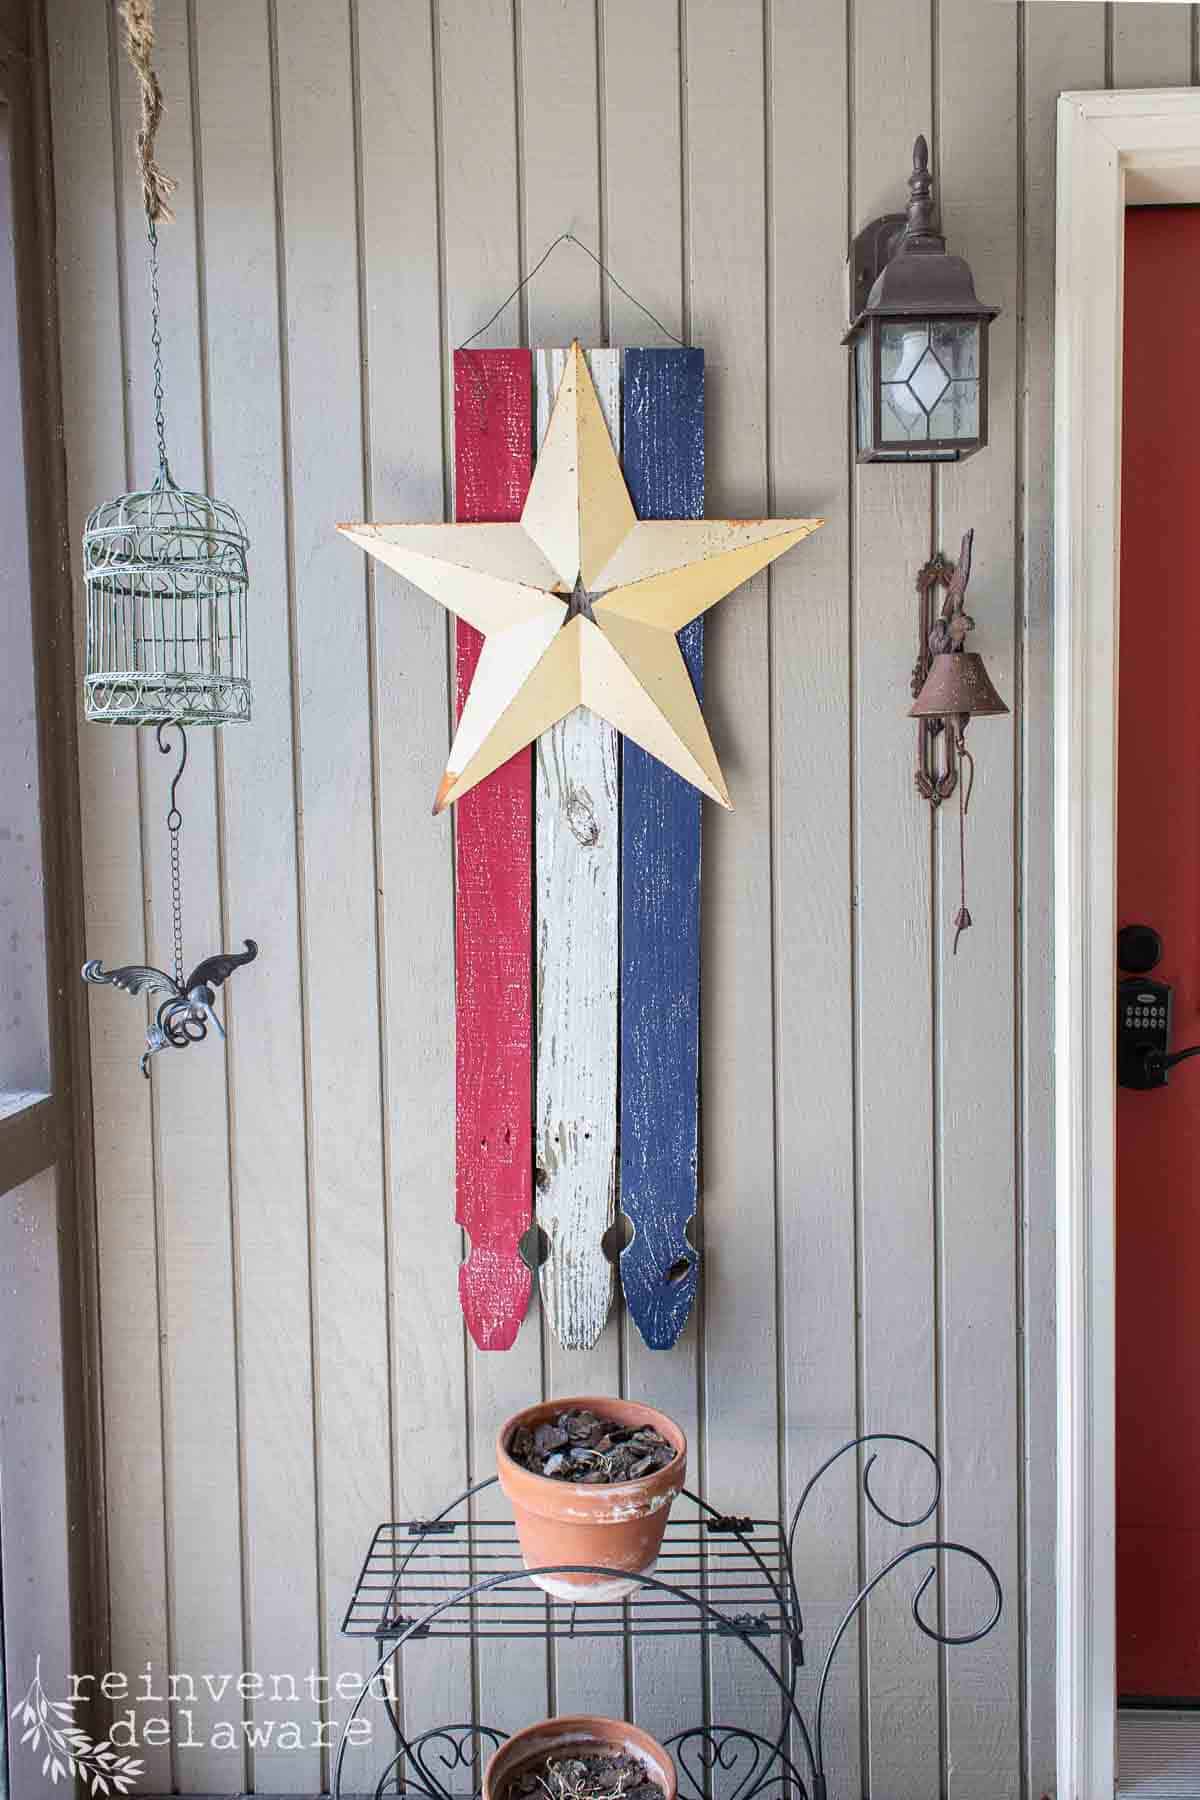
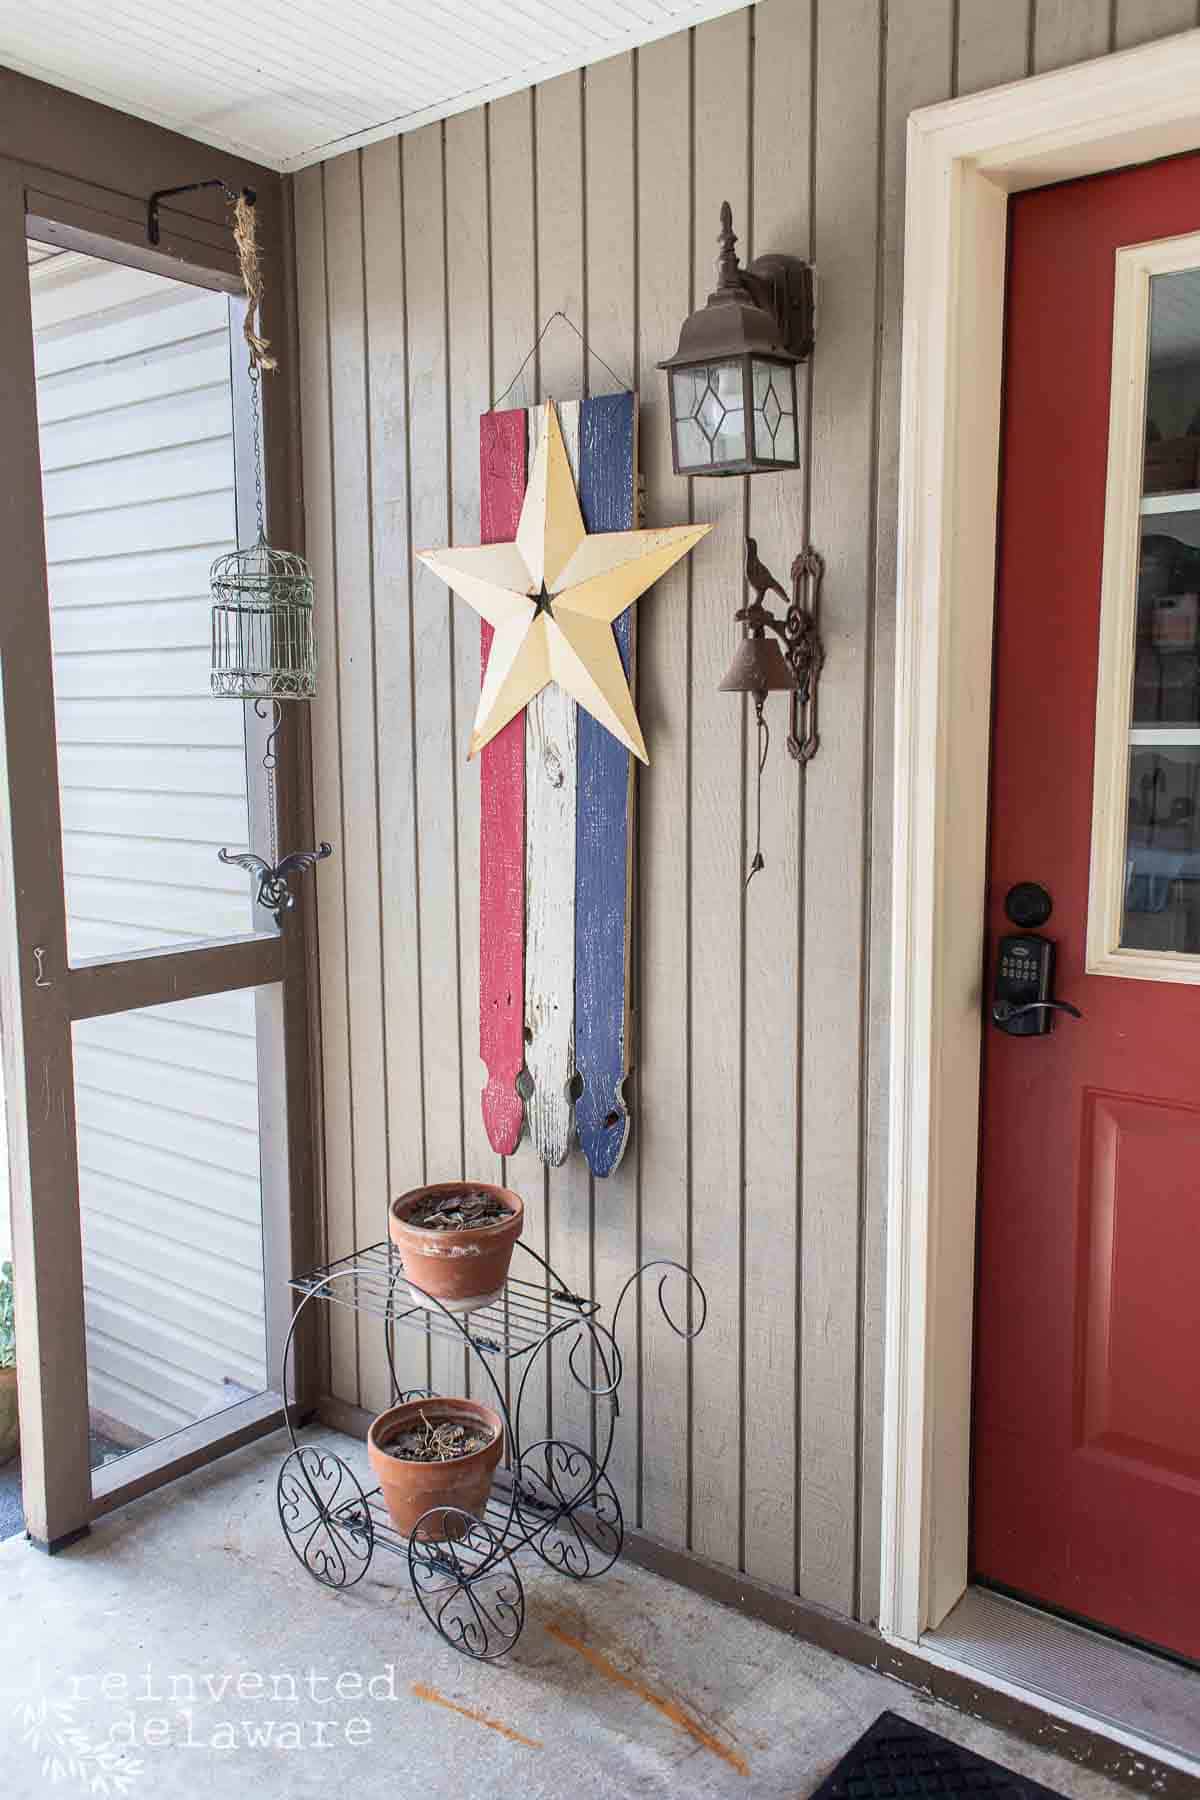
This DIY wooden American flag is the perfect project to celebrate the upcoming patriotic holidays like Memorial Day, Flag Day, and of course The Fourth of July.
If you love the rustic look as much as I do, then this DIY wooden flag is just for you! It’s easy to make this patriotic project and is also budget-friendly.
In this post, we will go over the supplies and tools you need to complete the project. We will also go over each step to build and customize this DIY wooden flag, I will also include options if you don’t have reclaimed fence pickets and a metal star like the one I used for my wood flag.
Unique DIY Wood Flags
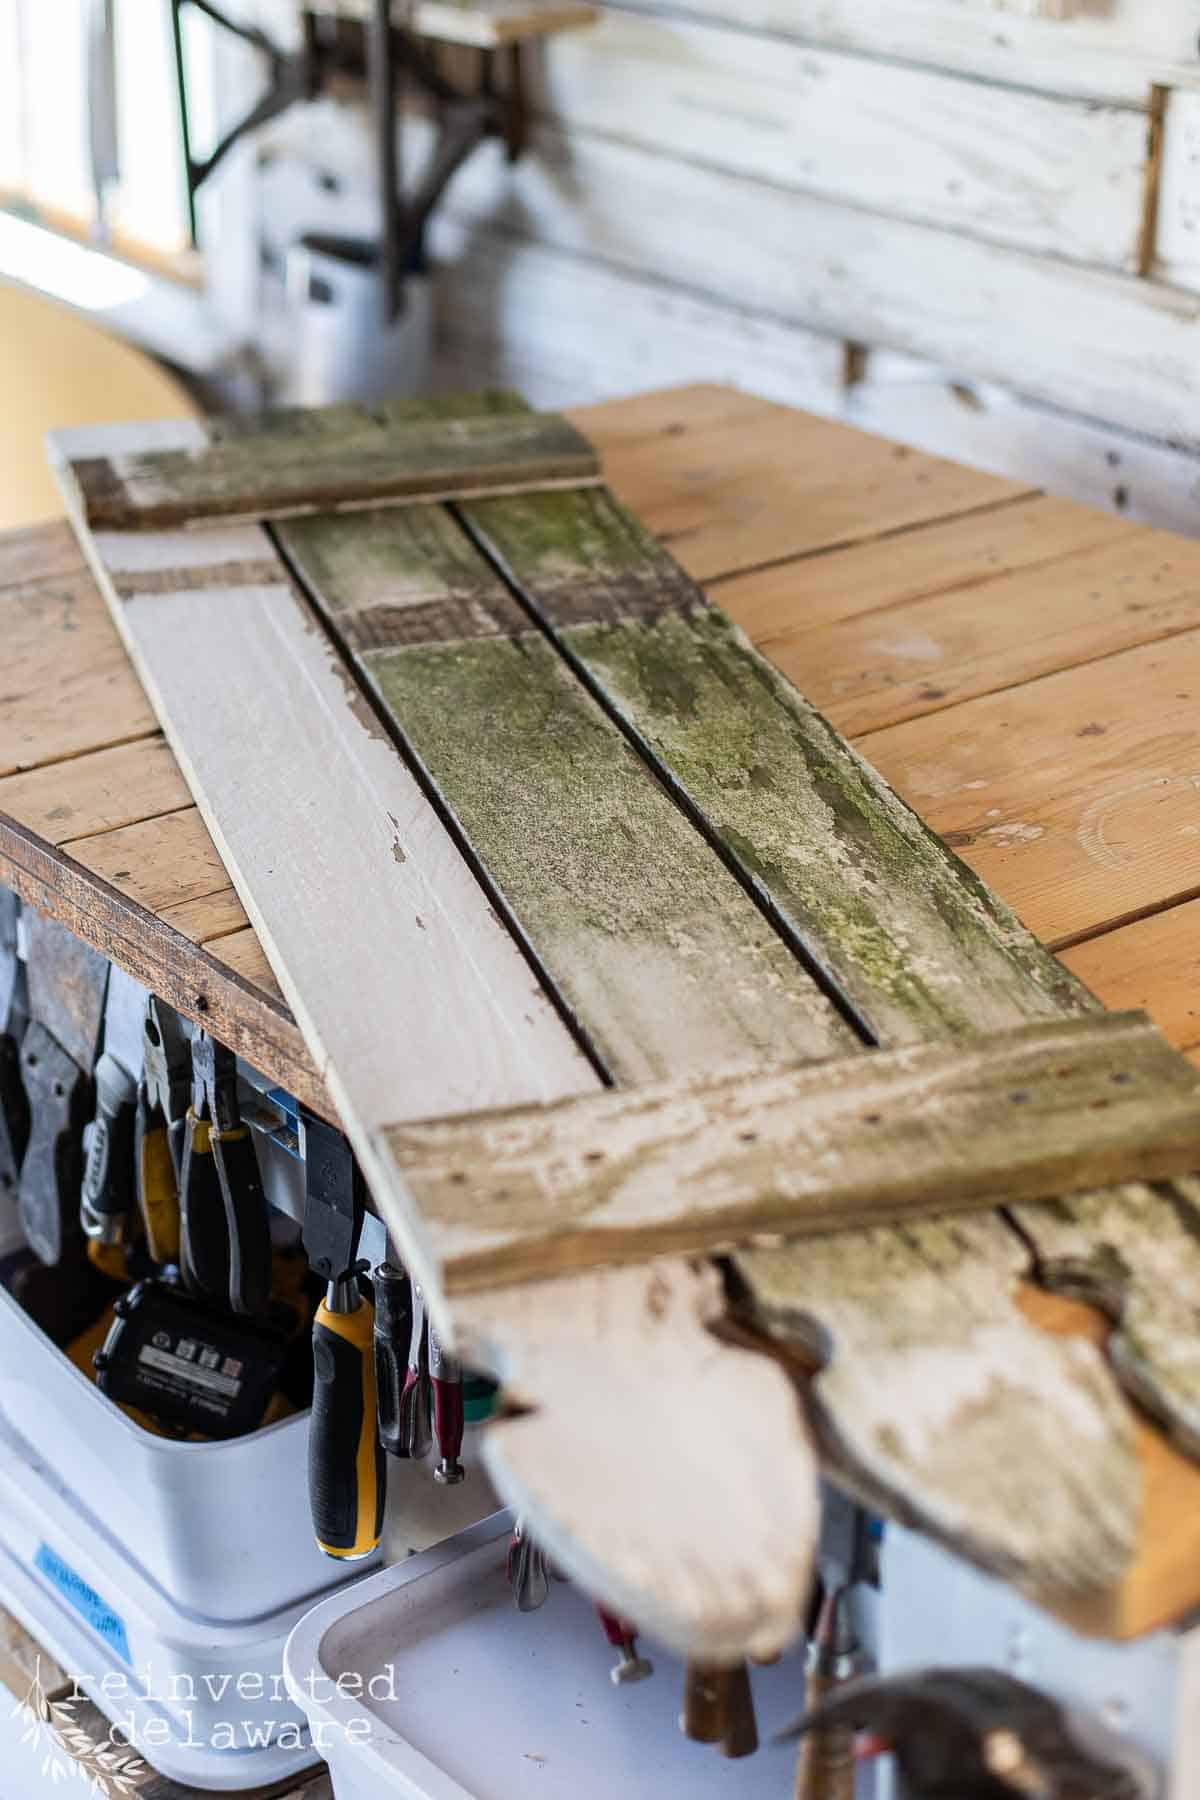
You will notice that my fence pickets have been previously painted and are pretty dirty. We reclaimed these pickets from my niece’s home. She was replacing the fencing around her yard and asked if we wanted them. Of course, we said yes because we love reclaimed scrap wood! Especially when it is free!
If you don’t have access to reclaimed fence pickets, you can buy them at your local home improvement stores. They only cost about $2 each making this a fun project to make that won’t cost much. Using fence pickets adds a rustic touch to this wooden American flag wall art that is unique!
You might be making this scrap wood flag for your home, but you also might be a vendor who is looking for projects to make and sell in a vendor booth or a market. These flags can be made inexpensively so your profit margin will be great. You can also make several of these flags in only one weekend!
Take my word for it, you will have lots of interested buyers wanting one of these adorable American flags! Customers love patriotic Americana decor in the summer!
How to Make a DIY Wooden American Flag
Let’s go over the step-by-step process to build a simple rustic wood flag. I will go over the steps when using new fence boards, but later in this post. I will also tell you about the reclaimed fence pickets I used!
Step One: Cut the pickets
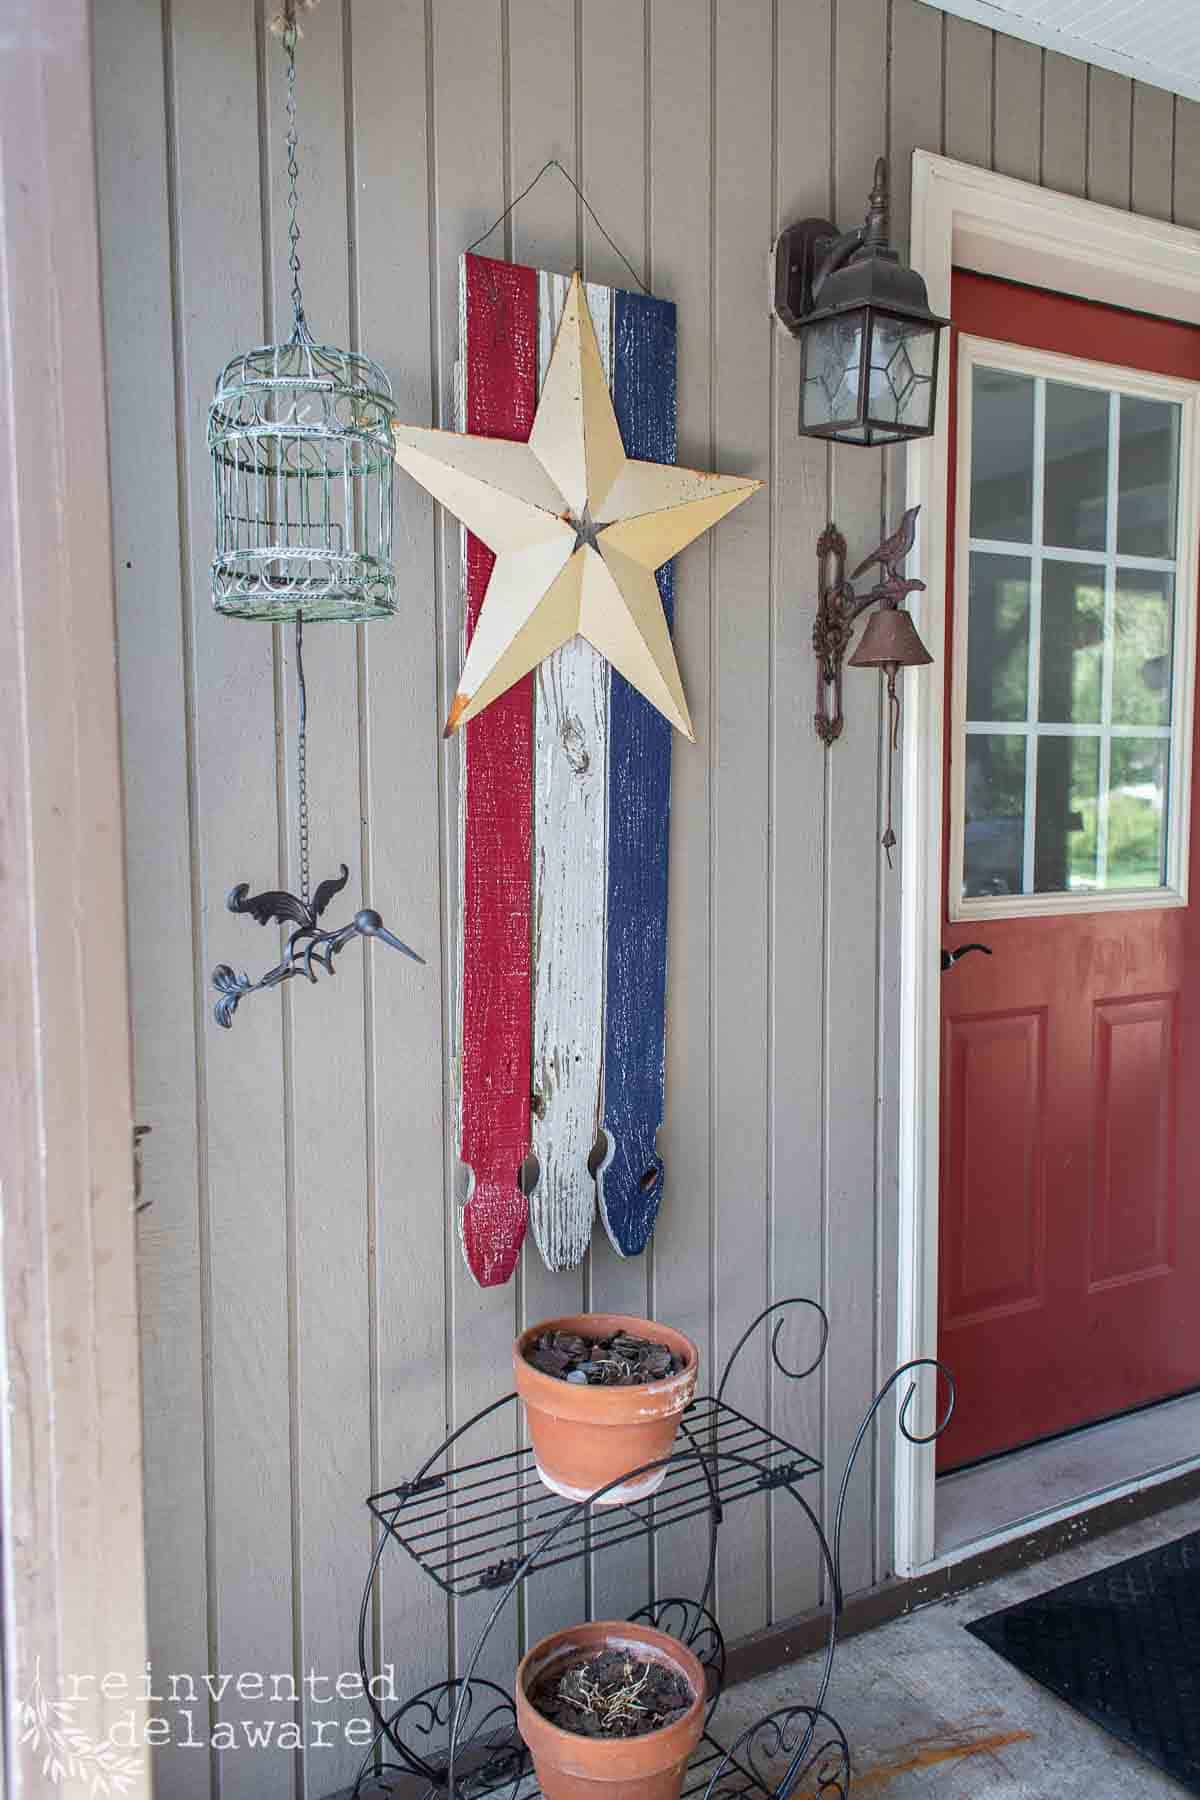
Cut the fence picket sections approximately 30″ long. Save the 12″ end sections to assemble the flag. The final wood flag dimensions will be 12″ wide by 30″ tall plus the width of the metal star and the hanging wire.
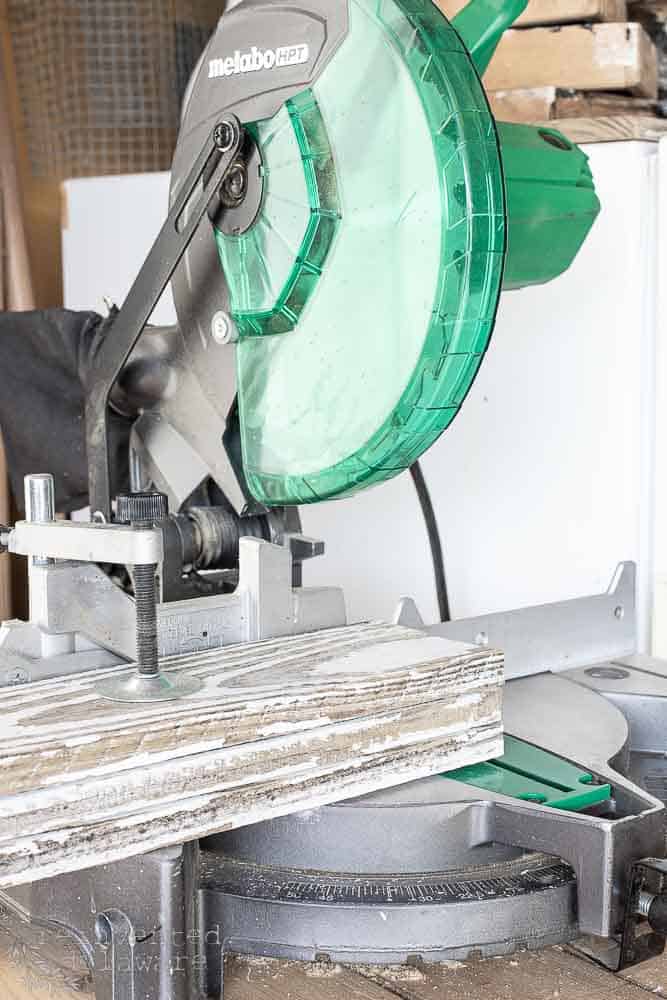
I used a chop saw (also known as a miter saw) to cut my boards. Measure and mark the boards and carefully cut them using the miter saw. Take caution when using this powerful tool! Wear safety goggles and be smart about the whole process!
You can use a circular saw, jig saw or hand saw to cut the boards as well. Mark and measure the fence boards using a carpenter’s square to create a straight edge for cutting. Draw the cutting line and cut the boards.
Step Two: Assemble the Wood Flag
Next sand any rough edges created by the saw. Use two of the leftover 12″ sections to attach the three long fence boards. I used a power drill to predrill the screw holes on the back of the flag. Then before attaching the boards with screws, I applied a layer of wood glue. This helps to join all of the boards together for a secure bond.
I also left a 1/2″ gap between the boards. You can have the long edges touching if you like but I like the look of the gap on this rustic flag.
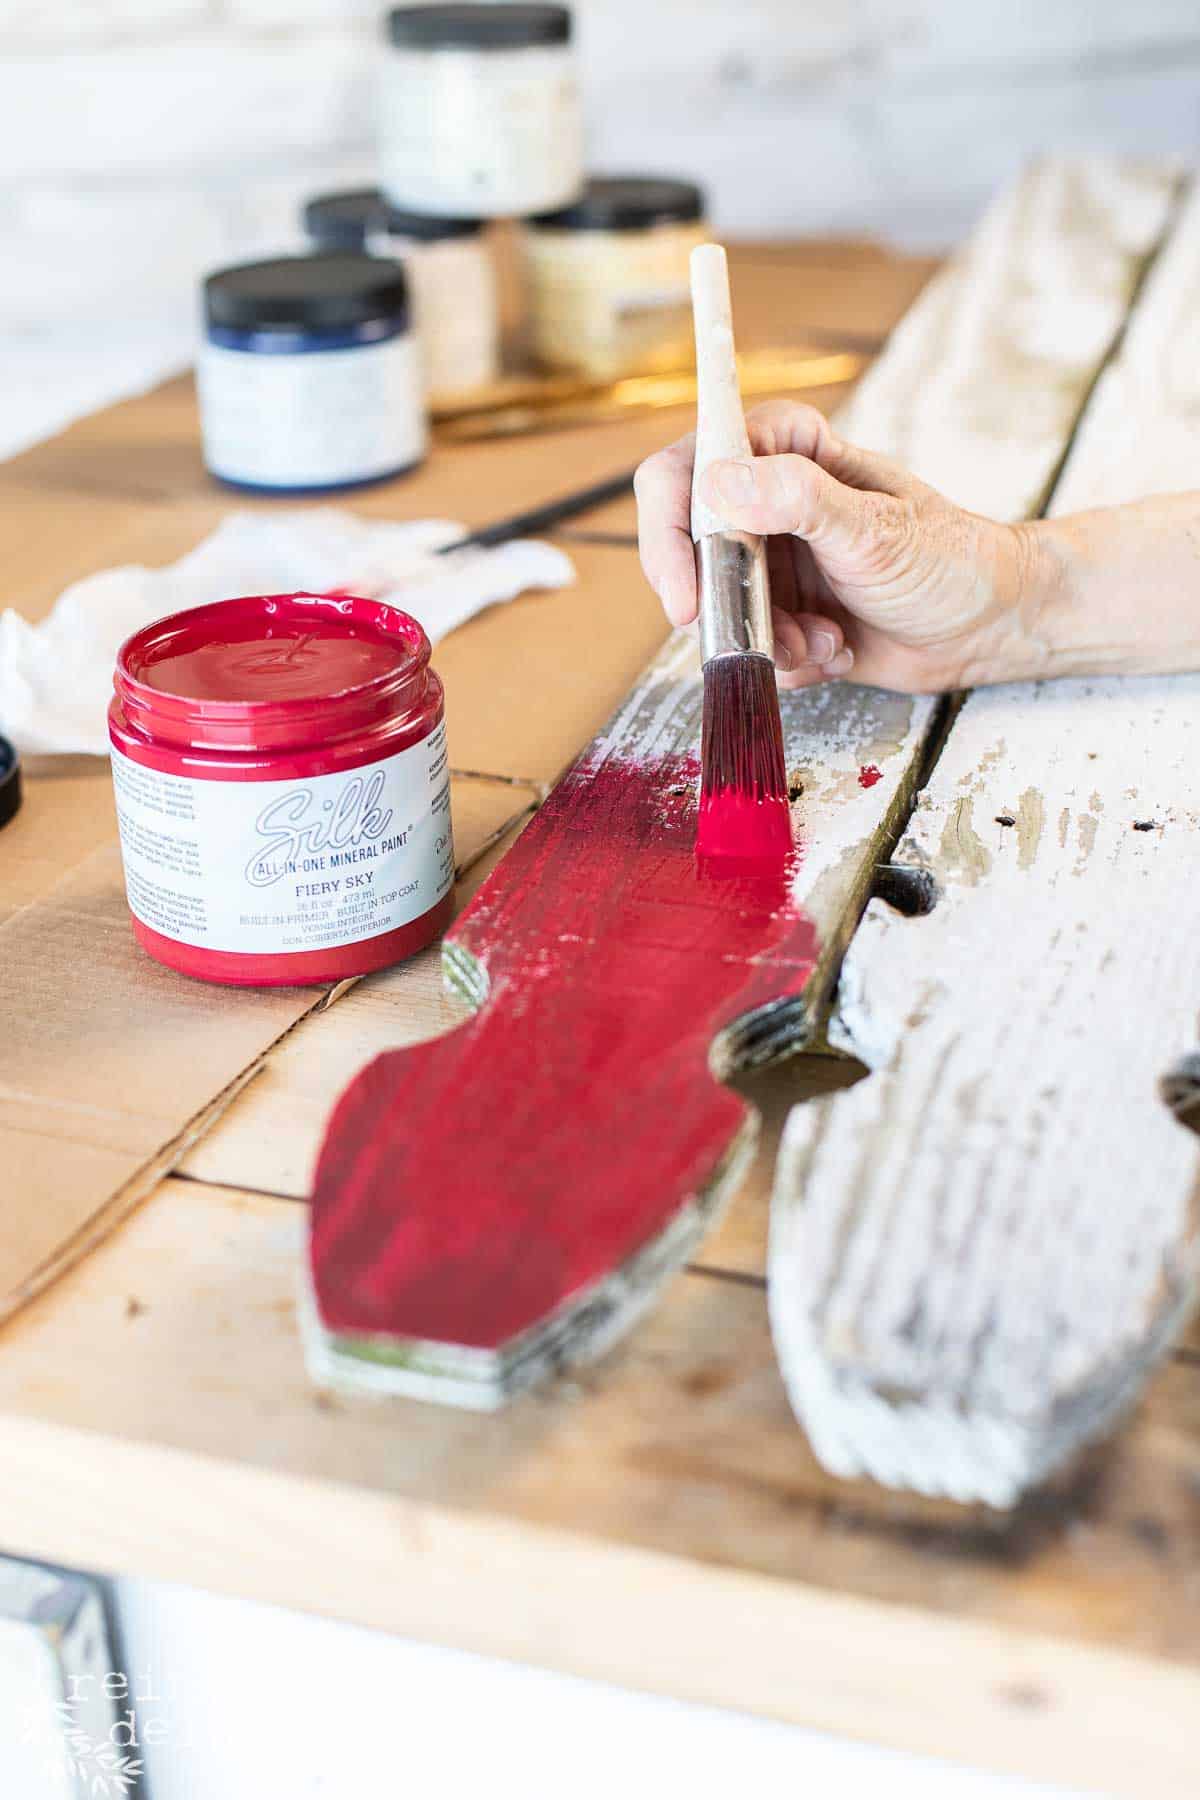
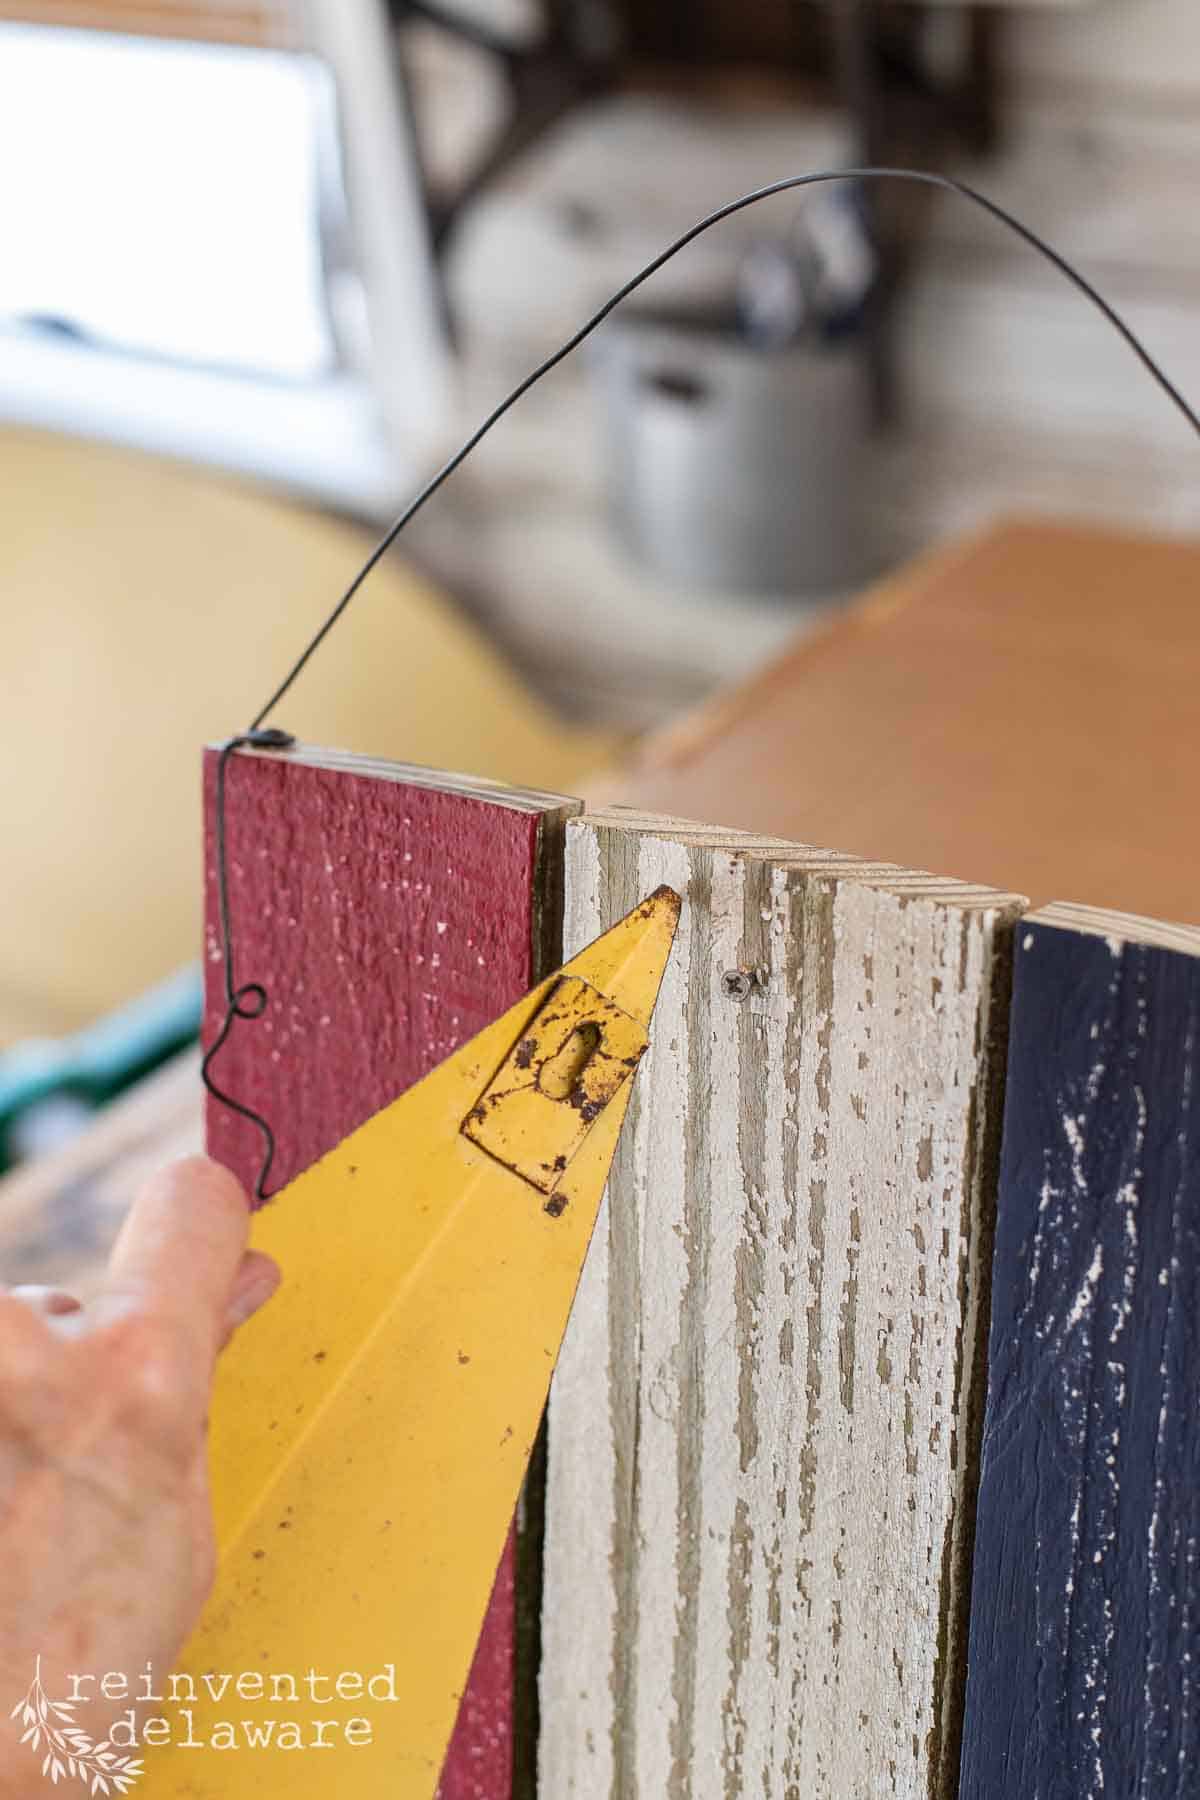
Step Three: Paint the Red, White, and Blue
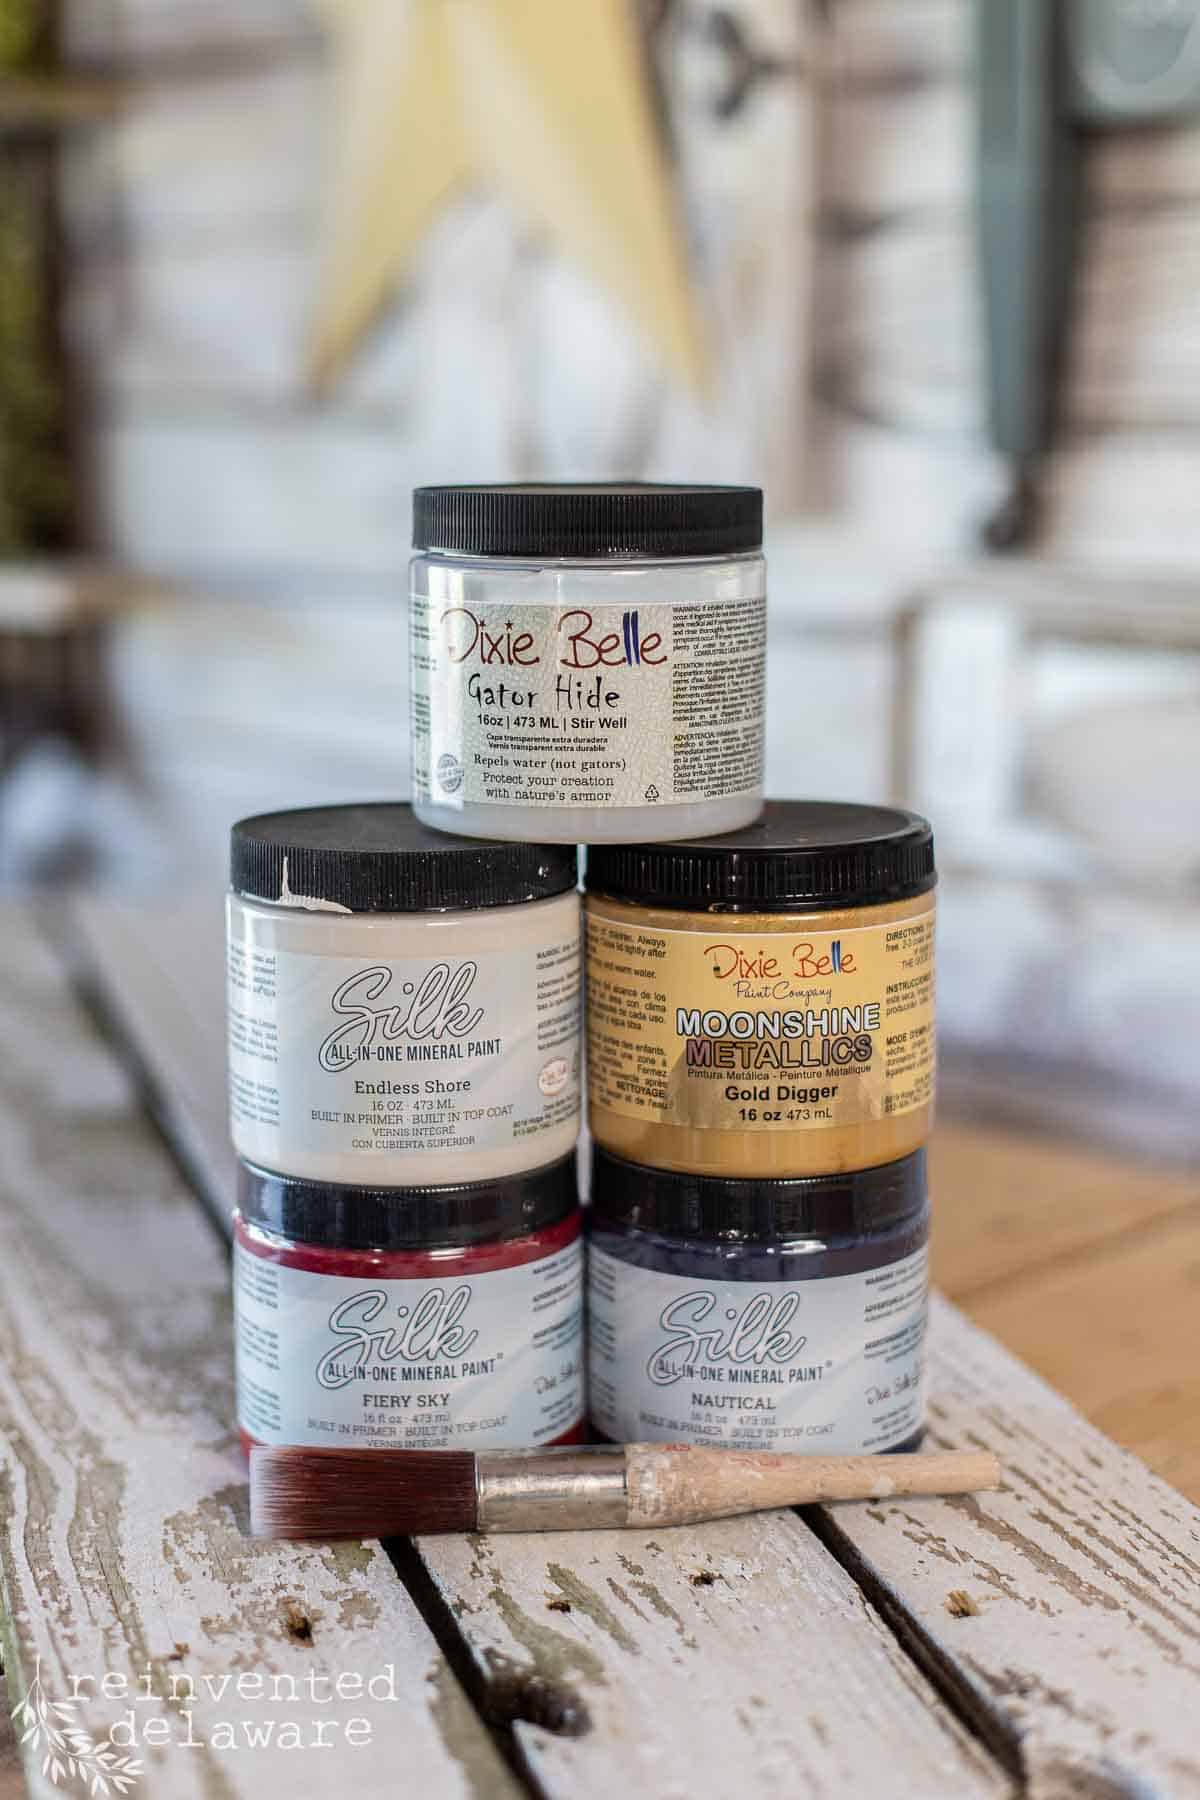
I’ve designed this DIY wood flag so that each of the three colors of the flag can be represented. The red paint I am using for the red stripes is a traditional red for the American flag. Fiery Sky Red is the perfect red color for this flag in my opinion!
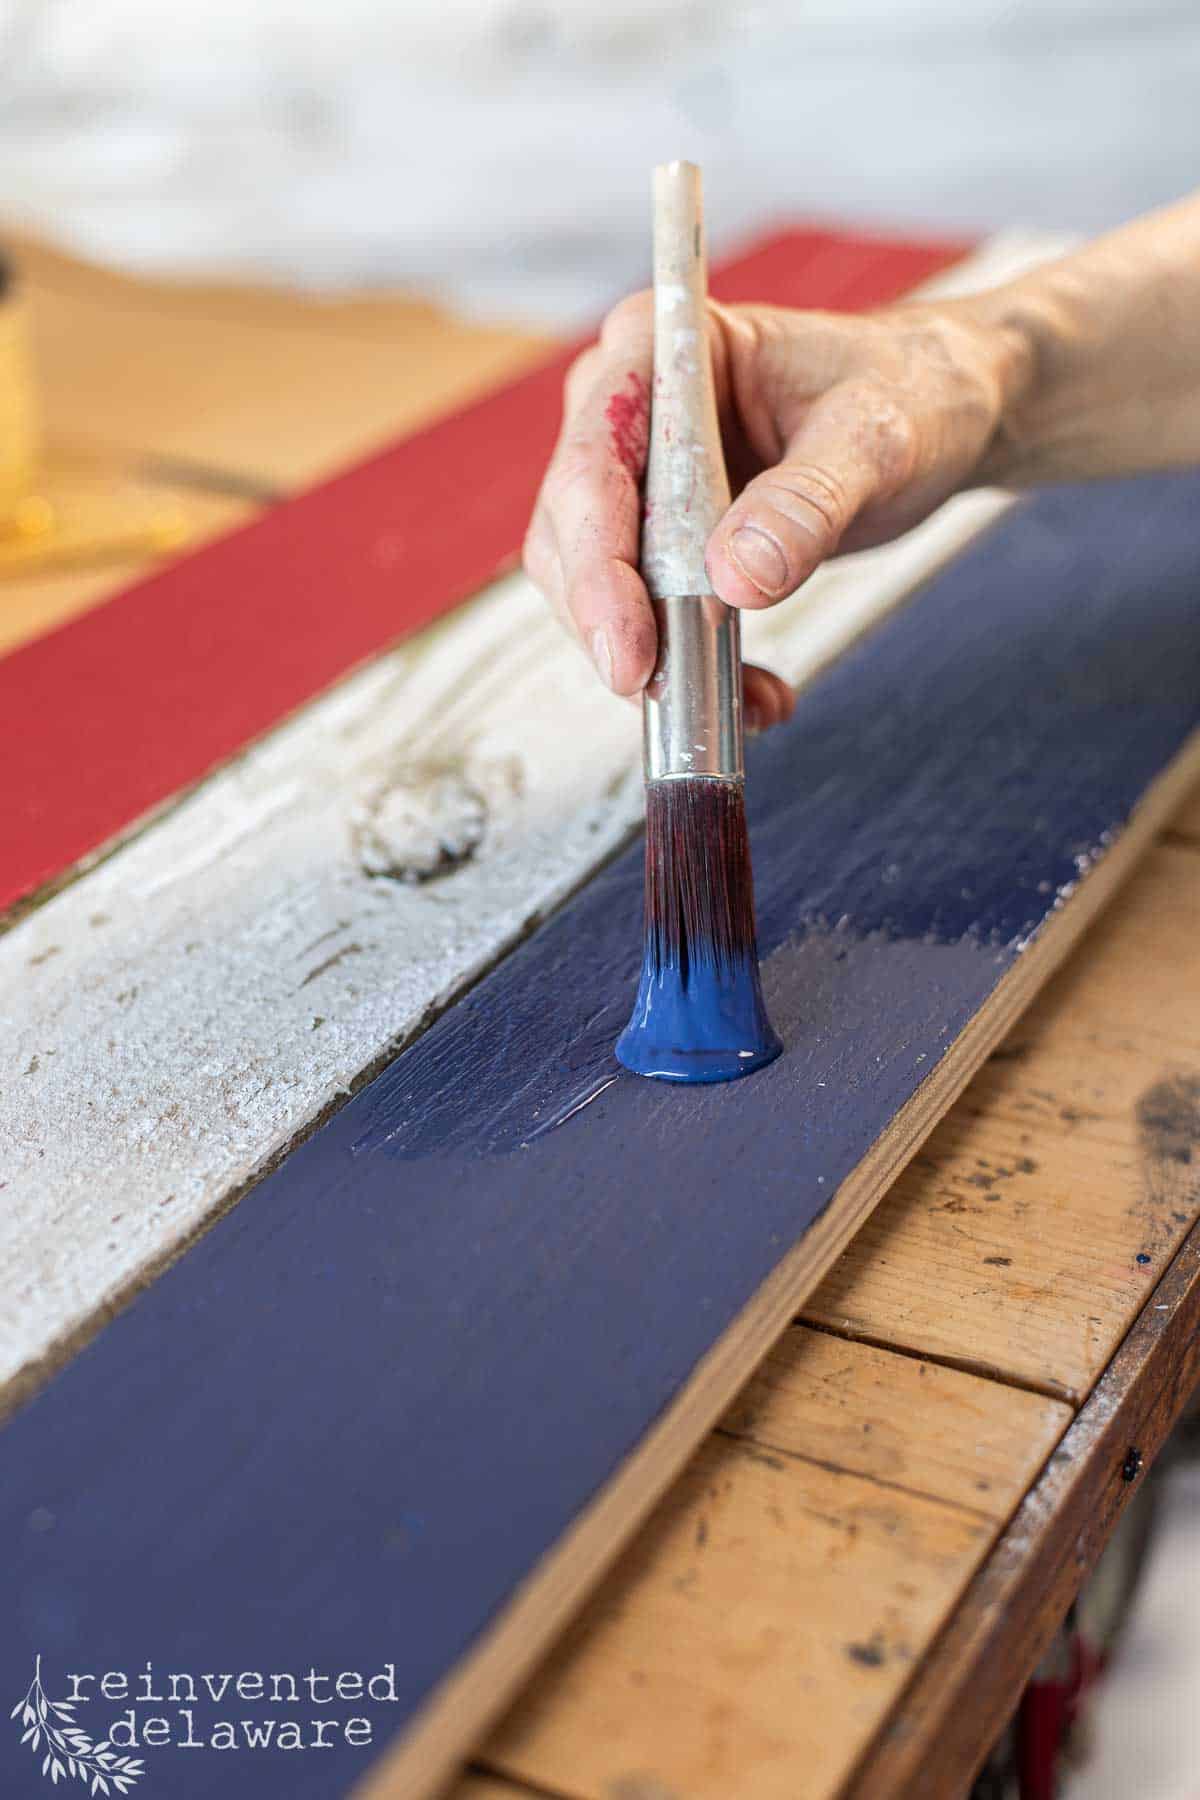
The blue color I chose is called Nautical and it couldn’t be any more perfect! There are certainly other blue colors to choose from but this one looks the closest to the blue in the American flag in my opinion!
The white stripes were easy for me because the fence pickets I used were already painted white. If you need the perfect white to go along with the blue and red colors I have chosen for the wood flag, I would choose Endless Shore. All three of these Americana colors will look perfect together!
Each picket got two coats of paint for complete coverage.
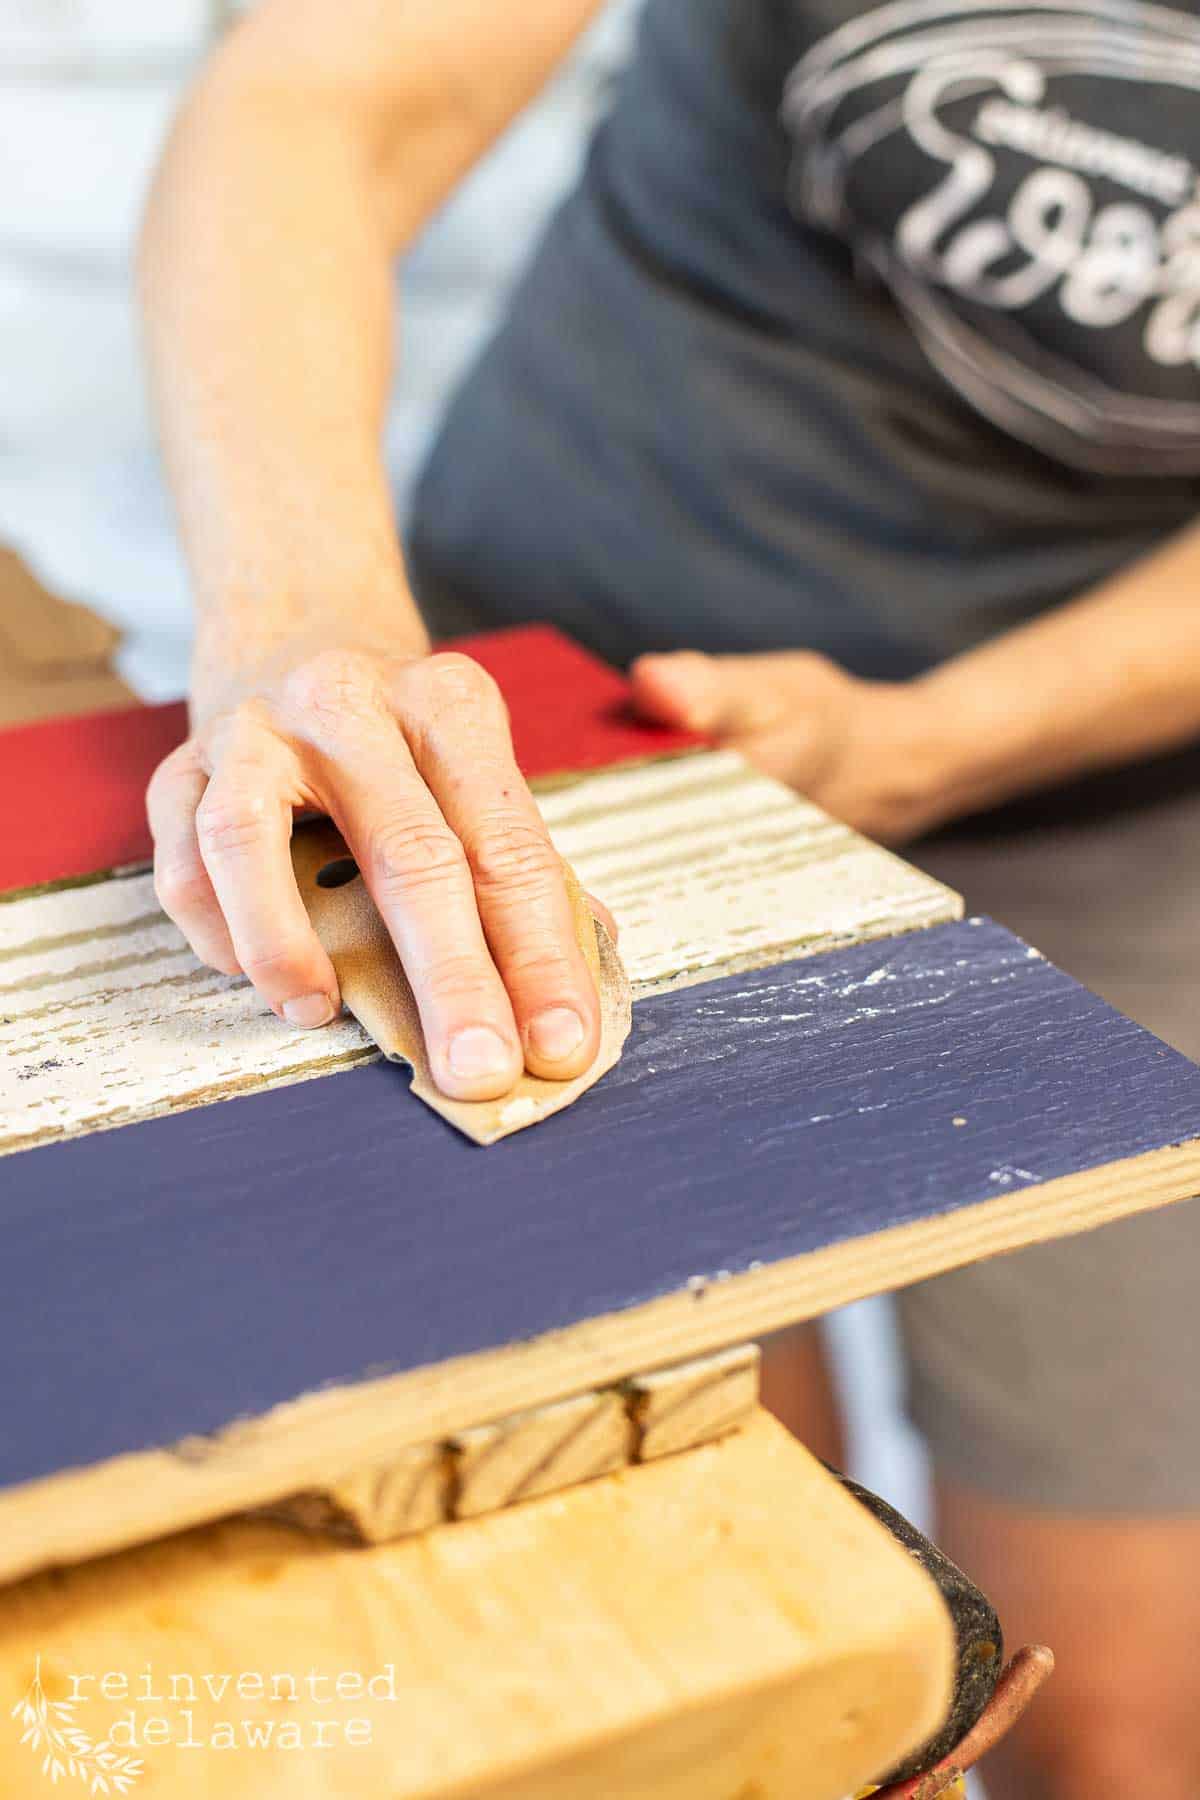
Step Four: Create a Distressed Look
This step is optional. Paint the pickets and if you like the solid paint look, then don’t distress the boards! If you like the chippy paint look then go for it!
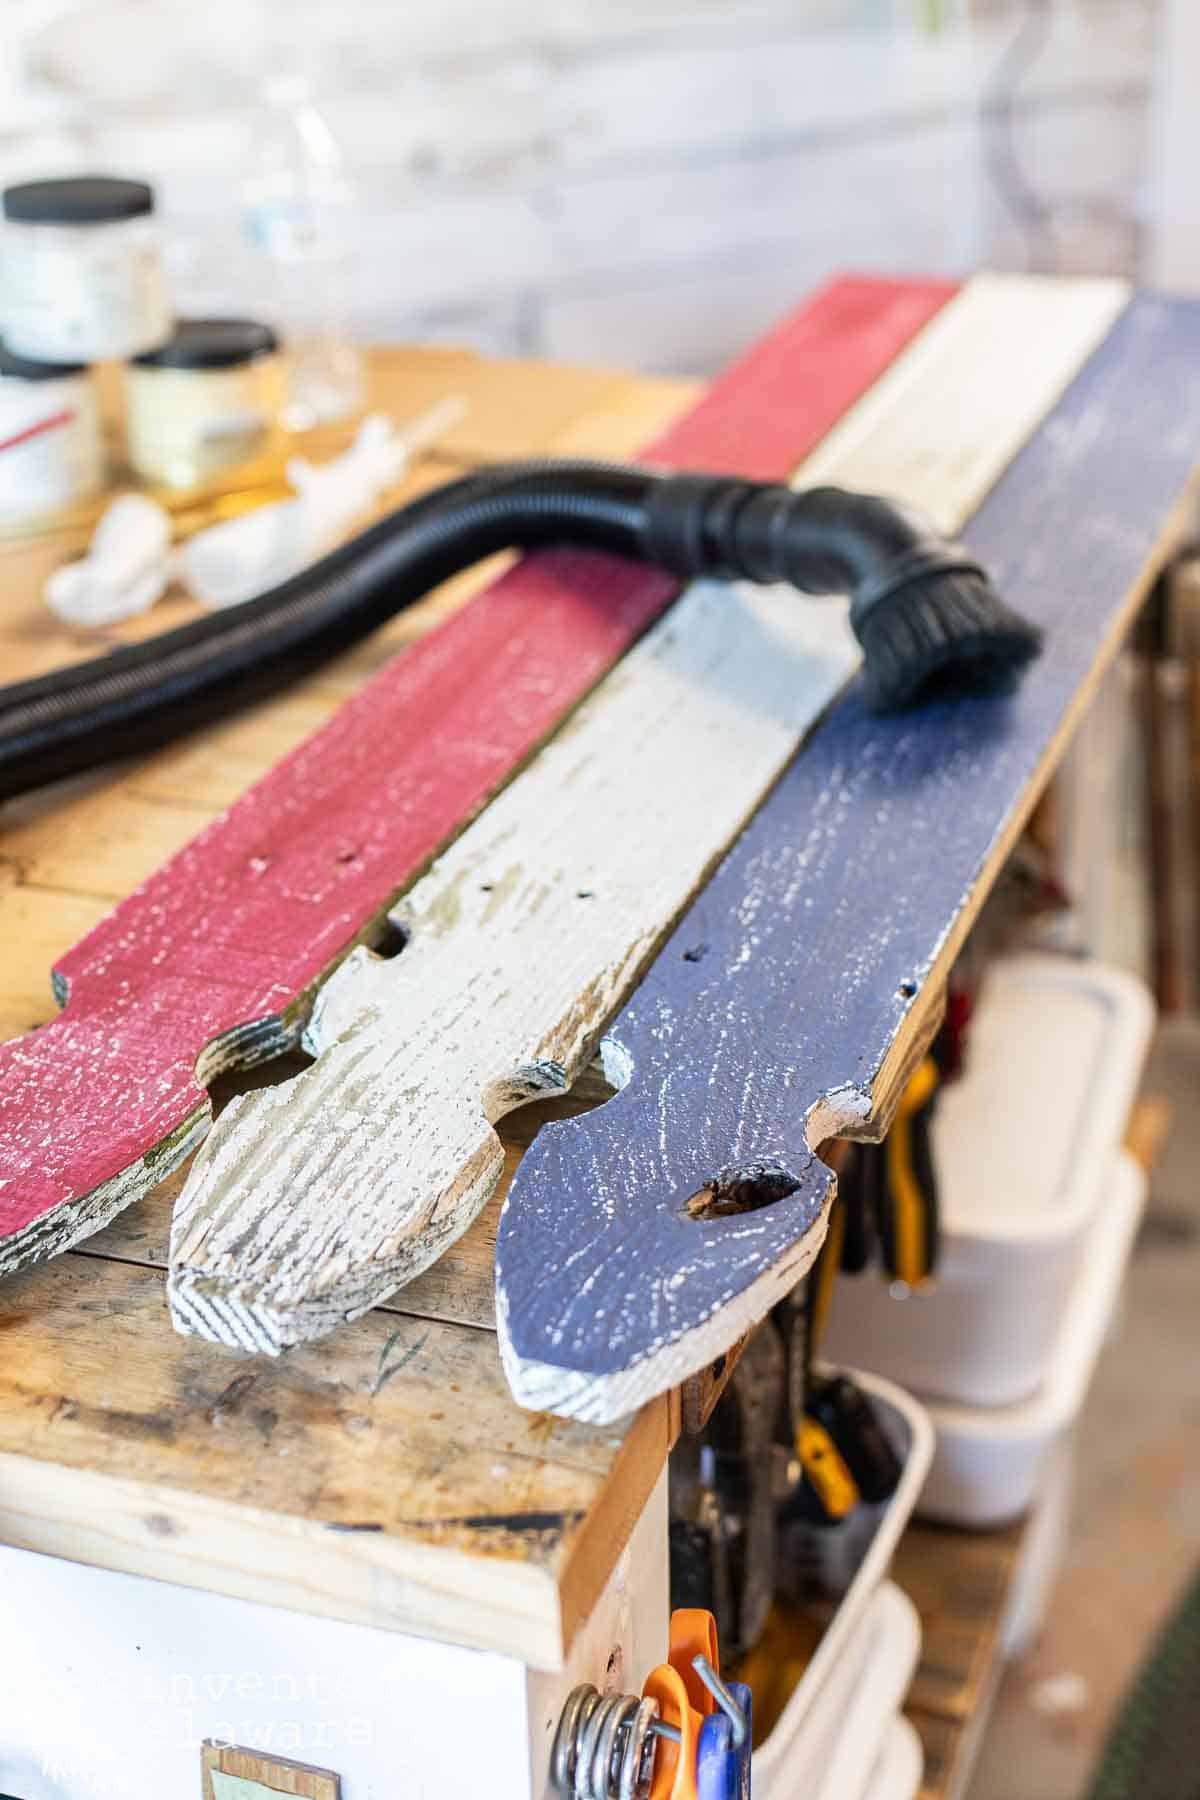
Use a piece of sandpaper to scuff off some of the paint along the grain of the wood. Then vacuum off the paint dust created by sanding.
You can also use an orbital sander to distress the paint. This will help to show the wood grain of the pickets creating a rustic look.
Step Five: Seal the Paint for Outdoors
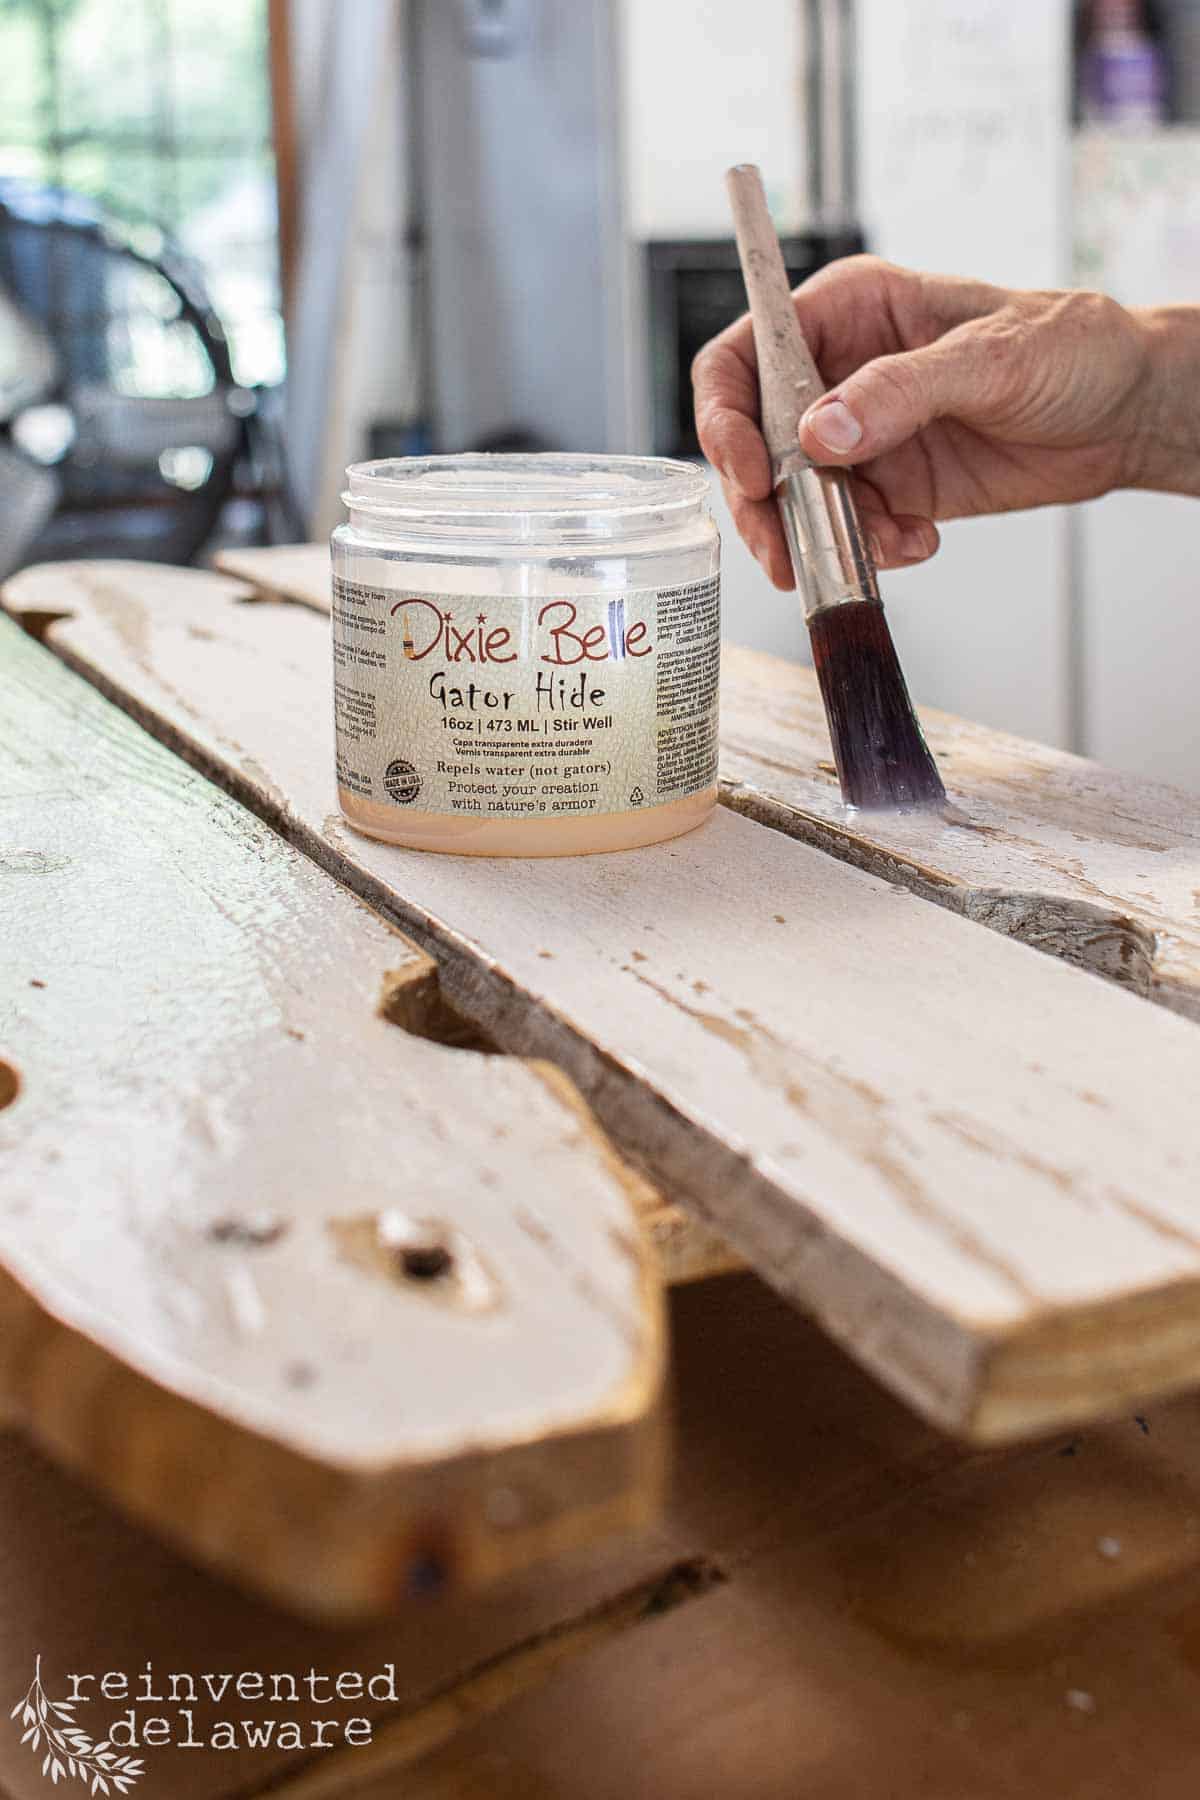
The next step is to seal the paint, especially if this rustic wood flag will be out in direct weather. I used Gator Hide to seal the paint. It is rated for outdoors and will make this flag last a long time on my back patio!
I applied two coats allowing it to dry between coats. It’s a good idea to allow it to dry completely overnight before hanging this DIY wood flag.
You will notice in the image below that I applied the clear coat sealer to a different project. That project is coming soon so stay tuned!
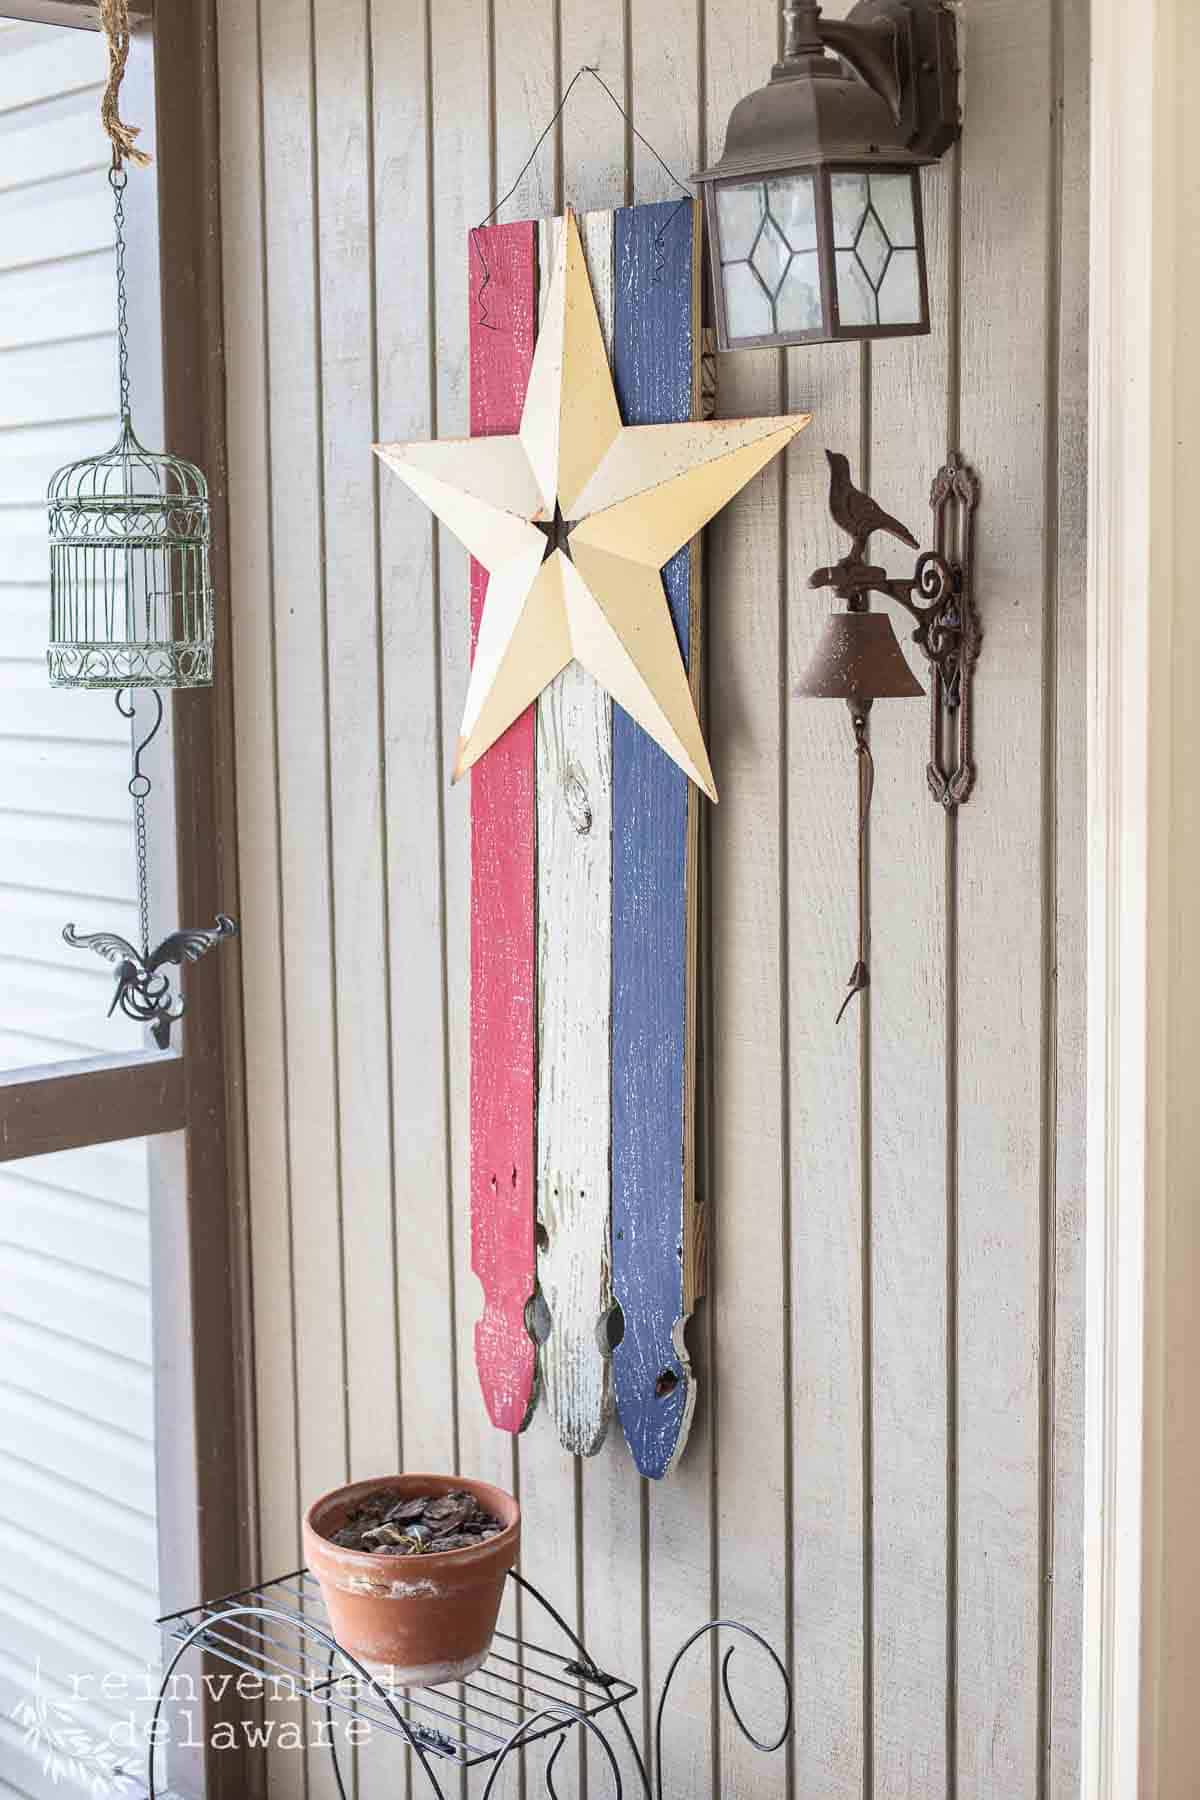
Step Six: Add the Star and the Hanger
The final step is to add the star. I had an old metal star that I found at a thrift store (or maybe I found it at an auction??) Anyway, it was the perfect look for the star area on this wooden flag.
If you can’t find a metal star like mine, you could always make one. Here are some ideas for you.
- Draw a star shape and cut it out of scrap wood.
- Make a simple farmhouse star using paint sticks or scrap wood.
- Use a CNC machine to cut a star. Some CNC machines can cut metal or thin wood.
- Design a star stencil on a Cricut machine and stencil the star design on scrap wood.
- Purchase pre-made vinyl stars at your local craft store and stick several of them on the fence boards.
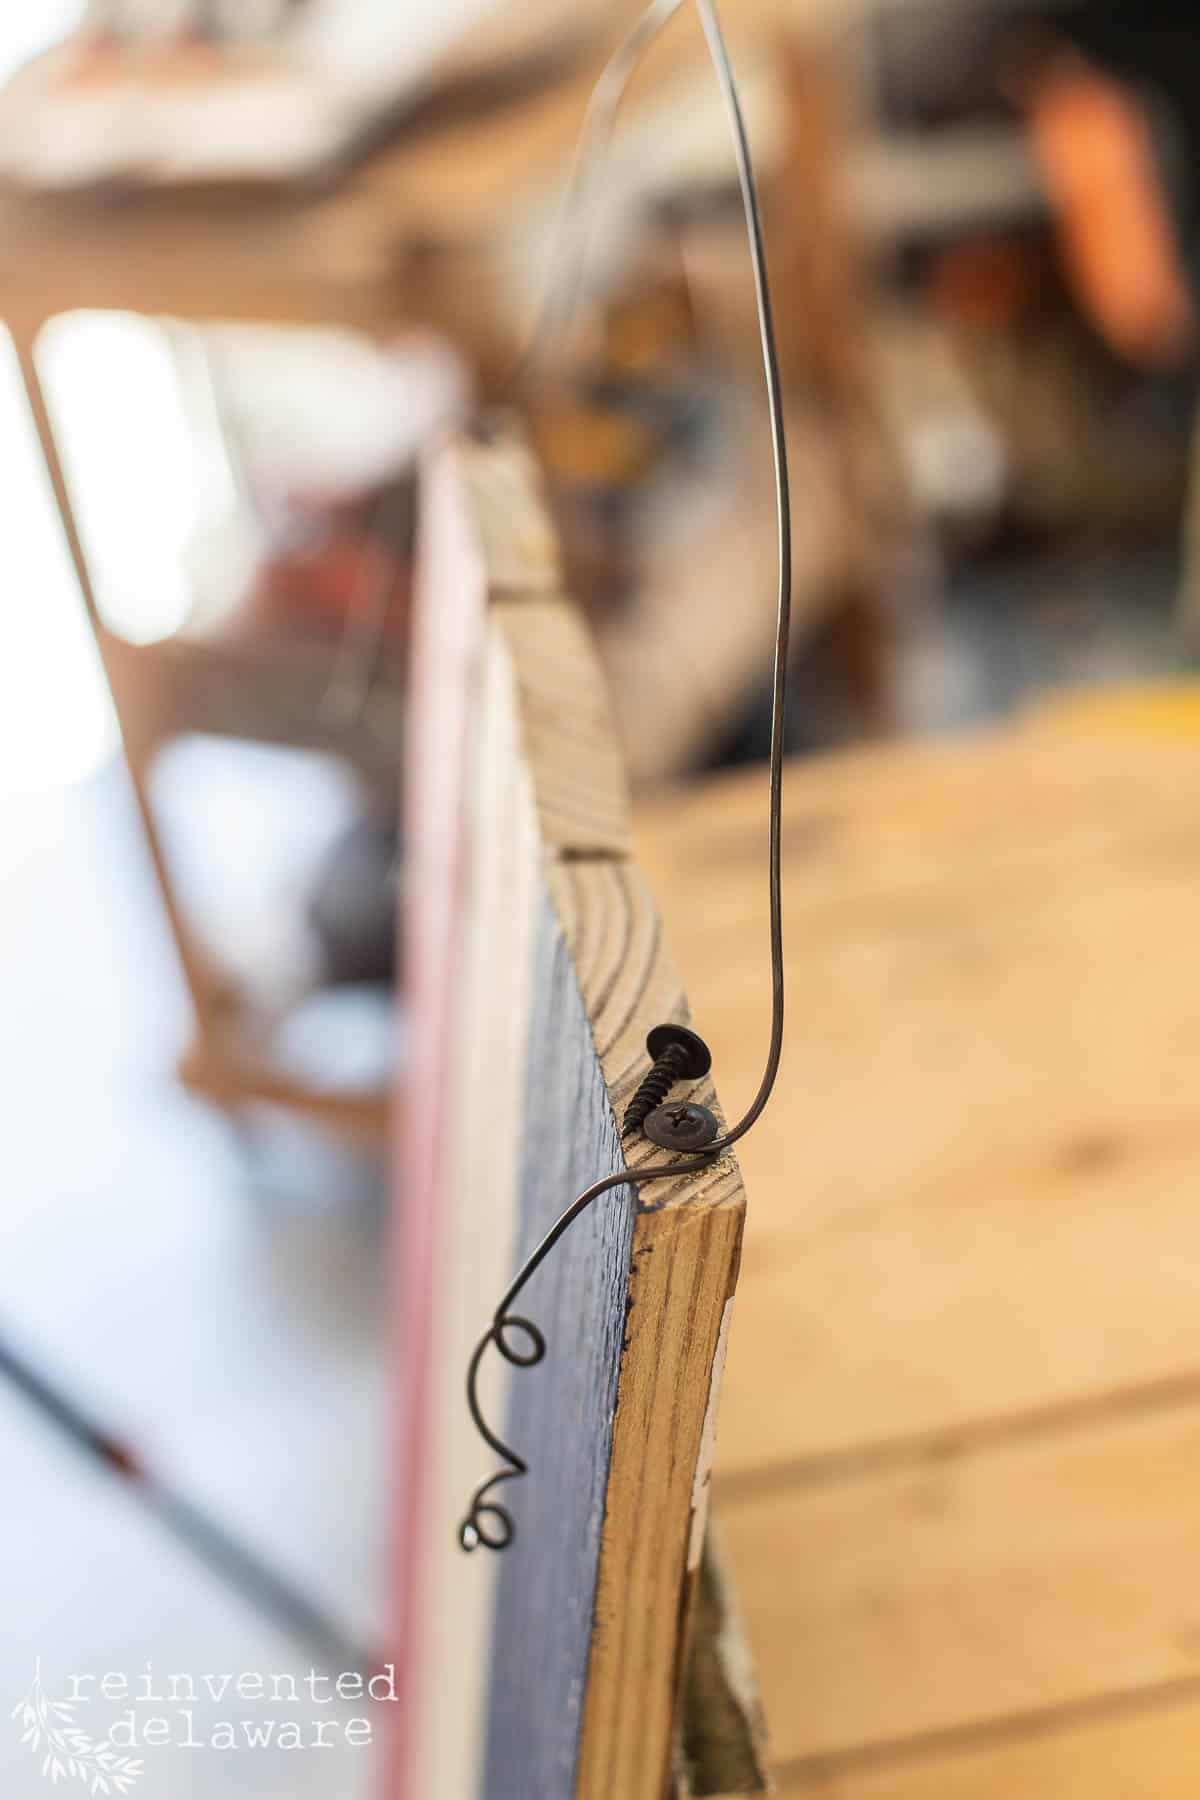
Finally, add a heavy wire hanger using a screw at the top edges of the flag. Predill the holes first, turn the screw a couple times, wrap the heavy wire around the screw then tighten down the screw to hold the wire. I like to add a little curly cue to the tail ends of the wire by twisting it around the screwdriver a couple times.
Wasn’t that such an easy scrap wood flag to make? Pickets are inexpensive to purchase and easy to use in many projects.
Reclaimed Fence Boards
I mentioned earlier in the post that we used reclaimed fence boards. That will make this project even more budget-friendly. Let your family and friends know that you are looking for old fence boards for projects. Many people are replacing wood fencing with vinyl fencing and they want to get rid of the old fencing. Look on Marketplace too. Most people just want you to come and pick up the fencing.
You can also check with local fencing companies. Let them know that if they come across customers who want to get rid of the boards, you are willing to come and get them. This saves the company and the customer the disposal fee so they are more than willing to give you the boards. Good luck finding old fence boards!
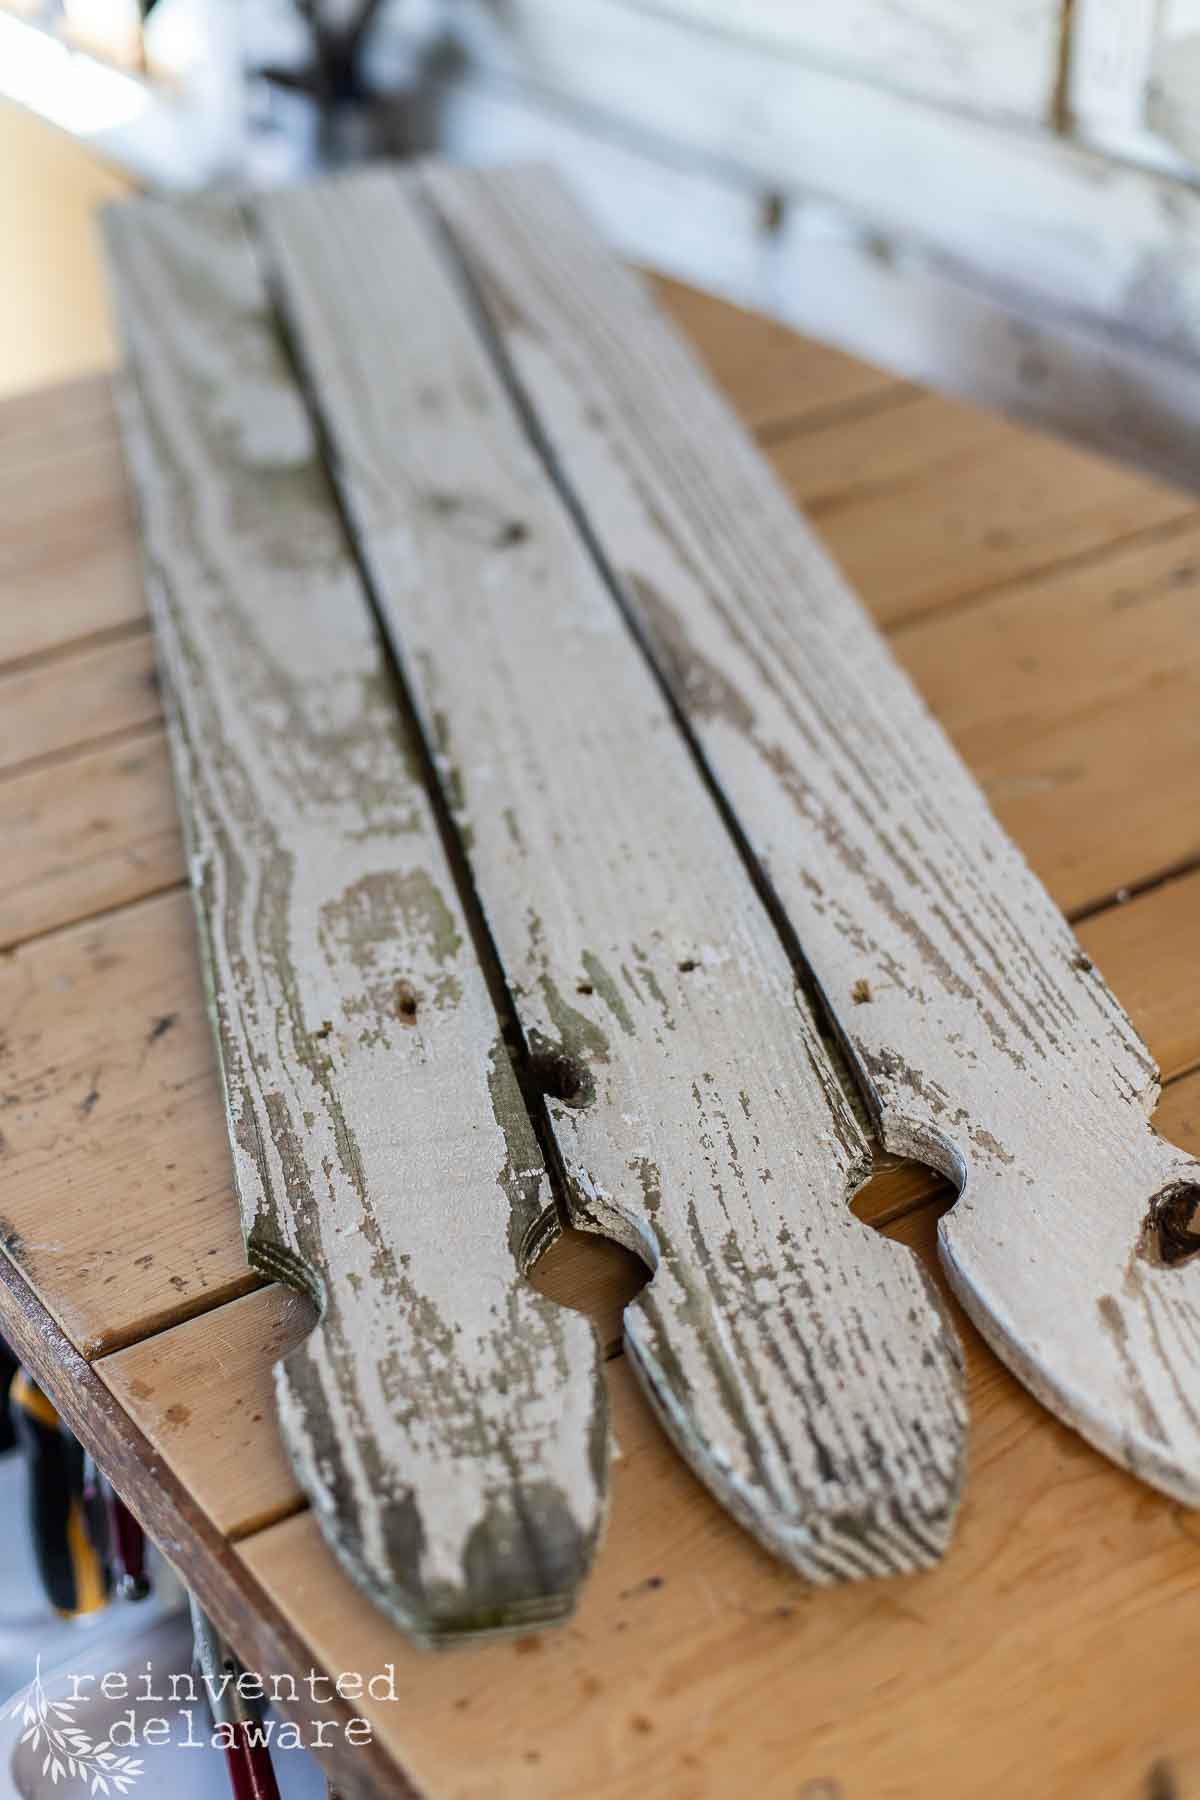
Our boards already had a nice chippy paint finish and that added to the rustic look of this DIY project. They are also in the Gothic style of fence boards. Our fence is made from pine boards but many are made from cedar.
I hope you enjoyed this tutorial on how to make an American flag using reclaimed wood and Silk All-In-One Mineral Paint! If you would like to see more patriotic projects, check out this blog, Patriotic Makeover. Dixie Belle Paint products make crafting easy and fun with their rich colors and smooth finishes. Share your finished flags on social media and tag Dixie Belle Paint and Reinvented Delaware. Thanks for joining me, and happy crafting!


