Are you looking for a fun and creative way to add a touch of seasonal flair to your home decor? Becky from The Vixen’s Den has the perfect DIY project for you! In today’s blog, she’s sharing a step-by-step guide on how to transform simple styrofoam pumpkins into festive, eye-catching decorations using Dixie Belle Chalk Mineral Paint and some beautiful ribbon. Whether you’re sprucing up your home for fall or getting ready for Halloween, these custom-painted pumpkins will bring charm and creativity to any space. Let’s dive in and get started on this festive transformation!
(The following is an excerpt from The Vixen’s Den. Read the full article here.)
This DIY is super easy, and it is adaptable to whatever color combination you love best! Dixie Belle’s chalk mineral paints are so easy to use and they blend beautifully to create the perfect custom color to match your decor. But before we jump into the process, here is some mandatory legalese:
Tools and Materials
Tools
- White Lightning
- Paint Pyramids
- Mini Angle Paintbrush
- Small Round Paintbrush
- Artist Brush
- Surebonder Glue Gun
- Scissors
Materials
- Thrifted Styrofoam Pumpkins
- Boss (Bonding BOSS is Dixie Belle’s current primer)
- Dixie Belle Chalk Paint – Weeping Willow
- Floral Chiffon Ribbon
- Surebonder Glue Sticks
- Birch Wood Stem
- White Floral Wire
Cleaning & Prepping
I like to start every project with a good cleaning with White Lightning. This TSP-based product effectively removes all dust, dirt, and grease and provides a solid foundation for the paint.
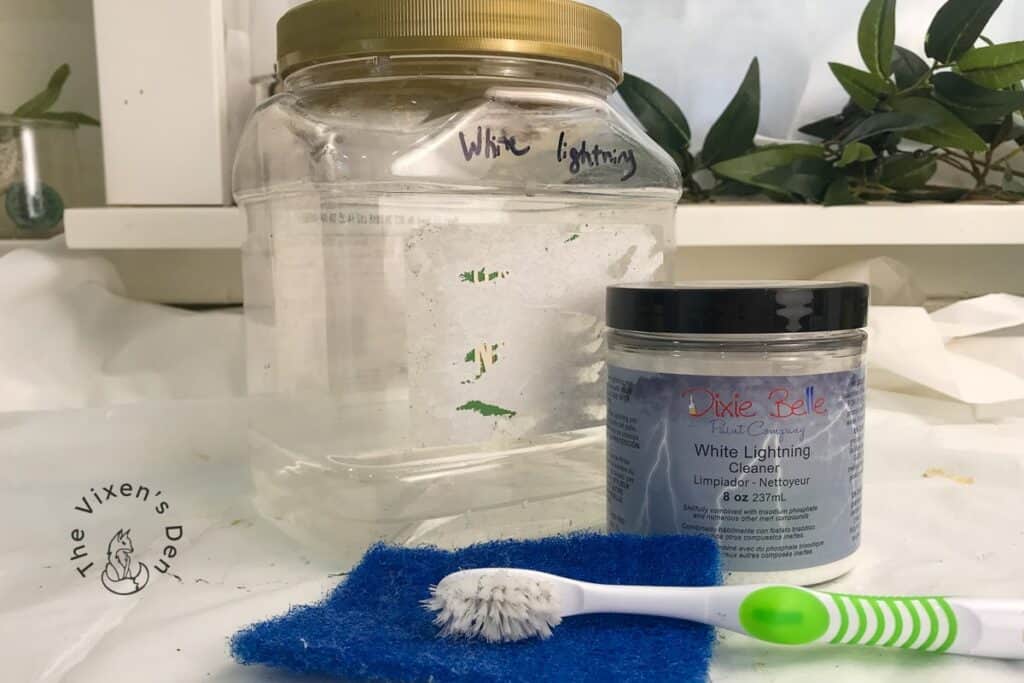
I rinsed the pumpkin thoroughly after cleaning it and let it dry overnight.
To help ensure the best possible final product, I also prime every project. This piece was primed with Boss to ensure that any manufacturing dyes wouldn’t seep through to the surface paint. Dixie Belle now has a new and improved primer called Bonding BOSS that took the place of both BOSS and Slick Stick. I’ve experienced bleed-through before and it left a lasting impression, to say the least.
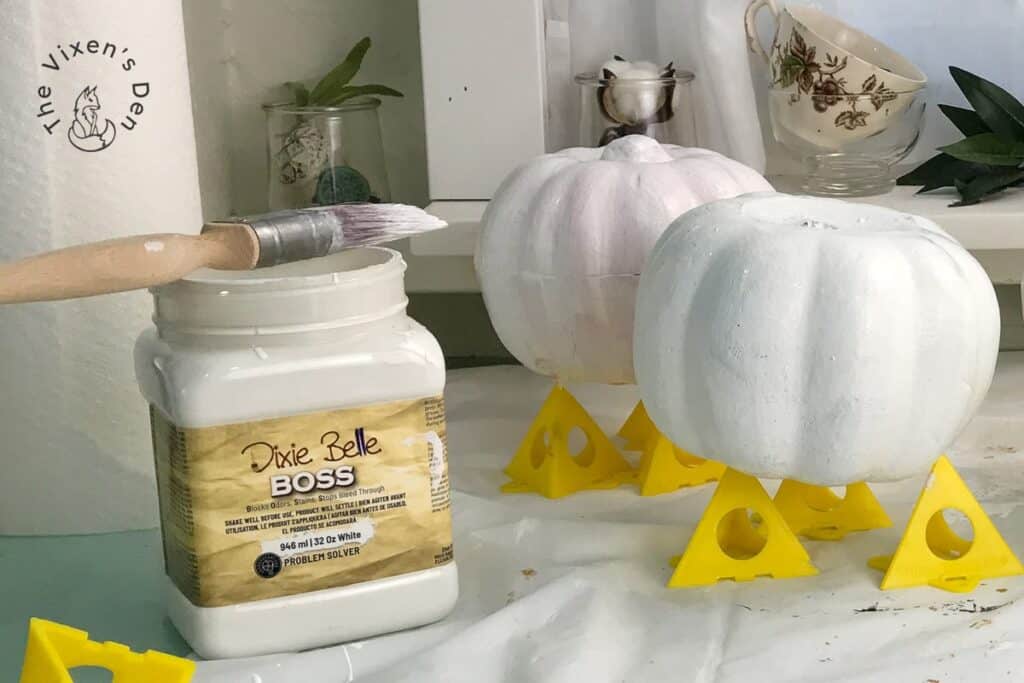
There’s nothing quite like getting to the end of a project that you’ve poured your heart and soul into, only to have dark streaks appear after you apply the clear coat. The moral of the story? Just prime it.
Paint
Dixie Belle Chalk Mineral Paint is my absolute favorite paint because of how easily it applies. A damp paintbrush and a spray bottle turn this rather thick mineral paint into a smooth and creamy mixture that spreads easily over the surface. If you’re seeing brush strokes then the paint is too dry. If you’re seeing bubbles, then you have too much water. The Goldilocks method is always the way to go.
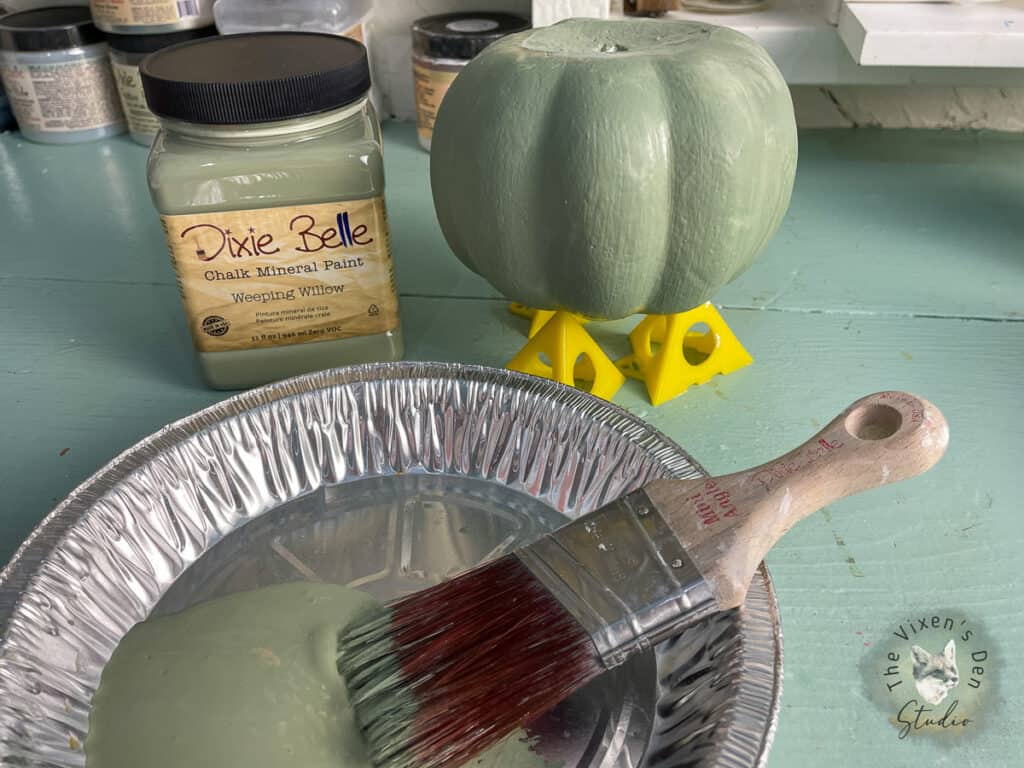
The hardest part about painting this pumpkin was getting the top painted without knocking the piece off of the paint pyramids. My favorite paintbrush, the Mini-Angle Brush, may have been a bit large for this project. I applied one coat and waited an hour for it to dry. Then I applied a second coat and let it dry overnight.
The next day, I sealed the pumpkin using a small round brush and Clear Coat in Flat. I love the Flat Clear Coat because it is a true flat sheen that allows the paint and any details to shine instead of the Clear Coat itself.
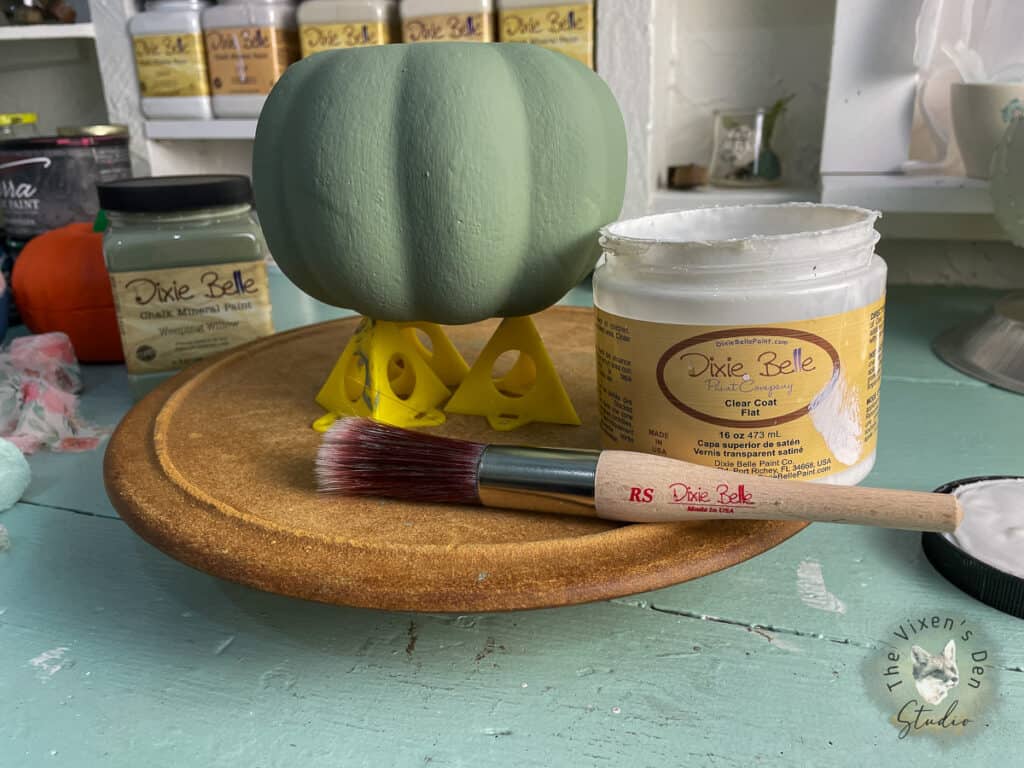
The Clear Coat was left to dry overnight. Then it was time to bring the final vision together!
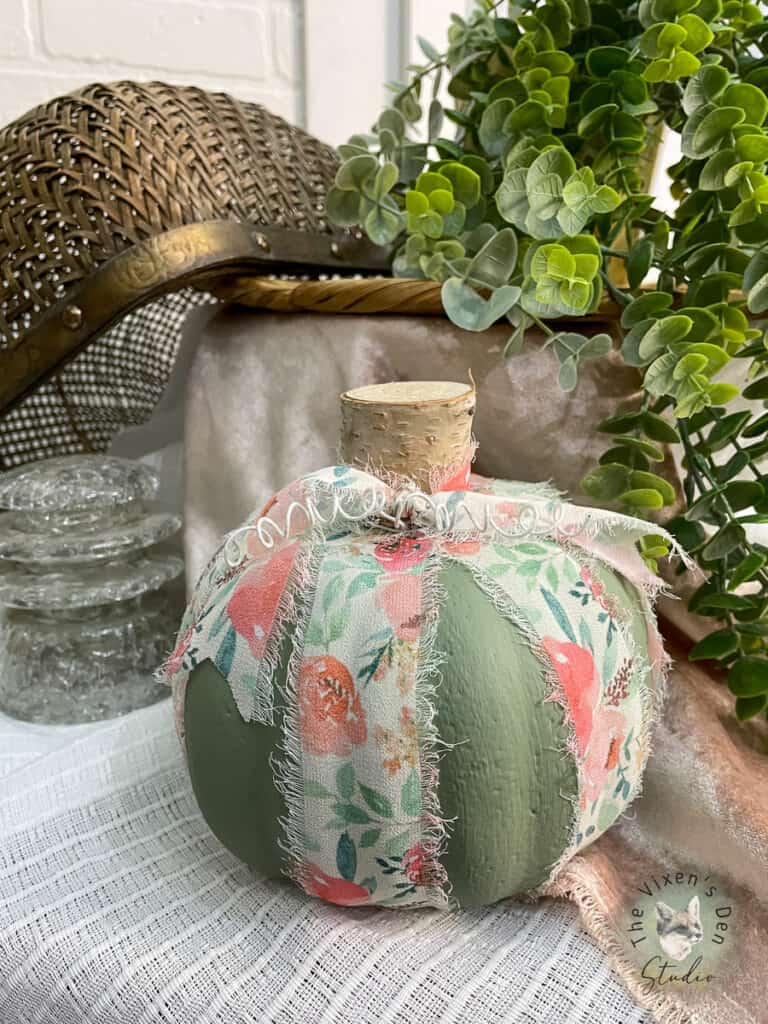
Ribbon
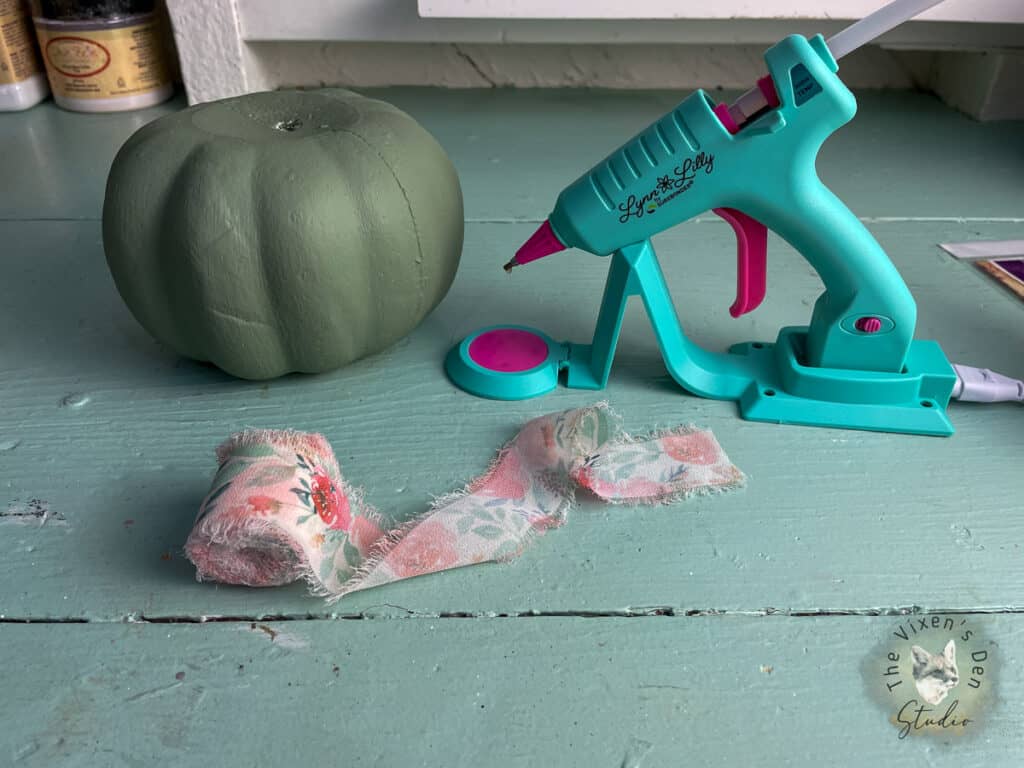
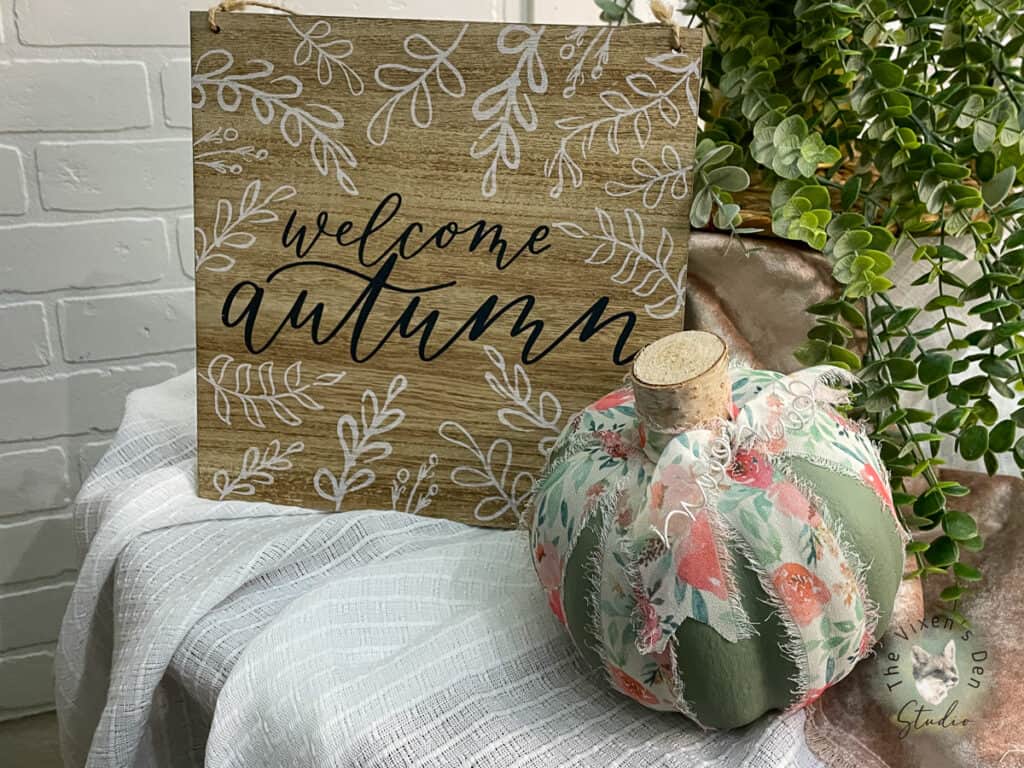
I discovered chiffon ribbon when I was searching for ribbon for my daughter’s wedding. I just love the sweetly frayed edges and the beautiful colors. This floral chiffon ribbon was just perfect for my cottage core pumpkin!
Details
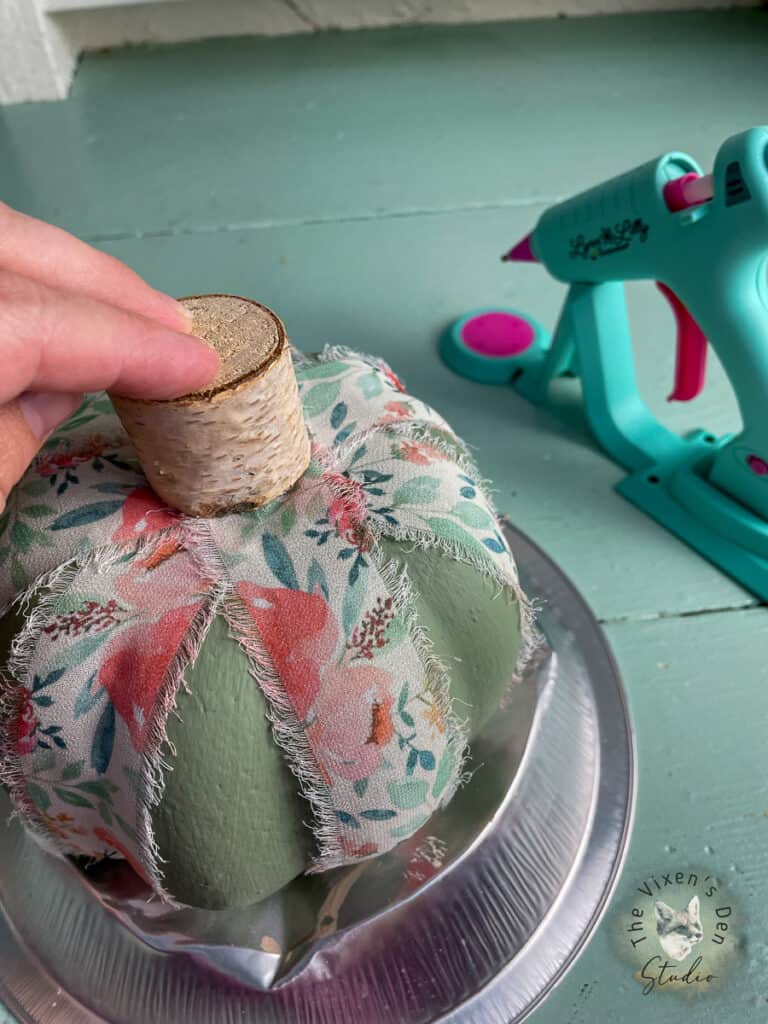
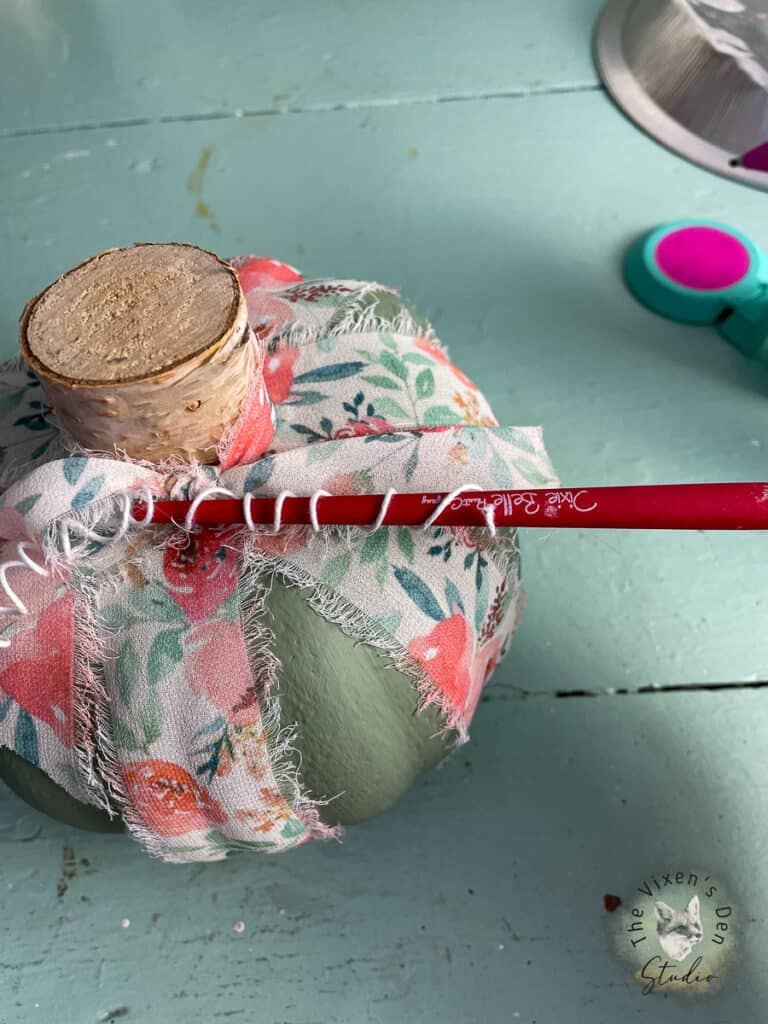
To complete the pumpkin, I applied a thick layer of hot glue to the bottom of a Birch Tree Stem. I pressed it firmly into the center of the top of the pumpkin and held it in place for about a minute.
Then I centered a length of white floral wire against the back of the stem, wrapped it to the front, and twisted it tightly to hold it into place.
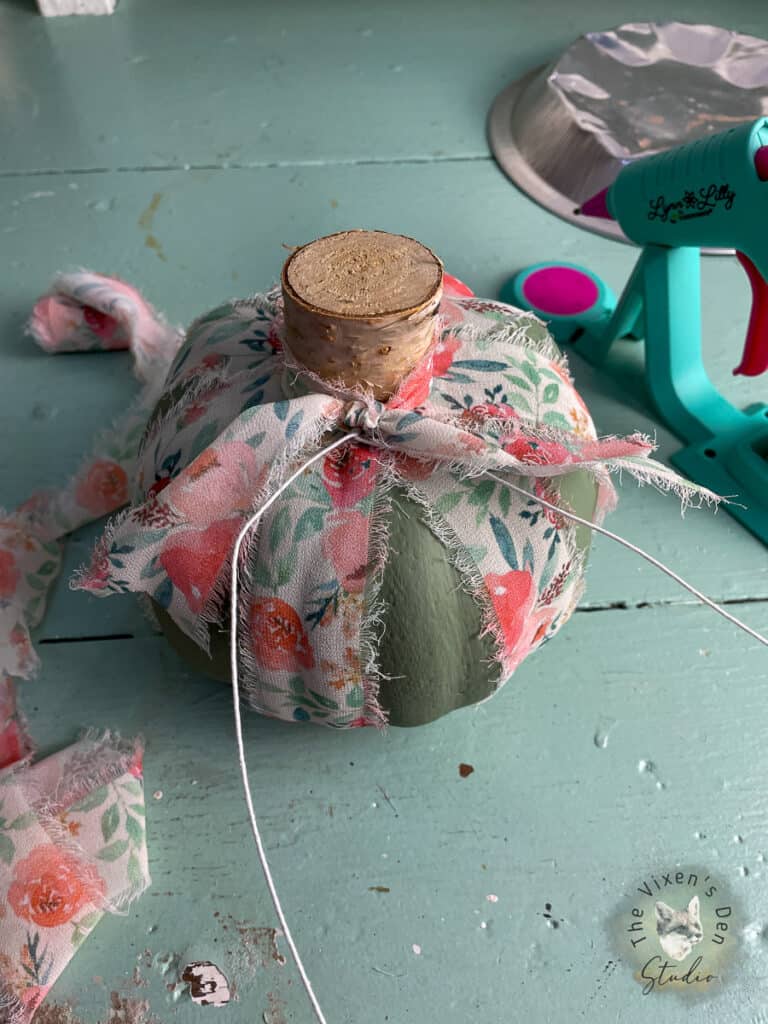
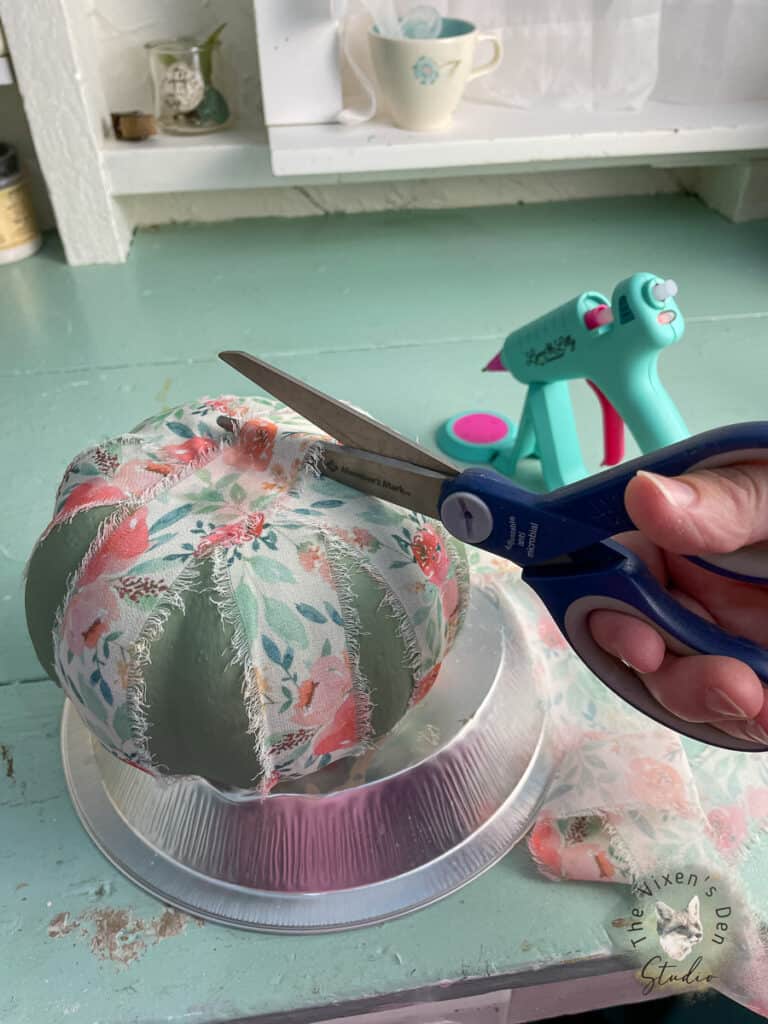
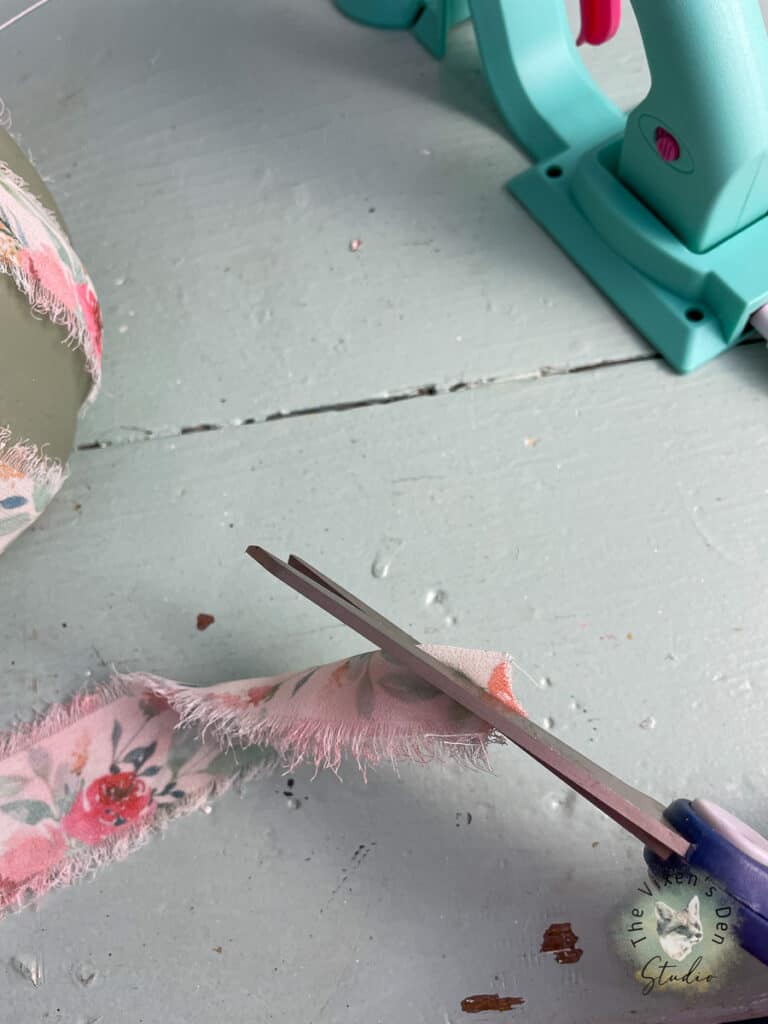
Taking a length of ribbon, I cut it and trimmed the ends into a vee shape. After applying glue to the base of the stem, I folded the ribbon in half and wrapped it around the stem so that the fringe was pointed up. I tied the ribbon snugly against the stem.
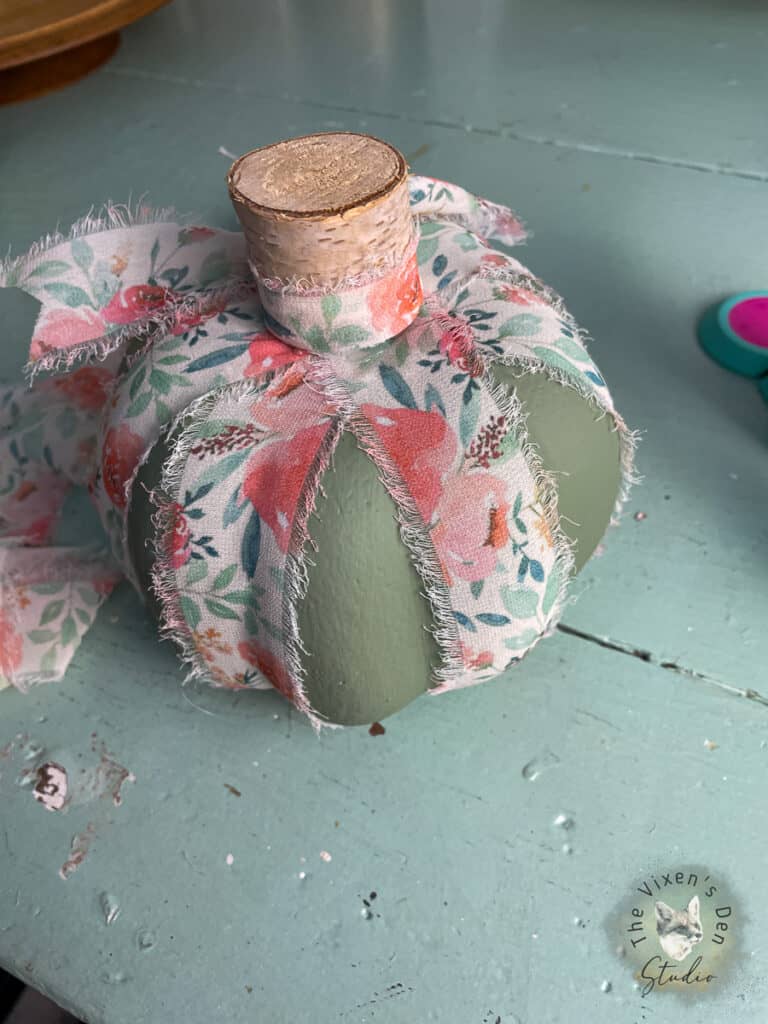
To finish it off, I used the handle of a Dixie Belle Artist brush to wind the floral wire into a coil. I adjusted the coil until it lay just so and it was done!
Final Reveal
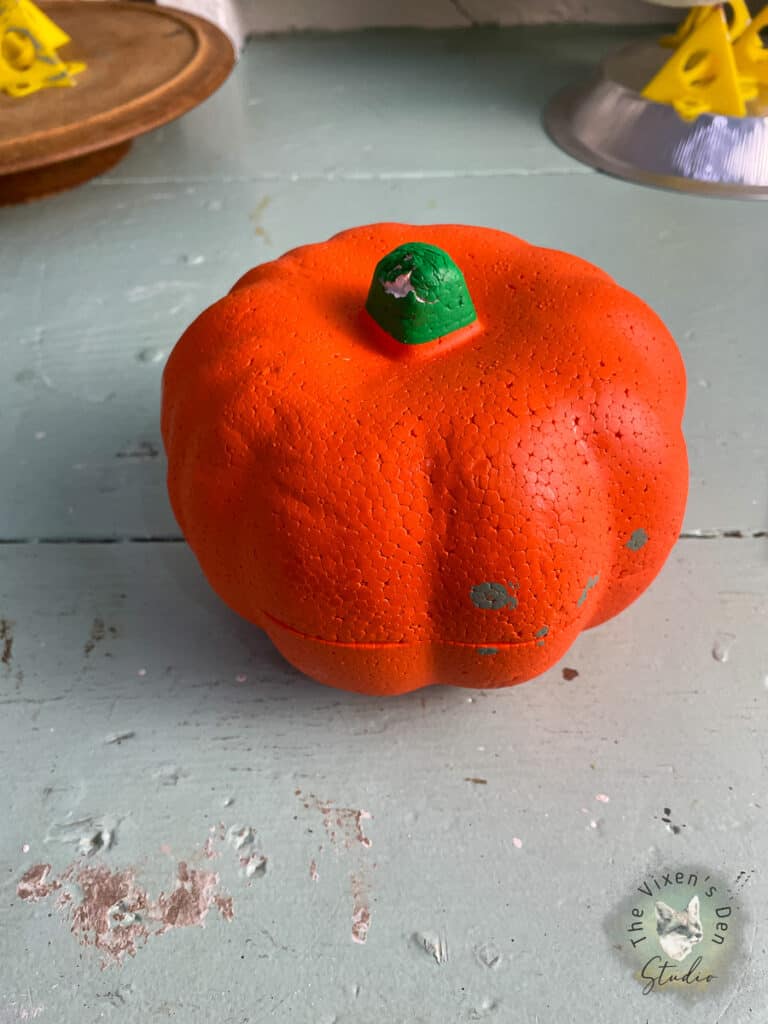
So which look do you prefer for this sweet pumpkin, the traditional bright orange or the softer cottage core? Let me know in the comments below!
Thank you for joining Becky from The Vixen’s Den as she showed us how to turn plain styrofoam pumpkins into stunning fall decor with Dixie Belle Chalk Mineral Paint and ribbon. These painted pumpkins are a perfect way to express your creativity and bring a personal touch to your seasonal decorations. We hope you’ve been inspired to try this project for yourself! For more pumpkin DIY projects, check out our blog, Easy DIY Wood Pumpkins with Do Dodson & Dixie Belle Paint.