
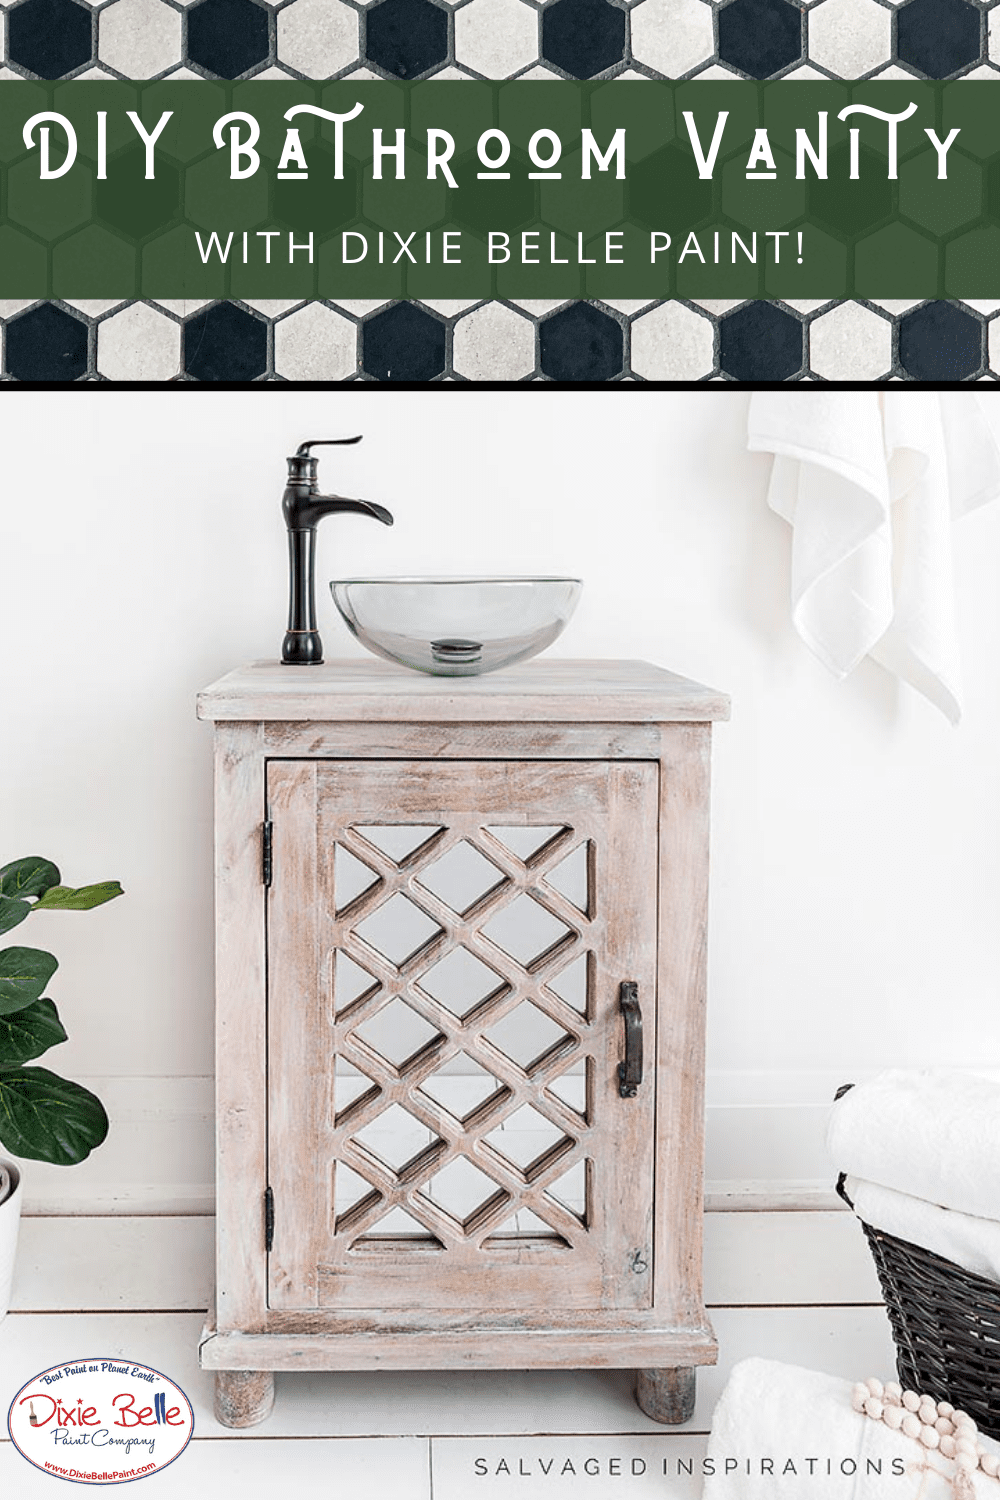
Hi, creative friends! It’s Denise from Salvaged Inspirations! I couldn’t be more thrilled with today’s makeover and it was inspired by the Around the House with Dixie Belle Paint campaign!
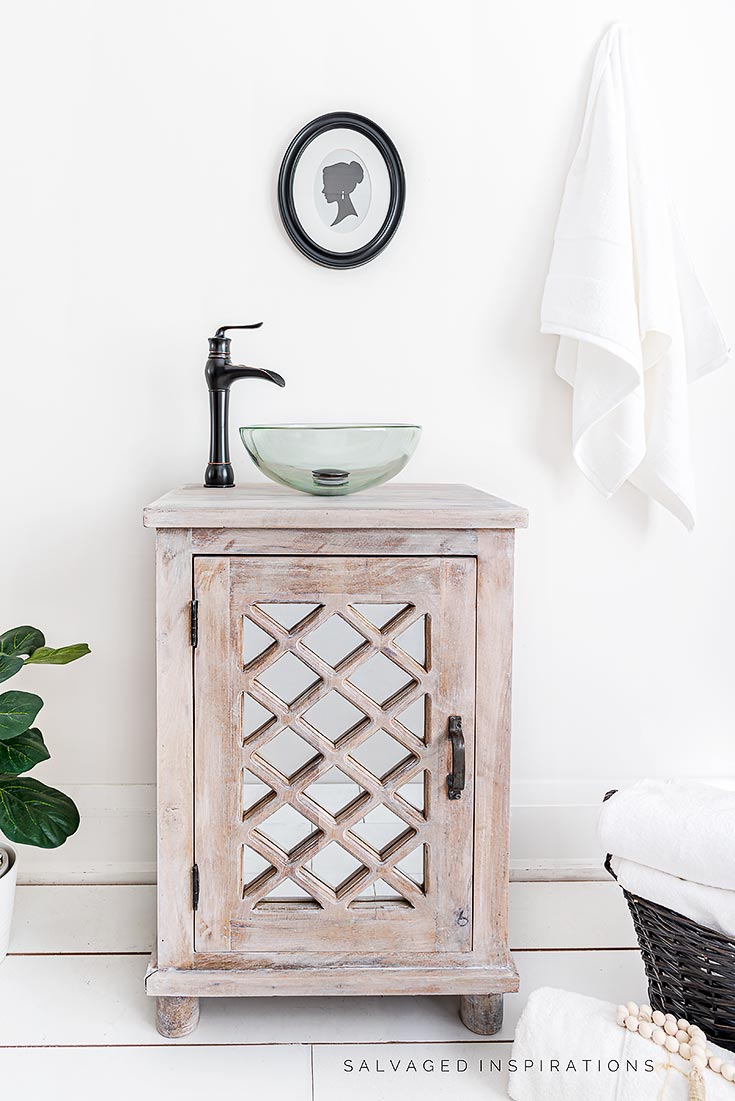
I’m sharing the step by step transformation on this salvaged curb-shopped bathroom vanity. It’s going to look perfect in my spare bathroom.
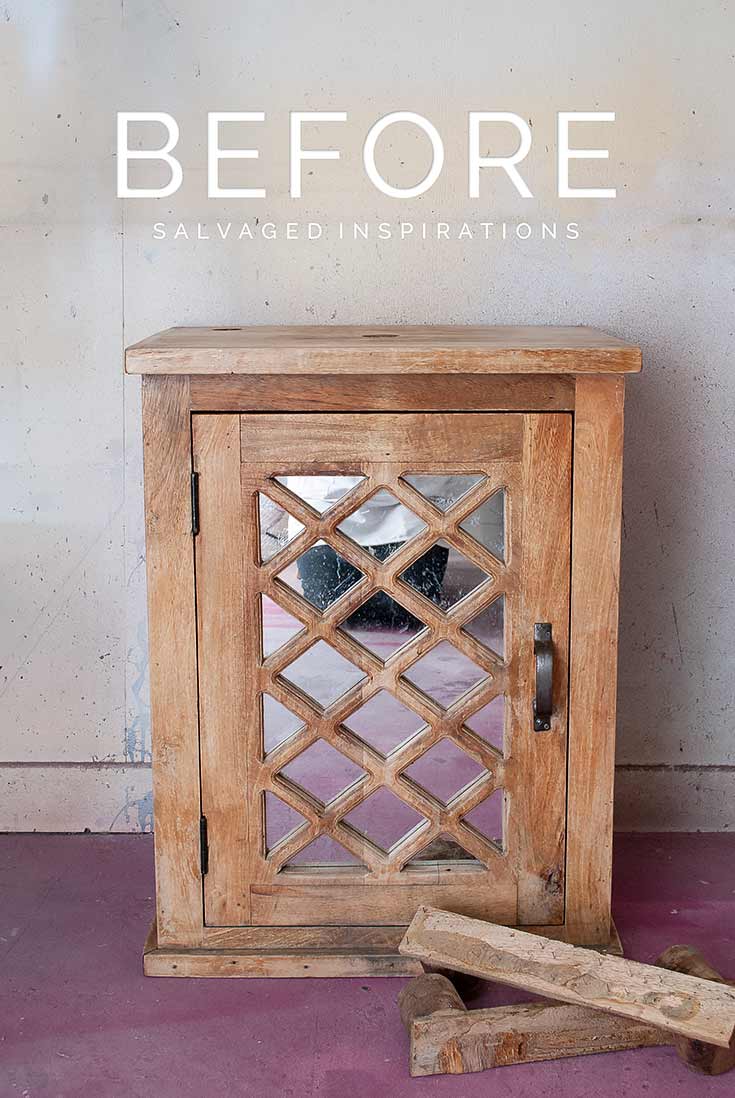
Firstly, here’s what I started with. This solid wood vanity with mirror inset.
Materials List:
- Wood Vanity
- White Lightning Cleaner
- Sandpaper
- Orbital Sander
- Best Dang Wax in White
- Gator Hide
How To:
Step 1:
First, I started by giving this piece a super good cleaning with White Lightning Cleaner.
Step 2:
I wanted a more modern bleached out wood so I sanded the old finish down to raw wood using an orbital sander. Once the orbital sander with 80 grit removed the old finish, I hand sanded working my way up to a 220 grit sanding sponge.
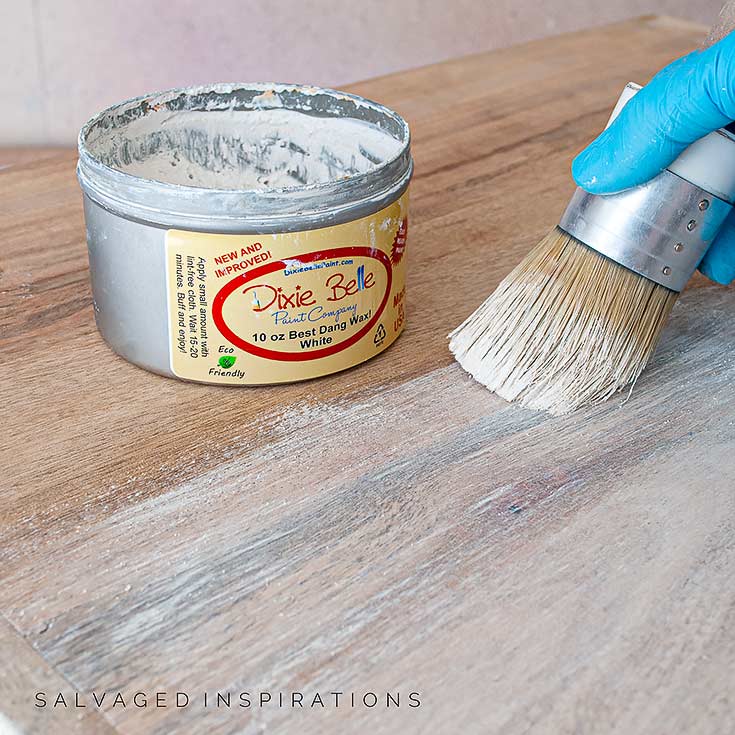
Step 3:
Next, I vacuumed off the dust and applied Best Dang Wax in White to lighten up the wood even further. Working in section, I used my waxing brush to brush on the wax and a shop cloth to wipe it off. If you don’t have a waxing brush, using a shop towel or lint-free cloth to apply the wax works just as well.
For more information about this beautiful bathroom vanity makeover, head to Salvaged Inspirations here!


Can you use your product on wicker furniture? If so, which products do you suggest?
Hi Carol! Yes! We’d recommend first cleaning with White Lightning. If the surface of the wicker furniture is slippery, first prime with Slick Stick. Then paint. If you want to seal the furniture, you can use Easy Peasy Spray Wax or you can apply Gator Hide with a sprayer. Happy painting!
Great transformation! Like what it turns out into!
Thank you! We’re so glad you like it! ?
Im Using chalk mineral paint on my bathroom cabinet vanity do I need to use slick trick before I paint?
Hi Darwin! If your bathroom vanity is a slick, non-porous surface, then Slick Stick is recommended 🙂
Ooh la la! You certainly caught my attention by stating that using a high-grade wood can make ensure the longevity of our vanity too. I’ve been thinking of beautifying the main bathroom in my house some time this summer. I’ll use this tip to make sure the right appliances are installed soon.