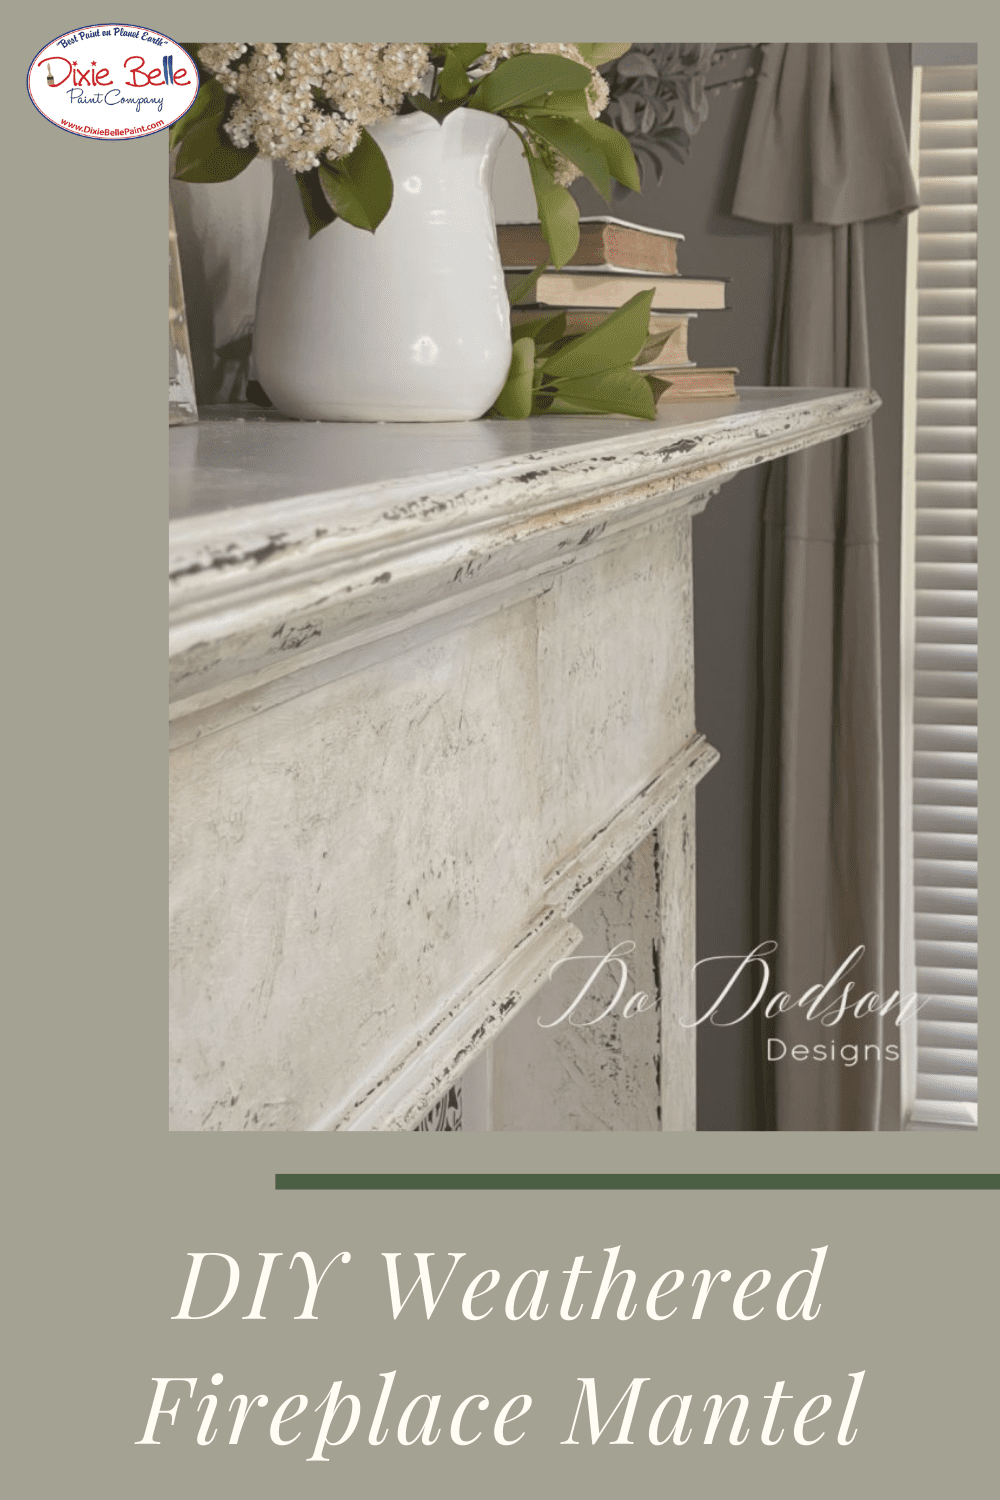
Hey friends, it’s Do from Do Dodson Designs! Today, I’m sharing how to create a DIY chipped paint look with Chalk Mineral Paint and a texture additive. Just one more step in the transformation of my builder-grade home into the house of my dreams. If you have been following me for a while, you know what I’m talking about. I’m living in a modest, small “I wanna be a modern farmhouse someday.” So the dream continues, and I’m making it happen one project at a time.
I’m working on my traditional fireplace to give it more of a vintage feel with this DIY chipped paint technique. Why not incorporate a little vintage feel in the mix. I do what I love in my home, and I can’t wait to share this with you.
Materials List:
-
COTTON, BURLAP, SAND BAR & CAVIAR (Chalk Mineral Paint)
-
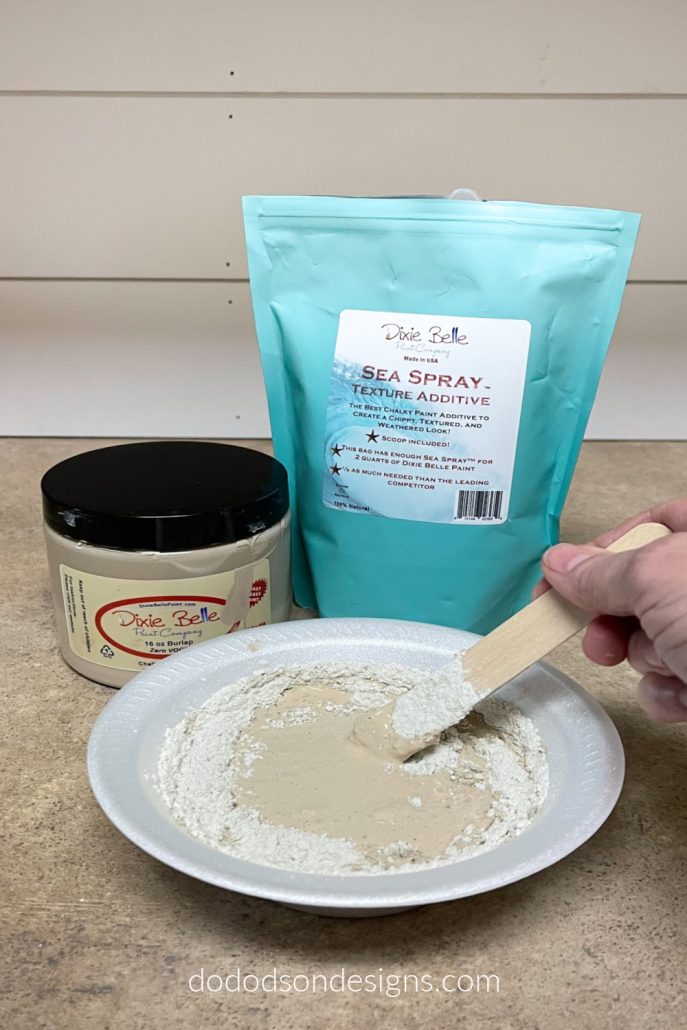
Sea Spray (Chalk Mineral Paint texture additive)
-
Spatula (to apply the texture with)
-
Paint brush (Mini Angle)
-
Sander
-
Glaze (Van Dyke Brown)
How To:
Step 1:
The first layer of paint should be on the darker end of the color pallet of neutrals. Mix your Chalk Mineral Paint with a texture additive to thicken the paint. The mixture depends on how thick you want the texture. Add the paint to a disposable bowl, and then add the texture a little at a time. I mixed mine to the consistency of drywall putty.
The consistency has everything to do with the finish, and the thinner the paint mixture, the more cracking you will get. At least, that is what I have found.
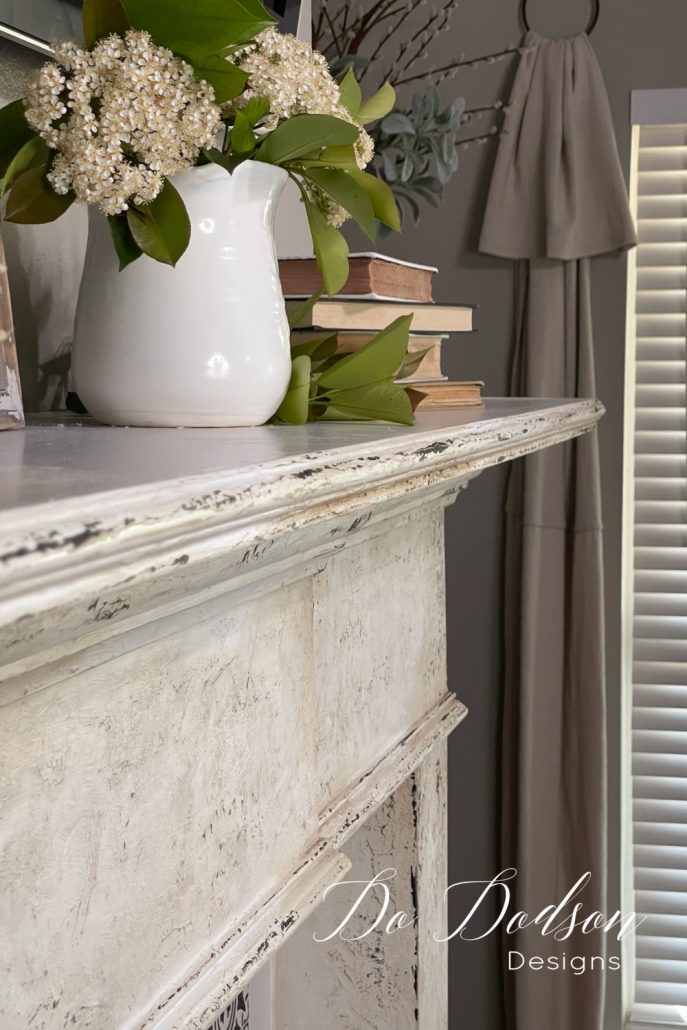
With a plastic spatula, apply the texture paint over the surface you want to add the chipped paint look to. This is super fun, by the way… go ahead and channel your inner child. ?
Step 2:
Allow the first coat of texture paint to dry ( I waited overnight) and add the second color ( a bit lighter than the first) in the same fashion. Same process. Allow the paint to dry completely and repeat with a 3rd color if you want. It all depends on the look you’re going for. I thought about adding a green to the mix, and then I chickened ? out. But wouldn’t it be pretty?! I can always add it later.
Step 3:
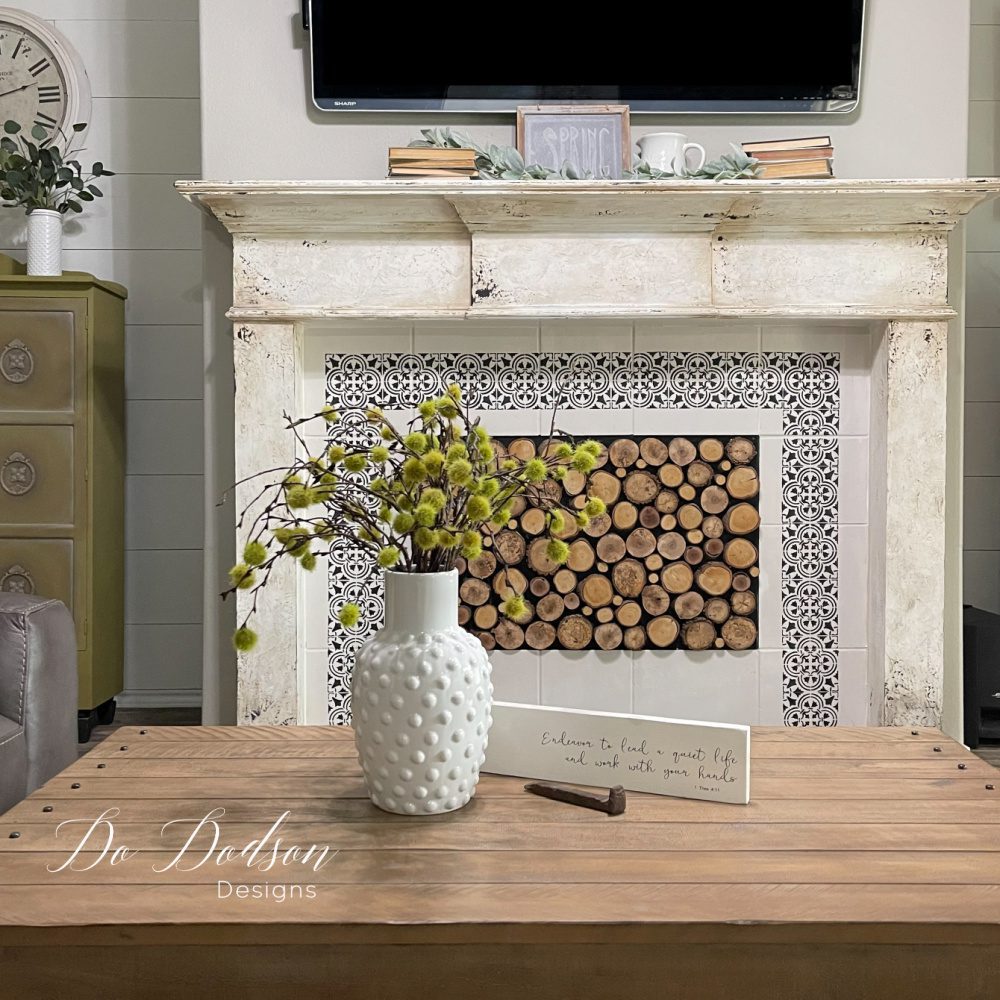
Once the layers of chipped paint are dry, paint over all the yummy texture you created with the color you want to be predominant. For me, that is COTTON. The shiplap in my living room is white, so that this color should tie in nicely.
To read the rest of this fun and creative tutorial, head over to Do Dodson Designs here!