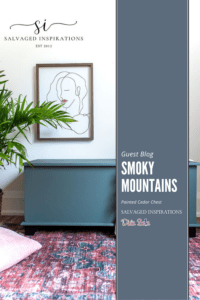
We are excited to welcome Denise from Salvaged Inspirations as our guest blogger today! Denise is a pro when it comes to transforming tired, outdated furniture into stunning pieces that shine in any space. In this post, she’ll be sharing her tips and tricks for painting a cedar chest with Smoky Mountains Silk All-In-One Mineral Paint. Whether you’re a seasoned painter or just starting out, get ready to learn how to give new life to a well-loved piece with Denise’s proven techniques and creative flair!
(The following is an excerpt from Salvaged Inspirations. Read the full article here.)
This cedar chest was selling for $69 but they reduced it to an even $50 because of the all work that needed to be done.

WHAT YOU’LL NEED
Thrift Cedar Chest – SALVAGED
White Lightning Cleaner
Heat Gun | Painters Tool
Sanding Sponge
Bosch Sander (33% OFF as of writing!)
Bonding Boss Primer
Mud Wood Filler
Soft Rag/Towel
Smoky Mountains Silk Paint
2″ Mini Paint Brush
Smooth Roller
CEDAR CHEST MAKEOVER
Here’s how I changed the look of this chest and how it all came together…
CLEAN
After all my repairs were finished, I went ahead and gave this cedar chest a good cleaning on the inside and out. I let it dry 100% overnight before sanding.

SCUFF SAND
The next day when it was totally dry, I scuff-sanded with a flexible 220-grit sanding sponge around the edges and used my Bosch Sander (which is on sale for 33% OFF as of writing this post!… it just keeps getting cheaper!) to create some tooth to prepare it for primer adhesion. In the pic below, you can see how wonderful the dowels worked at filling the holes and the Bondo filled any remaining gaps.

PRIME
I added one coat of Bonding Boss Primer to cover any bleedthrough and Bondo repairs. I used a foam roller to roll it on which I find much easier and faster than using a brush.

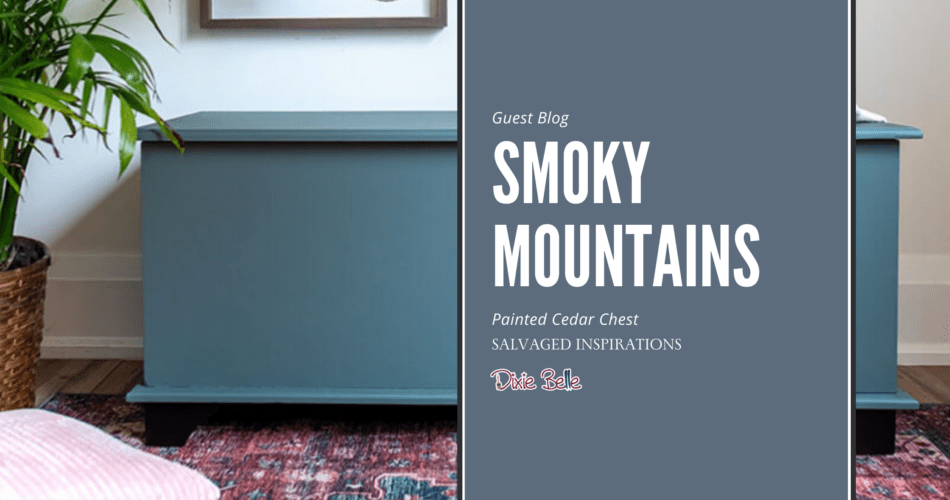
PAINTING SMOKY MOUNTAIN
Now for the fun part. Painting! I choose to paint this set in Smoky Mountains – a dark gray with green/blue undertones. I used my brush it on / roll it smooth for a ‘sprayed’ finish… or as close as you can get to a spray finish without a sprayer. Working in sections, I used my 2″ mini synthetic brush to apply the paint.

Then immediately after I had full paint coverage using the brush, I would lightly roll over the wet paint with this foam roller. A light hand is all you need to smooth out the paint and eliminate any brush strokes.

FINAL TOUCH
The Silk-All-In-One Mineral Paint doesn’t require a topcoat so gave it ample dry time and called it a day. I love this paint because it’s such a time saver! So for the final touch, I put the original paperwork back inside the chest.
Here’s the finished look…

This color is awesome. When I was working with it in my studio (under studio lighting) it looked more gray/green. Now that I have it upstairs, I’d describe it as a dark gray/green with blue undertones. The black feet give it a sleek look.
And here’s a close-up of the paint finish. I’m happy with the smooth outcome on this chest. The brush and roll technique applied the paint beautifully. You can still see the original grain yet the finish is perfectly smooth.

inspiring guest post by Denise of Salvaged Inspirations! We hope her beautiful cedar chest makeover with Smoky Mountains Silk All-In-One Mineral Paint has ignited your imagination and boosted your confidence to start (or continue) your own painting projects. Whether you’re updating a family heirloom or sprucing up a thrift-store find, these tips and techniques will help you achieve a professional-looking finish every time. For another great cedar chest update, check out our blog How to Elevate Your Furniture.