A dated coffee and end table set can sometimes feel like a challenge to refresh, but with the right techniques and products, you can give them a whole new life. In today’s guest blog, LeeAnn from Creative Moments shares how she transformed a tired table set into a rustic and weathered beauty using Dixie Belle’s Chalk Mineral Paint, No Pain Gel Stain, and Voodoo Gel Stain. Whether you’re new to refinishing furniture or a seasoned DIYer, LeeAnn’s step-by-step process is sure to inspire you to tackle your next project with confidence.
(The following is an excerpt from Creative Moments. Read the full article here.) .

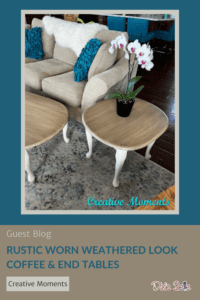
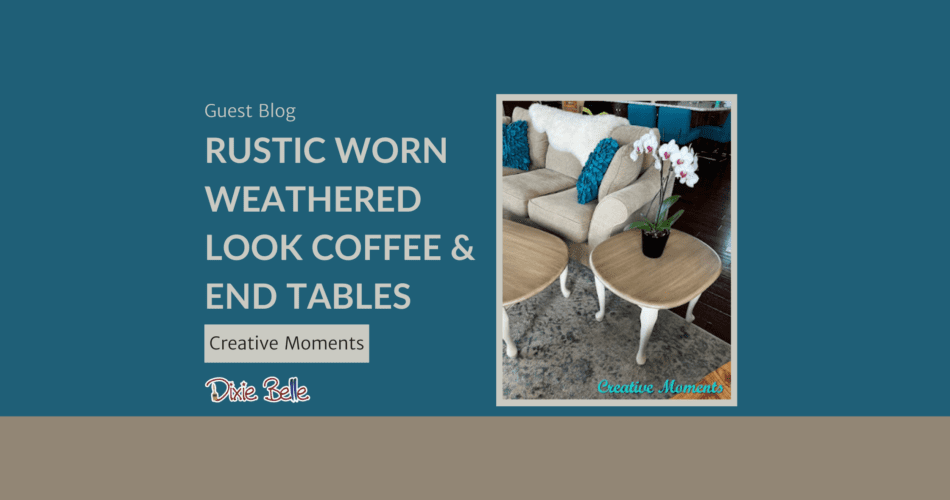
Thirty three years ago we purchased this coffee and end table set. For years it provided great service to us but it was time for a makeover. I gave it a new rustic color update that paired well with the subtle curves.

Step 1: Apply Base Coat
I like to start with the underside first. It is a much easier way to get the edges and legs painted. I chose buttercream Dixie Belle Paint. It was brushed on with the mini Dixie Belle synthetic brush. Two coats were applied to all 3 bases.


I love the dark wood look tops and warm white base combo. So after adding these I see I really like dining tables and French provincial (FP) tables done in this look. I decided to give the table tops a fresh coat of color, but first a quick scuff sand and wipe.


Step 2: Apply No Pain Gel Stain
Walnut Dixie Belle No Pain Gel Stain was applied with a blue shop towel, excess wiped off and left to dry for a couple days.


Unfortunately, the table tops wear over the years was enhanced with the stain.

SO I decided to try something different. In hindsight, I should have stuck with this stain plan 😊
Step 3: Try a new look
I dry brushed the Buttercream paint over the top creating texture with a Dixie Belle premium chip brush. 2 coats of the Buttercream Chalk Mineral Paint were applied.


Next I applied a coat of Picklin’ White No Pain Gel Stain over the tops. Weathered Gray No Pain Gel Stain was added to the white and blending with paper towel for this grey white look.


But even while wet I was not a fan of the now whiter top with the warm white bases. So yet another plan emerged.

Step 4: Try yet another new look
I did the table base in white Dixie Belle’s best dang wax applied with my dedicated Dixie Belle best dang brush. And added ash Dixie Belle dirt with the help of Dixie Belle easy peasy spray wax sprayed in the crevices first. I hoped this grey and white would help blend better with the stained top.


Nope, this was not the look I wanted.

Step 5: Try a 4th new look
I want to warm up the top, so I used au natural Dixie Belle Voodoo Gel Stain and the buttercream with my Fine Mist Spray Bottle and chip brushes to blend.


It needed more dimension so I added tobacco Dixie Belle Voodoo Gel Stain and more au natural and blended with the secret weapon; Dixie Belle big daddy brush. It created an amazing look.


It created an amazing look. But again once all was dry I still did not love the tops and bases together. They were each pretty on their own but not together.


Step 6: Try a 5th and final new look
So I did a coat of walnut No Pain Gel Stain over the tops and loved it. If you made it this far in my multiple plans, thanks you!! I believe in sharing the bad as well as the good and hope to spare you the extra steps. BUT I also want to share that everything is fixable and changeable when it comes to visions in your head and on projects.


I then added brown best dang wax on the bases to give a more rustic warm feel.

I changed the dirt color in the crevices to earth. This warm brown was much better. This is my go-to look, so why did I try to change it?
Step 7: Seal for added protection
After the tops dried for 72 hours I used a mini brush and gave them a coat of Dixie Belle Gator Hide. This will provide that waterproof top table need. It is however a bit shinier so the second coat was Dixie Belle flat clear coat but it was too flat so the 3rd and final sealing was a coat of Dixie Belle satin clear coat. And because I like the look a few days later I buffed on a clear wax coat.


That was a lot of steps to get to here but I am a fan of the final look.

We hope you’ve enjoyed this rustic makeover by LeeAnn with Creative Moments! As LeeAnn’s project shows, creating the perfect weathered look sometimes takes a few tries—and that’s all part of the creative process. Layering stains, adjusting techniques, and experimenting with color combinations can lead to stunning, one-of-a-kind results. So don’t be afraid to keep refining your project until you achieve the look you love. With products like No Pain Gel Stain and Voodoo Gel Stain, the possibilities are endless. Thanks for joining us, and happy painting! Check out our blog, Goodbye Orange Oak – Hello Walnut Rustic Coffee Table, for another amazing No Pain Gel Stain project.

Thank you for sharing, I hope it shows others that some ideas you have may need to pivot and try something new. Keep going till you get the look you love.
Sometimes those unexpected twists lead to the best results, so we agree—keep going until you find the look you love. Thank you for stopping by and sharing your thoughts!