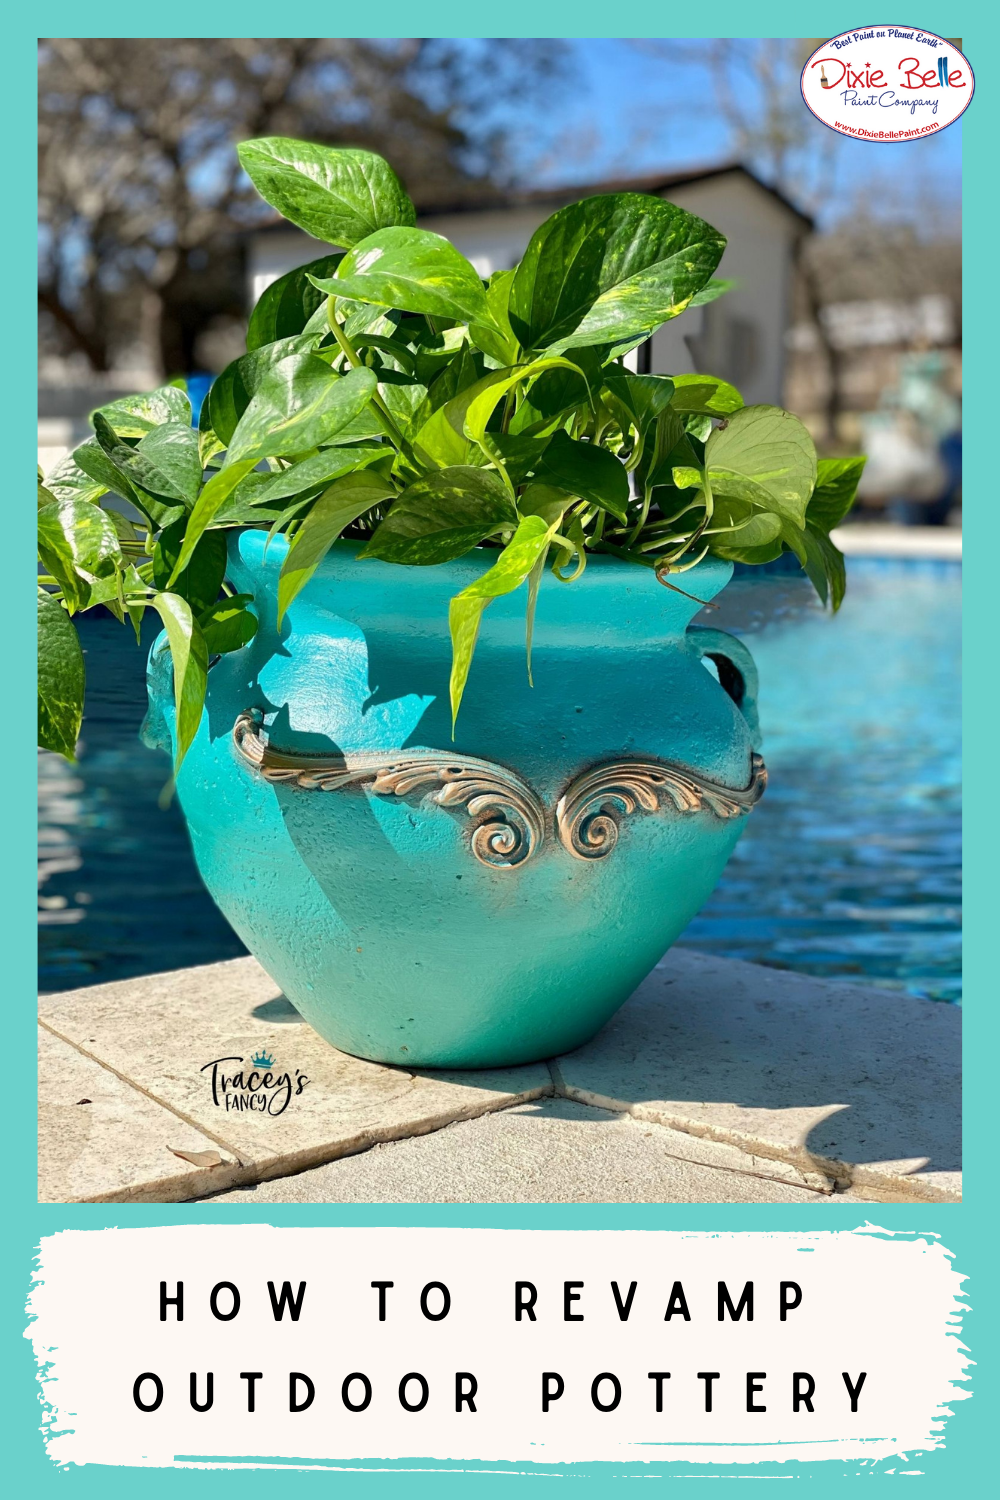
Hi everyone! It’s Tracey from Tracey’s Fancy! Clay pot…. outdoor planter…. pottery makeover? Two years ago, I documented the process of Matt and I painting our outdoor pottery! It was one of the many projects we took on during our Covid lockdown. Outdoor Décor, those pots have endured two heat filled burning hot summers here in Texas…. as well as the arctic blast Snowmegeddon from last year….. and so much more crazy weather shenanigans!
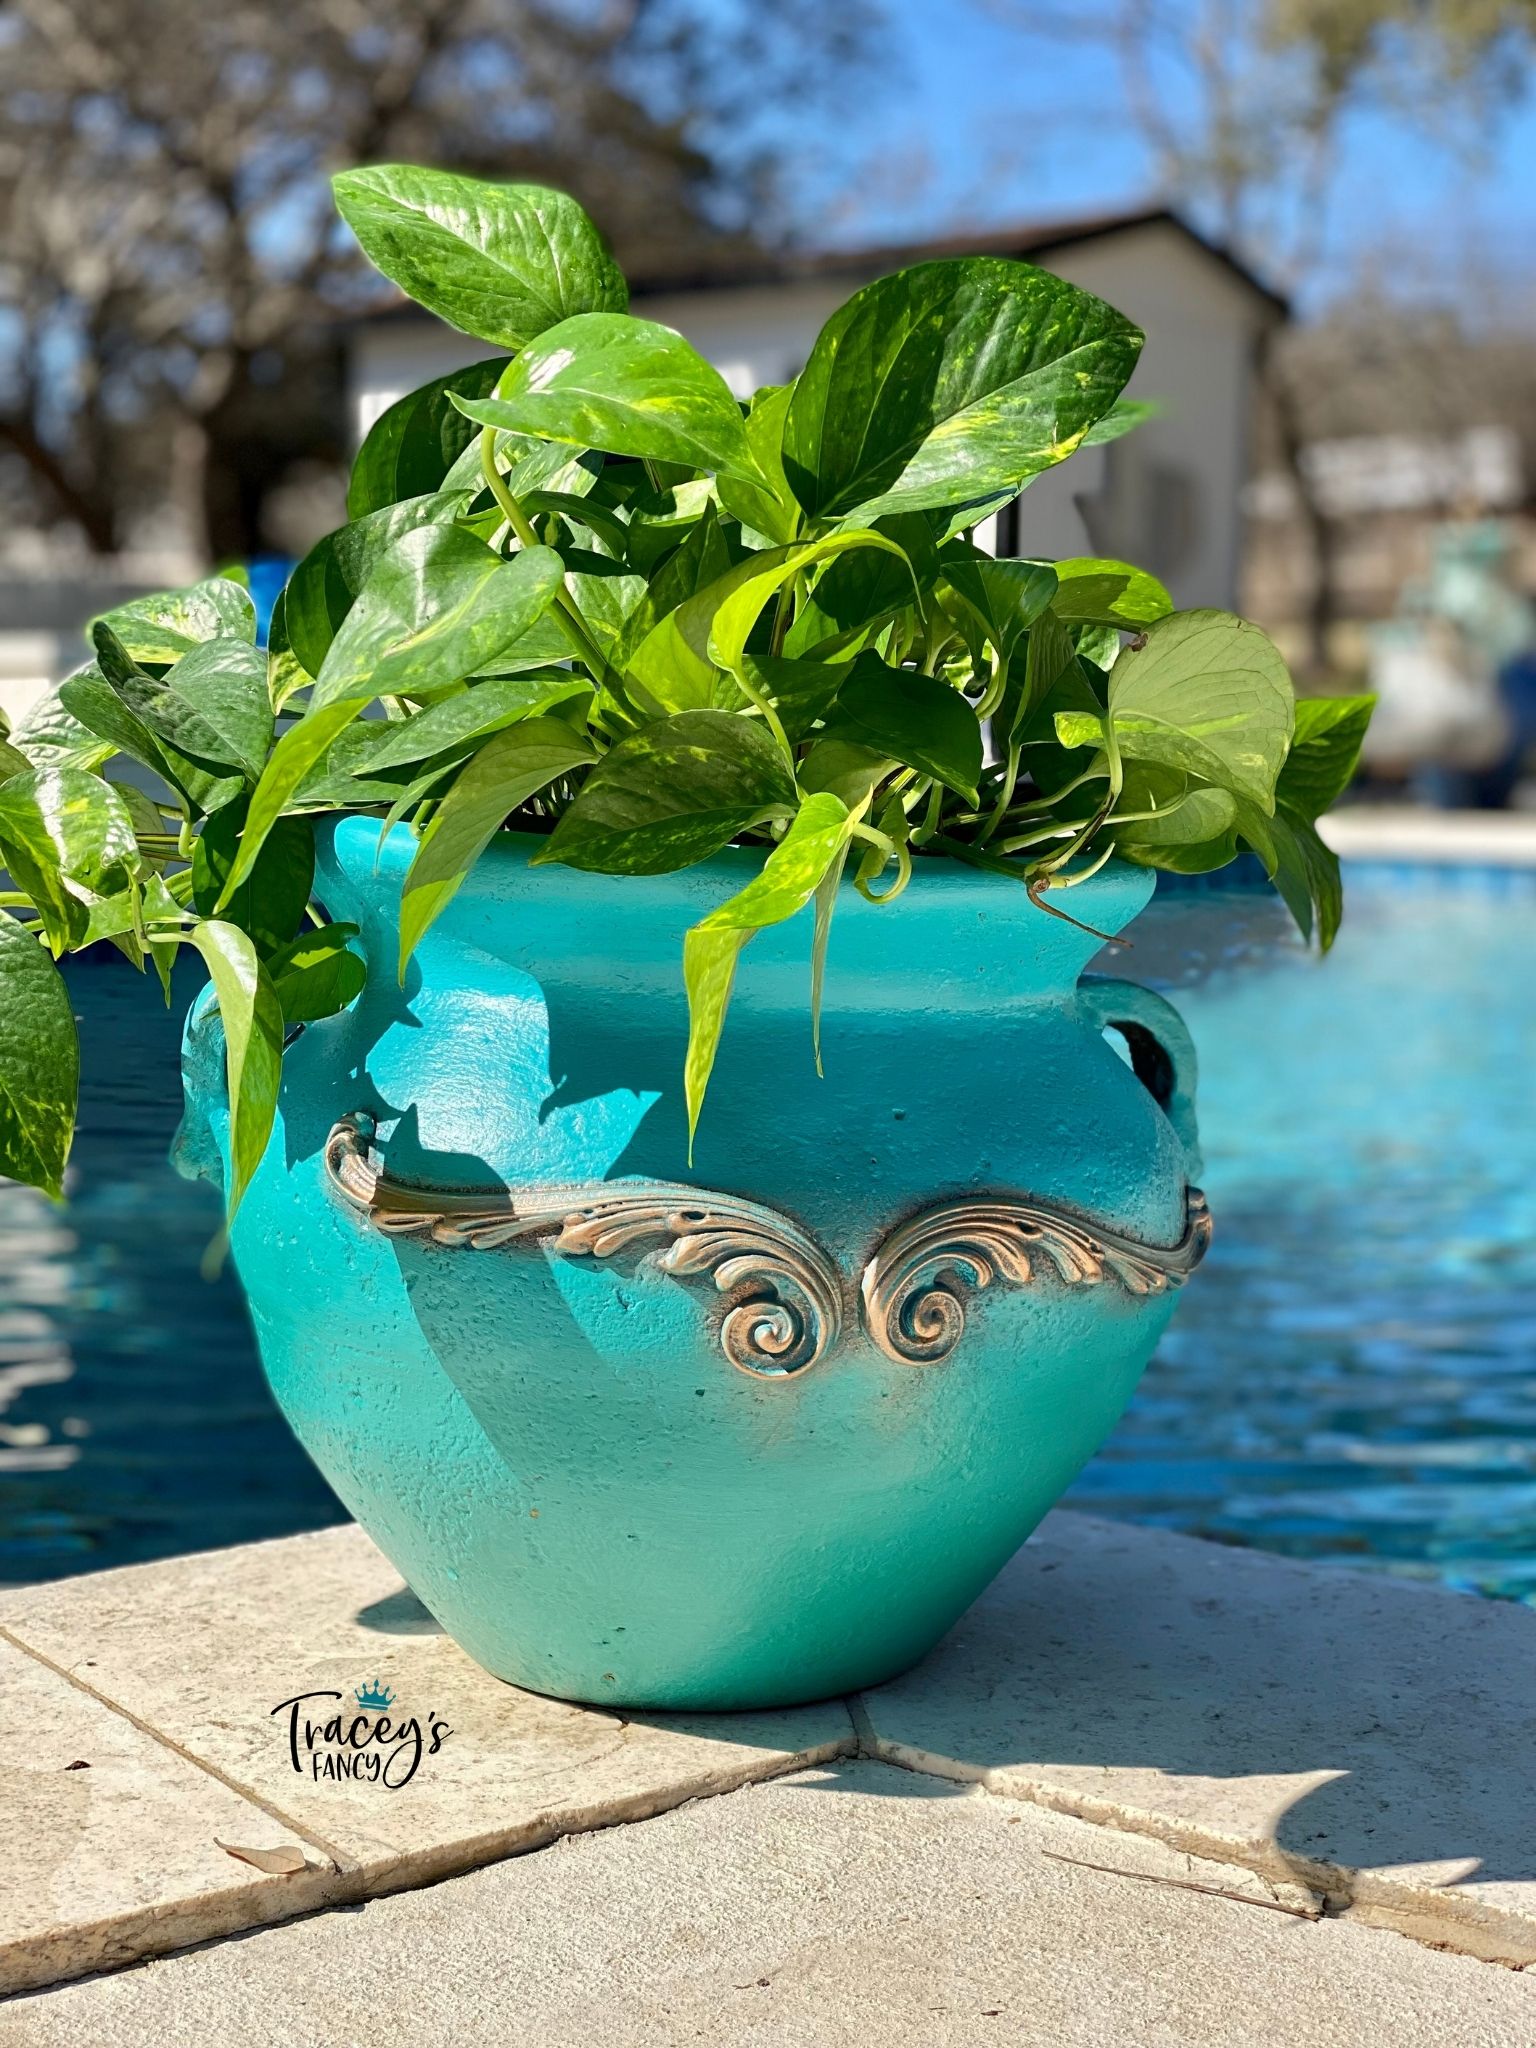
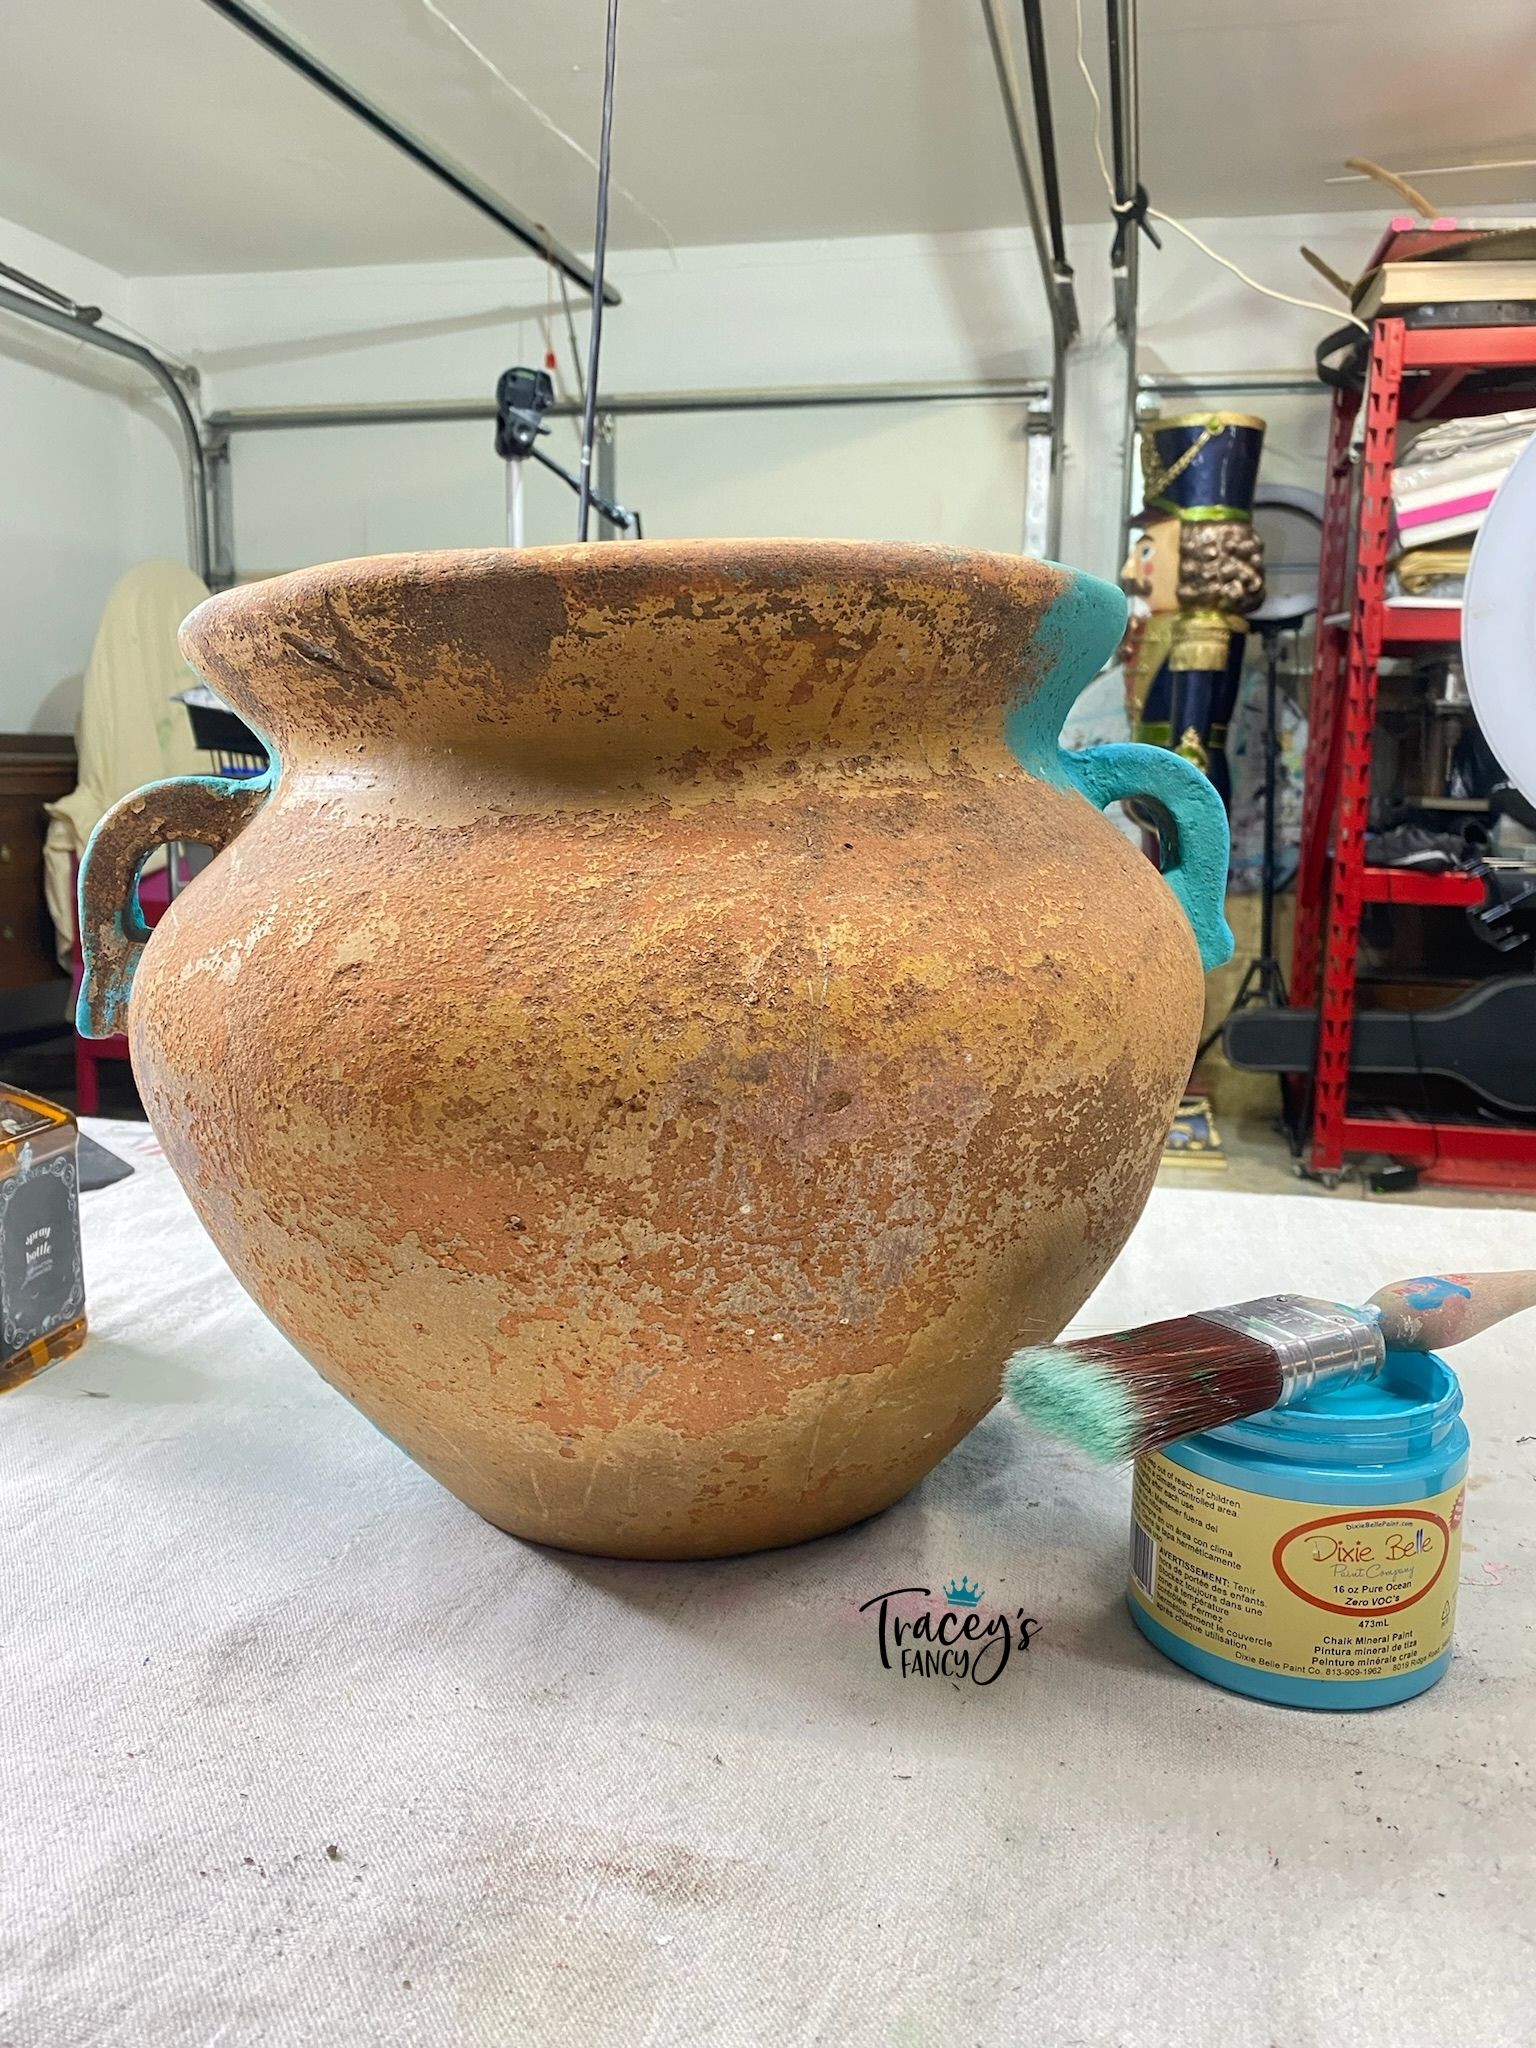
We never finished painting ALL of the terracotta pottery…… and I’m determined to do so by this spring! So I started with this smaller pot! Let’s get started!
Materials List:
WoodUBend molds from Dixie Belle (#1723)
Tite Bond Glue
How To:
Step 1:
First, clean with White Lightning.
Step 2:
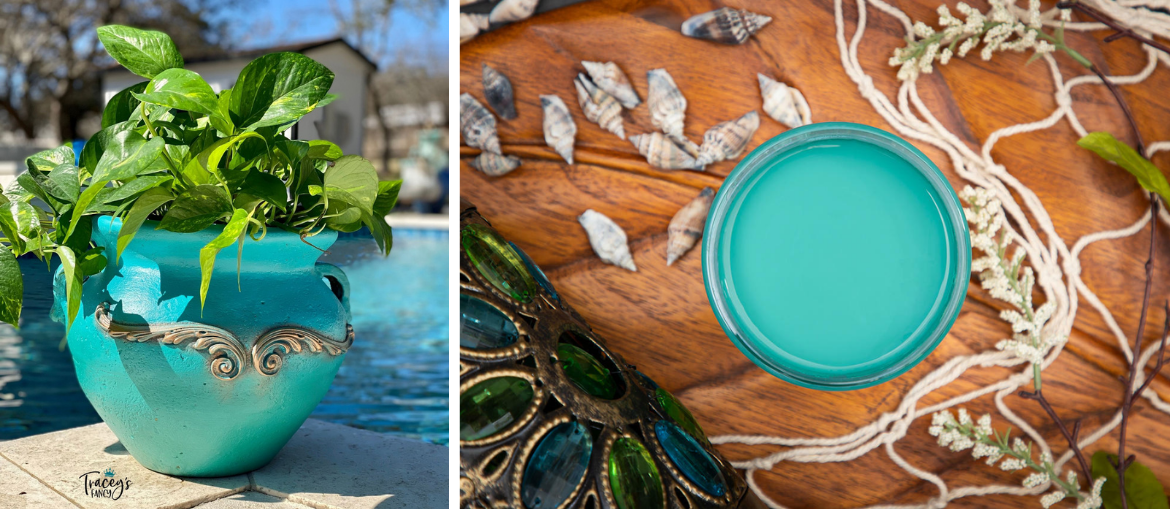
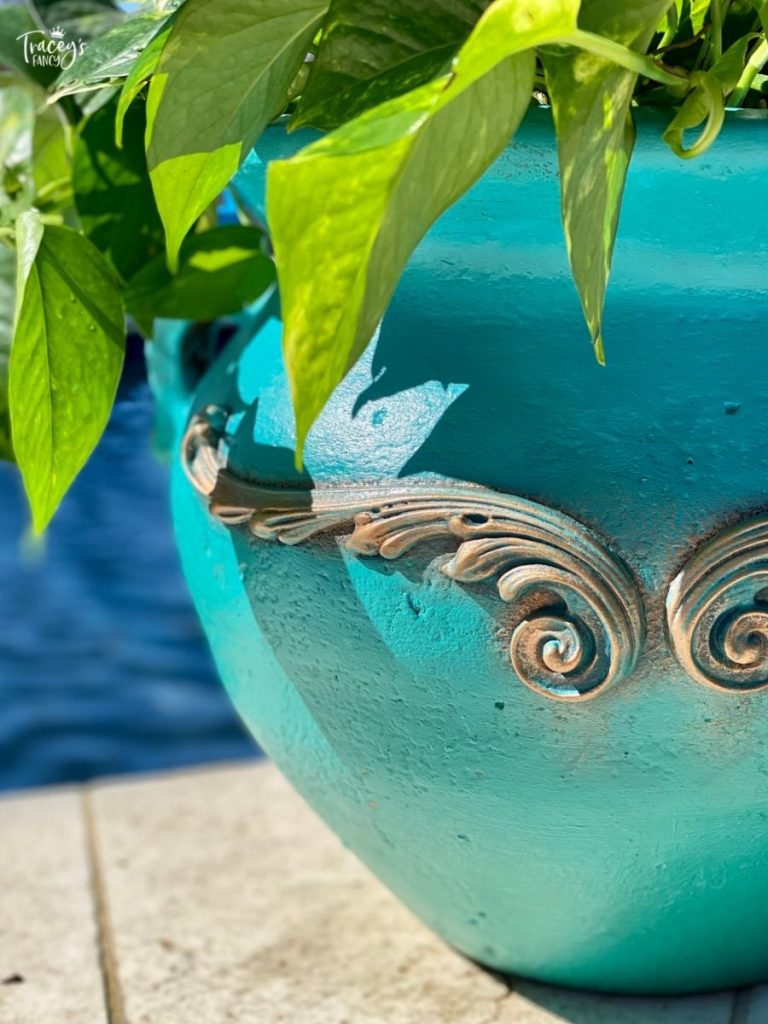
Next, I chose a pair of WoodUbend moulds to apply to the front of the pot. I really like having a few pots around the pool that have a little subtle detail on them. The molds are easy to apply with Tite Bond Glue and a little heat. I am often asked if they withstand the heat. They do! The pot from two years ago has WoodUBend on it and they are holding strong! Once the molds were applied, you can move right on with your painting project. They have an instant hold and it is not required to wait until the glue dries to paint on or around them.
Step 3:
Next, choose which colors you would like to paint your pottery. I chose colors a bit brighter this time. Matt was never a fan of the darker-colored blues…. which is odd because he usually prefers them. This time I used Mermaid Tail on the bottom of the pot and Pure Ocean on the top for a simple two-color blend and a touch of Antebellum Blue.
To read the rest of this vibrant and fun tutorial, head on over to Tracey’s Fancy here!
