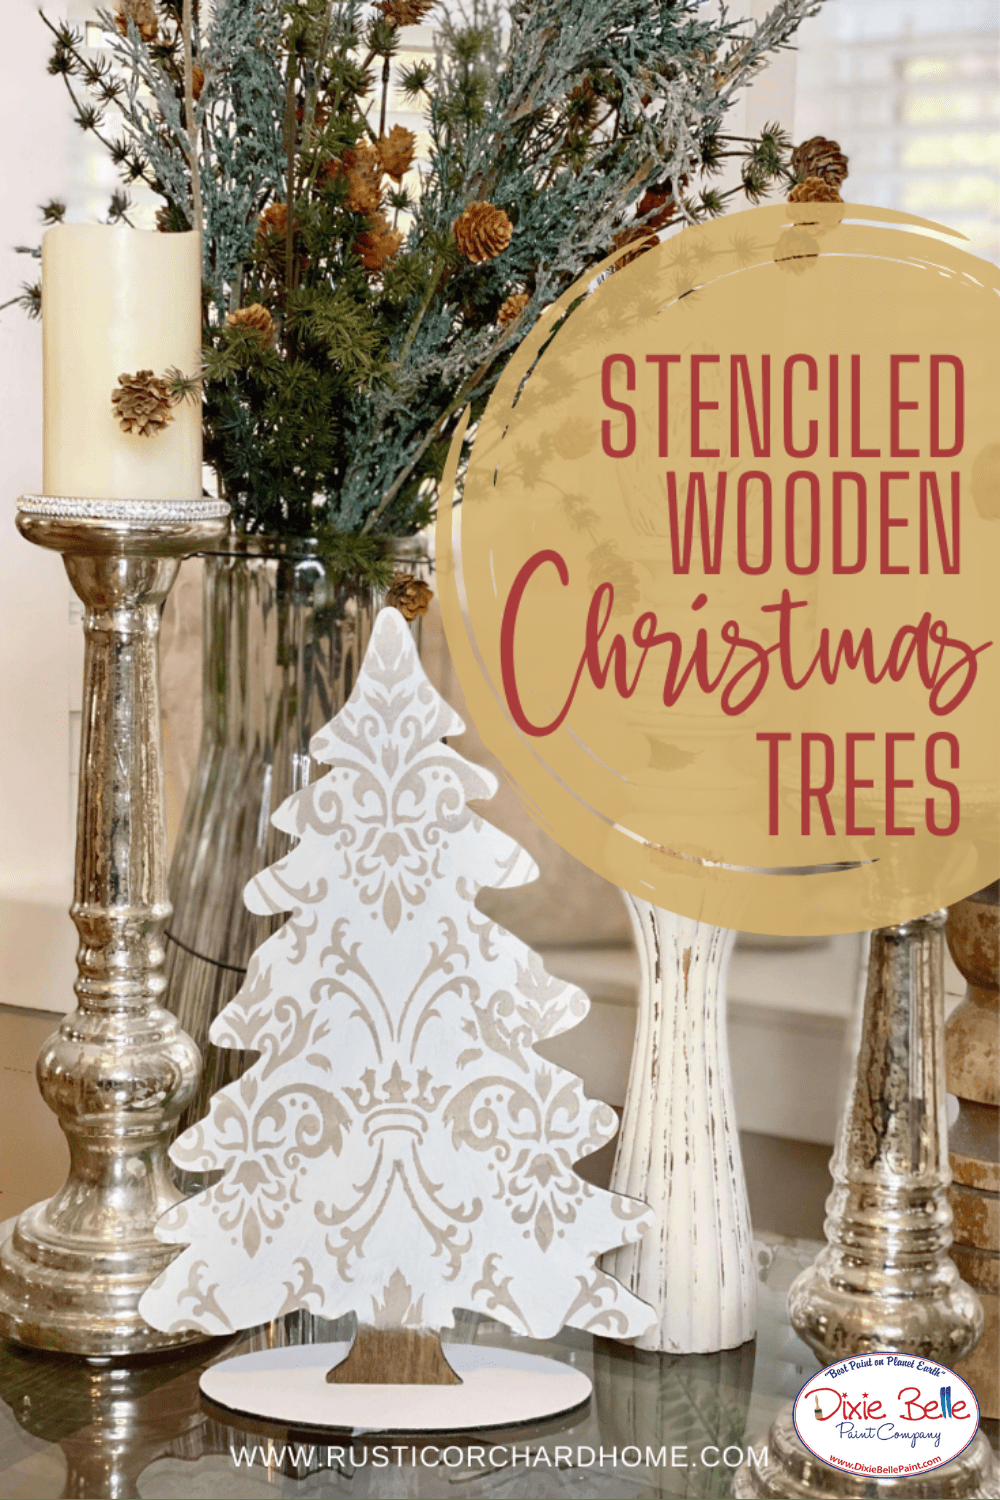
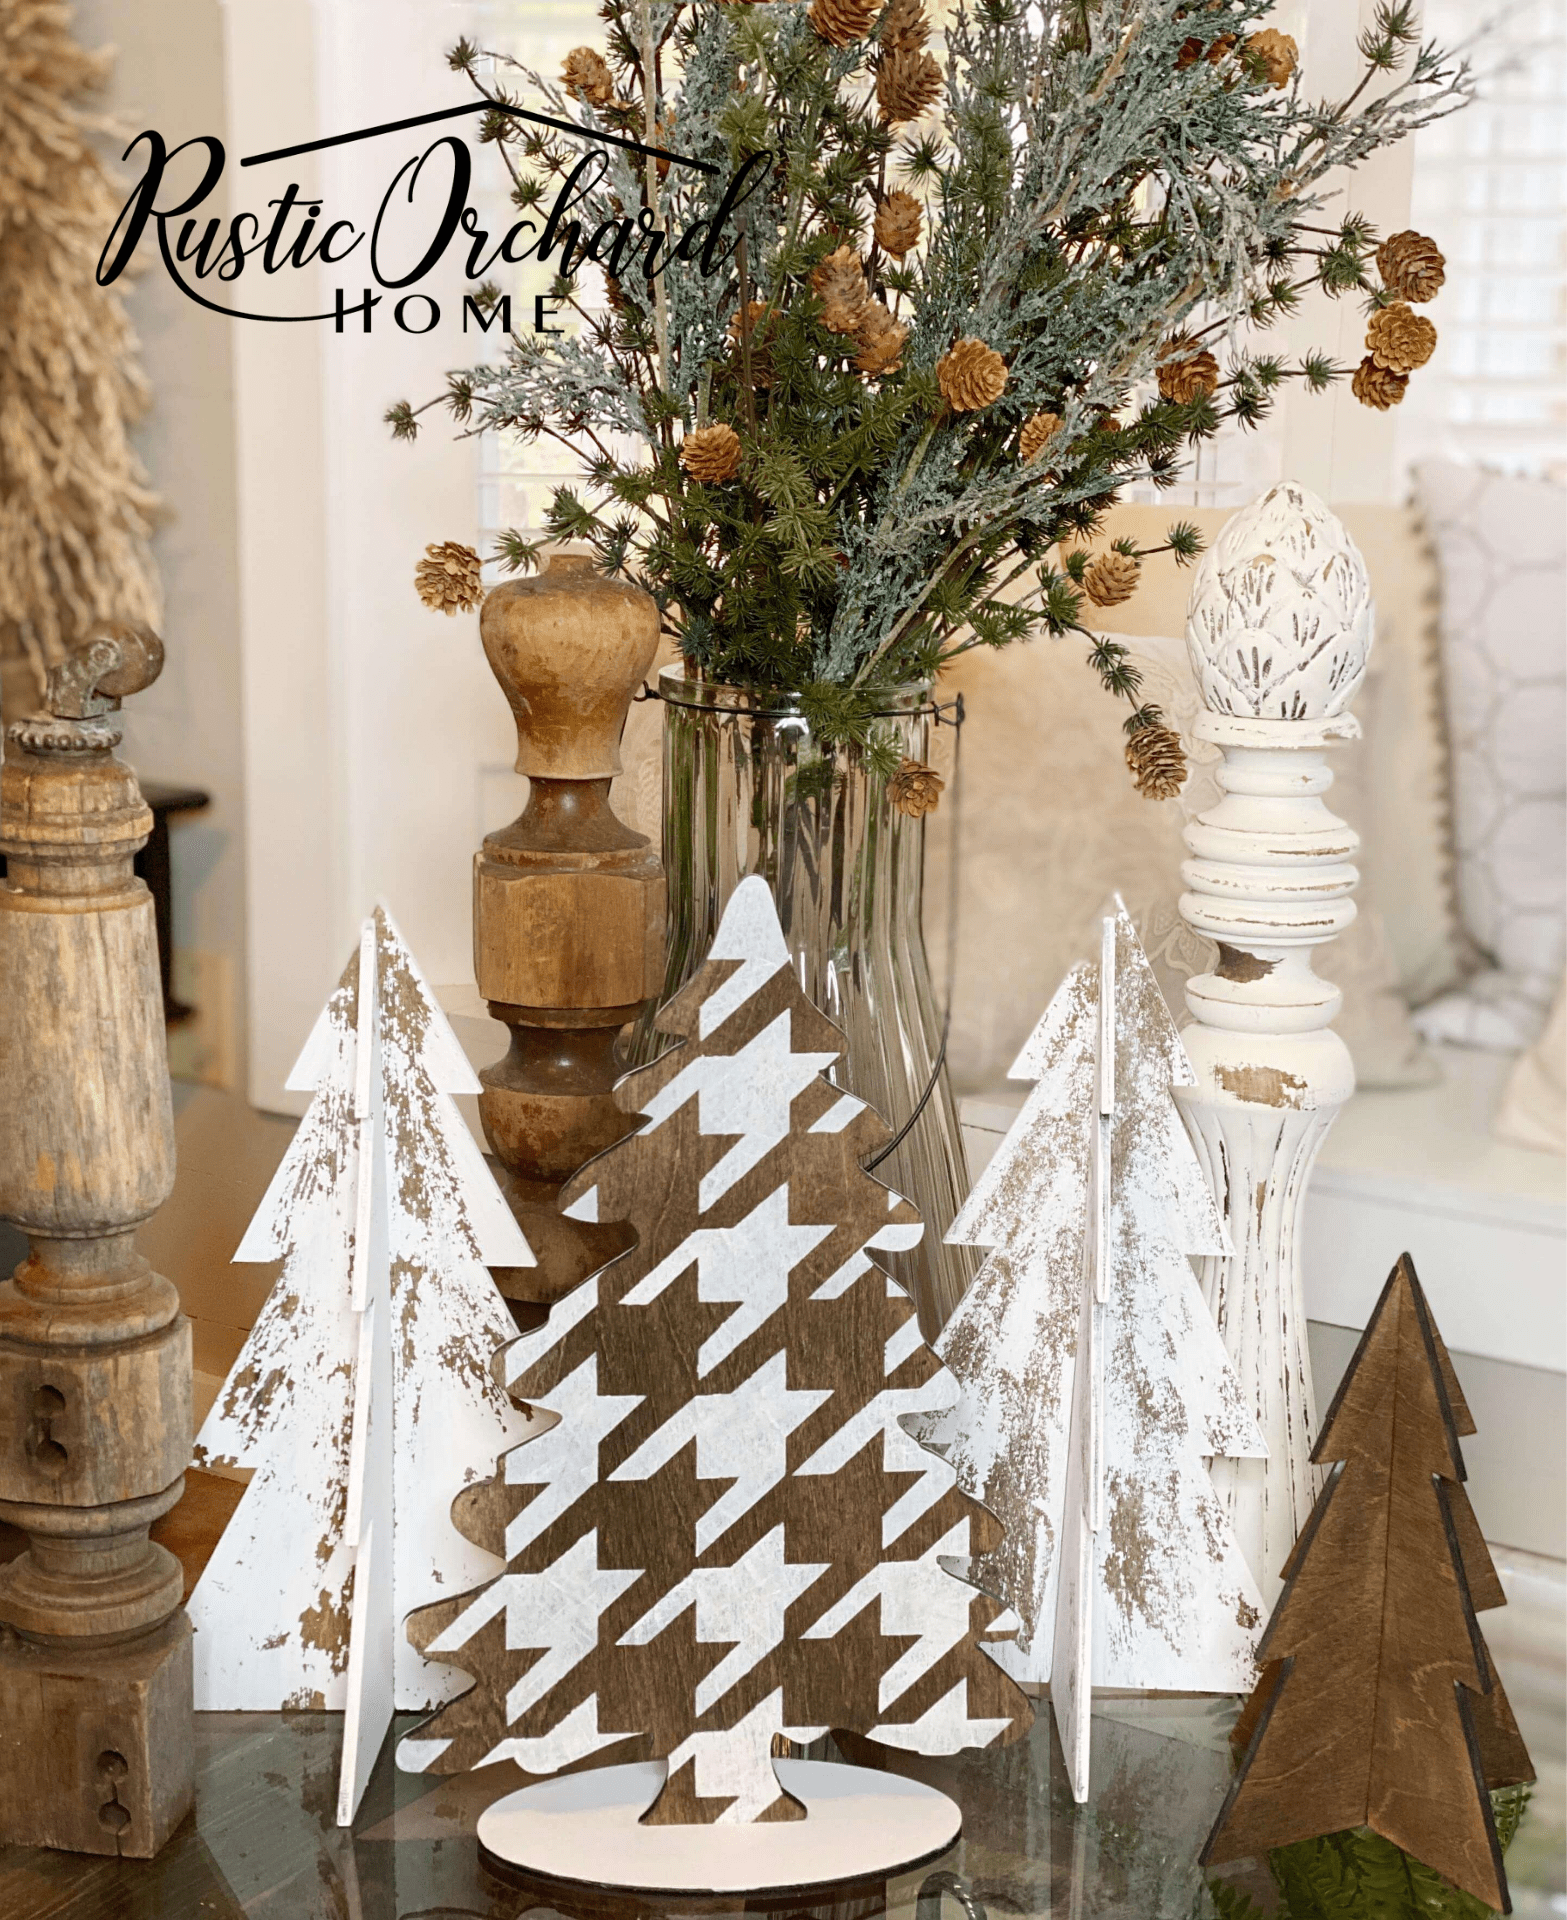
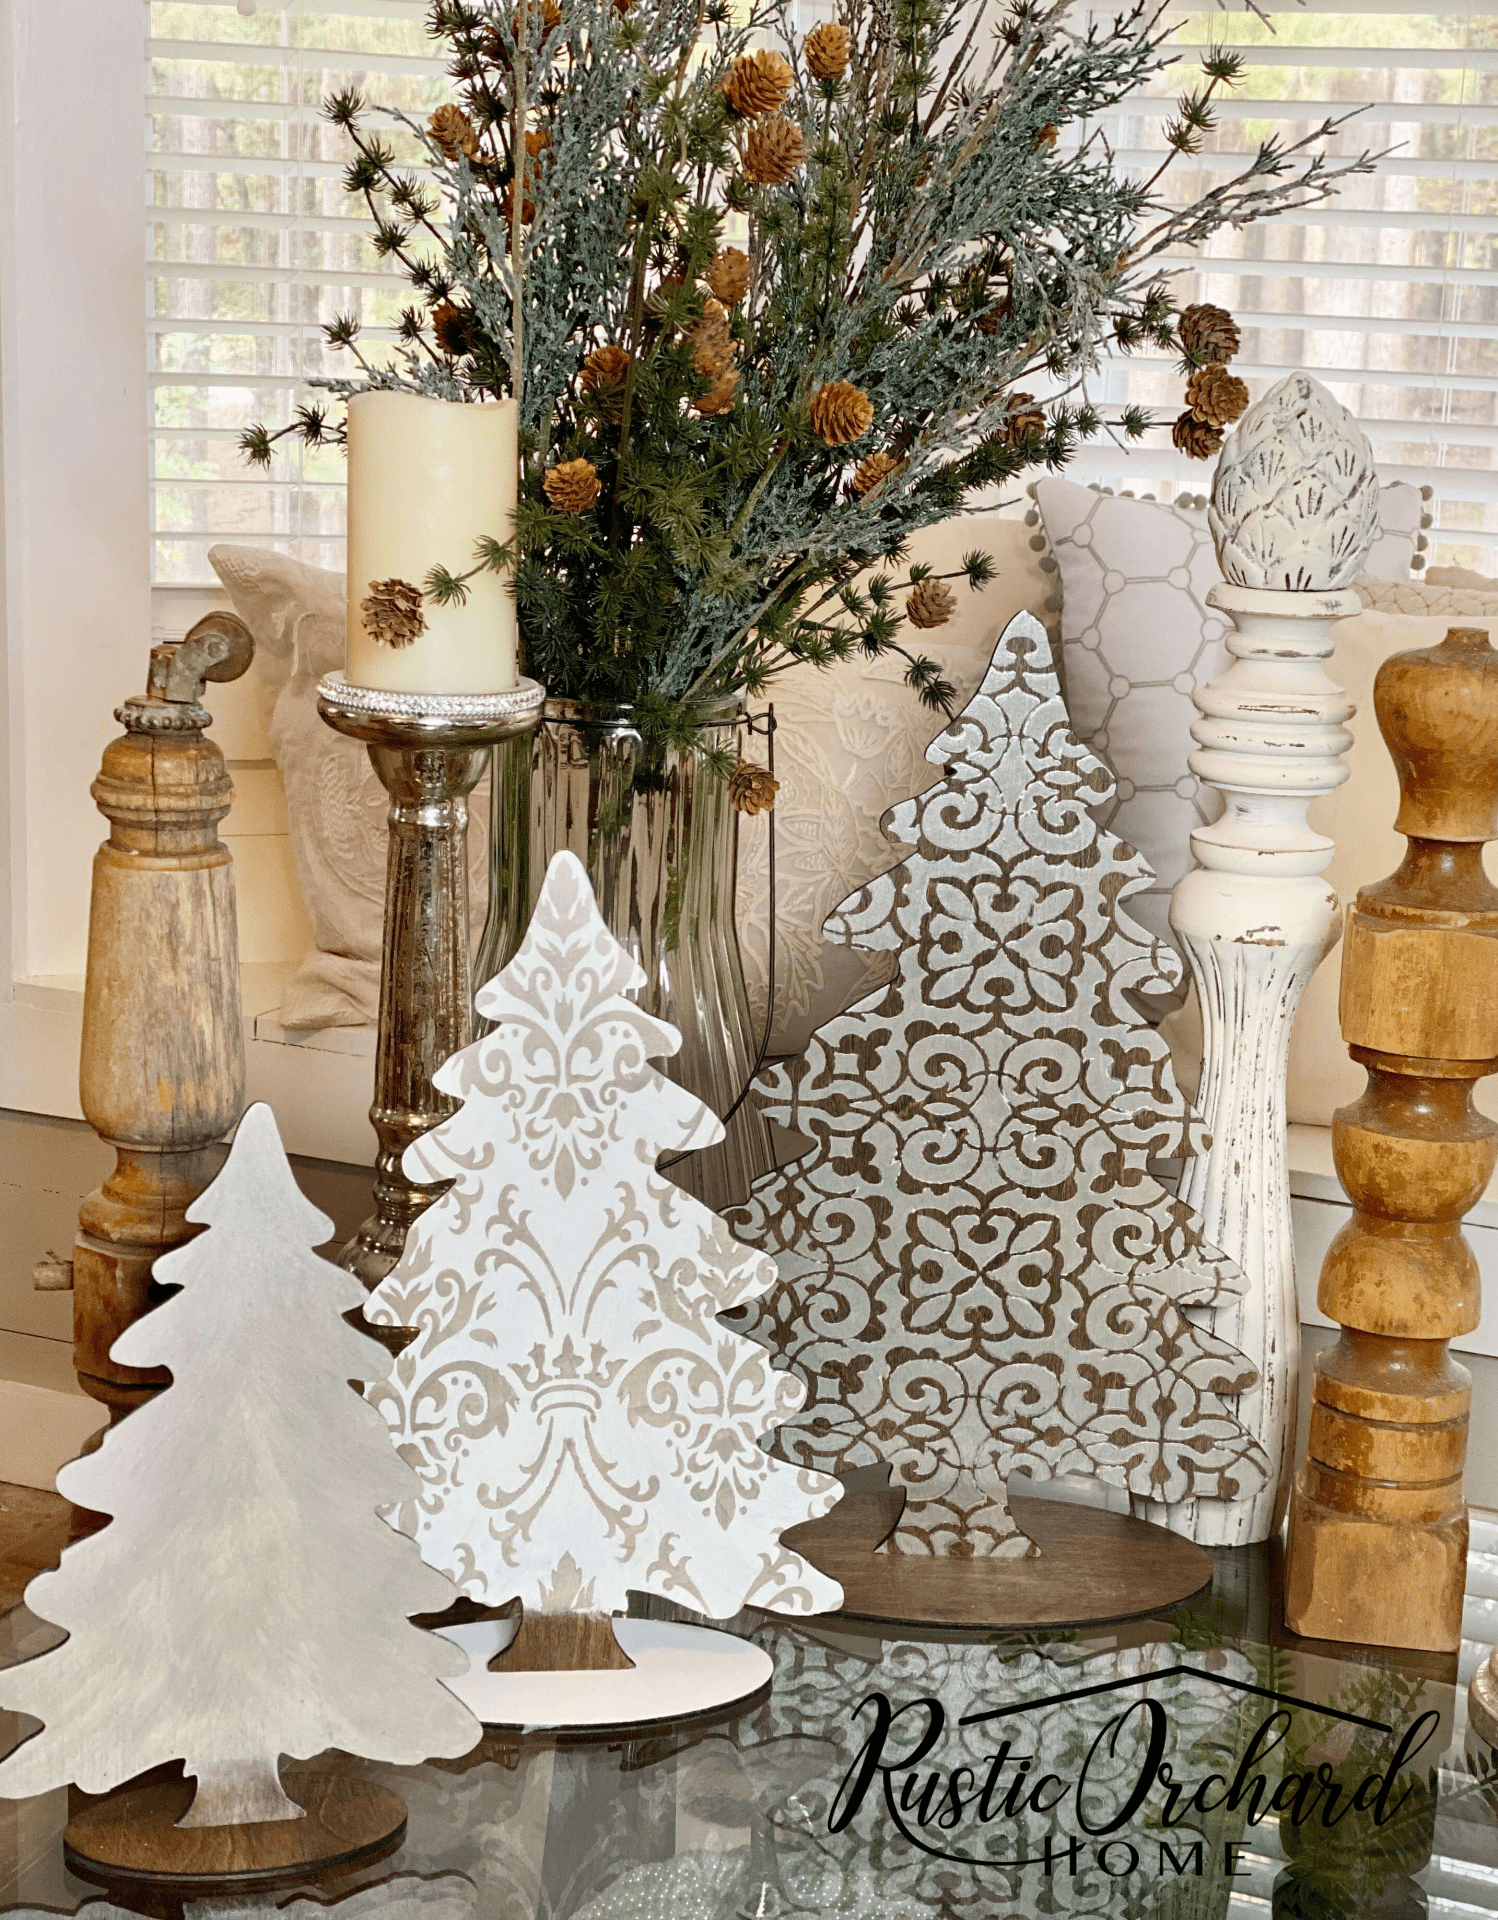
Hi everyone! It’s Tammy from Rustic Orchard Home! Let’s make some stenciled wooden Christmas trees using the new Dixie Belle Paint stencils! Allow me to show you exactly what I did when creating my set of trees.
Materials List:
- Wooden Christmas Tree Cutouts
- Fluff Dixie Belle Chalk Mineral Paint
- Steel Magnolia Moonshine Metallics
- Houndstooth Stencil
- Royal Damask Stencil
- Morocco Stencil
- Walnut No Pain Gel Stain
- Makeup Sponges
- Paint Brush
How To:
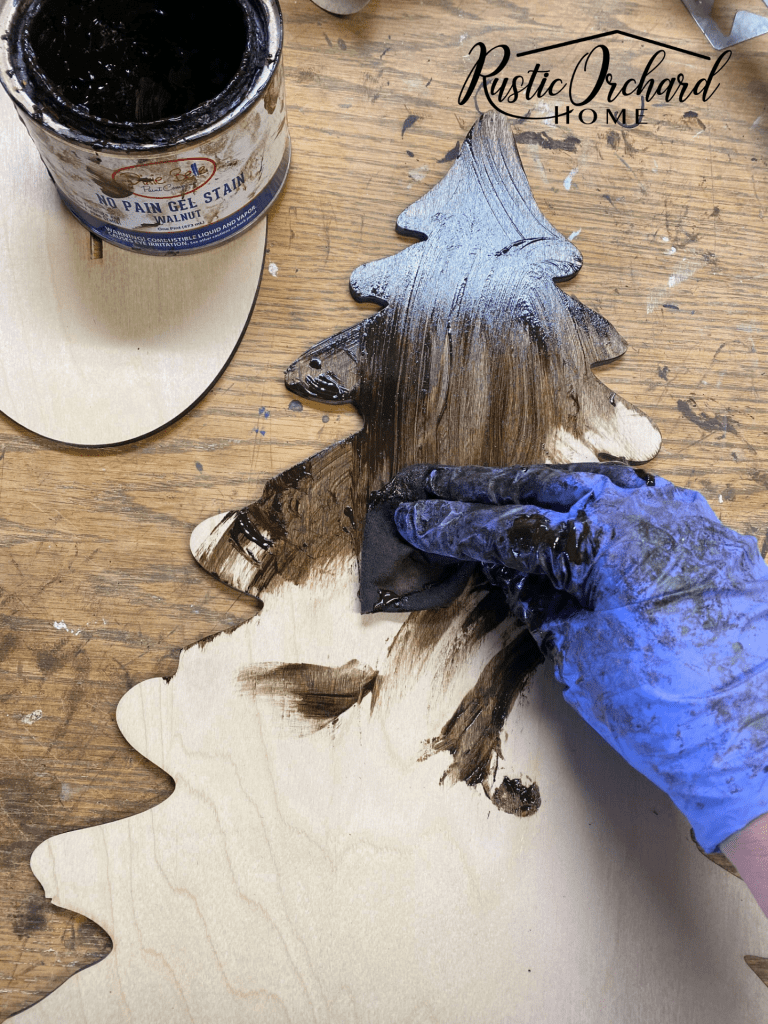
Step 1:
First, I started this project with a set of wooden Christmas tree cutouts. Begin by applying a base coat of No Pain Gel Stain in the color Walnut to all three trees. I apply my stain with a clean cloth. Just be sure to wear gloves so you don’t stain your hands. Let the stain dry before moving onto the next part of the project.
Step 2:
The first stencil I used was the Morocco Stencil. To begin stenciling, you’ll want to place your stencil on your surface. Then use a makeup sponge to apply thin even layers of paint to the surface. It may take a few coats of paint to get your desired coverage. I used Moonshine Metallics in Steel Magnolia by Dixie Belle Paint.
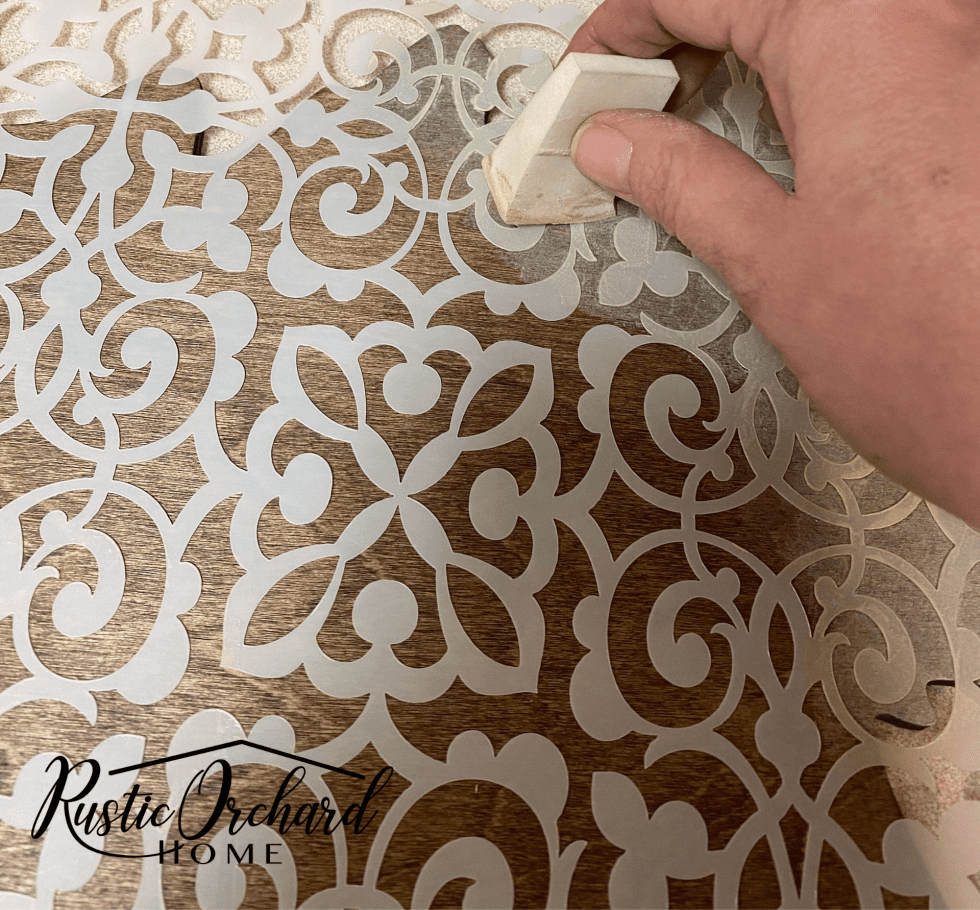
Step 3:
Once you’ve achieved your desired paint coverage, remove the stencil to reveal your finished product.
Step 4:
Next, I used the Royal Damask Stencil. To create this look, I first applied a coat of Fluff to the entire surface. Then I used the same makeup sponge technique to add my stencil details using Moonshine Metallics in the color Steel Magnolia.
To read the rest of this festive tutorial, head over to Rustic Orchard Home here!