Hi everyone, Denise from Salvaged Inspirations here!
Do you have an old painted piece of furniture you’d like to repaint?
There’s a big misconception that you have to strip a piece down for a professional finish. But, it couldn’t be further from the truth.
Don’t waste your time, energy or products stripping off all the old paint.
Materials List:
- Vintage Dresser Take 2 – SALVAGED
- Mini Angle Paint Brush
- Sandpaper | Shop Towels
- Dewalt Orbital Sander
- 4″ Foam Roller
- Water Misting Spray Bottle
- Transfer
- Cotton
- Driftwood
- Satin Clear Coat
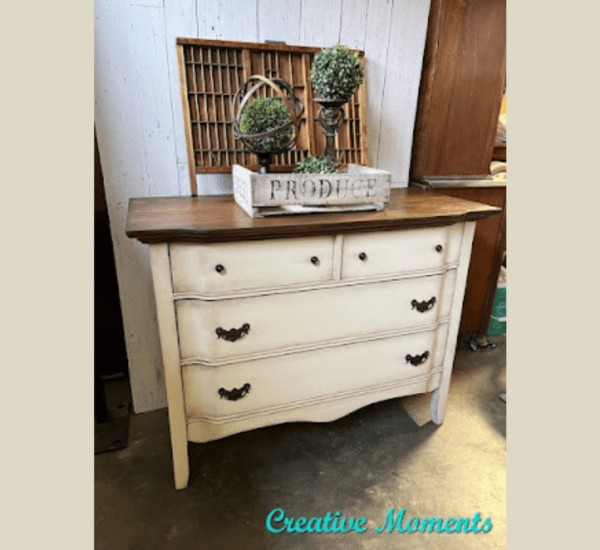
Here’s the ‘before’ for today’s makeover. It’s a PERFECT dresser to demonstrate on because although the finish is smooth, it has layers of color with a faux textured/antiqued finish. It’s been glazed, waxed and top-coated.

How To:
STEP 1 – REMOVE HARDWARE AND CLEAN
This piece was sitting in my inventory so all it needed was a wipe down with warm water. I clean it to get off all the grime, oil, and dirt.
STEP 2 – FILL HARDWARE HOLES | SCRATCHES
Once it’s cleaned and dried, I fill the hardware holes and any dents, pings or scratches with wood filler.

STEP 3 – SAND SMOOTH
Using my favorite orbital sander, I used a 120 grit and sanded the dresser and drawers until they were SMOOTH TO THE TOUCH.
Don’t worry that it looks super ugly. I always have areas where the wood is peeking through and areas with paint but that’s perfectly fine if it feels smooth to the touch.
STEP 4 – PRIME
A stain-blocking primer is best when repainting. Don’t skip this step! The primer will give you a fresh canvas to work with!

STEP 5 – PAINT
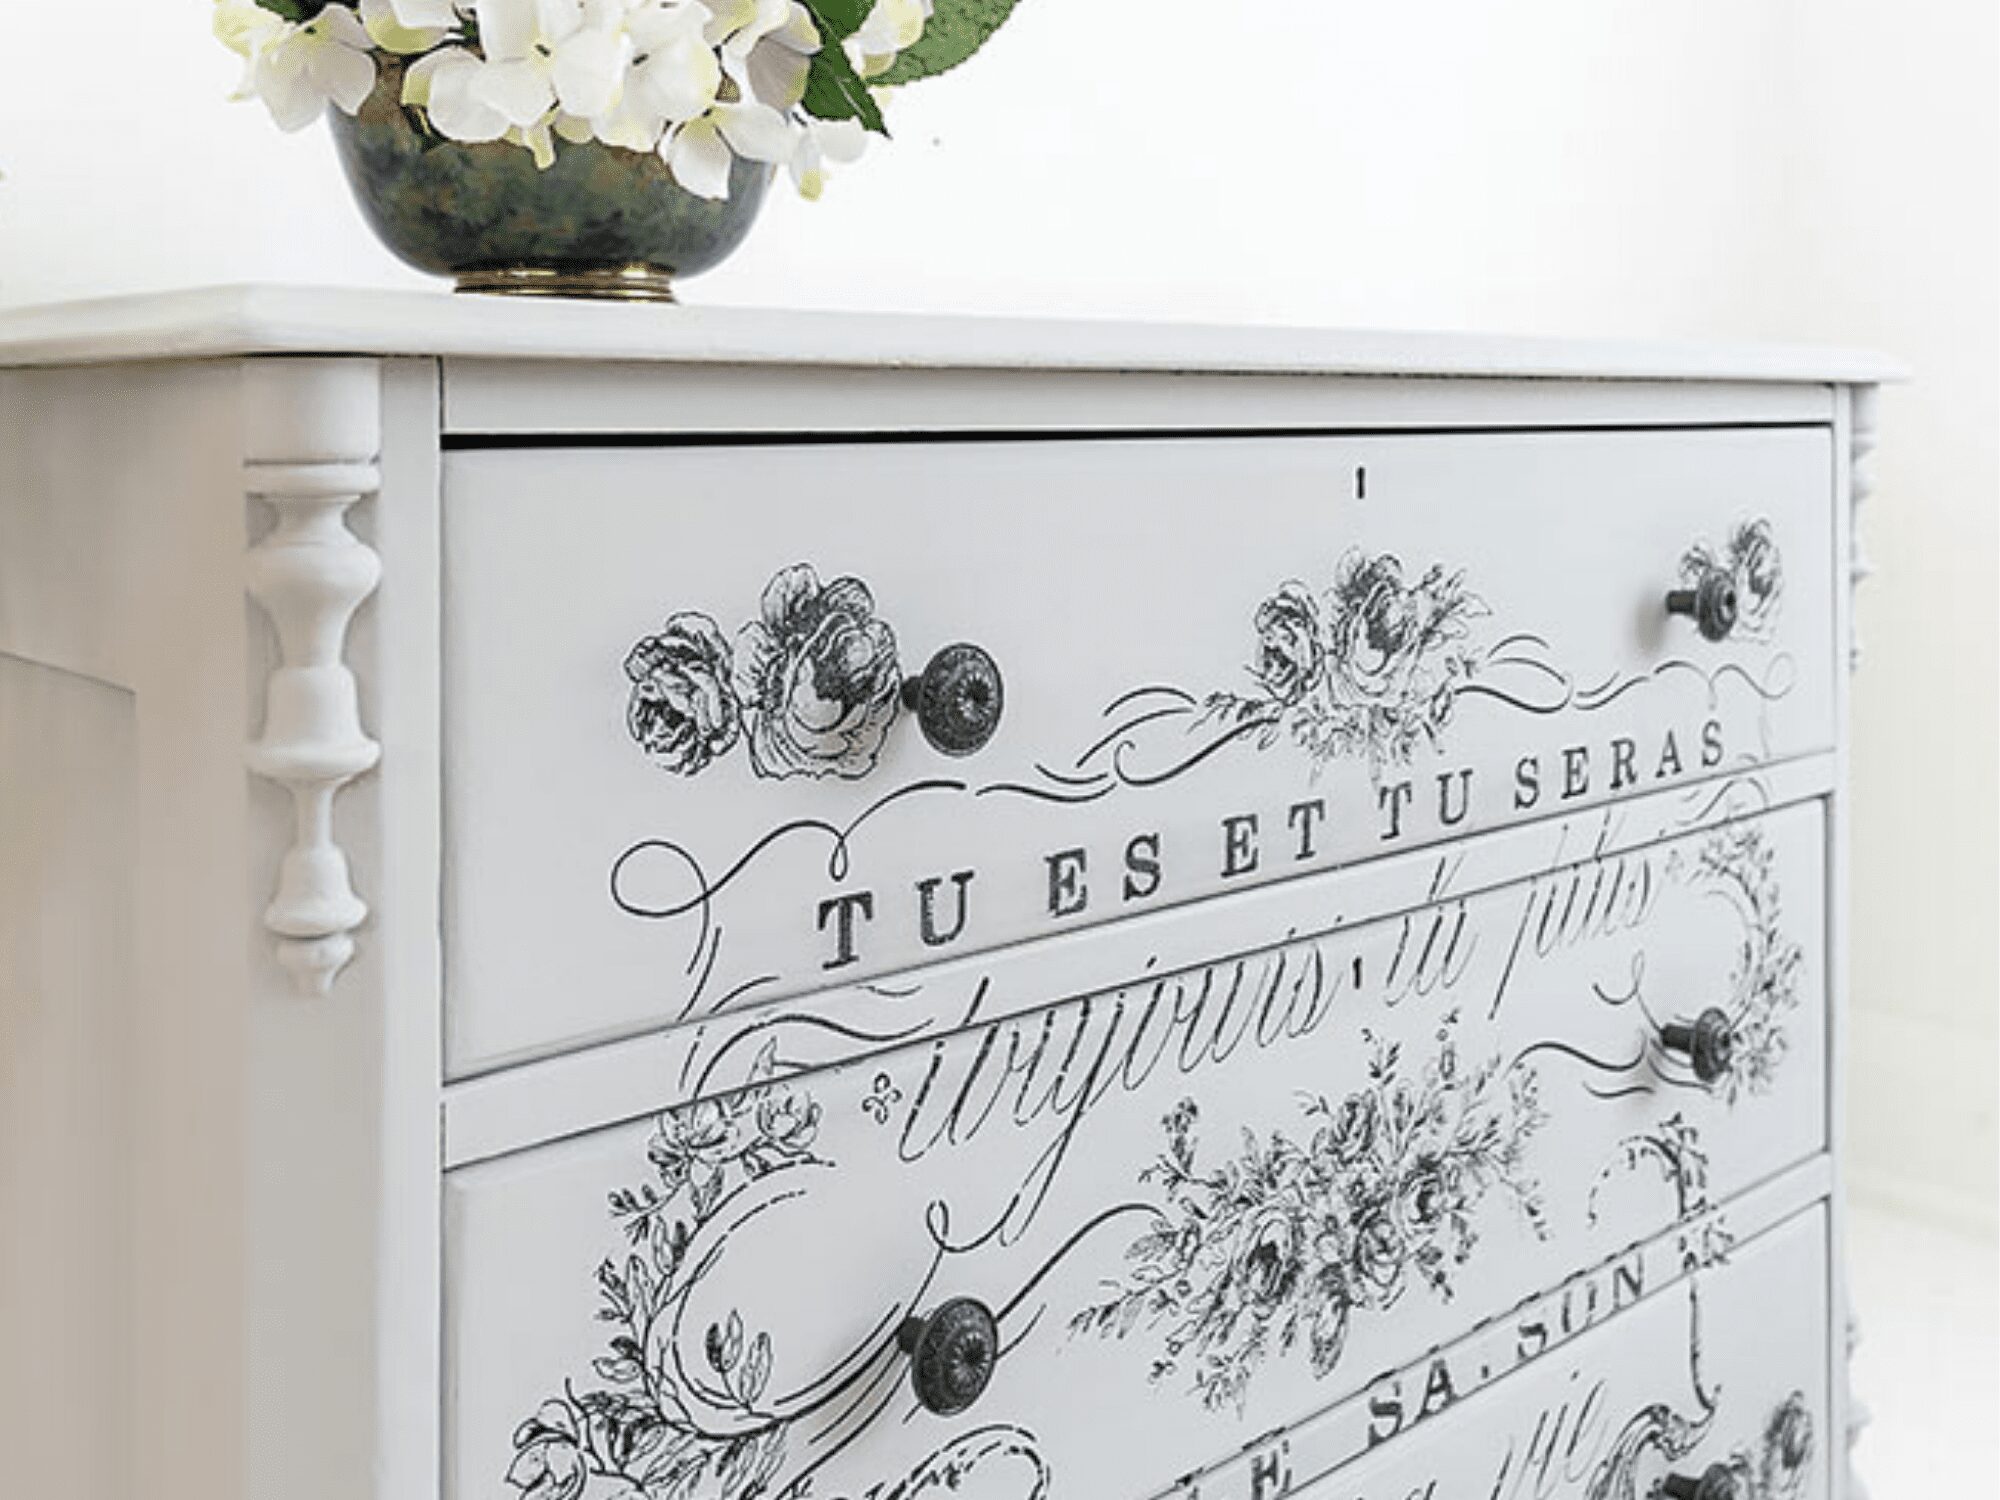
I mixed a custom color with Dixie Belle’s Driftwood and Cotton and the transfer.
The exciting thing about restyling and upcycling is it can ALWAYS be REPAINTED! As far as I know, this vintage dresser has had AT LEAST five different looks including the original finish.
To learn more about this masterpiece, head over to Salvaged Inspirations here!


