Hi everyone, Denise from Salvaged Inspirations here!
Have you been noticing all the insanely gorgeous floral furniture makeovers showing up on Pinterest lately?
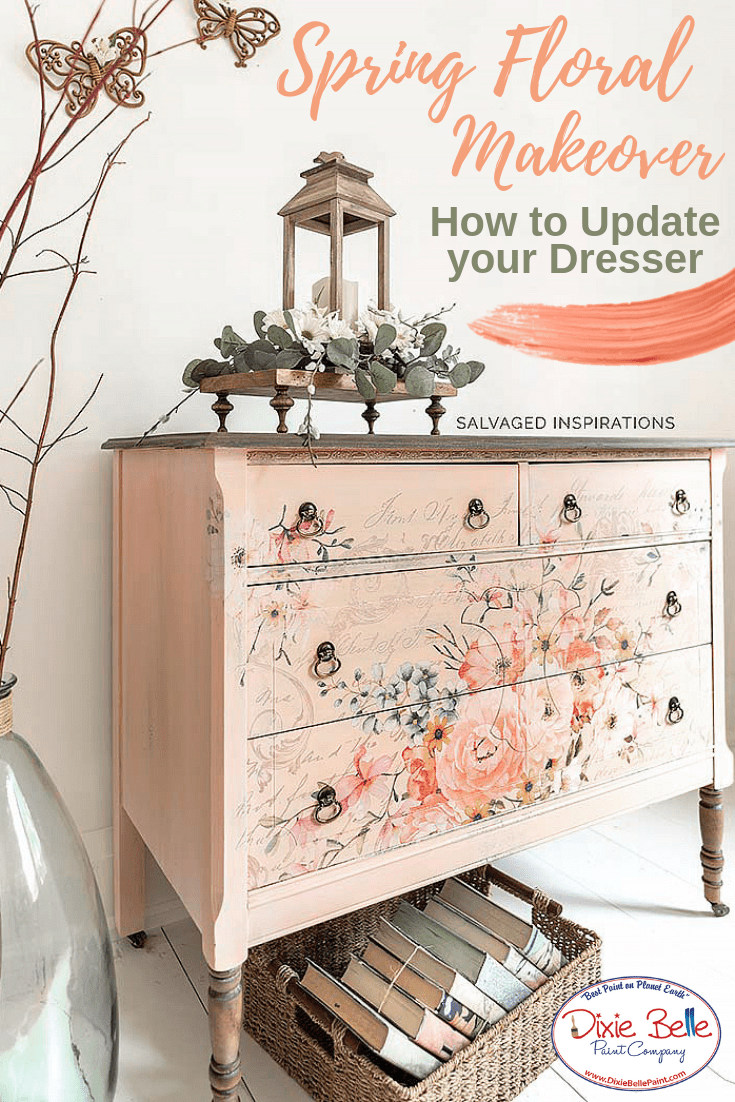
If you’ve ever wanted to try a larger transfer or have ever applied furniture transfers which overlap your drawers, today I’m sharing an easy DIY Hack I know you’ll find helpful and it saves a ton of time!
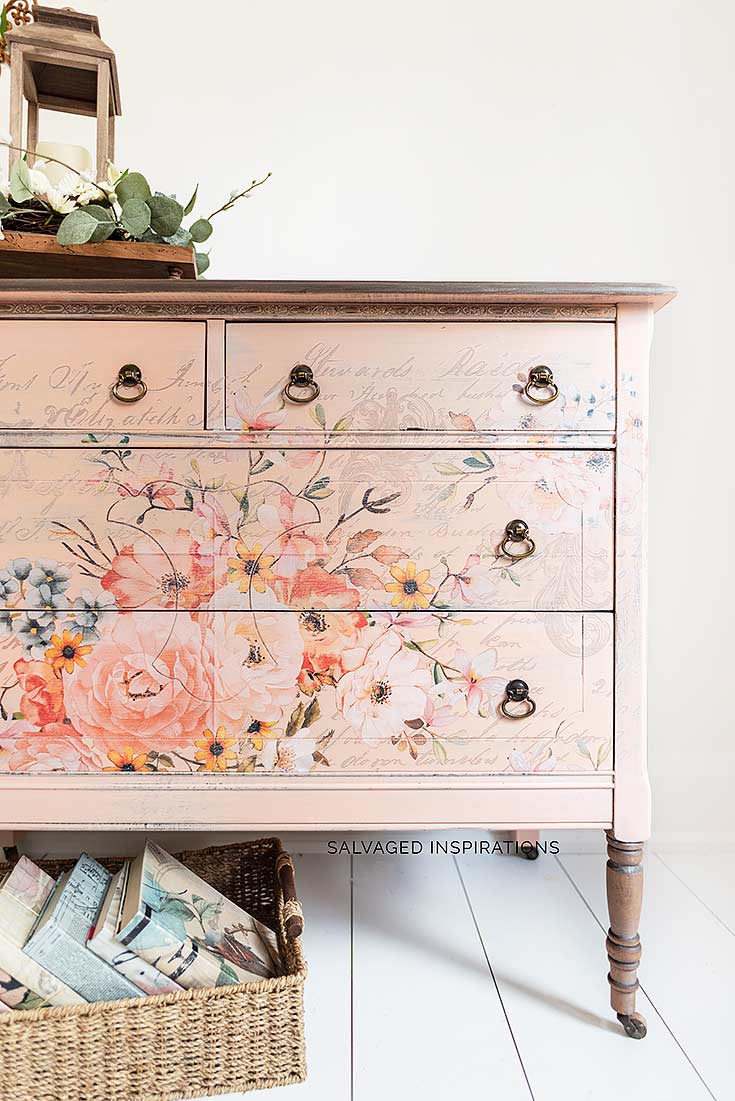
With some stain, spring color, and a floral furniture transfer, voila! Isn’t she gorgeous? Total spring makeover!
Dixie Belle Paint Products:
- DBP Paint Brushes
- Apricot Chalk Mineral Paint
- No Pain Gel Stain in Walnut
- Rose Celebration Furniture Transfer
- Best Dang Wax in White
How To:
An easy quick-tip or #hack to avoid spending time cutting your transfers to size [for each drawer] is to use a craft knife. I get mine for a $1 at the dollar store but any utility knife or X-Acto will work.
First I lay my piece on it’s back. I find it much easier to lay out the design and apply the transfers when the piece is horizontal rather than vertical — and then lay the floral design right over the drawer opening.
Once the transfer is all rubbed on, I use a craft knife to cut the transfer between the drawer slits.
For the finishing touch, I use the rub on stick provided with the transfer to wrap the excess around the drawer.
Once it’s all rubbed on and the plastic top is removed, it’s a flawless finish!
I used No Pain Gel Stain in Walnut on the top and legs on this painted piece in addition to Apricot on the body. I loooove this color!
Head over to Salvaged Inspirations here for more details on this painted piece.