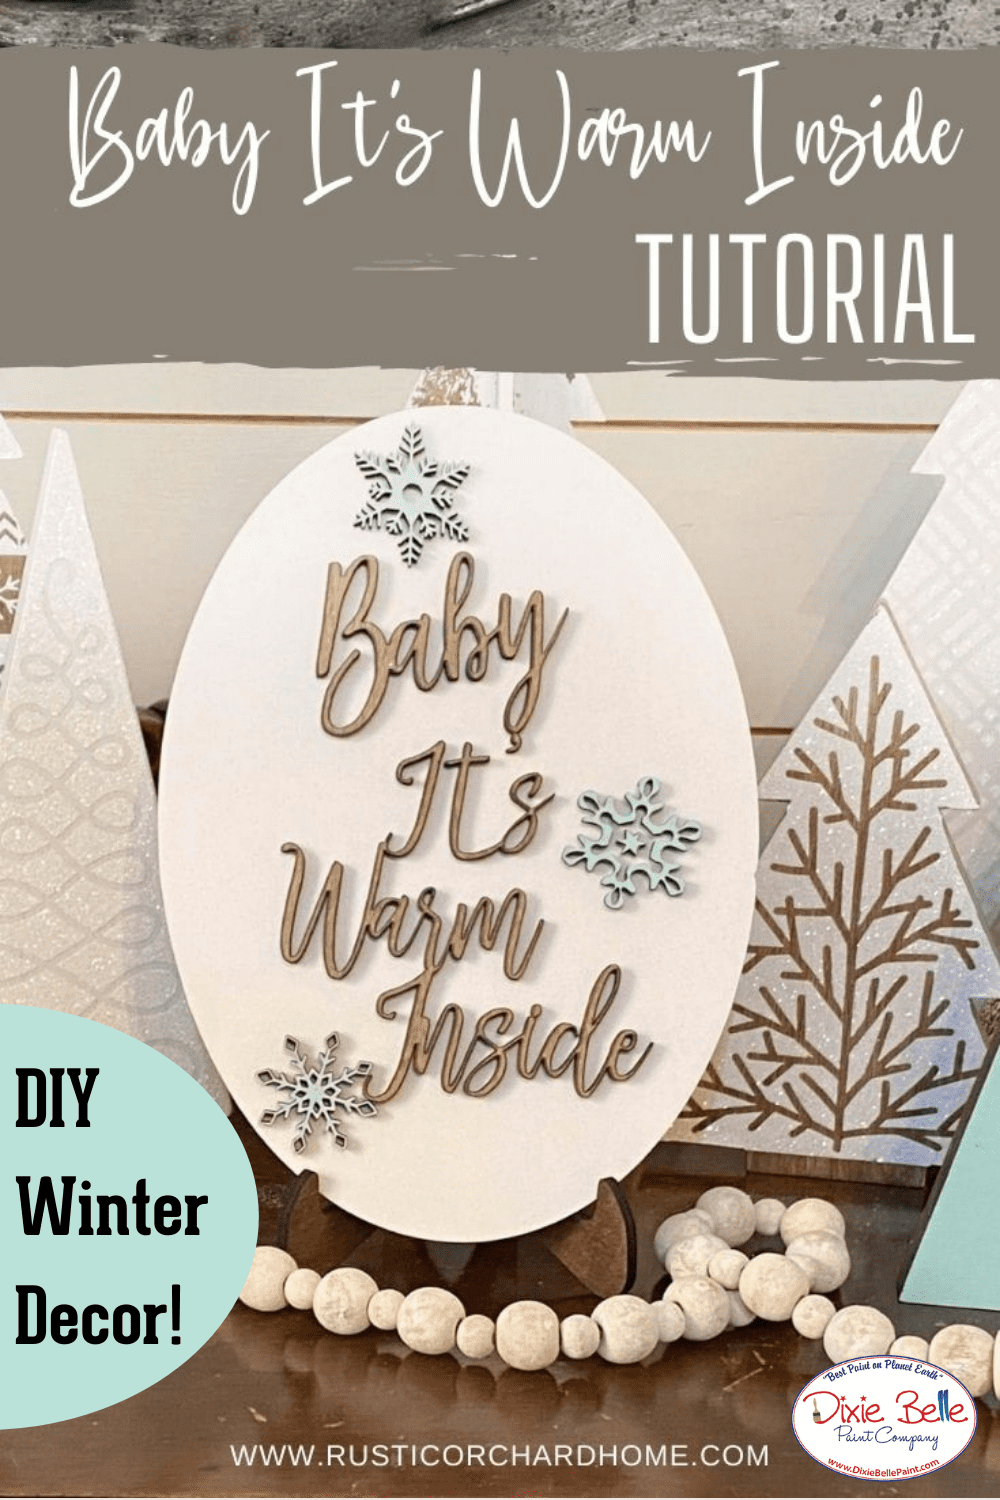
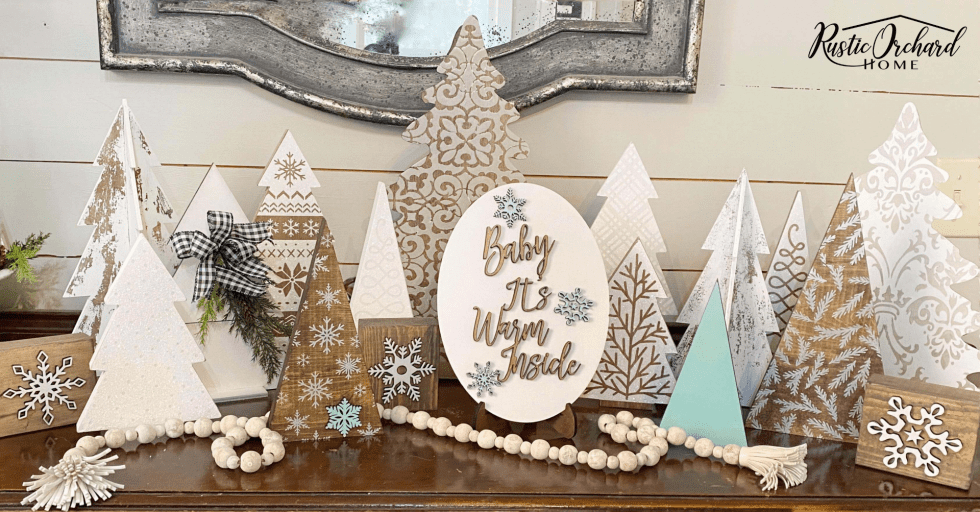
Hi everyone! It’s Tammy from Rustic Orchard Home! Baby It’s Warm Inside! This adorable winter home décor is the perfect DIY for those who love all things cozy. Let me show you how I used wood cutouts and paint to create simple home décor for the winter months.
Materials List:
- Oval Wood Sign
- Snowflake Cutouts
- Wedge Wood Trees
- Fluff Chalk Mineral Paint
- Sea Glass Chalk Mineral Paint
- Walnut No Pain Gel Stain
- Picklin’ White No Pain Gel Stain
- Makeup Sponges
- Paint Brush
- Super Glue
How To:
Step 1:
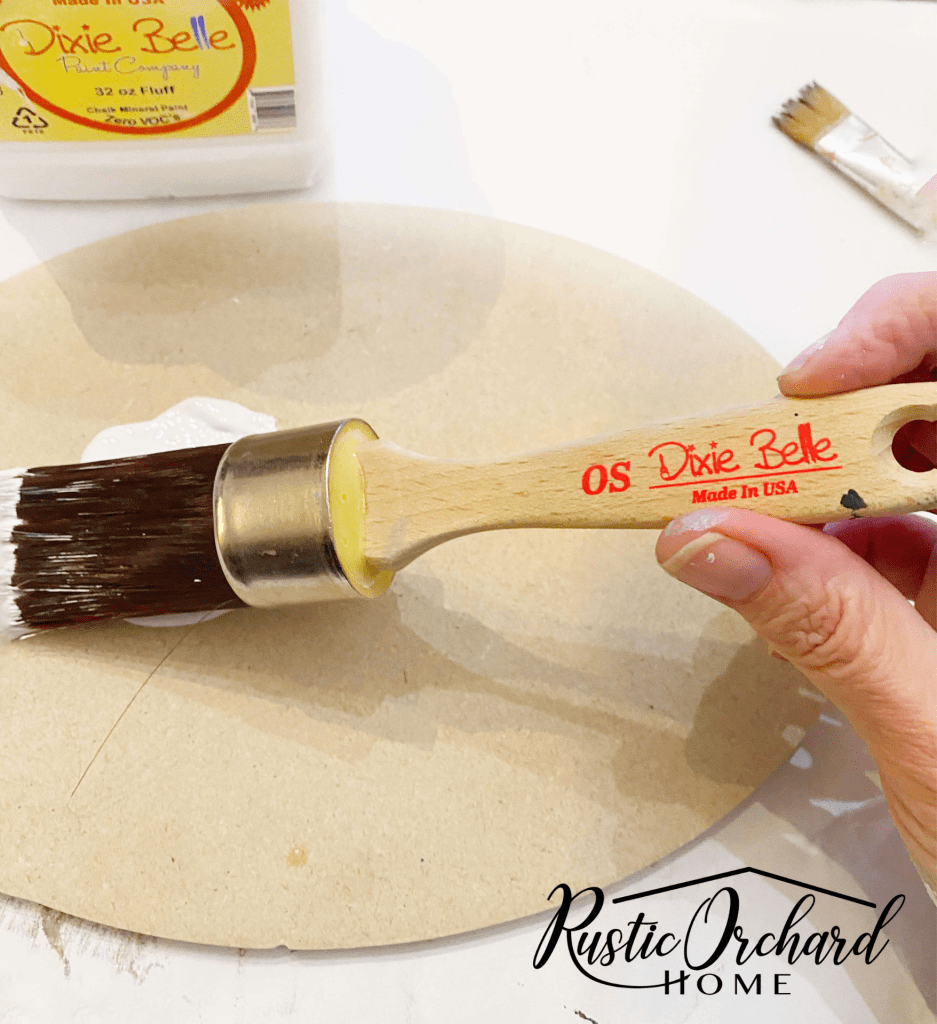
First, I began with an Oval Sign Blank that measures 7 inches x 10 inches. Add a base layer of Dixie Belle Chalk Mineral Paint in the color Fluff to the entire surface of the sign and let dry.
Step 2:
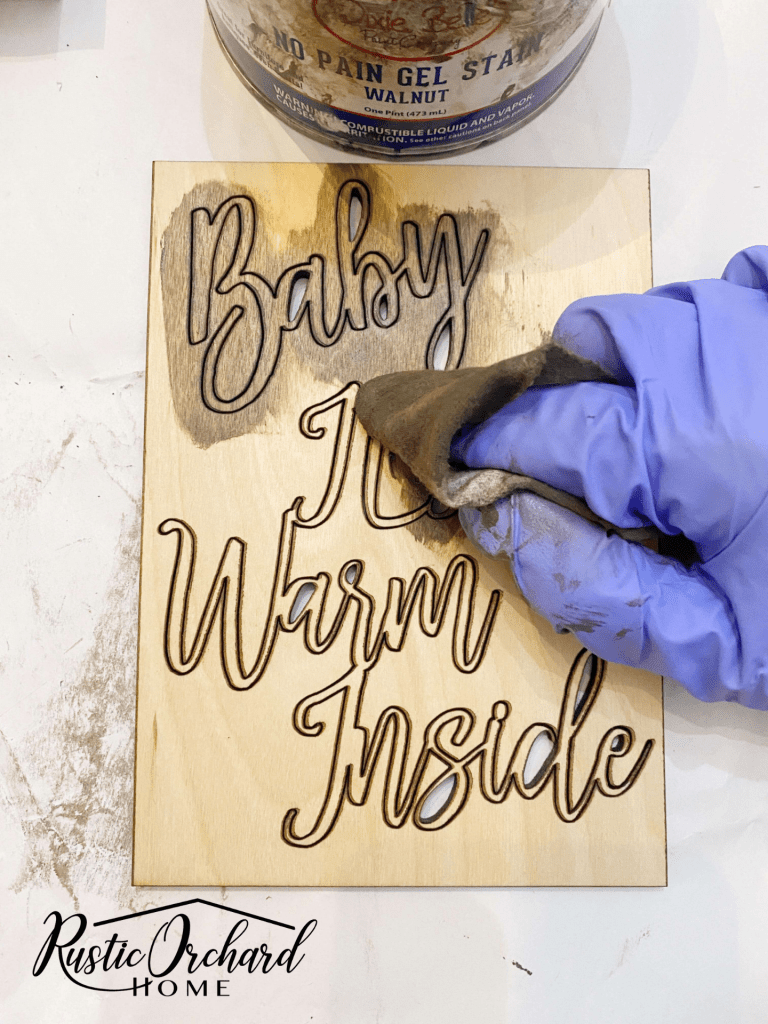
While your sign base dries, stain the “Baby It’s Warm Inside” cutout. I used a custom stain color created by taking a full can of Walnut No Pain Gel Stain and adding 4TBS of Picklin’ White No Pain Gel Stain. When staining with a piece of cloth, rub the stain into the surface and then wipe away any excess. Continue adding layers of the stain until you achieve the color you are looking for. Let dry.
Step 3:
Once everything is dry, attach the words to the base using super glue. Now, let’s add some snowflake cutouts!
Step 4:
Paint the snowflakes with the Dixie Belle Chalk Mineral Paint color Sea Glass. I used a makeup sponge to apply the paint. When using a sponge to paint, apply the paint in up and down motions and do not rub. Continue to pounce thin layers of paint onto your surface until you achieve the color you want. Once the snowflakes are dry, attach them to the surface using super glue.
To read the rest of this cozy tutorial, head on over to the Rustic Orchard Home here!