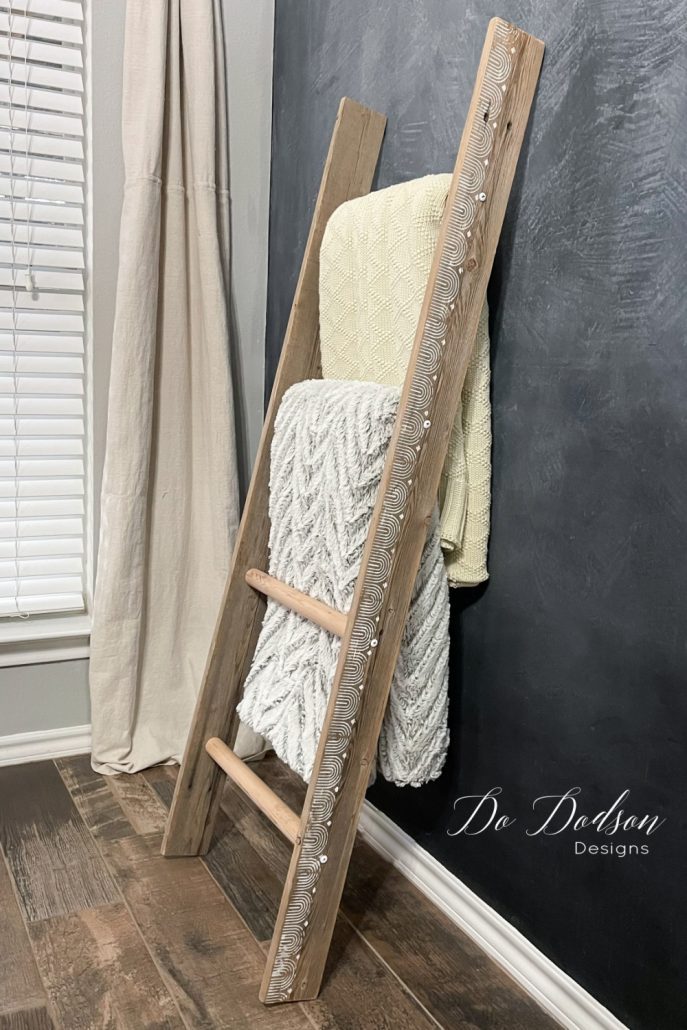
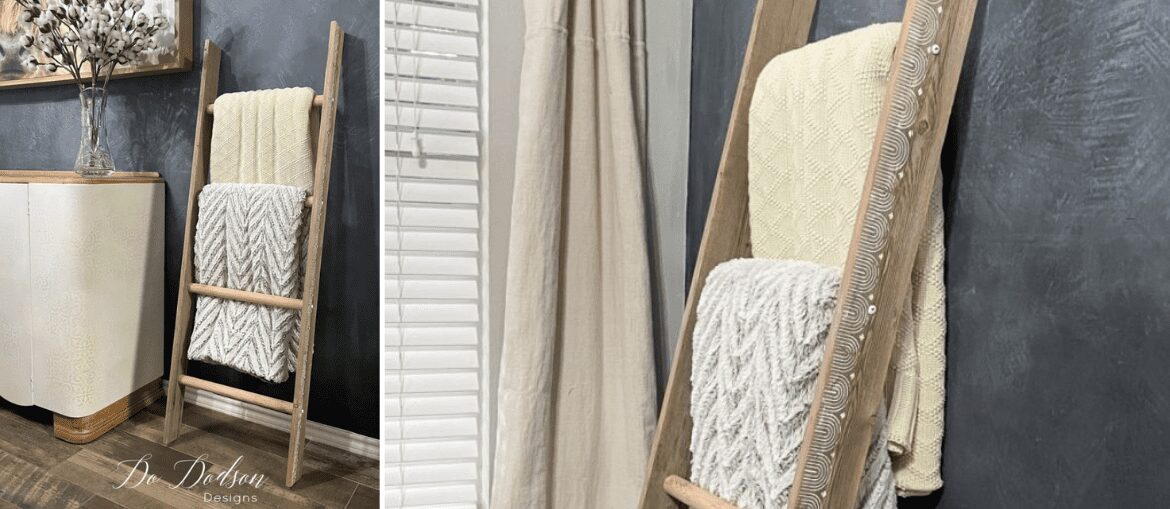
Hi everyone! It’s Do from Do Dodson Designs! I enjoy a good fast and budget-friendly project! Today, I’m going to show you how you can make a DIY blanket ladder.
Firstly, you don’t have to go out and buy lumber if you have some scrap wood. I pick up old weathered pieces here and there because I know at some point, I will use them on something. Like this scrap wood blanket ladder. But by all means, you can purchase new lumber for less than $10 for this project.

Materials List:
- Scrap Lumber (alternative… 2 5ft 2X3 boards)
- Wooden Clothes Rod (alternative… 4 16′ 2X2 boards for the rungs)
- Sander (to smooth rough wood)
- Chop Saw (or whatever wood saw you use)
- Wood Screws (decorative screws are nice but not necessary)
- Drill (to pre-drill holes in wood)
- Cotton (Chalk Mineral Paint)
- Silkscreen Stencil – Patterns (because I’m extra)
How To:
Step 1:
First things first… after you have your lumber cut to the size you want, make sure to sand the wood before assembling. I sanded down the wood to a smooth finish. This will prevent snags and damage to your blankets or quilts that you’ll be hanging from your blanket ladder.
Step 2:
This may be simplistic but it works for me. I like to layout the wood on the floor like a puzzle and line it all up. The length of the rails will determine how many rungs you want on your blanket ladder.

Read more here on how to assemble the ladder.
Step 3:
Now it’s time to add a subtle fanciness. Because you know… I’m extra that way. ? The Silkscreen Stencils come in sheets and they have many patterns to choose from. Because the area I wanted to stencil was narrow, I opted to cut the design in strips. The silkscreen stencils have a sticky backing that is re-usable up to 10 times depending on the surface you’re working on. Before the application, be sure the area that you are stenciling on is clean and free of dust for the best results. Rub over the stencil gently once in place to make sure it adheres properly.
Step 4:
Next, use the plastic spatula applicator in the package to apply a minimal amount of chalk mineral paint over the stencil. You will need very little paint for this. Remove excess with the scraper before removing the stencil.

To read the rest of this rustic blog post, head on over to Do Dodson Designs here!


