Hi everyone, it’s Ashley from At Home with Ashley!
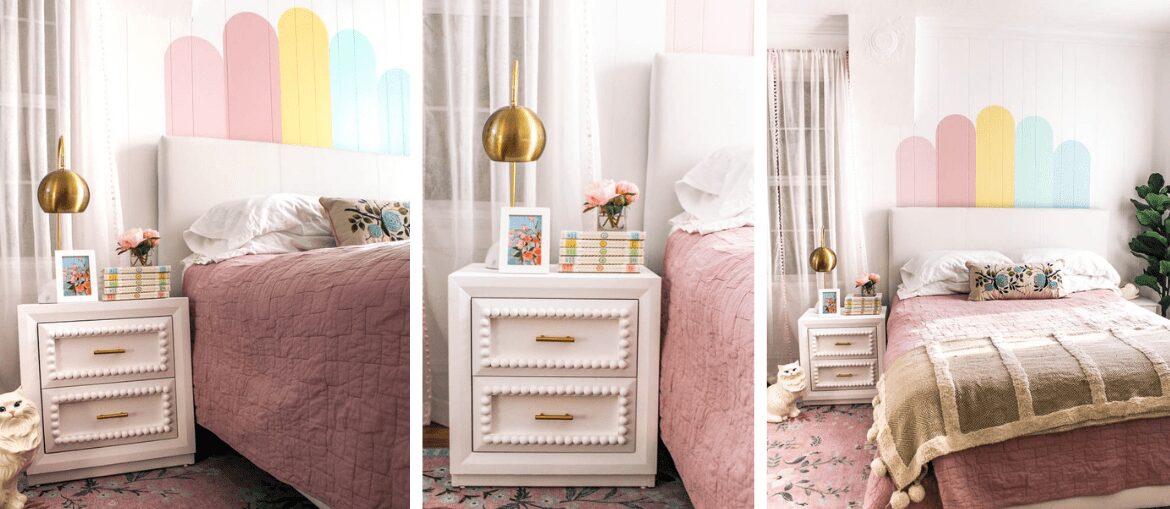
Forever ago, I saw a picture of a dresser with wood balls glued to the drawers and I put that idea in my back pocket. Then, I started redoing the guest room and decided that I could use a larger nightstand. So I headed to the thrift store and found a $10 chest that was the perfect blank slate! Here’s how to DIY a painted night stand with wood bead detail.
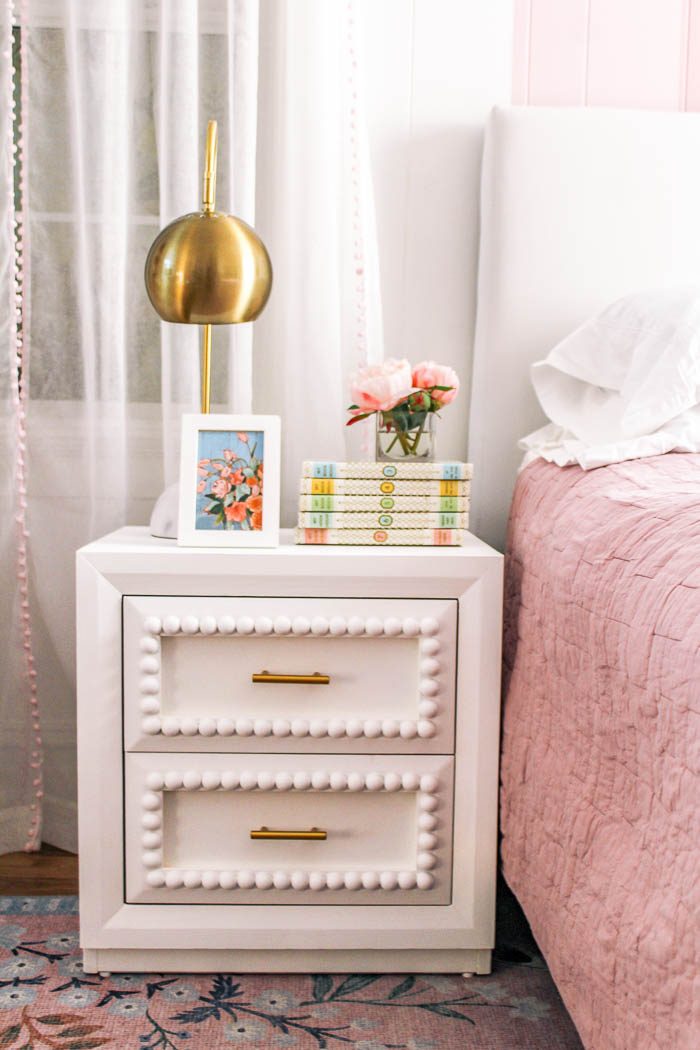
Materials List:
- White Lightning
- Slick Stick
- Cotton Chalk Mineral Paint
- Paint Brush
- Mister Bottle
- Easy Peasy Spray Wax
- Applicator Pad
- Split Wood Balls (I needed 80)
- Construction Adhesive
How To:
Step 1:
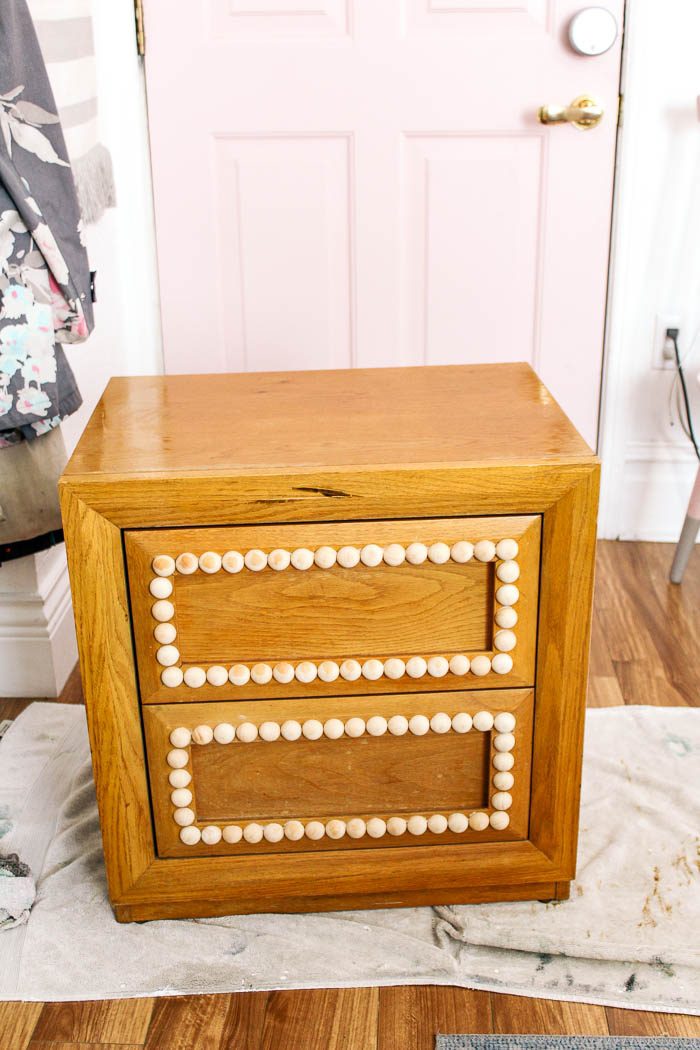
Start by gluing the wood beads along the drawer trim. I used construction adhesive. Wood glue would also work, but I wanted something super strong since they’re on the drawer which will be touched a lot. Just use a tiny dab of glue so it doesn’t seep out under the beads. I ended up needing 80 beads for this project.
Step 2:
Clean the furniture. Mix 2 Tablespoons of White Lightning in 1 gallon of hot water. Use a rag dipped in the solution to clean the entire surface of the furniture you’ll be painting. Wipe the piece clean with a damp rag to remove any White Lightning residue. Let dry prior to painting.
Step 3:
Since the finish was slick, I primed. I used one coat of Slick Stick to prime the piece. I let that dry thoroughly before continuing to paint.
Step 4:
Spritz your brush with water. With Chalk Mineral Paint, you always want to start with a damp brush. Continue to spray the brush and furniture piece with water while painting.
Step 5:
Start painting. Dip the paintbrush in the Chalk Mineral Paint and apply it thinly on the furniture. Brush in the direction on the wood grain until you’ve covered the entire piece. Note, you WON’T get full coverage with the first coat. If it’s streaky, don’t panic! I used Dixie Belle’s Cotton for this project.

For more information on this darling painted wood bead nightstand, head on over to At Home with Ashley here!


