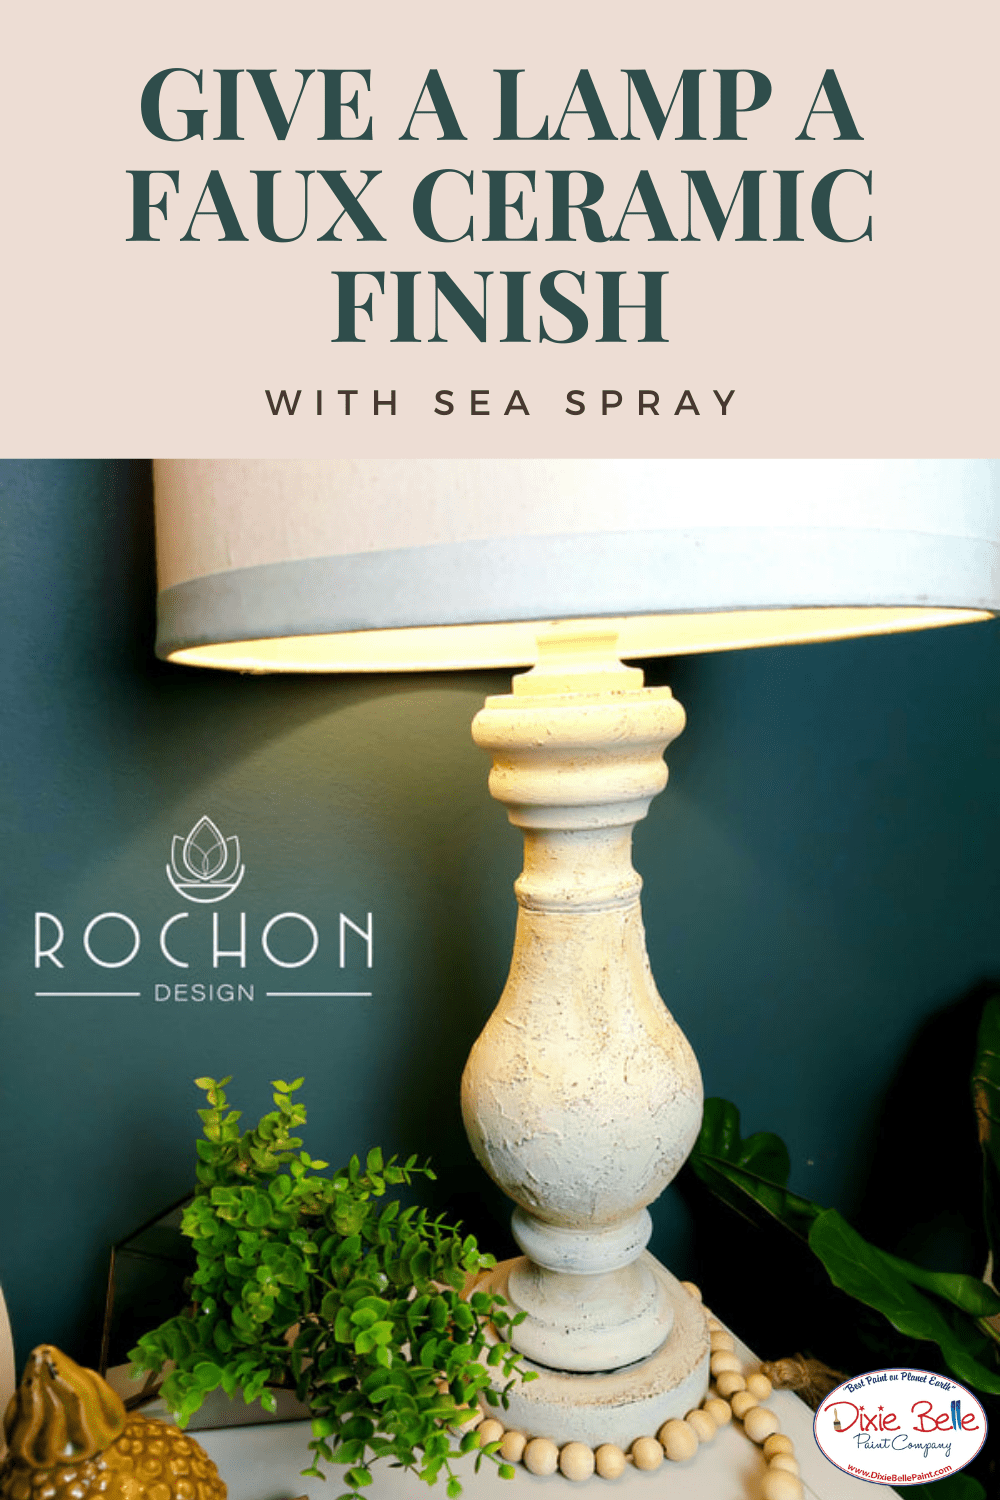
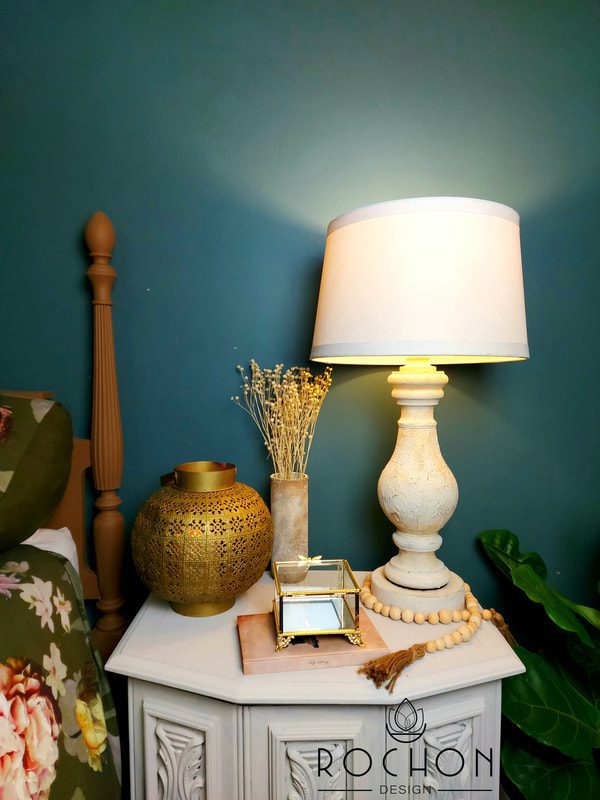
Hi everyone! It’s Erin from Erin Rochon Design! I found a lamp on one of my trips to my local thrift store. The shape and size was perfect but the colour was a little outdated. The lamp did not work with my décor, but I knew that I could easily transform this lamp with Dixie Belle paint. I love the organic, aged look of ceramic table lamps. They are a big design trend, I wanted to recreate the look using Dixie Belle paint. Here are the materials I used and the steps so you can try it out on your next project.

Materials List:
- White Lightning
- Slick Stick
- Dixie Belle Paint in Coffee Bean, Drop Cloth, Terracotta and Pinecone
- Sea Spray
- Spatula
- Easy Peasy Spray Wax
- Wax paper
- Small container
- Belle Brush, synthetic brush & 2 fine art brushes
- Shop rags
- Sanding Sponge
How To:
Step 1:
Start by giving your lamp a good clean using White Lightning to remove any oil or residue. Let it dry.
Step 2:
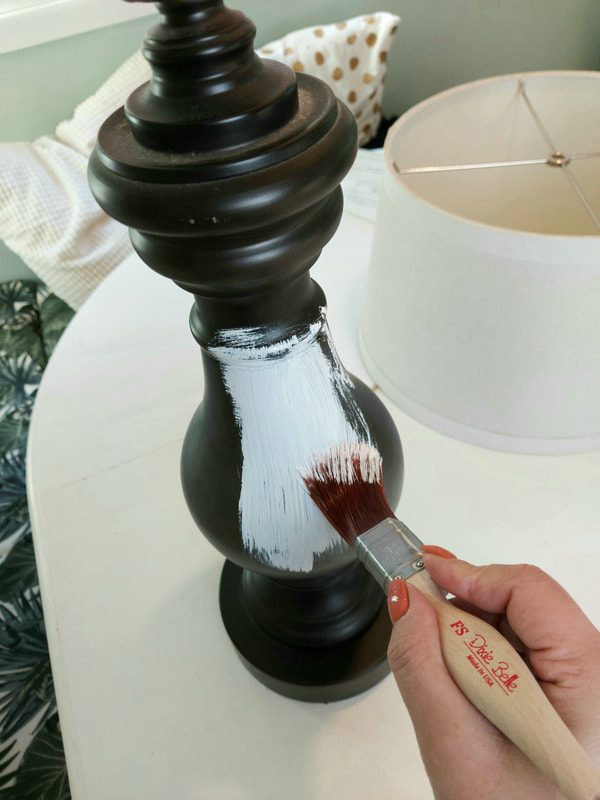
Since the surface was metal, I used Slick Stick to help the paint adhere. Start by applying a thin coat of Slick Stick over the whole lamp and let dry for 2 hours. Apply another thin coat of Slick Stick and let it dry overnight.
Step 3:
Add a scoop of Sea Spray into the container. Next add a small amount of Coffee Bean into the container and mix well. Continue to mix until it has a chunky peanut butter consistency.
Step 4:
Using your spatula, apply the mixture and layer the paint onto the lamp moving in different directions. Use a small paint brush to apply and stipple (dabbing) the paint mixture around the base and top of the lamp. Make sure to completely cover the whole lamp base without any of the Slick Stick showing through. Let the paint completely dry overnight.
To read the rest of this creative DIY, head on over to Erin Rochon Design here!